Hi Everyone!
Silhouette launched the newest version of their software (for both the free and designer versions). There have been some issues with this latest version and the Silhouette team is addressing them. So far, I like what I see, but I am still getting used to the newer bits and pieces. Good news, though – some of their shapes are on sale (hello, flowers!) – and I love a sale. Want to make some 3d flower cards?
The What
- Silhouette cutting machine
- Silhouette Studio
- Blade
- Cutting Mat
- Glue
- Cardstock (for the front and back layers)
- Flower shape (I used this one)
The How
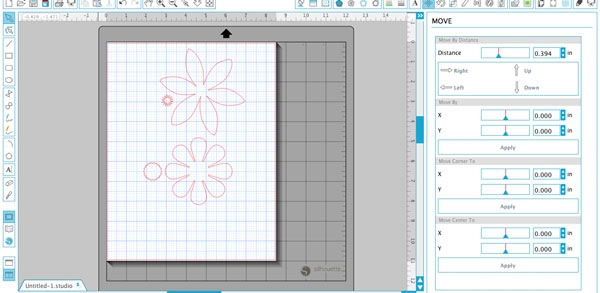
Step 1: Create a new document in Silhouette Studio and add your flower shape
Step 2: Create a rectangle and duplicate it (mine measured 3.25″x5.25″)
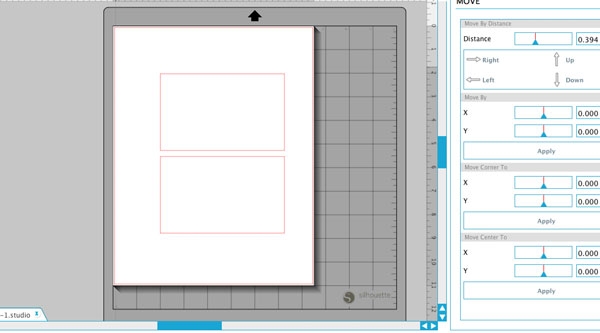
Step 3: Move one of your rectangles off to the side (it will be used for the back layer)
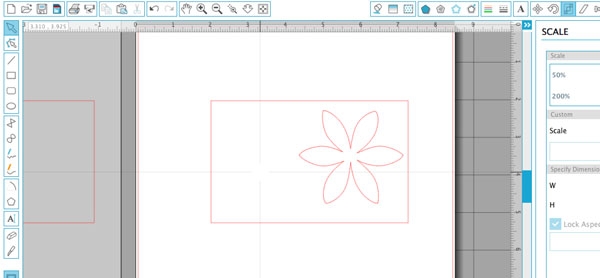
Step 4: Position your flower on to the rectangle and resize the flower (dragging from the corners preserves the aspect ratio)
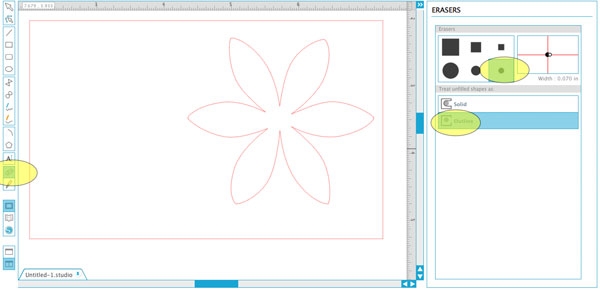
Step 5: Zoom in a little closer and select the eraser tool (the options are shown below)
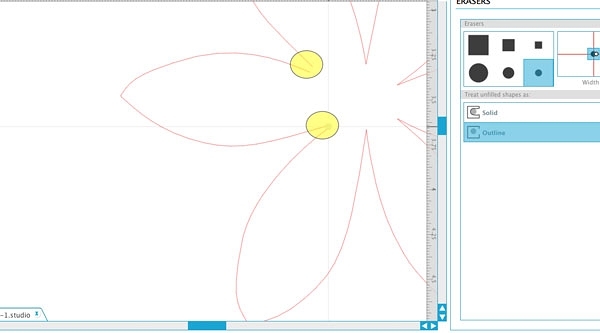
Step 6: Erase a small area where the lines meet at the middle of the flower. Repeat for each intersection
Step 7: Your flower should now look like this:
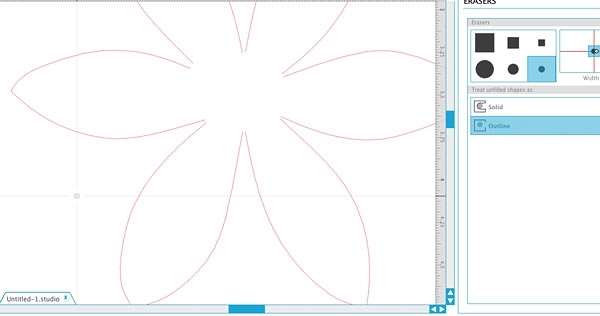
Step 8: Zoom out a little, select your petals and group (using the eraser tool on them broke them up into separate shapes)
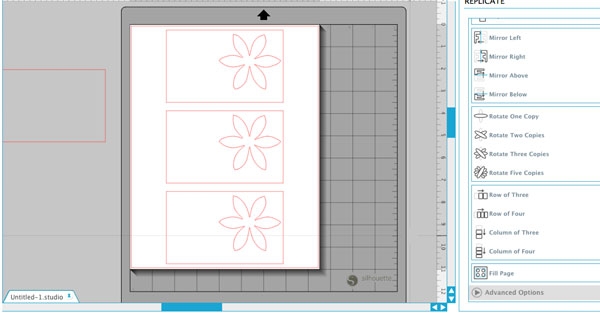
Step 9: Fill your page and cut – each of these will be the front of your cards
Step 10: Cut the same number of the other rectangles (the one you moved off to the side earlier) in a different color cardstock
Step 11: Curl the petals of the front layer with your fingers, then glue the front and back layers together.
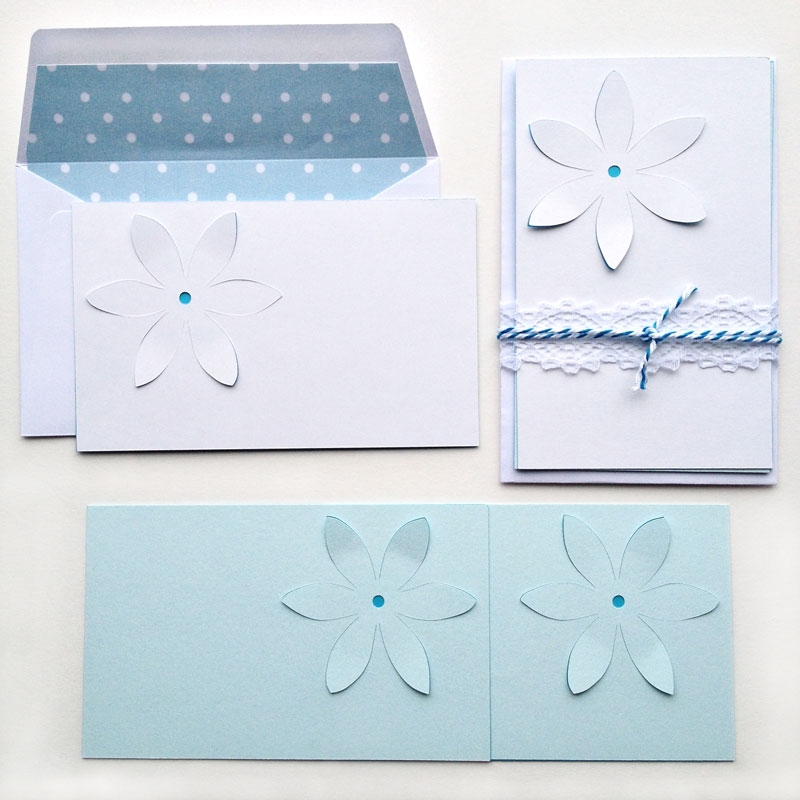
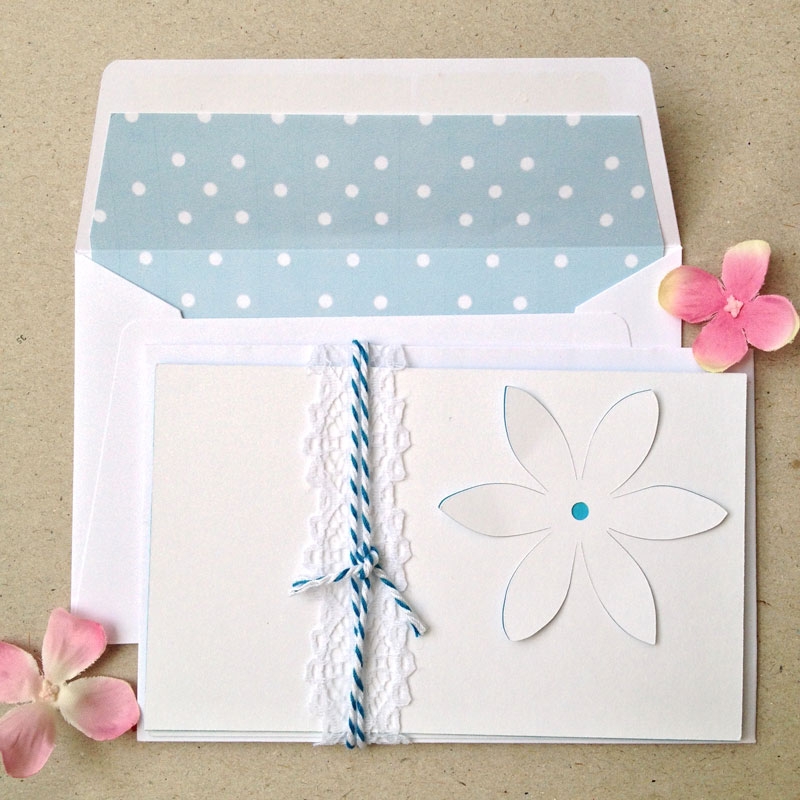
Add envelopes, wrap them up in ribbon, and you’ve got a little 3d stationery set!
Comments are closed.