Hello and Happy March to you all! Today I’ll share with you a how-to on making tags with your Silhouette Cameo. Once you’ve created your design with the Silhouette Studio software, you can use your tag design as a template for future crafting.
Okay, let’s get started.
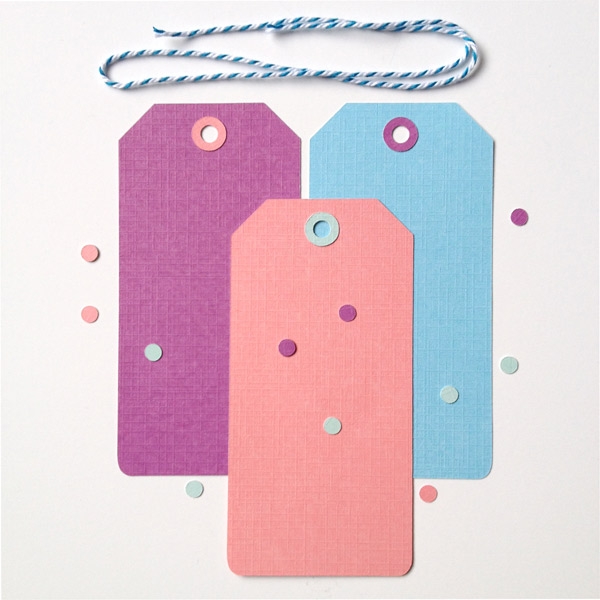
The What
[row] [span columns=”5″]The How
Step 1:
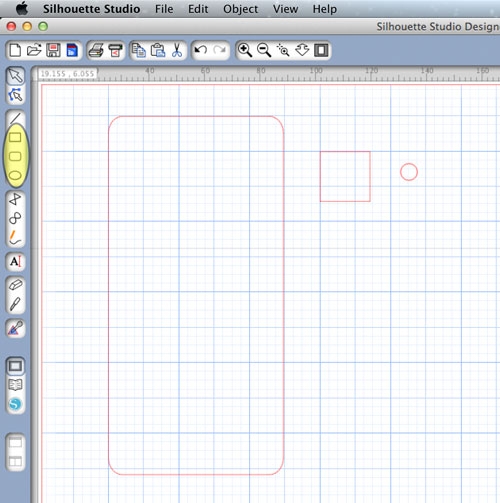
- Open up your Silhouette Studio and create a new file
- Set your page layout to the size of your cardstock (in this example I used 12″x12″)
- Create the following shapes
- 1 rounded rectangle (2.5″x5.1″)
- 1 square (0.7″x0.7″)
- 1 small circle (0.24″x0.24″)
[row] [span columns=”5″]
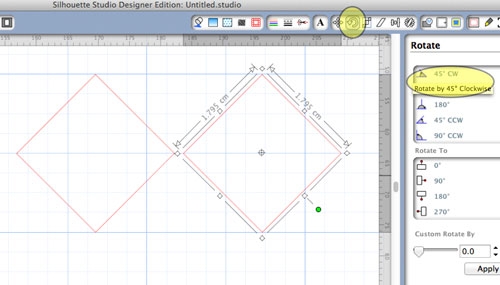
Step 2:
- Select your square and rotate it by 45 degrees
- Now duplicate the rotated square (right-click the image and select Duplicate)
[row] [span columns=”5″]
Step 3:
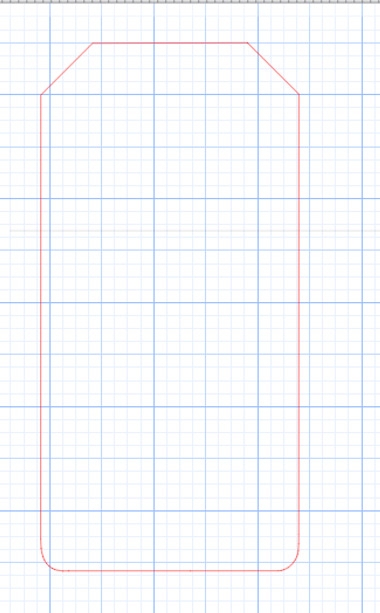
- Place the rotated squares onto the top corners of your rounded rectangle as shown
- Select all 3 images and go to Object>Modify>Crop

[row] [span columns=”5″]
Side note:
- Your image should now look more like a tag
[row] [span columns=”5″]
Step 4:
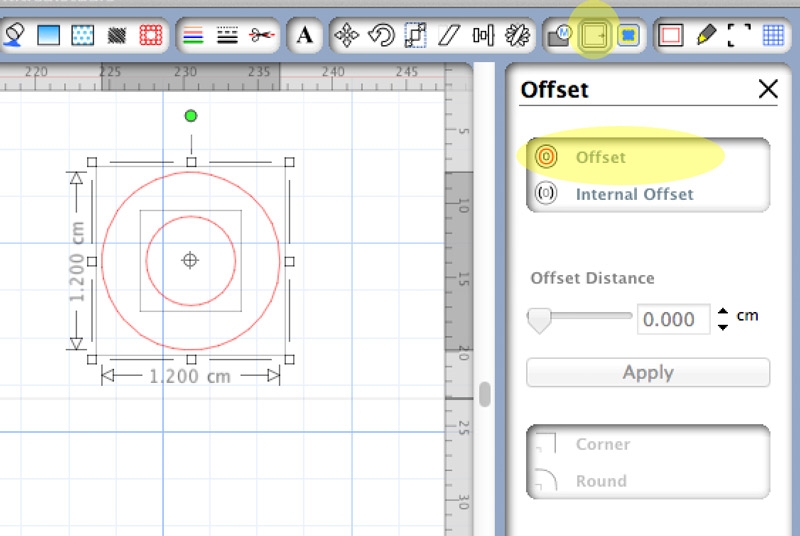
- Create a duplicate copy of the circle you created in Step 1
- Select your new circle and create an offset as shown (I used offset distance = .11″)
- With the offset and original selected, select Object>Make Compound Path
- This object will be the border to the hole of your tag. Duplicate in groups of 2 so that you have one for the front and back of each tag you make
[row] [span columns=”5″]
Step 5:
- Place the original circle near the top of your tag image as shown
- Select both objects go to Object>Make Compound Path

[row] [span columns=”5″]
Side note:
You now have your tag and circle borders, and you’re ready to create copies and cut. If you are looking for contrast, cut the tag (image on the left) in one color, and the circle borders (image on the right) in a different color cardstock
[/span] [span columns=”7″]
[row] [span columns=”5″]
Step 6:
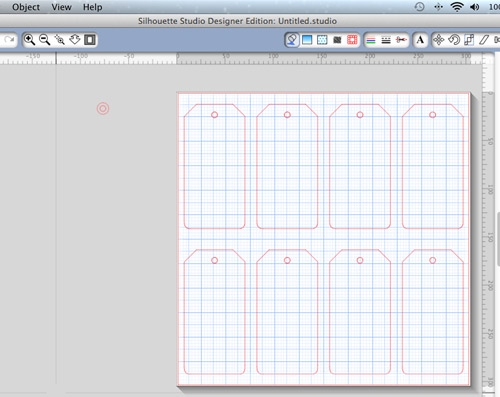
- Move your circle border to the side of the cut area, and select your tag
- Select Object>Replicate>Fill Page – this will fill your cutting area with copies of the tag
[row] [span columns=”5″]
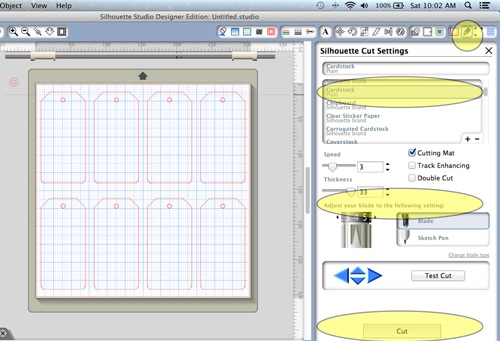
Step 7:
- Go to the Cut Settings Window and select the material, you are cutting.
- Adjust your silhouette blade to the setting shown
- Click Cut
- Repeat the same process for the borders (Steps 6 and 7)
[row] [span columns=”5″]
Step 8:
After you have taken everything off your cutting mat, you can now assemble your tags using glue or a sticker machine
[/span] [span columns=”7″]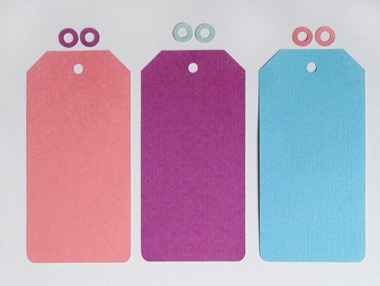
[row] [span columns=”5″]
Yay!
You’ve just created some lovely new tags, and created a template for future awesomeness!
You don’t have to stop there. Use a border punch to decorate, or practice your lovely lettering and send a gift out to someone today. Happy Crafting!
[/span] [span columns=”7″]
Looking for some more inspiration? Take a look at my other Silhouette projects.