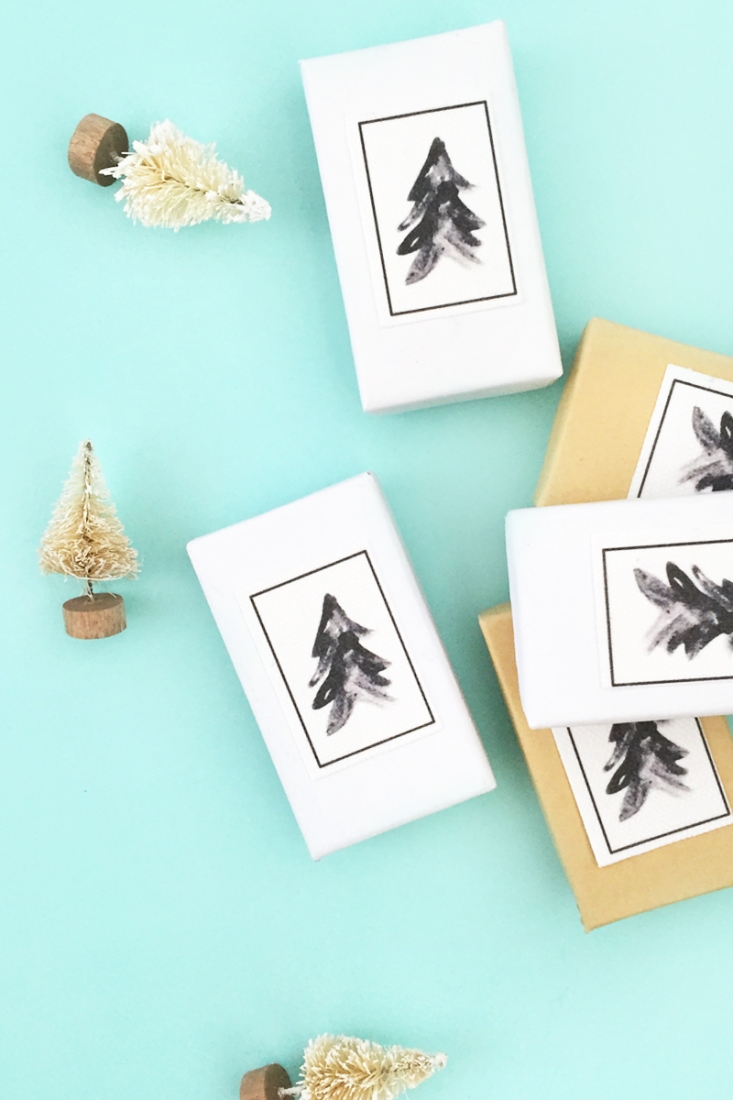
Happy December! I can’t believe we’re here. December always marks the beginning of Christmas season for our little family. It’s time to deck the halls, buy some gifts and sing some carols. It also makes me sweat a little because, oh my gosh, why didn’t I start shopping sooner? Every year. So… to make some (soon-to-be-bought) gifts pretty, I thought these DIY watercolor Christmas tree on canvas seals would be the perfect thing to motivate me to get to my holiday to-do list. The inspiration? These gorgeous Christmas Tree Images by The Big Lake on Creative Market. The trees come in 10 different brushes for Photoshop. The hand painted texture is basically what made me hit Download immediately. Love. I decided to cut mine by hand, but you can totally use the Print and Cut feature of your cutting machine. So… want to make your own?
*This post contains affiliate links for products that I use and love!
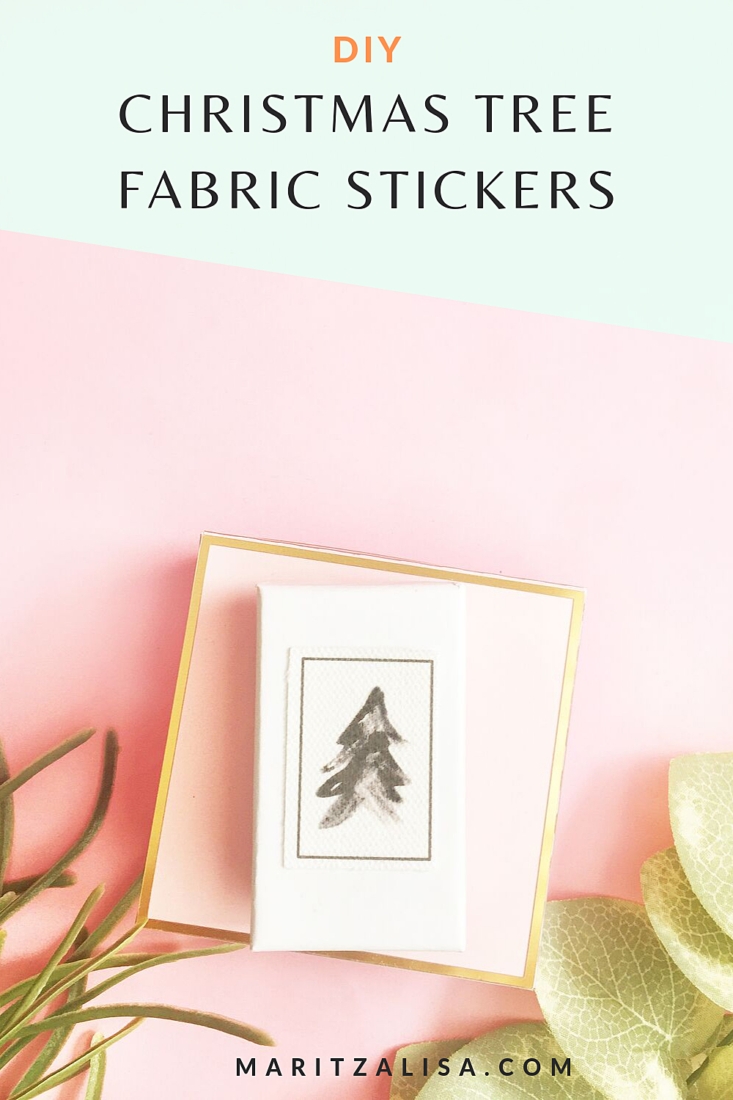
What You Need To Make Fabric Stickers With Christmas Tree Images
- Silhouette Studio (there is a free version available for download!)
- Cutting mat
- Photoshop Elements
- Christmas Tree Images – I used these Painted Pine Trees from Creative Market
- Silhouette Printable Cotton Canvas
- Printer
- Scissors if cutting by hand
- Silhouette Cutting Machine if you decide to cut using the Print and Cut feature
How To Make Fabric Stickers With Christmas Tree Images
Download and open your images in Photoshop Elements
If you decide to use the same images that I used, you will need to convert the pine tree brush images to .png files
- Download the Painted Pine Tree images.
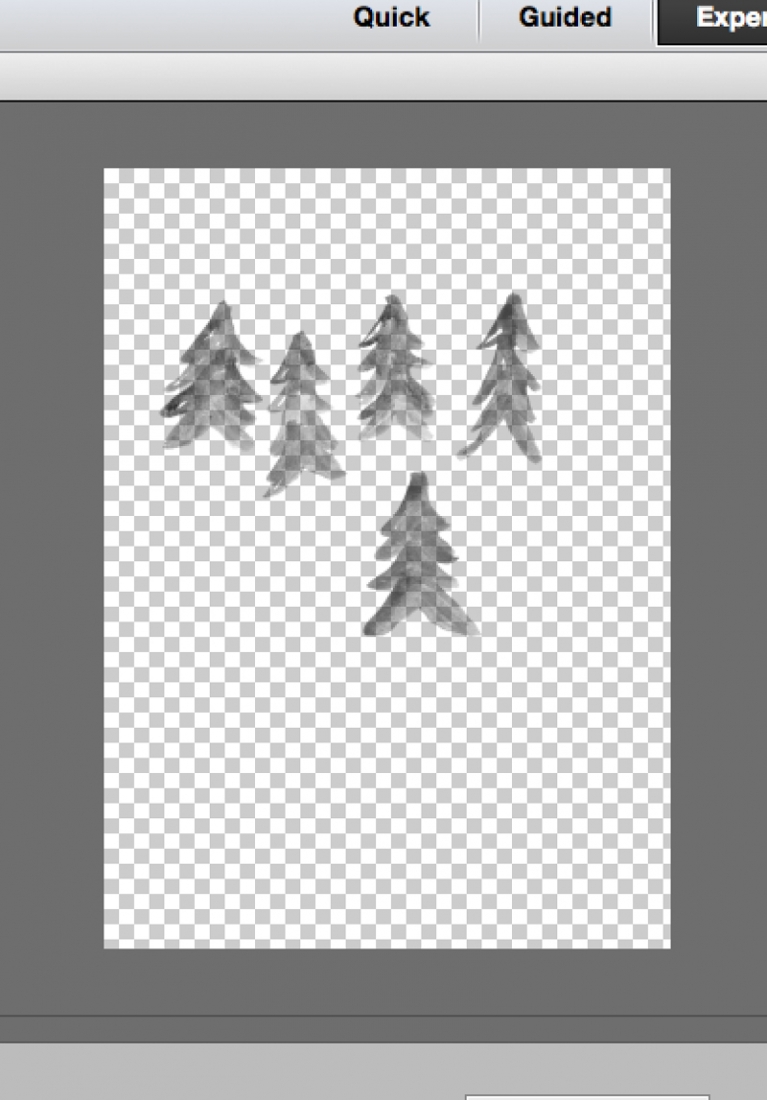
- Open a new document in Photoshop with a transparent background. A quick and easy way to load your brushes in Elements is to go to the brush tool, click on the little box with the lines, and select Preset Manager. Click Append. Locate your brushes et voila!
- Select a foreground color (I kept mine black), and then select a tree shape
- Save as a .png to preserve the transparency
Complete Your Design in Silhouette Studio
- Now open your newly created .png file in Silhouette Studio
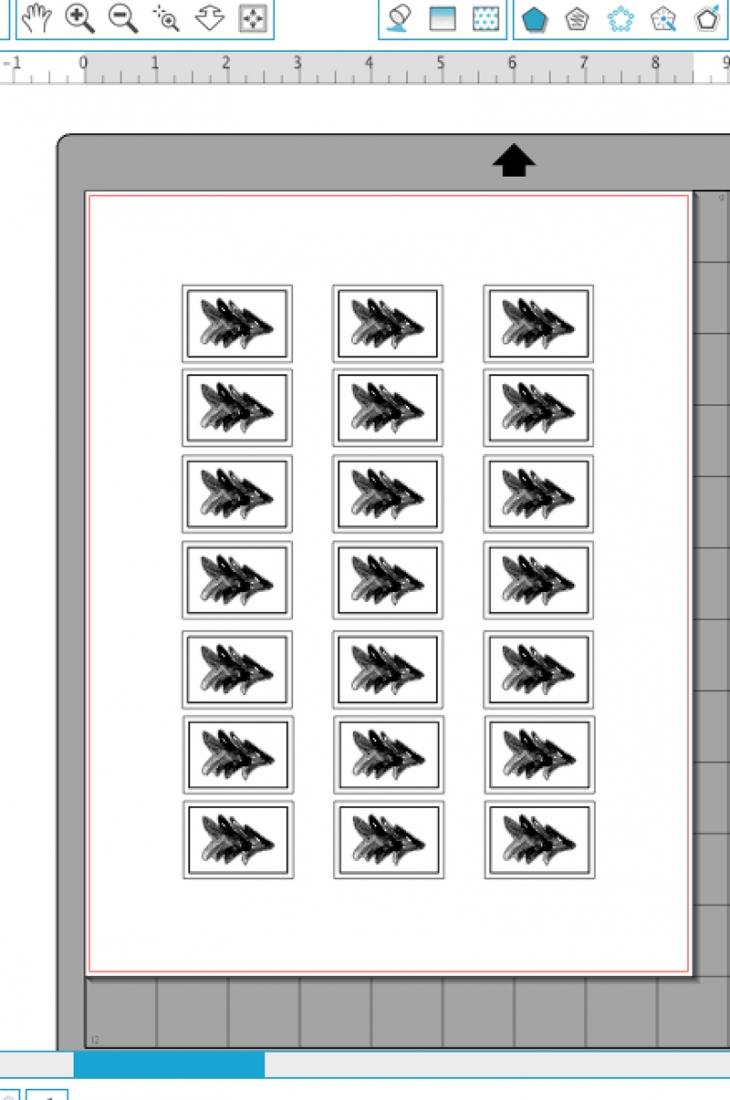
- We will now create a frame for your Christmas Tree Image. Create a rectangle using rectangle tool.
- Create an outer rectangle using the offset tool. Change the line thickness to your liking so that it appears as a frame on your printout. When it is set to zero (the default), it does not print
- Move or delete the original rectangle you created in Step 2 above
- Place your tree in the middle of the frame
- Group the frame and tree image together
Send Your Design To Print
- Replicate your grouped design throughout the whole page
- If you are using the print and cut feature of your Silhouette machine, show the registration marks. If you are cutting by hand, skip this step
- Send to print on a printable cotton canvas sheet
Cut Your Stickers
- If you are cutting by hand, cut along the outer edges of the frame with your scissors
- If you are using the print and cut feature of your Silhouette machine, load your canvas sheet onto your cutting mat and machine. Change your blade to a fabric blade, then send your design to cut using cotton canvas settings. The machine will read your registration marks and automatically cut the cotton canvas
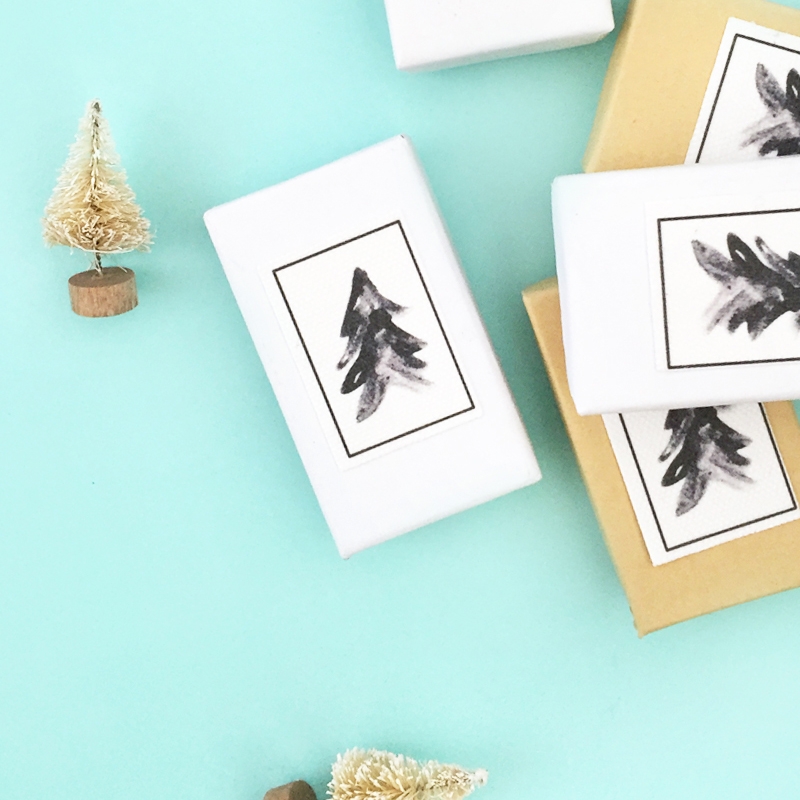
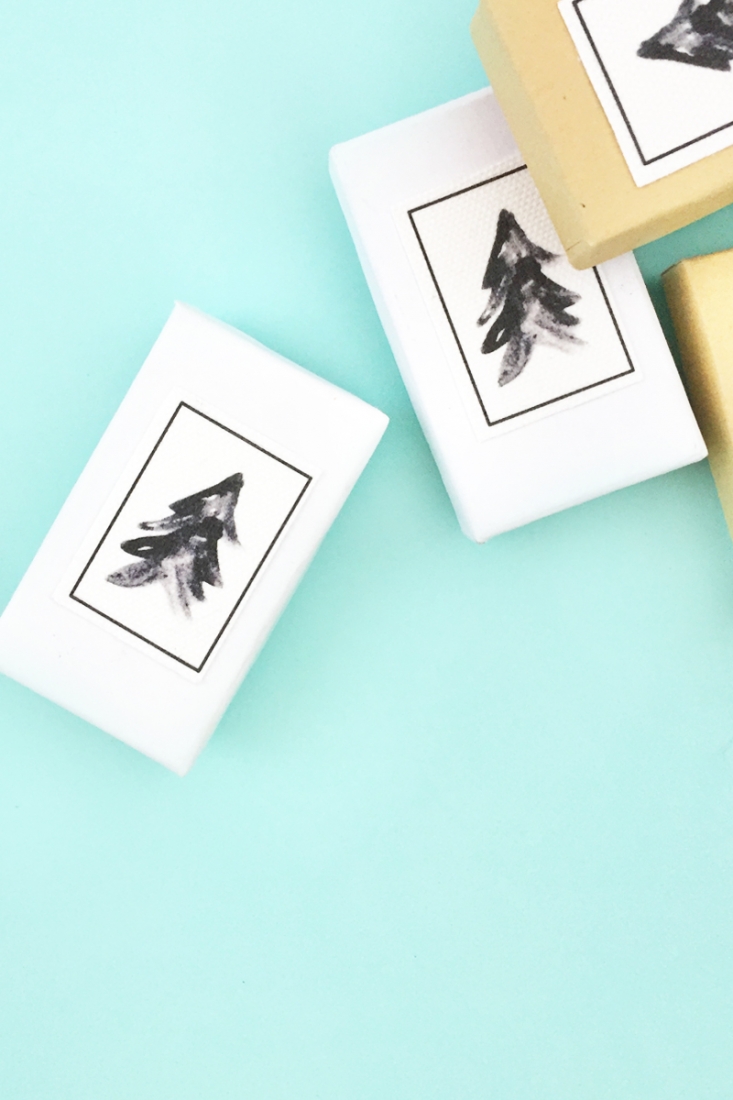
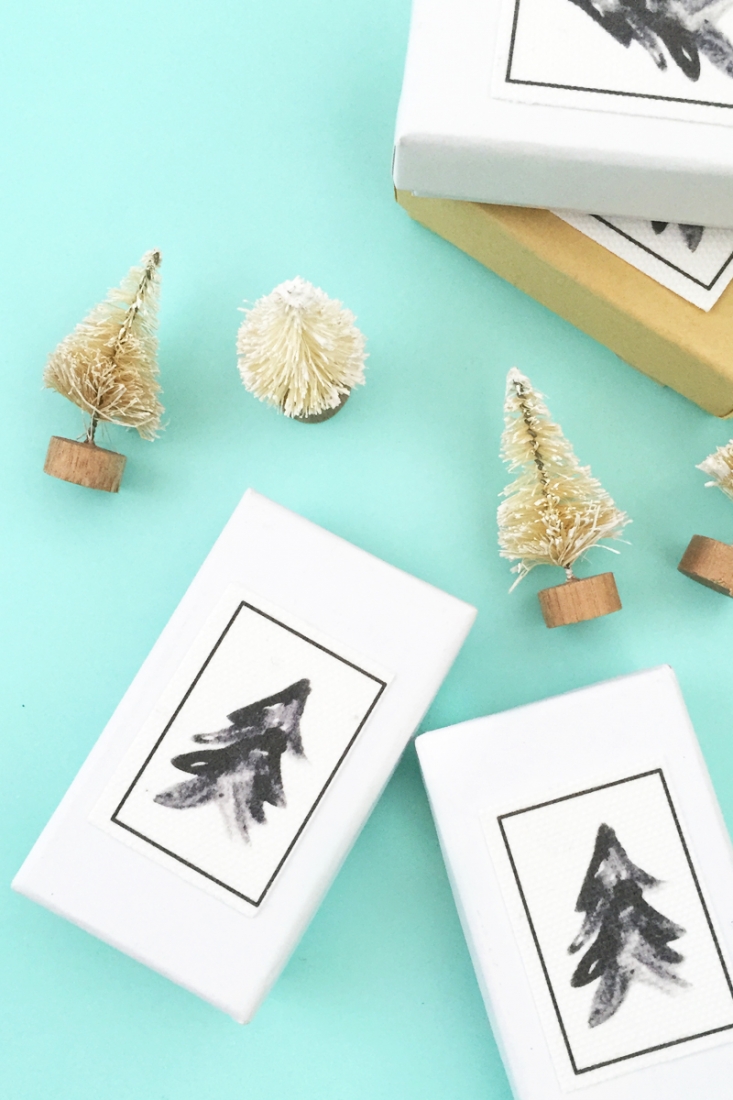
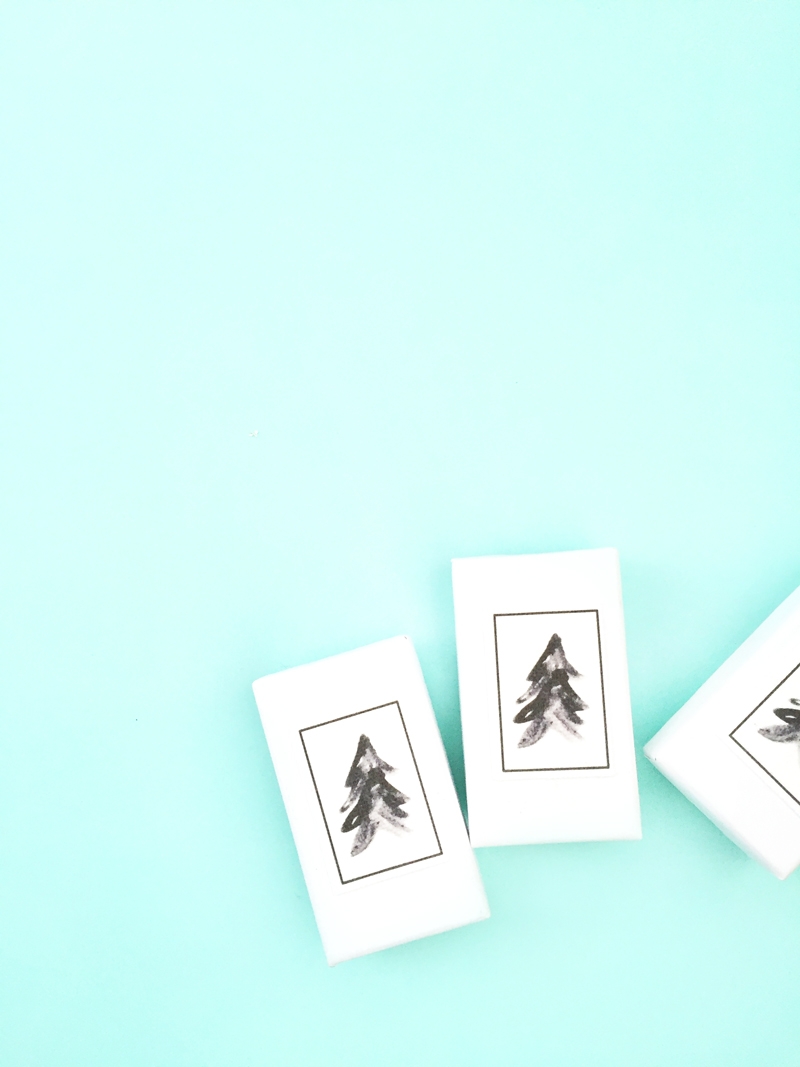
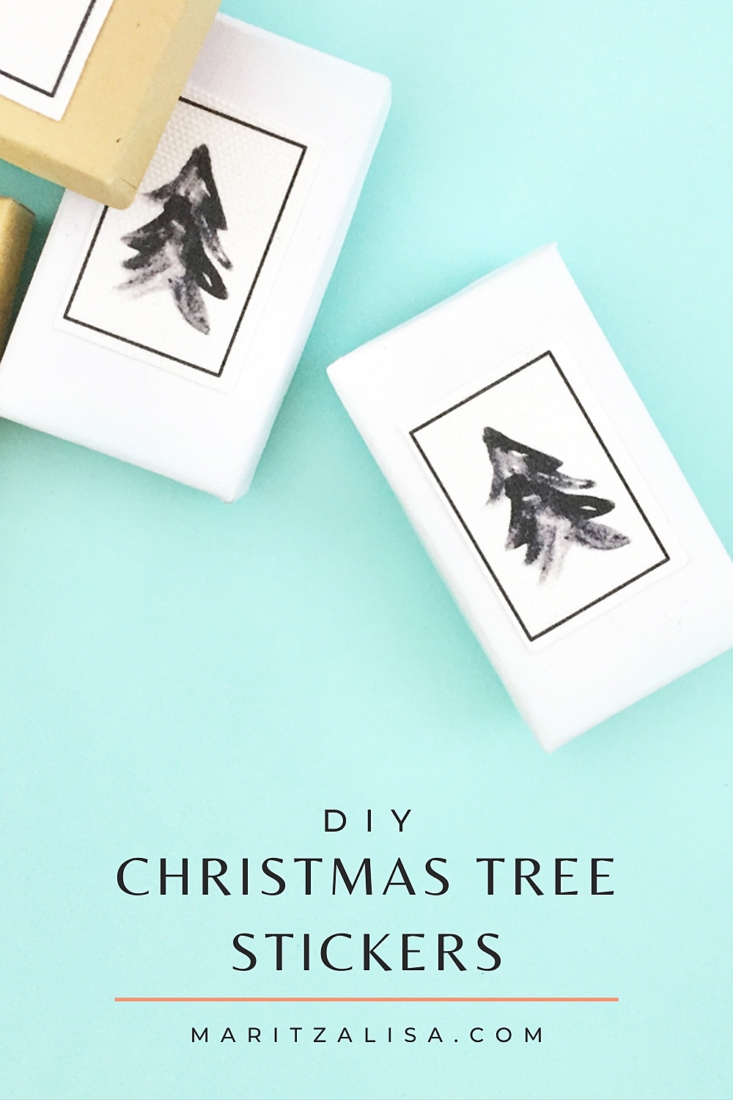
Decorate your Christmas gifts with your stickers
Now you have a lovely set of holiday seals for all your pretty packages under the tree. Peel each one off your sheet and adhere to your packages! They add a gorgeous handmade texture to your pretty packages. I can’t wait to hear how your DIY Stickers turned out!


Looking for some more crafty inspiration and tutorials? Take a look at my other fun Silhouette projects!