Even though there is a bit of snow out there, I am willing spring to come… like, um…..now. Aren’t you ready to celebrate with a pre-spring brunch or host a nice dinner with friends? My lovely pal Lucia is an exceptional hostess when it comes to throwing an event in her impeccably decorated home. Today’s project is inspired by her seriously happenin’ events.
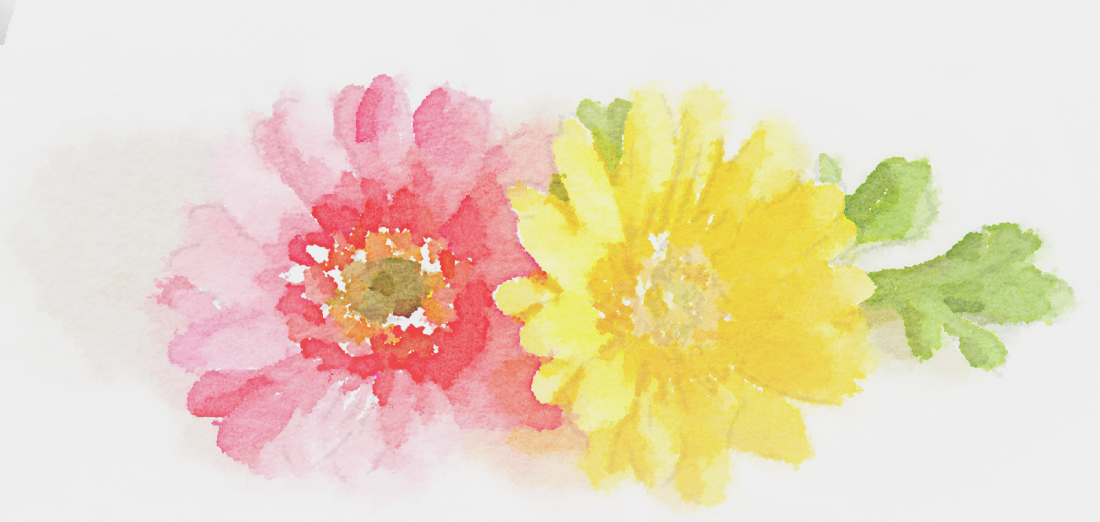
I recently mentioned my app love for Waterlogue in this post. So, I thought I’d put it to good use and try making these place cards with them. Want to try them out?
The What
- Silhouette cutting machine (optional)
- Silhouette Studio
- Cardstock
- Pen – I used this white gel pen
- Scissors / Craft knife, ruler and cutting mat/ paper trimmer
- Bone folder
- Image for your Waterlogue app
- Camera for your Waterlogue image
- Color Printer
- Waterlogue app
If you would like to use this graphic I created, click the download link below:
The How
Step 1:
- Open up your Silhouette Studio and create a new file
- Set your page layout to 8.5×11
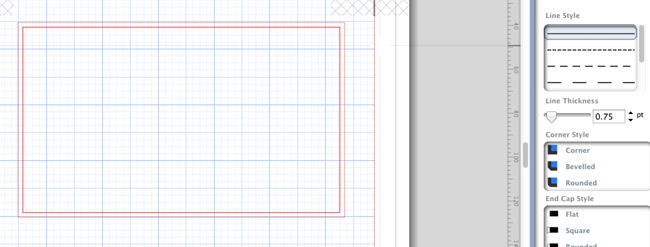
- Create a rectangle (3.5″x6″)
- With the rectangle selected, create an inner rectangle for your border using the Offset Tool (refresher – Step 3 of this post). Set the line thickness of this border to your preference. If you are not using the Cameo to cut your place cards, set the line thickness of the outer rectangle to a very small number so that you can see the lines when they print
[row] [span columns=”5″]
Step 2:
- Select File>Merge
- Select the image you are going to use (e.g. flowers.png). This will open the Waterlogue image into your Silhouette Studio file (instead of opening it in a brand new file)
[row] [span columns=”5″]
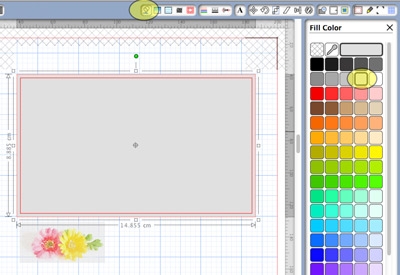
Step 3:
- Select the outer rectangle and fill it with the lightest gray using the Fill Color Tool
[row] [span columns=”5″]
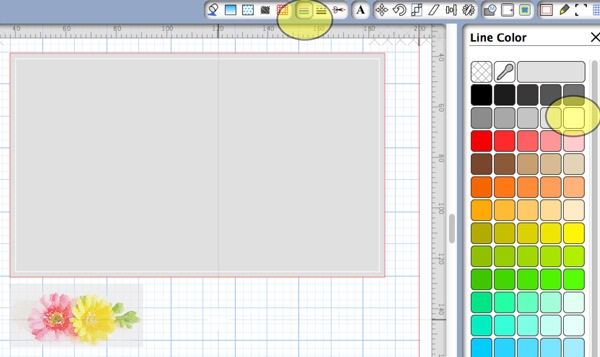
Step 4:
- Change the line color of the inner rectangle (border) to white
[row] [span columns=”5″]
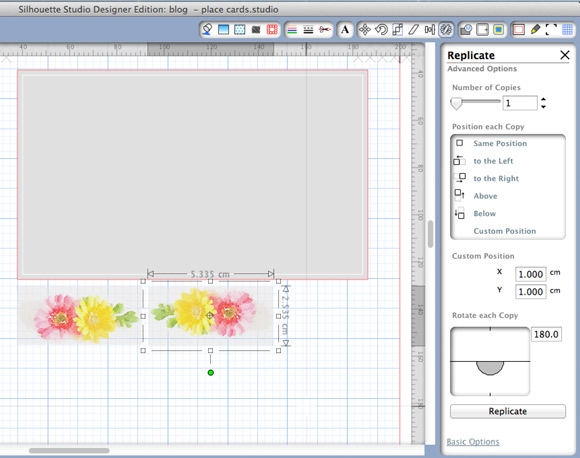
Step 5:
- Select your Waterlogue image and use the Replicate Tool > Advanced Options (should appear at the bottom right of your screen)
- Select the options as shown to rotate one copy at 180 degrees
- The new image will appear on top of the original image. Move it to the side
[row] [span columns=”5″]
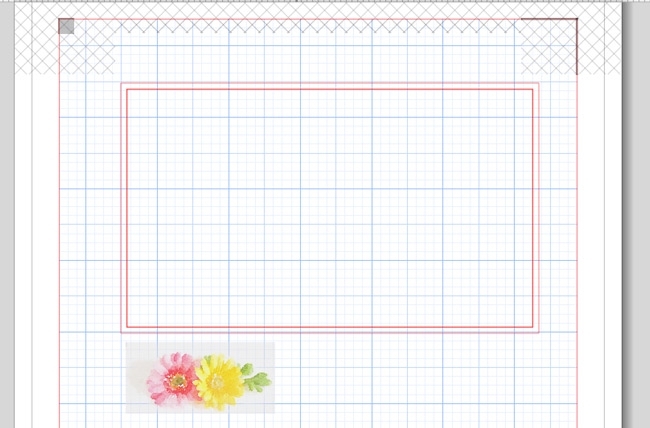
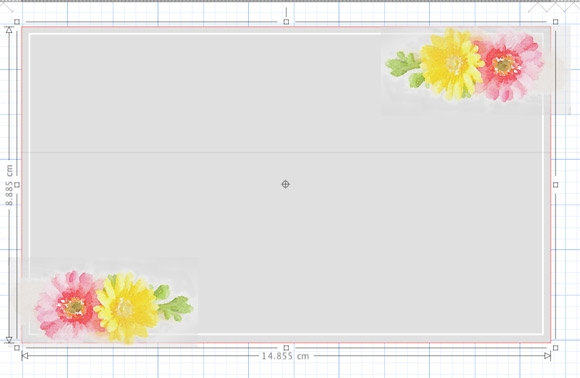
Step 6:
- Place the images on the place cards as shown. When you fold your cards you will have an image in the front and the back
[row] [span columns=”5″]
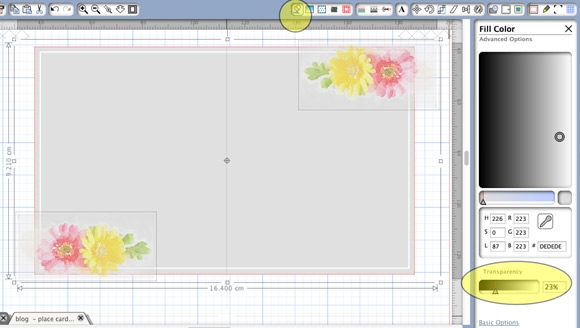
Step 7:
- Now we’re going to adjust the transparency of the images, so that they blend in a little better with the gray background of the card
- Select both images (or one at a time)
- Select the Fill Color Tool > Advanced Options (at the bottom)
- Slide the Transparency bar until you feel that your image blends in with your card
[/span] [span columns=”7″]
[row] [span columns=”5″]
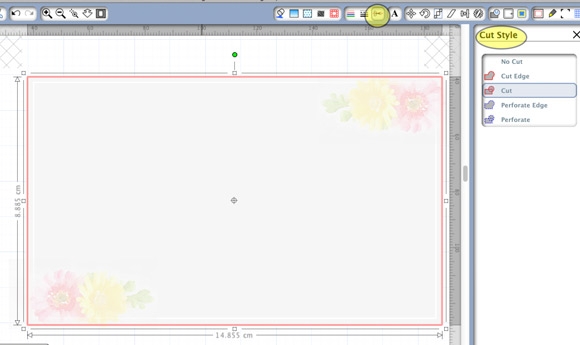
Step 8:
- If you are going to use your Silhouette Cameo to cut your place cards, use the Cut Style Tool to select only the outer rectangle to everything else should be set to No Cut
[row] [span columns=”5″]
Step 9:
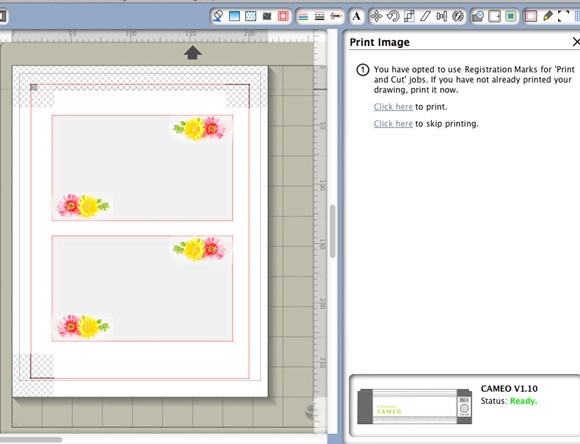
- Select all your images and select Object > Group. Duplicate, and arrange on your page for printing. If you are using the Silhouette to cut:
- Select the Show Reg Marks from the Registration Marks window. These marks are shown in your printout and are used by your Silhouette to ensure precise cutting. I always go with the default settings
- Go to File>Cut Settings (also on the top right tool bar). Select Cardstock and now change your blade to the “4” setting as shown in the window to the right of your place cards
- Load your cardstock in the printer. For those who are cutting the cards by hand, a reminder that you should have set the line thickness to a very small number so that you can see where to cut your cards (a line thickness of 0.0 will not show up in the printout)
- Silhouette Cutters, select the Send to Silhouette icon on the top tool bar. On the right panel you will be guided through a few steps. You will be prompted to print, then load your printout onto your mat and machine. Opt to “Automatically detect registration marks”. Once it shows a successful registration, select the Cut option and the machine will cut your place cards
- Those cutting by hand, print your images, and cut your cards out
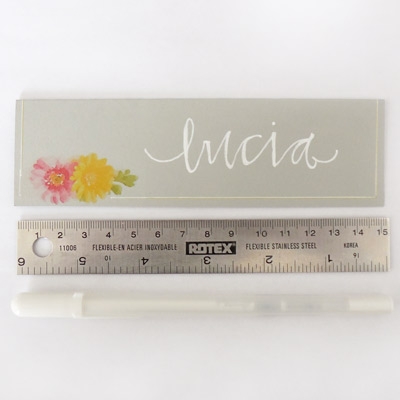
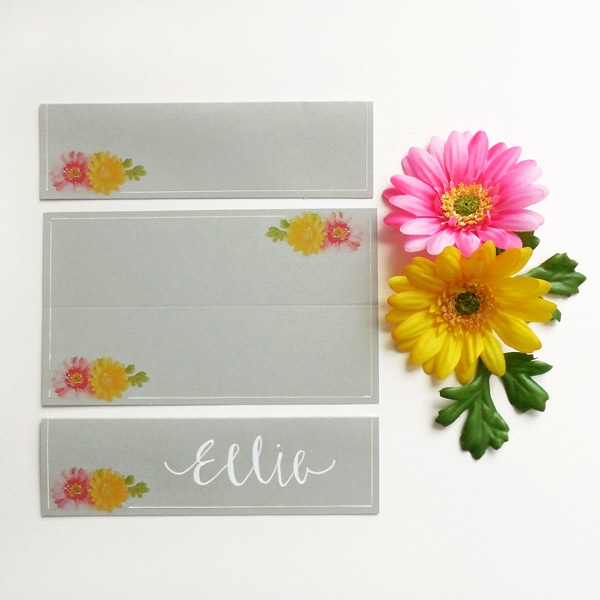
Yay!
Use a bone folder to fold your cards in half, and write your names down, or stash them away for your next soiree! I used my white gel pen to lightly go over the border and to practice my lettering. What will your gorgeous place cards be used for?
Comments are closed.