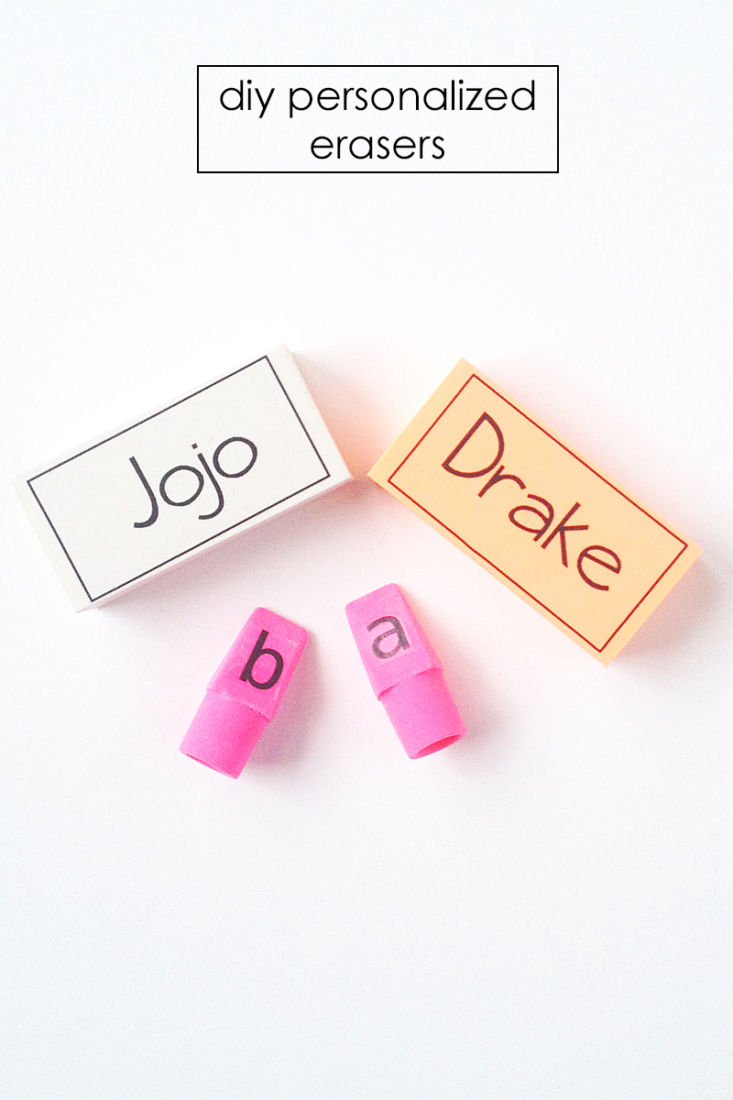
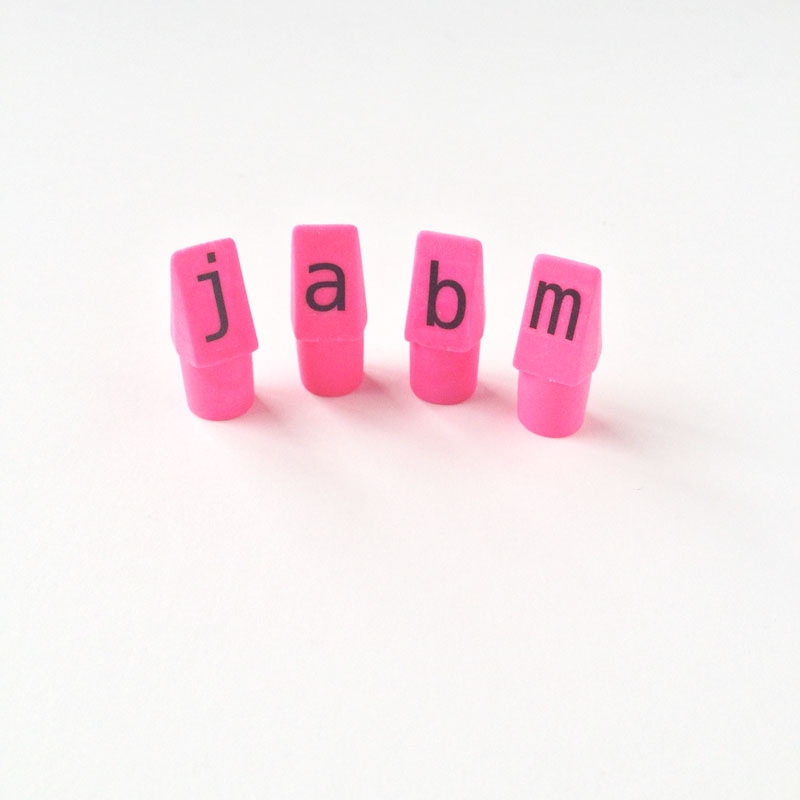
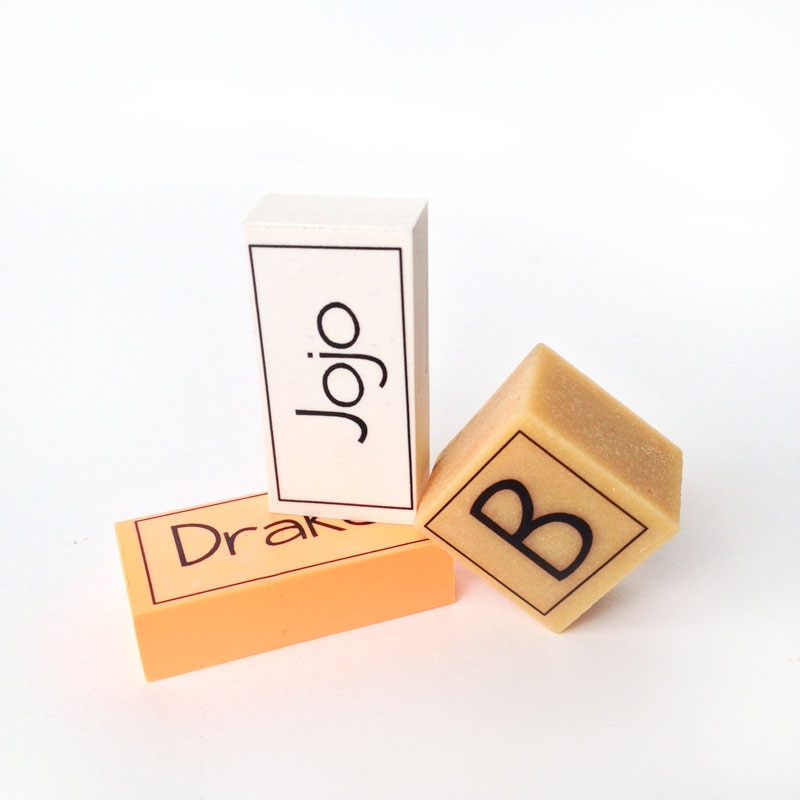
I am totally enjoying burying my angst with these back to school projects. Denial in the form of creativity. I like it. So, my next “denial” project is these personalized erasers – how cute are these? And would you believe I used Silhouette’s Temporary Tattoo Paper to do them?
The What
[row] [span columns=”5″]- Temporary Tattoo Paper
- Wet towel
- Scraper
- Erasers with a blank side
- Printer
- Silhouette Studio
*This post contains affiliate links for products that I use and love!
The How
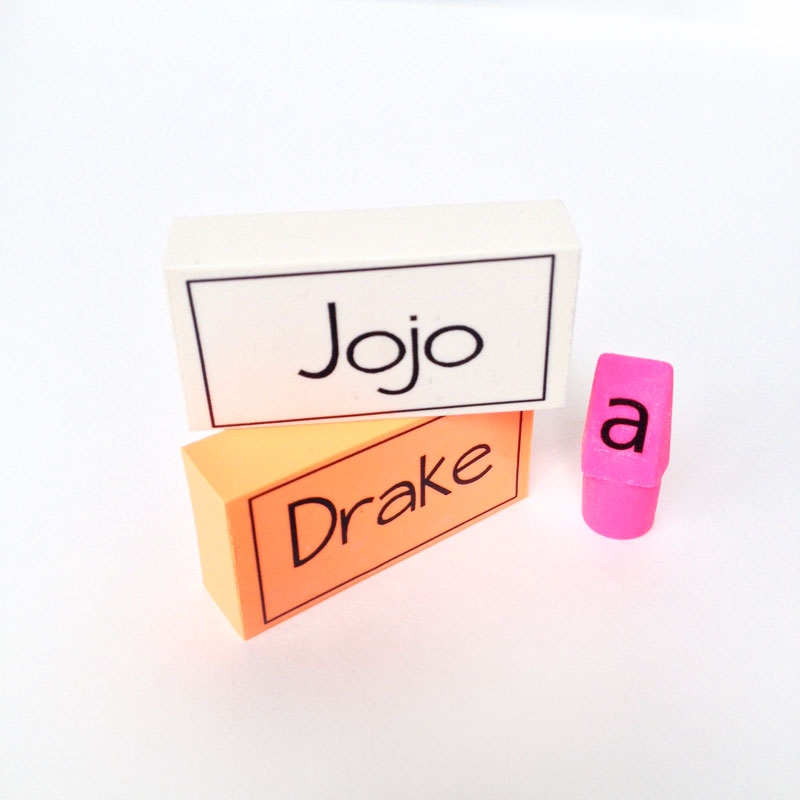
Step 1: Create your text/names and then mirror them (I typed mine, added a frame and then mirrored right)
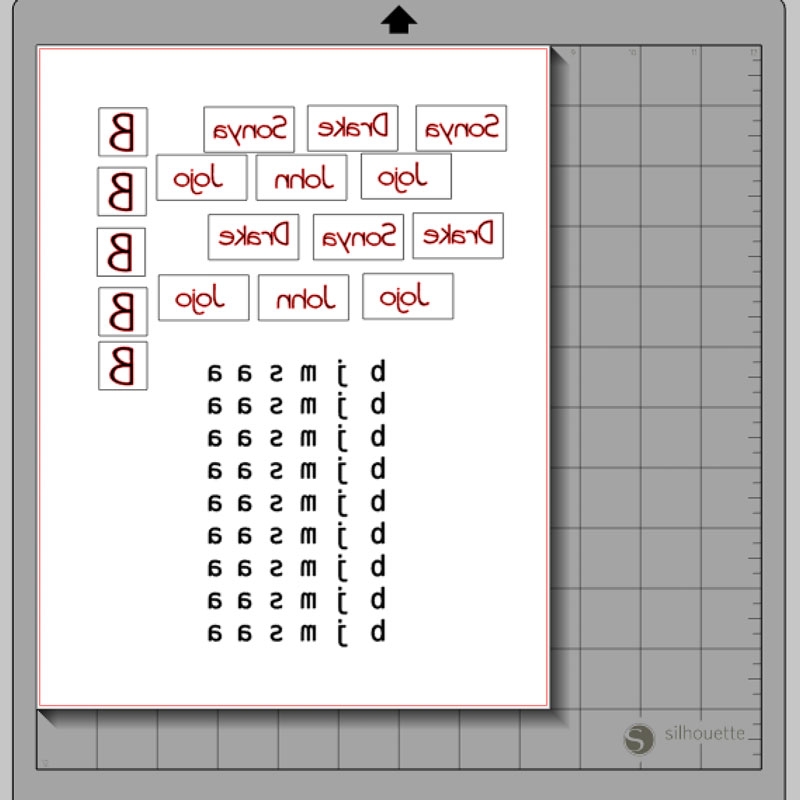
Step 2: I didn’t do the Print and Cut, but printed the text onto the glossy side of the tattoo paper (there are little pink marks on the non-printable side)
Step 3: Wait about 10-15 minutes for the ink to dry, then apply the adhesive sheet onto the top of the tattoo paper (ink side up), using your scraper to smooth it out
Step 4: Cut very closely around the text, then peel away the clear adhesive layer
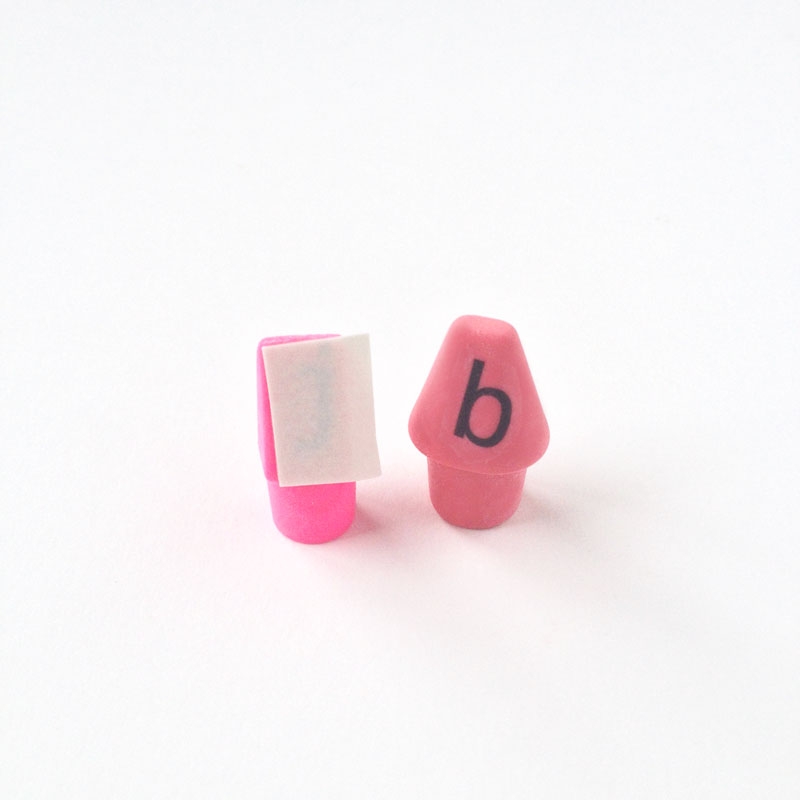
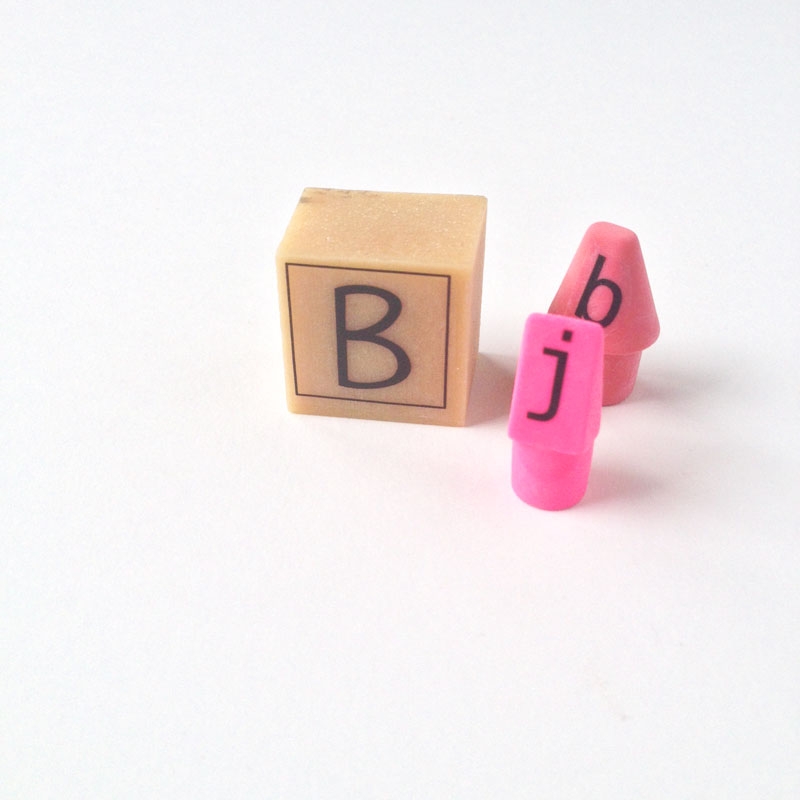
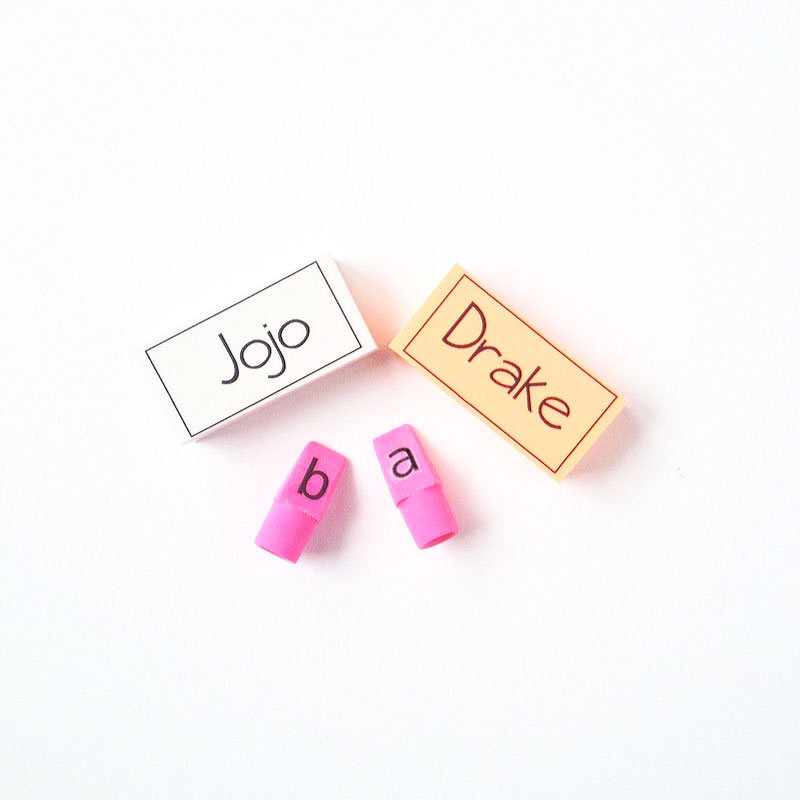
Step 5: Use the wet cloth/towel to apply the tattoo to the eraser, patting it until the paper can easily slide off
Reference: Video Tutorial – Temporary Tattoo 102
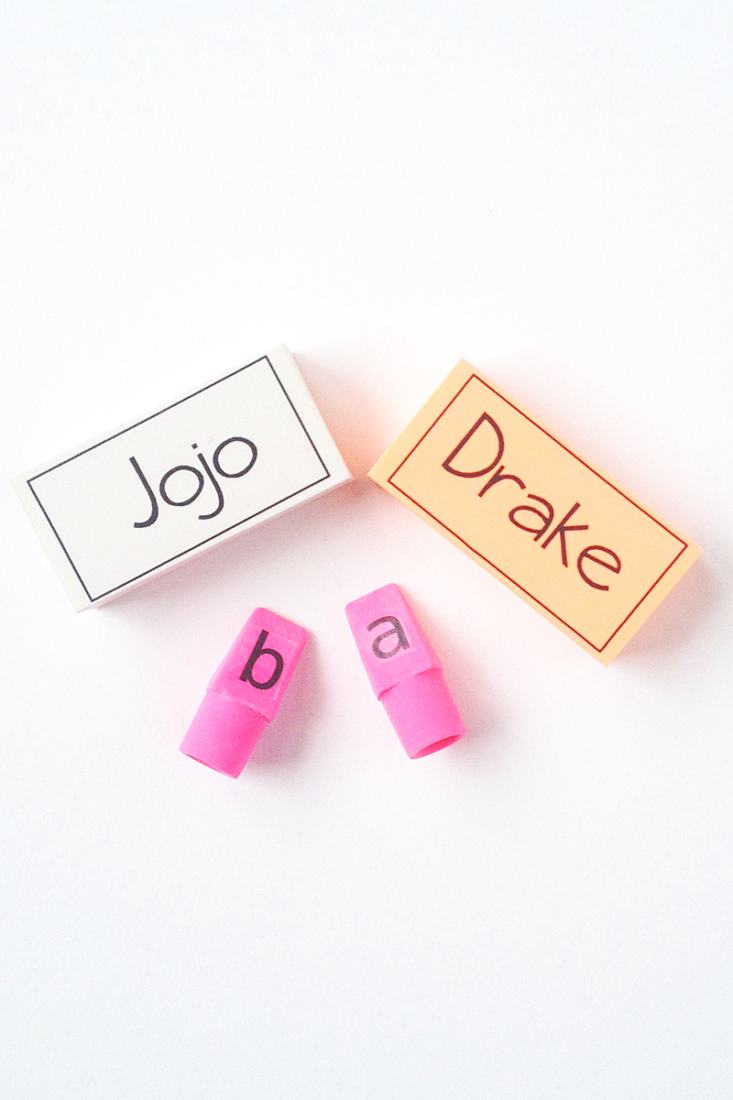
Who will you be making your erasers for?

Looking for some more inspiration? Check out my other tattoo paper projects and craft a little longer with me!
10 Comments on DIY Stationery: Personalized Erasers
Comments are closed.
Wow! That’s really cool! About how long do the images last?
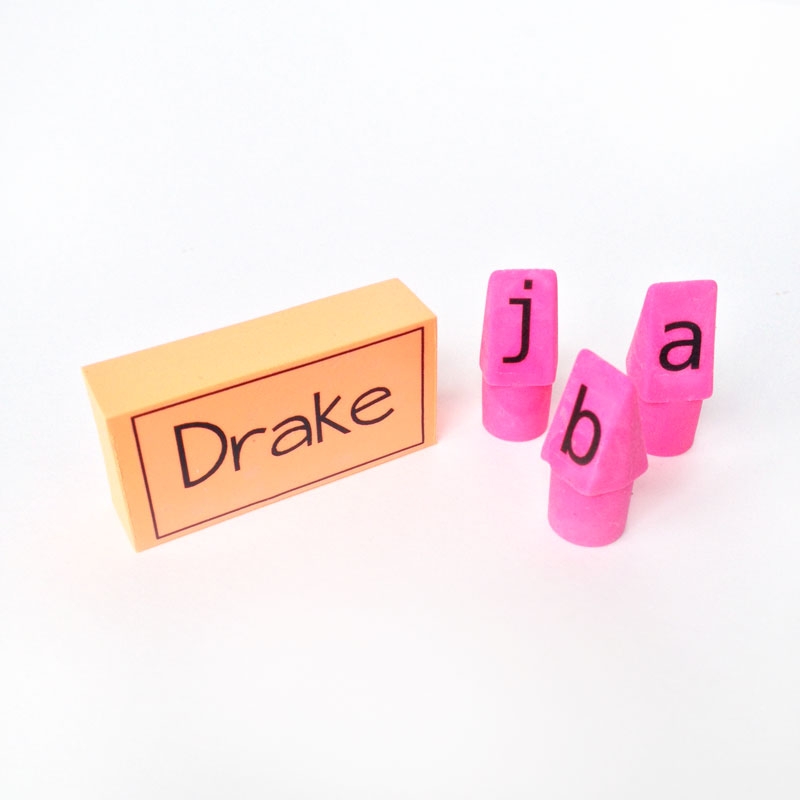
Thanks, Jenna! I’ve had mine since August – we’ve used the “Drake” one and so far, the tattoos have held up nicely.
Awesome! I’m going to have to make some myself, then 🙂
Thank you for sharing this idea!!
Yay, Jenna! Let me know how they turn out 🙂
Love these! They make me want to use a pencil more often so that I can whip out my custom eraser. 🙂
Ha ha – thanks, Ras!
These adorable personalized erasers make me want to whip out a pencil and scribble some notes. How cute!
Thanks, Mom!!
These are soooo cute!
Thanks, Theresa!