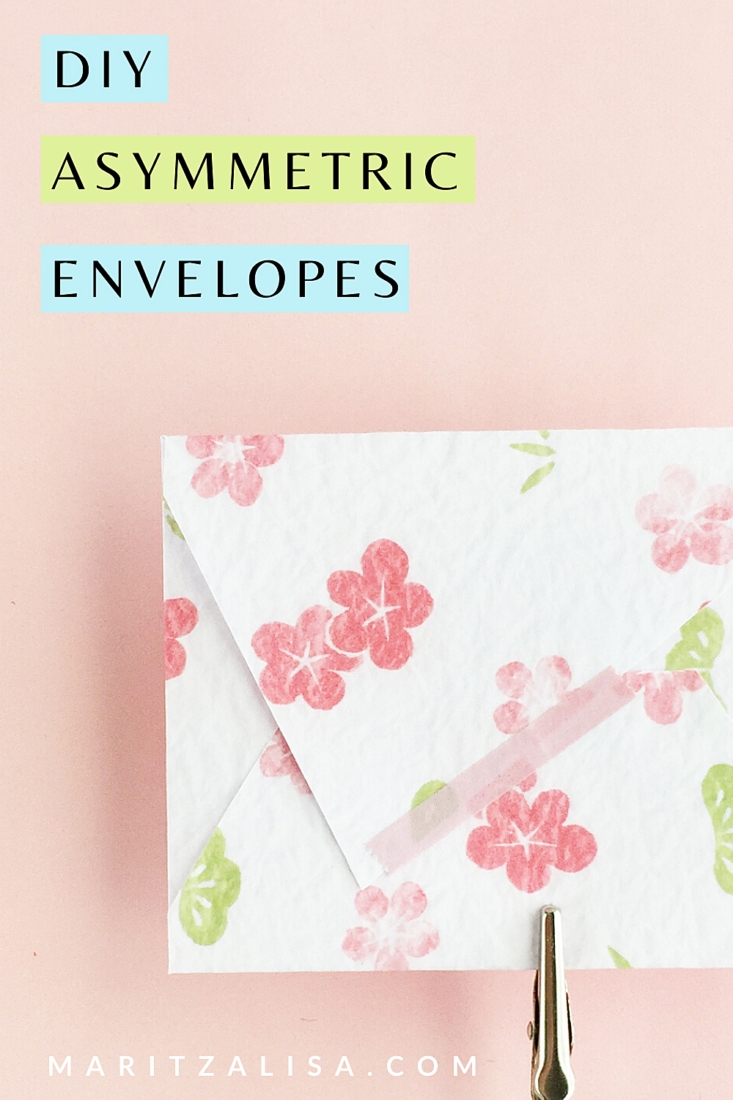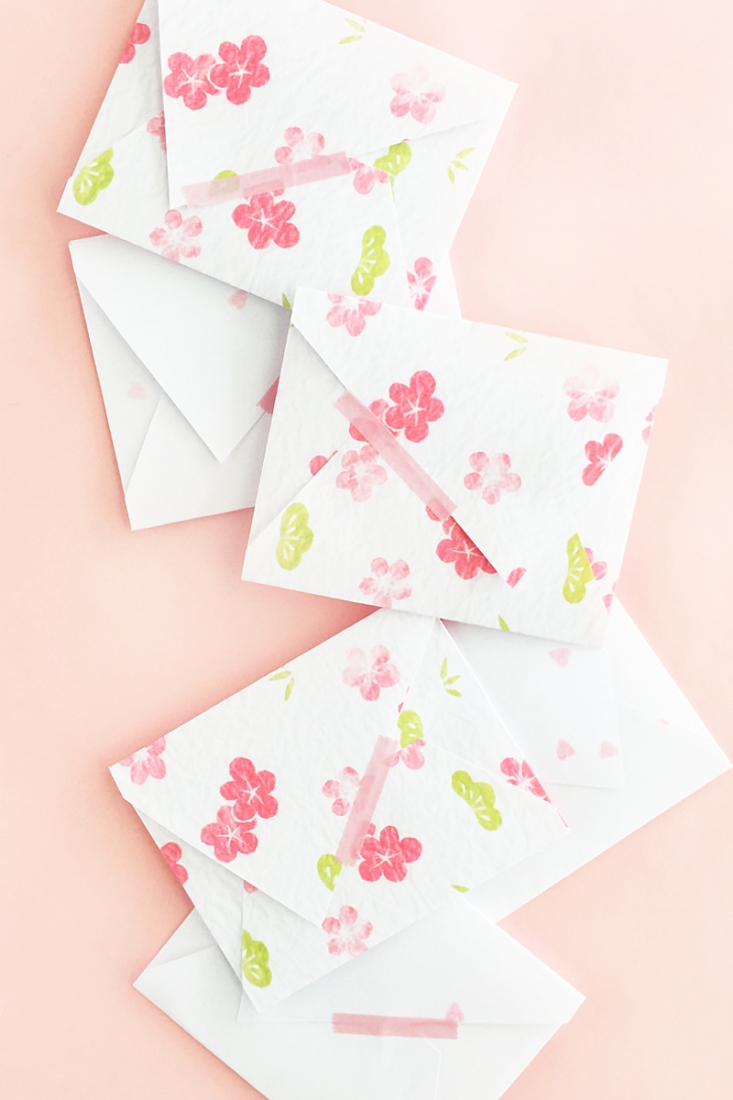
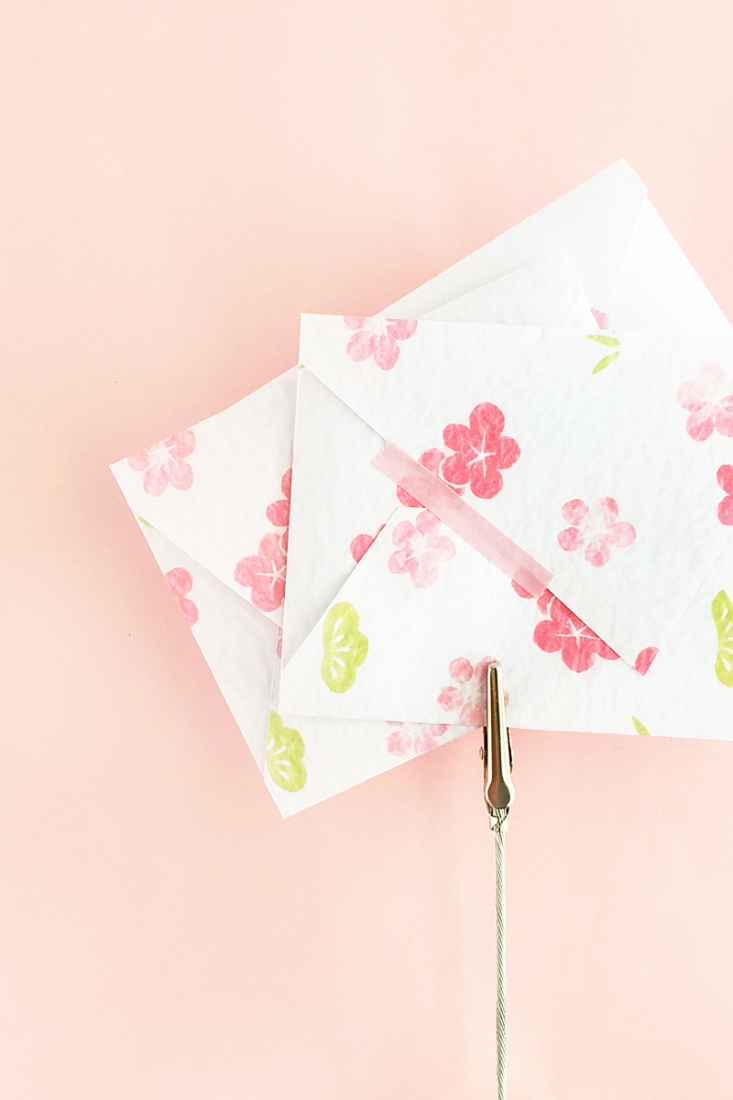
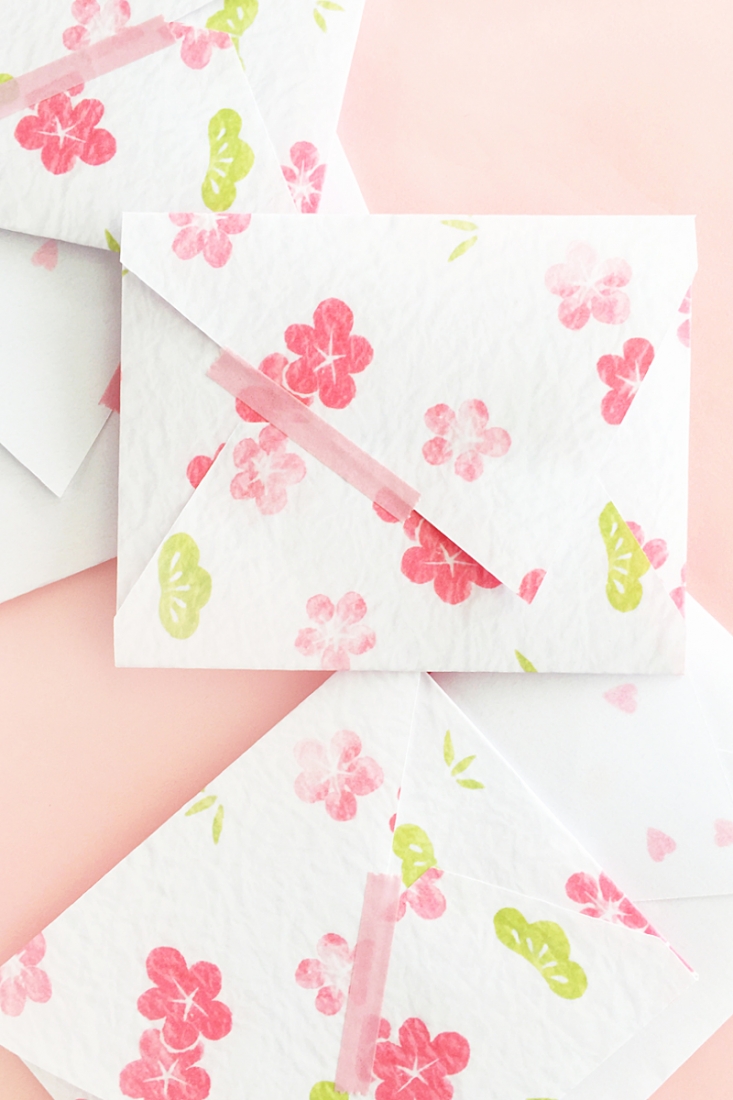
Gosh golly – I can’t believe we’re in August already. Summer is just flying by and I say this every year: I do not want it to end. Ever. We had a lovely week hanging with my mom and now it’s back to crafting. These DIY Asymmetric Mini Envelopes are adorable and perfect for gifts or small notes. Want to see how I made them?
What You Need To Make DIY Asymmetric Mini Envelopes
- Silhouette Studio (there is a free version! I used v3)
- Silhouette cutting machine ( I used the CAMEO 3)
- Printer paper or patterned paper. I used these patterns printed on paper – which are free this week only!
- Glue
- Printer (if you printing your own patterns
*This post contains affiliate links for products that I use and love!
How To Make DIY Asymmetric Mini Envelopes
- In Silhouette Studio, open your patterns (I used the jpegs and resized them), print them onto printer paper (again, you can used patterned paper from your crafty stash)
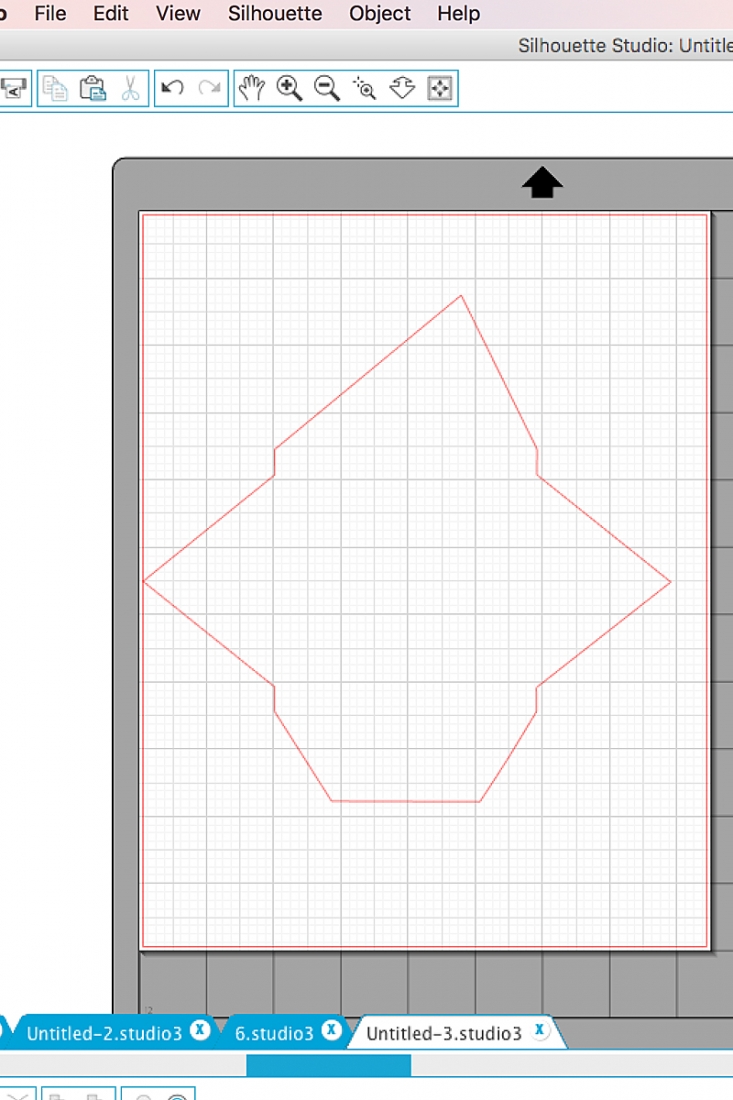
- Show the grid, and use the line tool to create the shape below
- Once you are happy with your design, select the final shape and make a compound path (Object > Make Compound Path)
- Load your patterned paper onto your Silhouette cutting machine and send to cut using Copy Paper settings
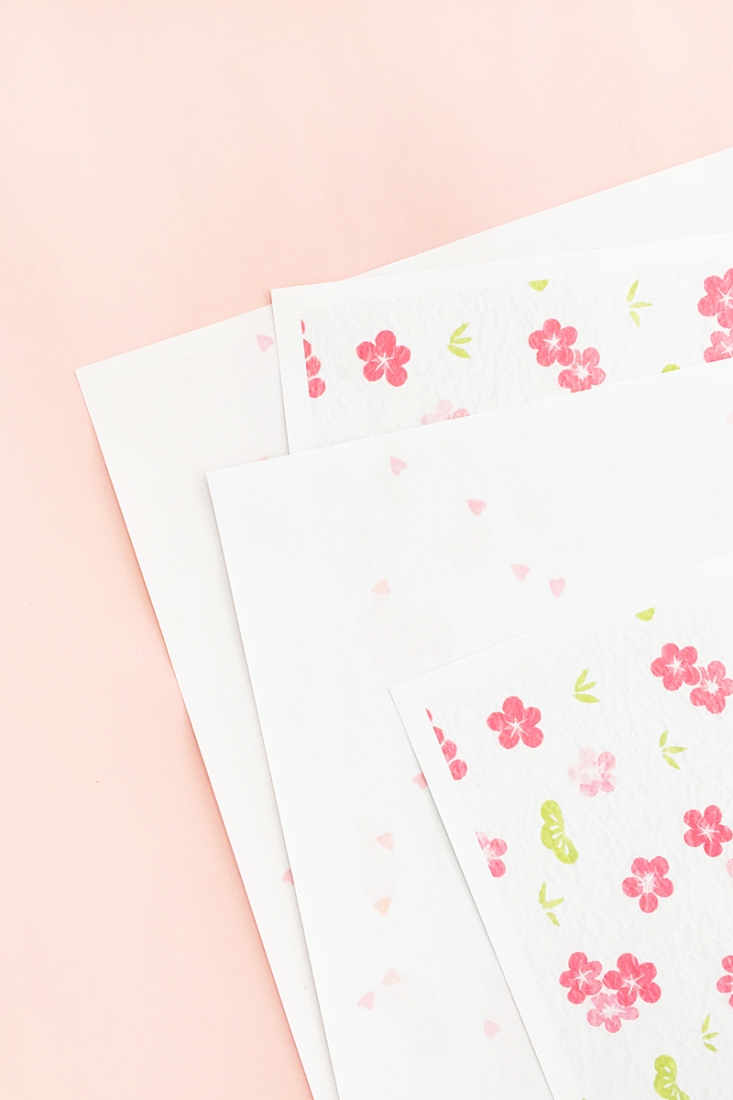
Now you have some sweet little envelopes that can be used to send sweet little notes or hold gift tags or certificates. Fun, right?

Looking for some more crafty inspiration? Take a look at my other Silhouette projects!!
