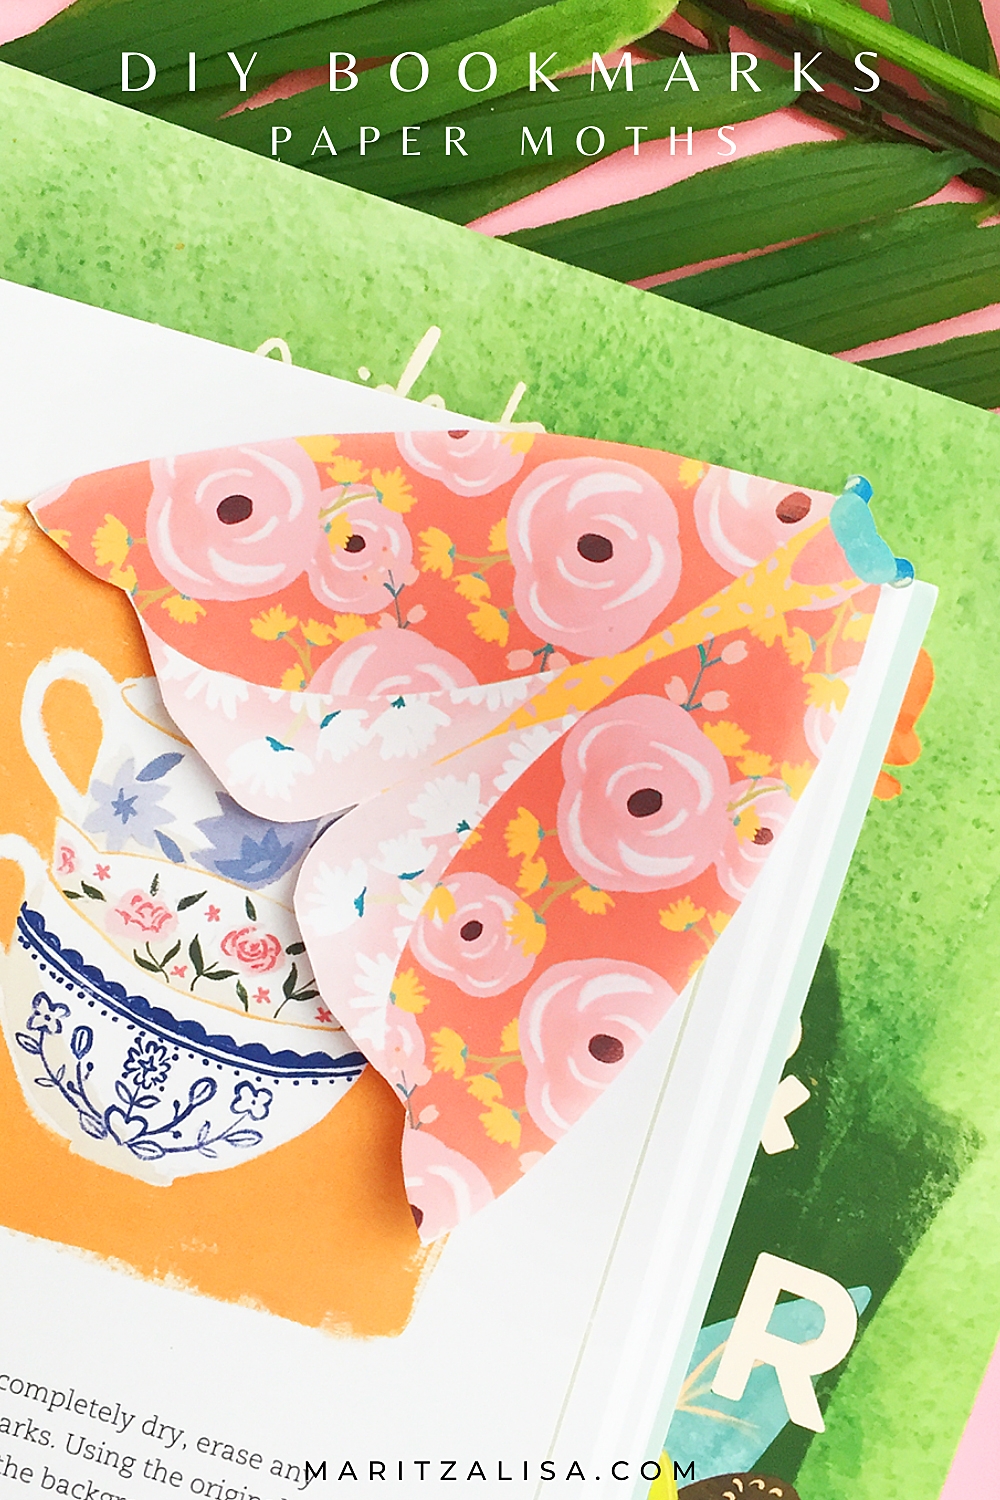
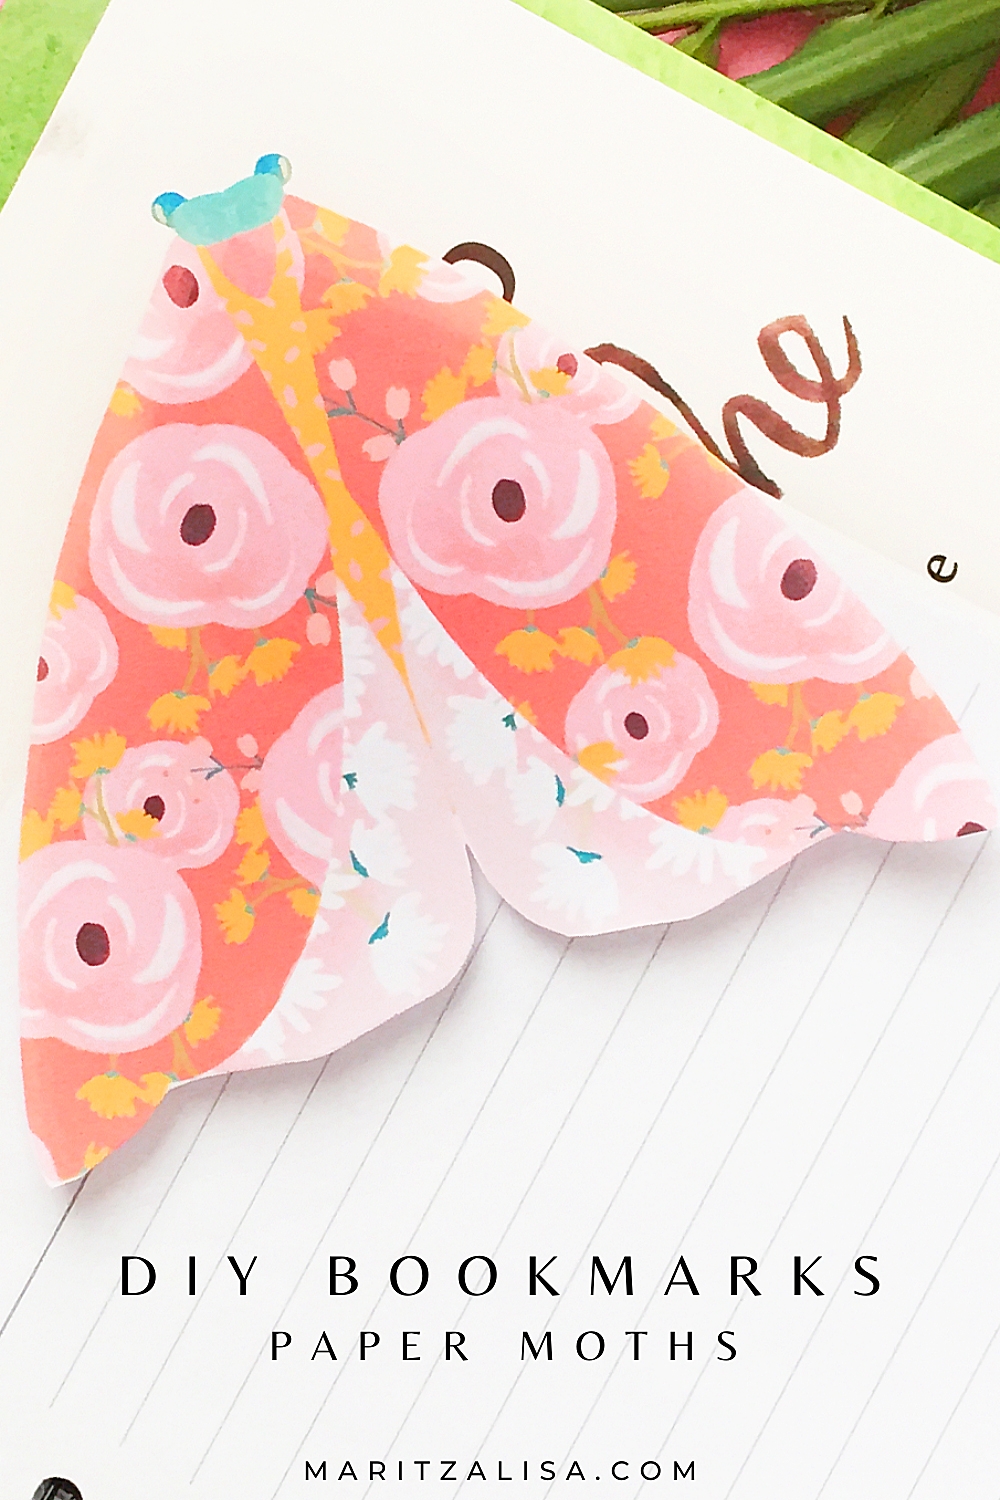
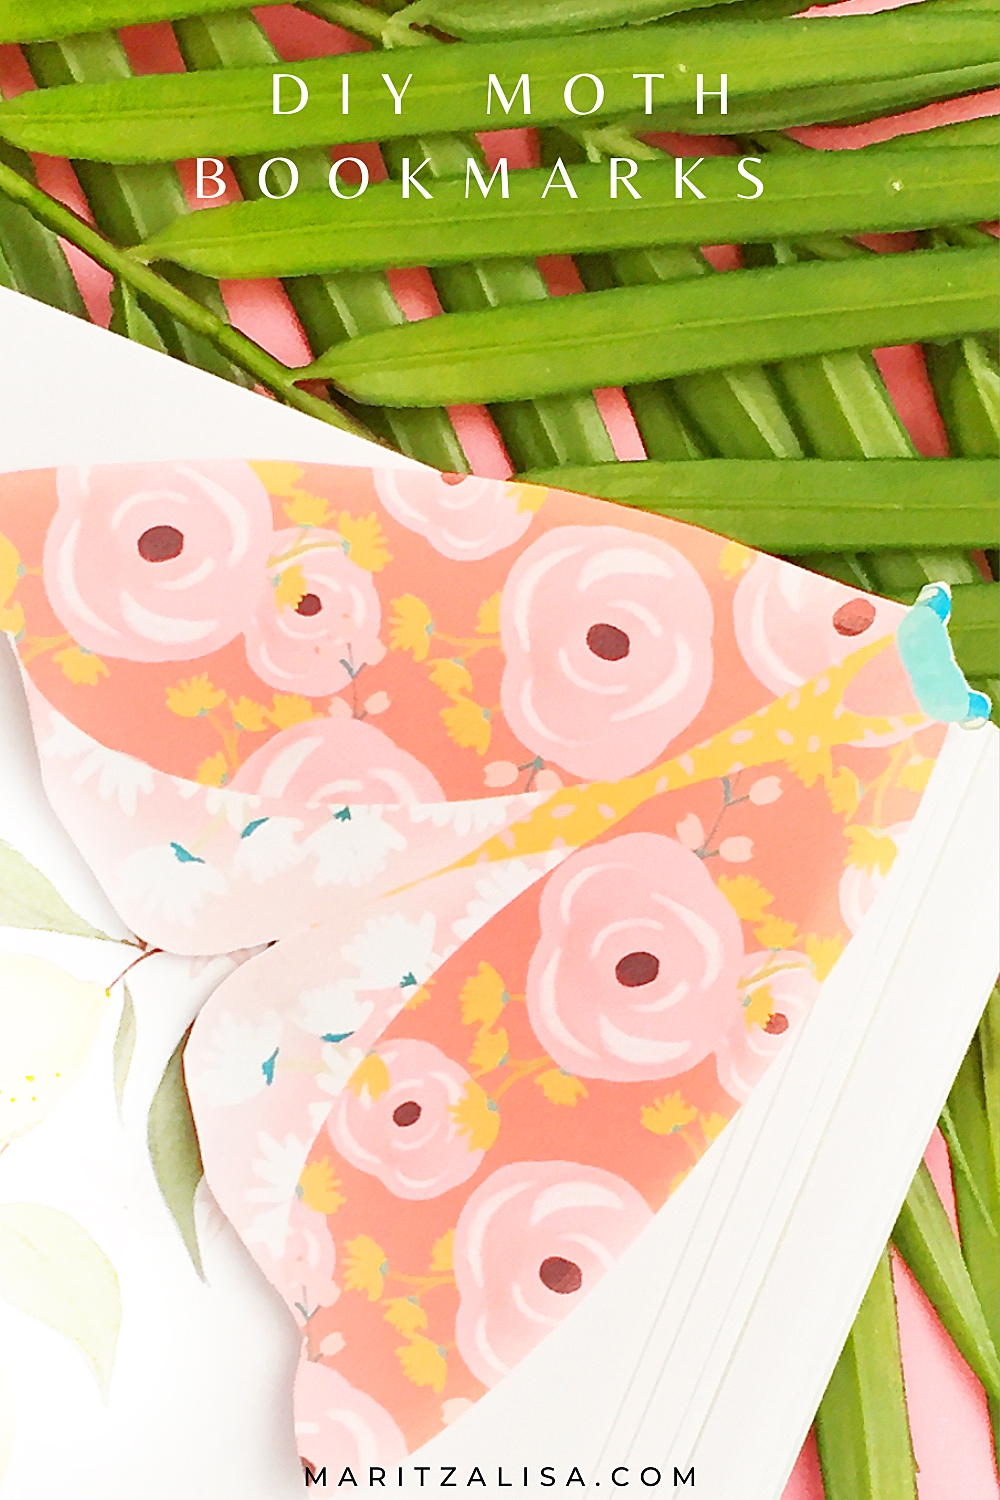
Well hello! It’s been a few weeks, but I can explain. I had a couple of technical issues which resulted in a lovely upgrade to the look of this little blog. Take a look around and let me know what you think! Before you take a little tour of the site, here’s a little DIY Bookmarks project for you to try. Super easy as I have created a PDF printable for you to download and use to make your own pretty moth bookmarks just in time for Back To School!
What You Need For These DIY Bookmarks
- Free Moth Bookmark Printable (please note that this PDF download is for personal use only)
- Glue
- Scissors
- Printer
- White Cardstock
*This post contains affiliate links for products that I use and love!
How To Make DIY Bookmarks With Paper Moths
Step 1 – Download and Open Your Free .PDF Printable
- Download and open your Moth Bookmark Printable (link is above)
- Send your Moth Bookmark Printable to print on white cardstock
- Print as many copies as you need
Step 2 – Assemble Your DIY Moth Bookmarks
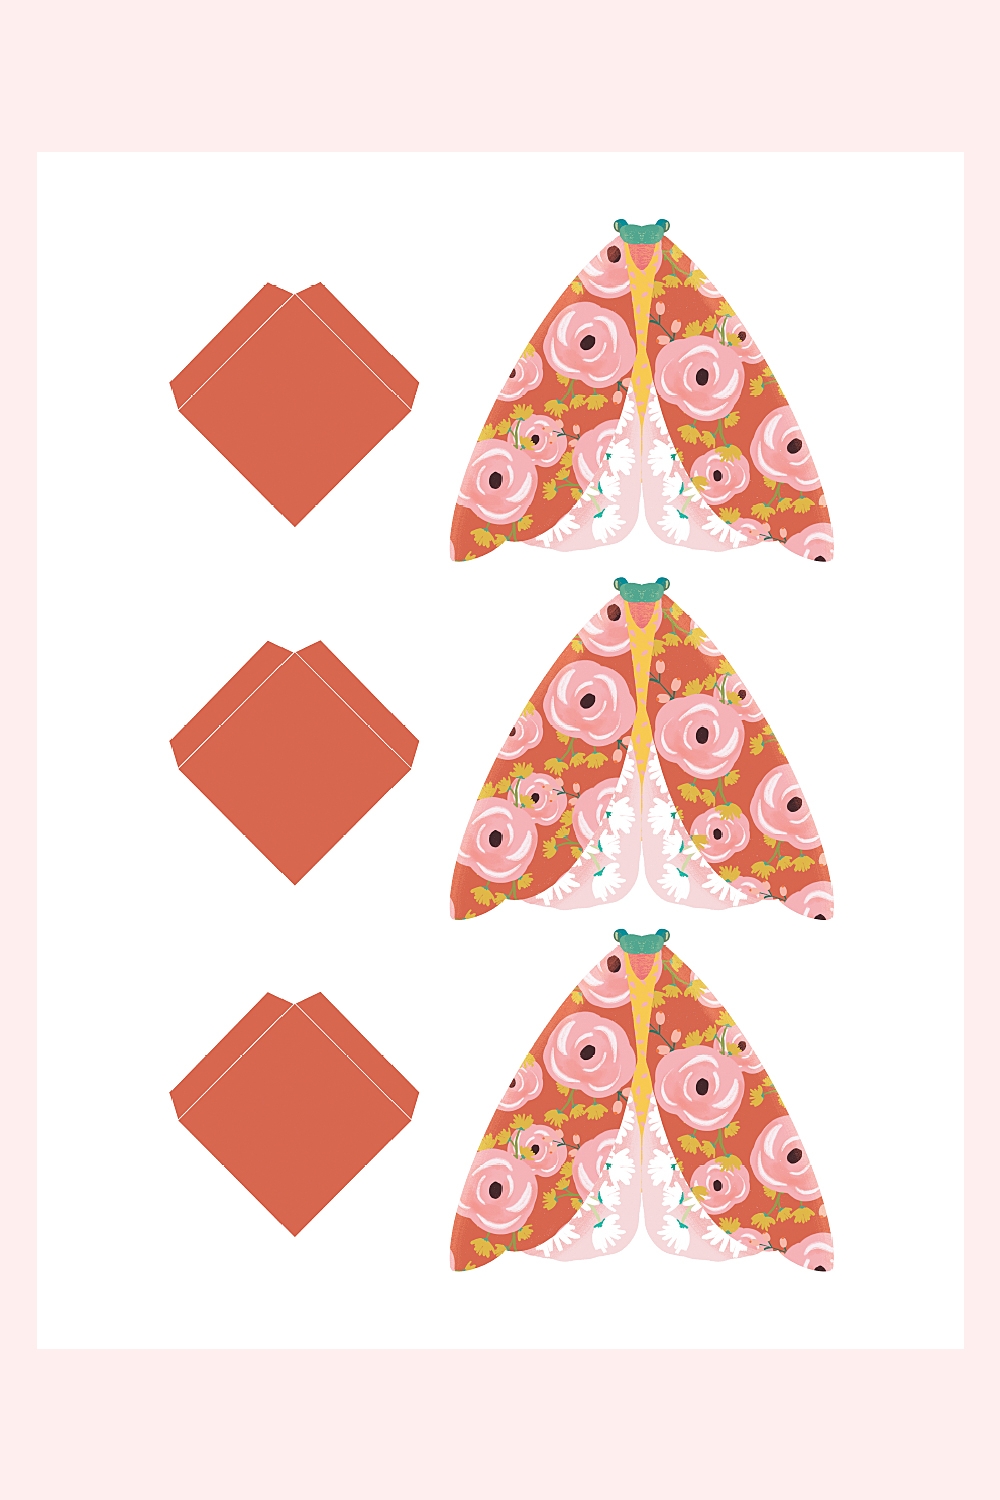
- Cut out each moth image. This is the front of the bookmark
- For each moth image you cut, cut out its corresponding back image (the diamond with the side tabs)
- Fold along the white tab lines of back image for each bookmark. You should now have a diamond shape. The white side of the back image should have the tabs folded on that side
- Now glue the folded tabs to the back of the moth image (the white side)
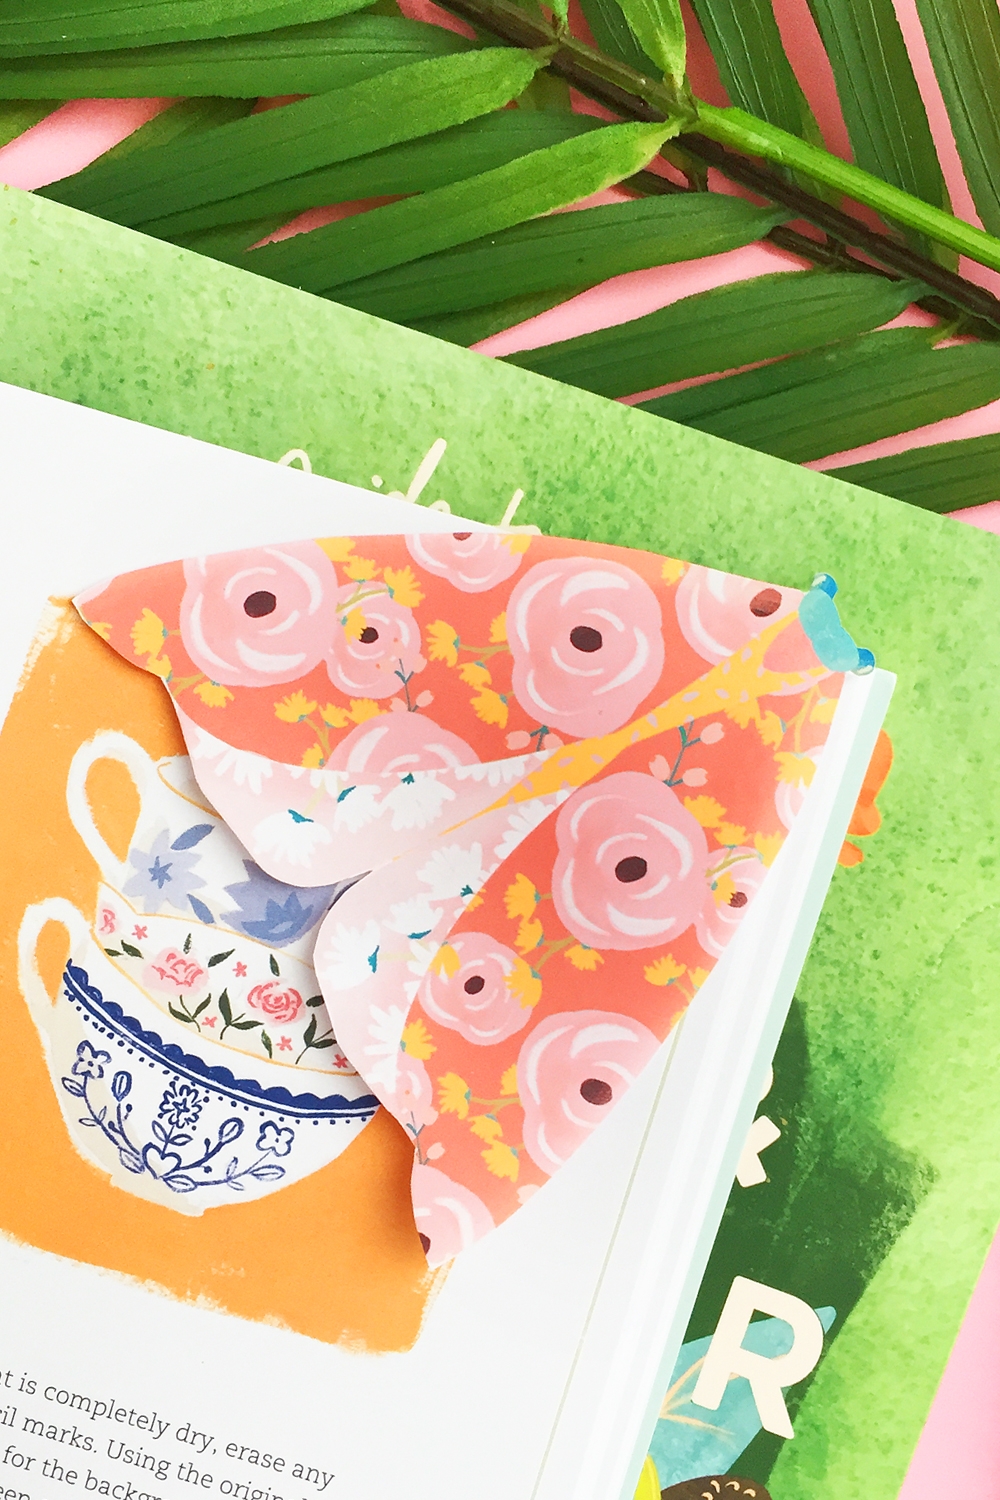
And that’s it! You now have pretty moth bookmarks that will fit at the corners of any page of your favorite books. This is also a great activity for kids to try as a back to school activity. Just print out the PDF download, then have them do the cutting and glueing with adult supervision.
Looking for some more crafty inspiration? I’ve got some more fun DIY Stationery projects for you to try!