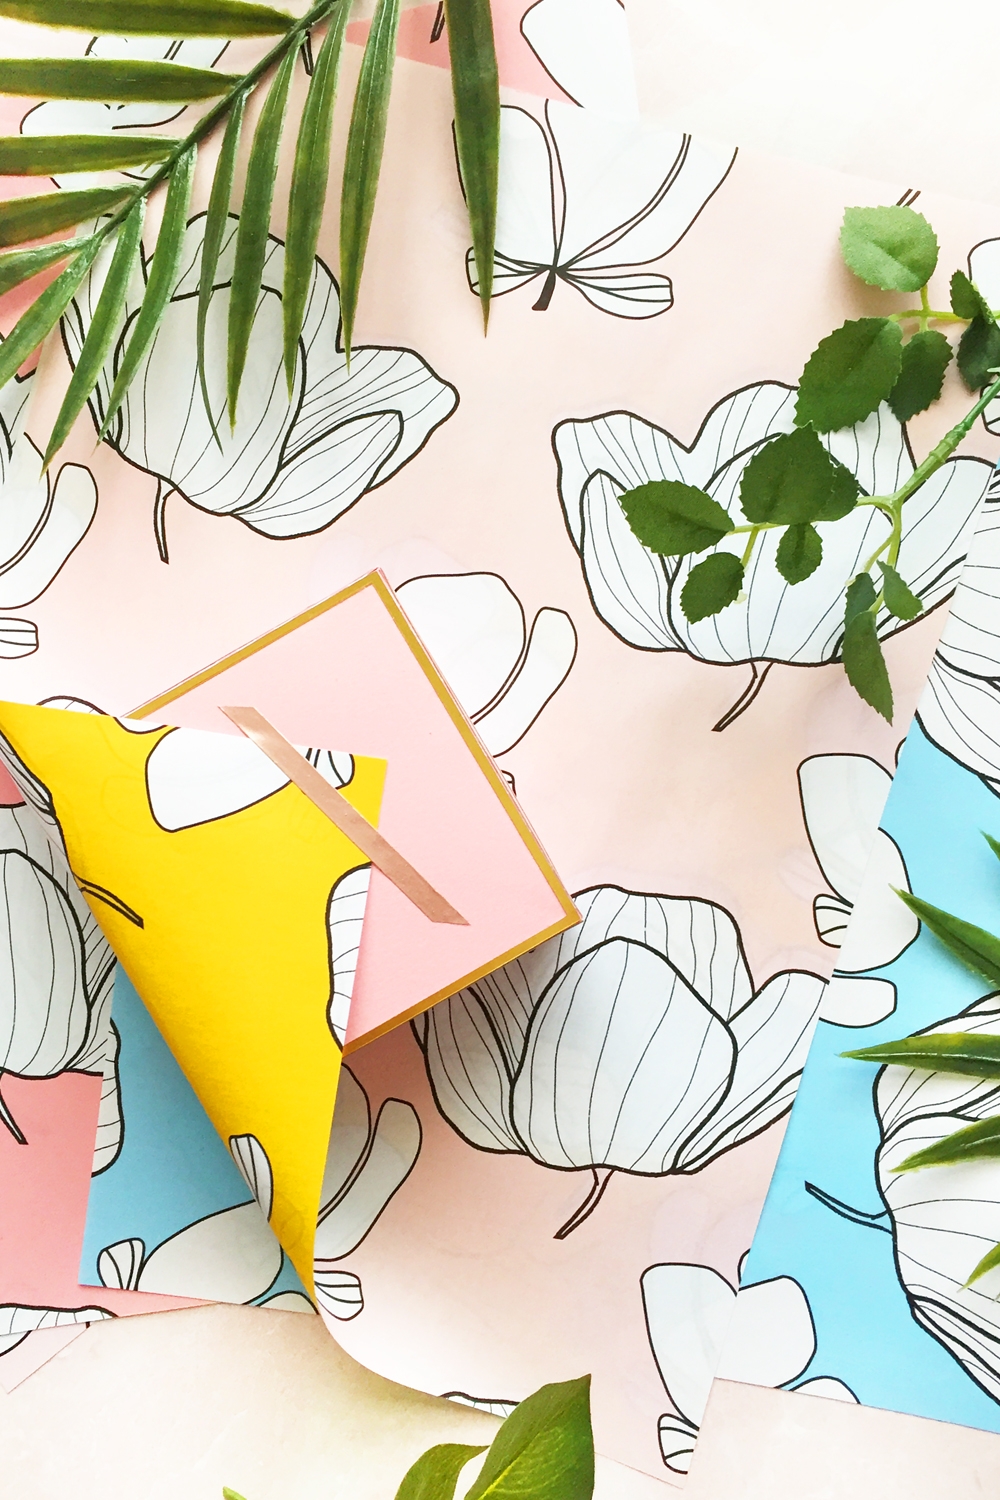
 Mother’s Day is coming up, so I thought I could show you how to make your own pretty gift wrap using a floral pattern for your gifts. I used Silhouette Studio (there is a free version!) and I have also provided you with the pattern tile so that you can download it to print on different paper sizes. Once your pattern is laid out, all you have to do is print, color and wrap! Read on for the full tutorial!
*This post contains affiliate links for products that I use and love!
DIY Coloring Page Gift Wrap – Materials
- Floral Pattern Tile – please note that this download is free and only for personal use
- Printer
- Silhouette Studio (there is a free version!)
- Printer Paper
- Scissors
- Coloring pencils, paint or markers
Instructions – DIY Coloring Page Gift Wrap
Download your gift wrap pattern tile
If you have not done so already, download the pattern tile provided in the link above.
Open pattern tile in Silhouette Studio
In Silhouette Studio, open your pattern and resize the image using the corner handles to maintain the dimensions of the square tile.
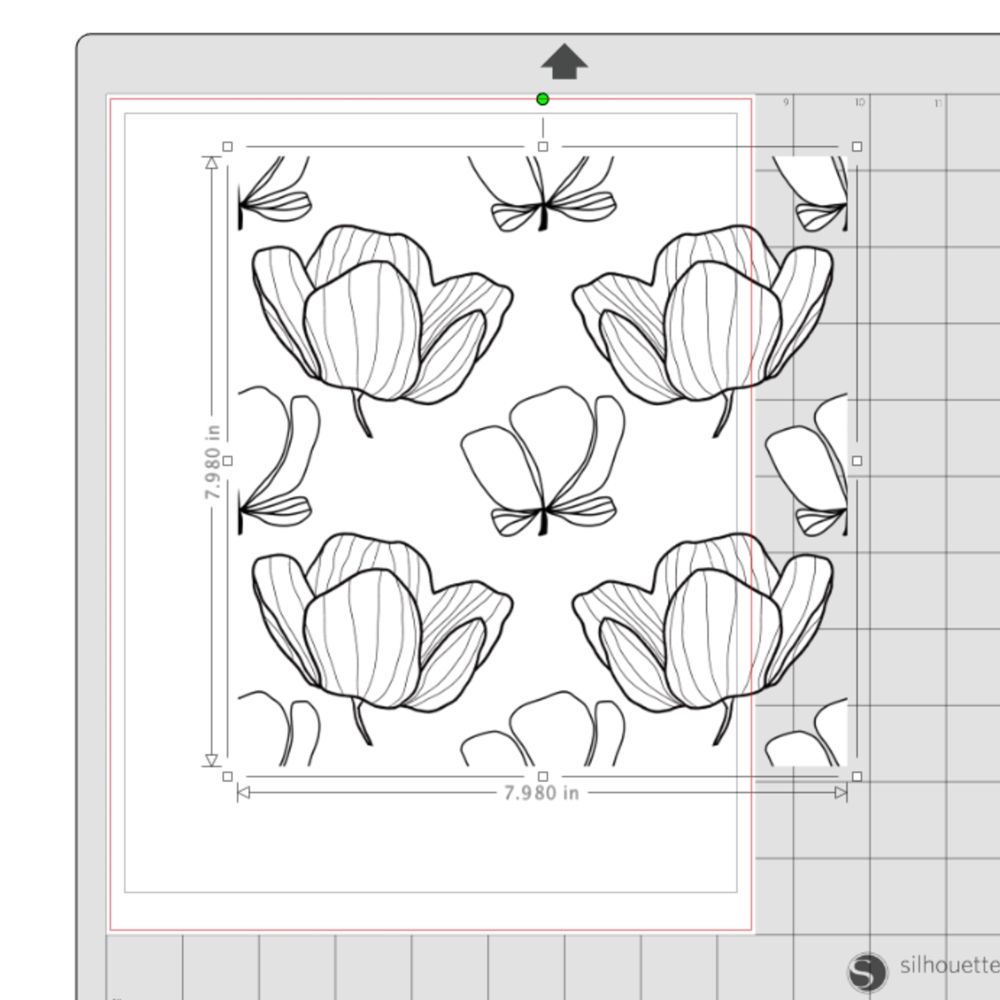
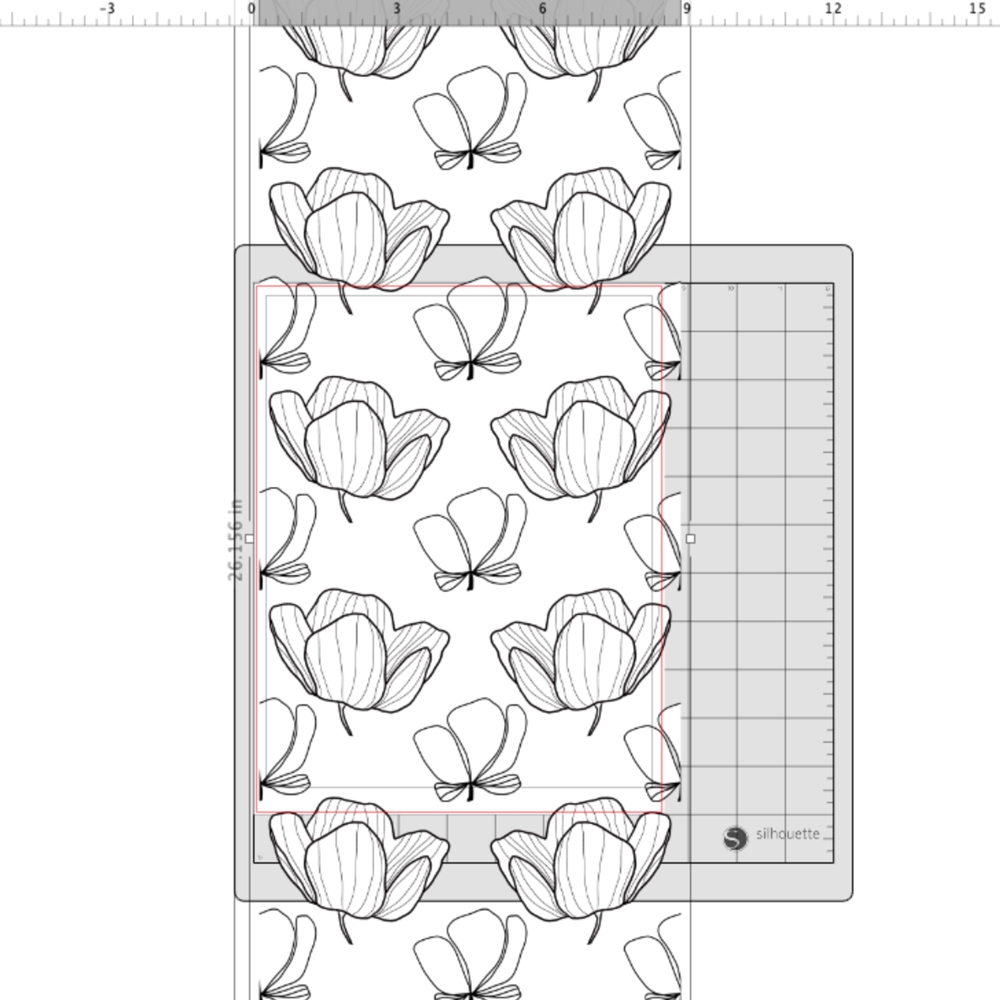
Create a pattern with the floral pattern tile
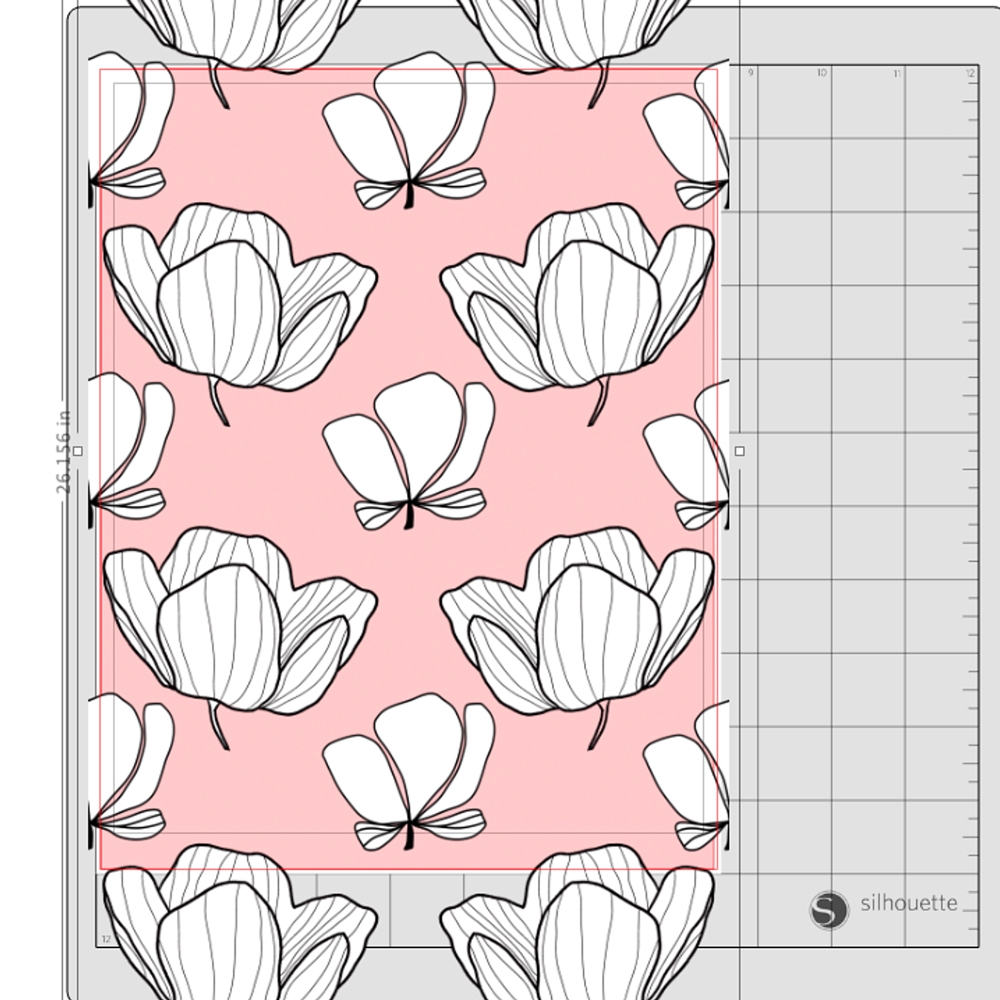
- Replicate your pattern tile on the printable area of the software and center your design
- Make sure that the tiles are lined up perfectly to create a seamless pattern
- Group the squares in your pattern and move it to the side
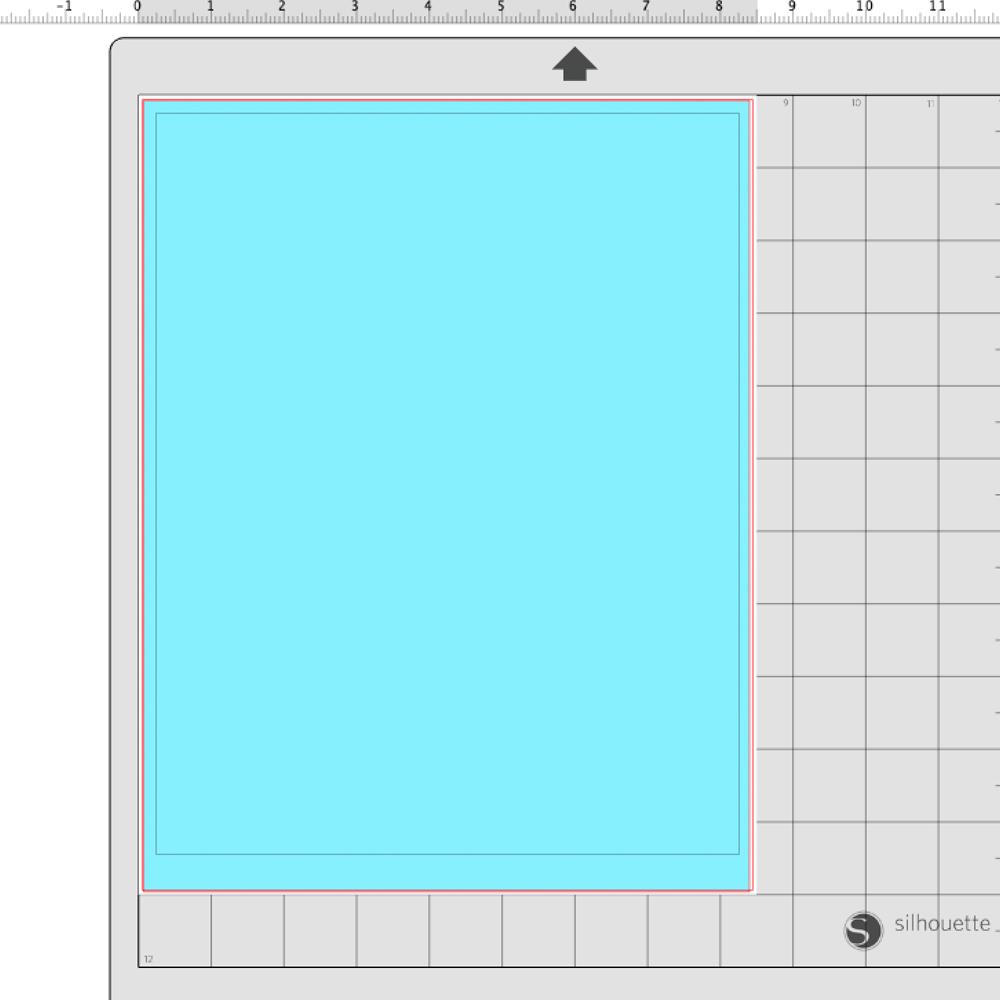
Create a background for your floral pattern
- Create a rectangle the same size as the printable area of the software
- Fill the rectangle with the color of your choice
Put everything together for printing
- Place your pattern on top of your background
- Center your design on the printable area of the software
- Send everything to print on your color printer using printer paper
- If you want to kick it up a notch and create double-sided gift wrap, feed the same sheet from Step 3 into your printer so that the other side will be printed
Cut out and color your gift wrap
- Use your scissors to remove the white border of your printed page
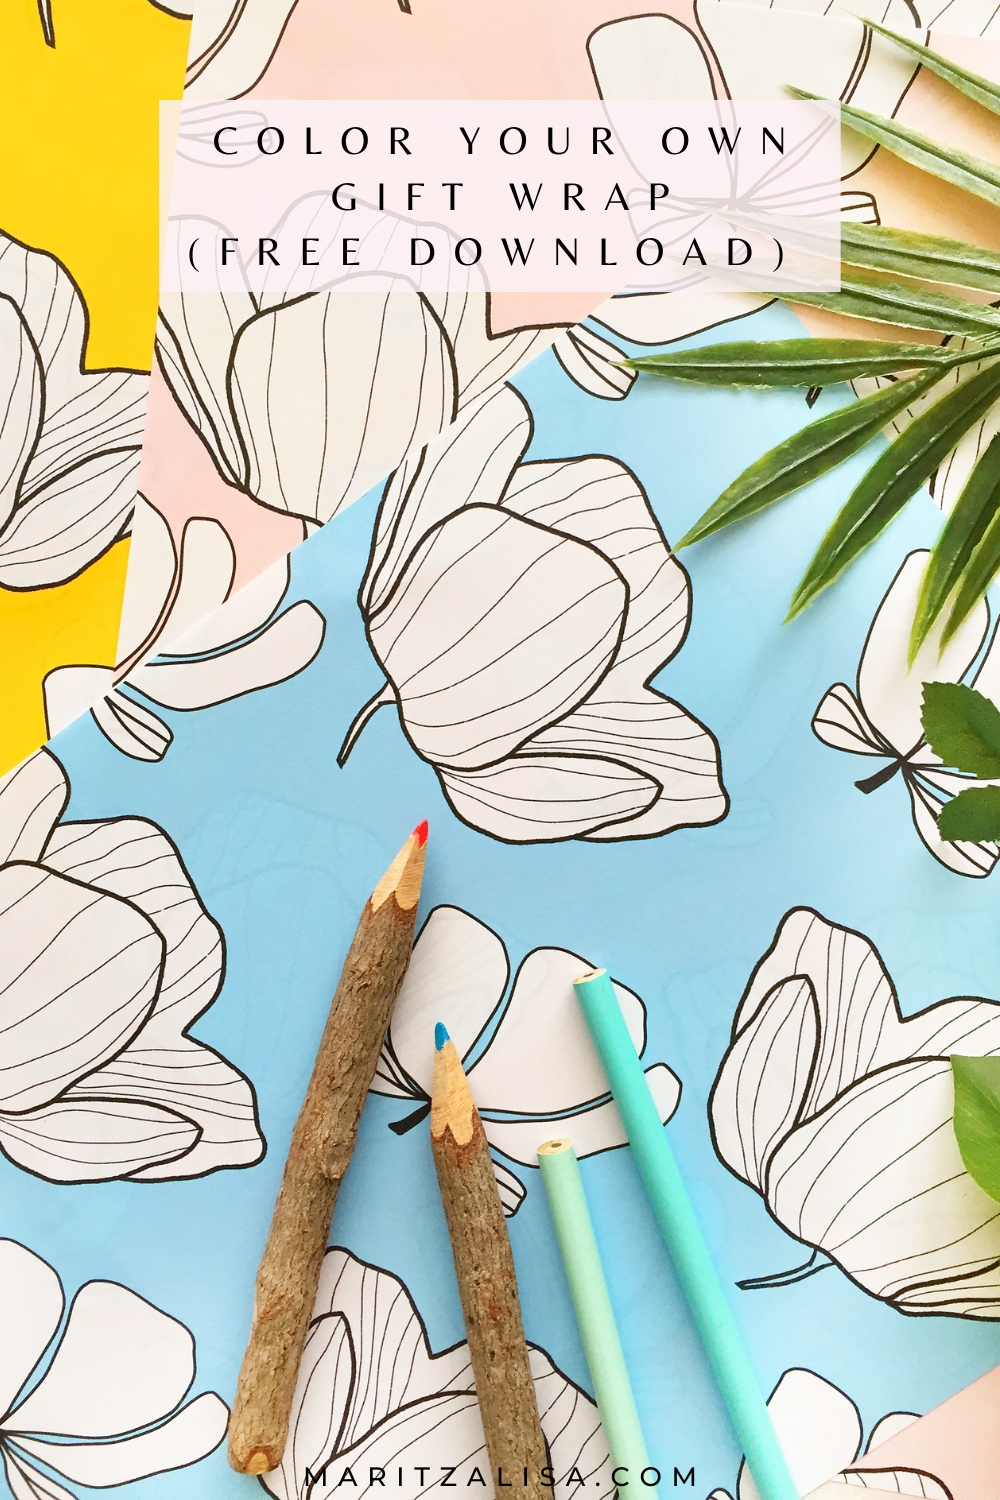
- Color your gift wrap with coloring pencils, paints or markers

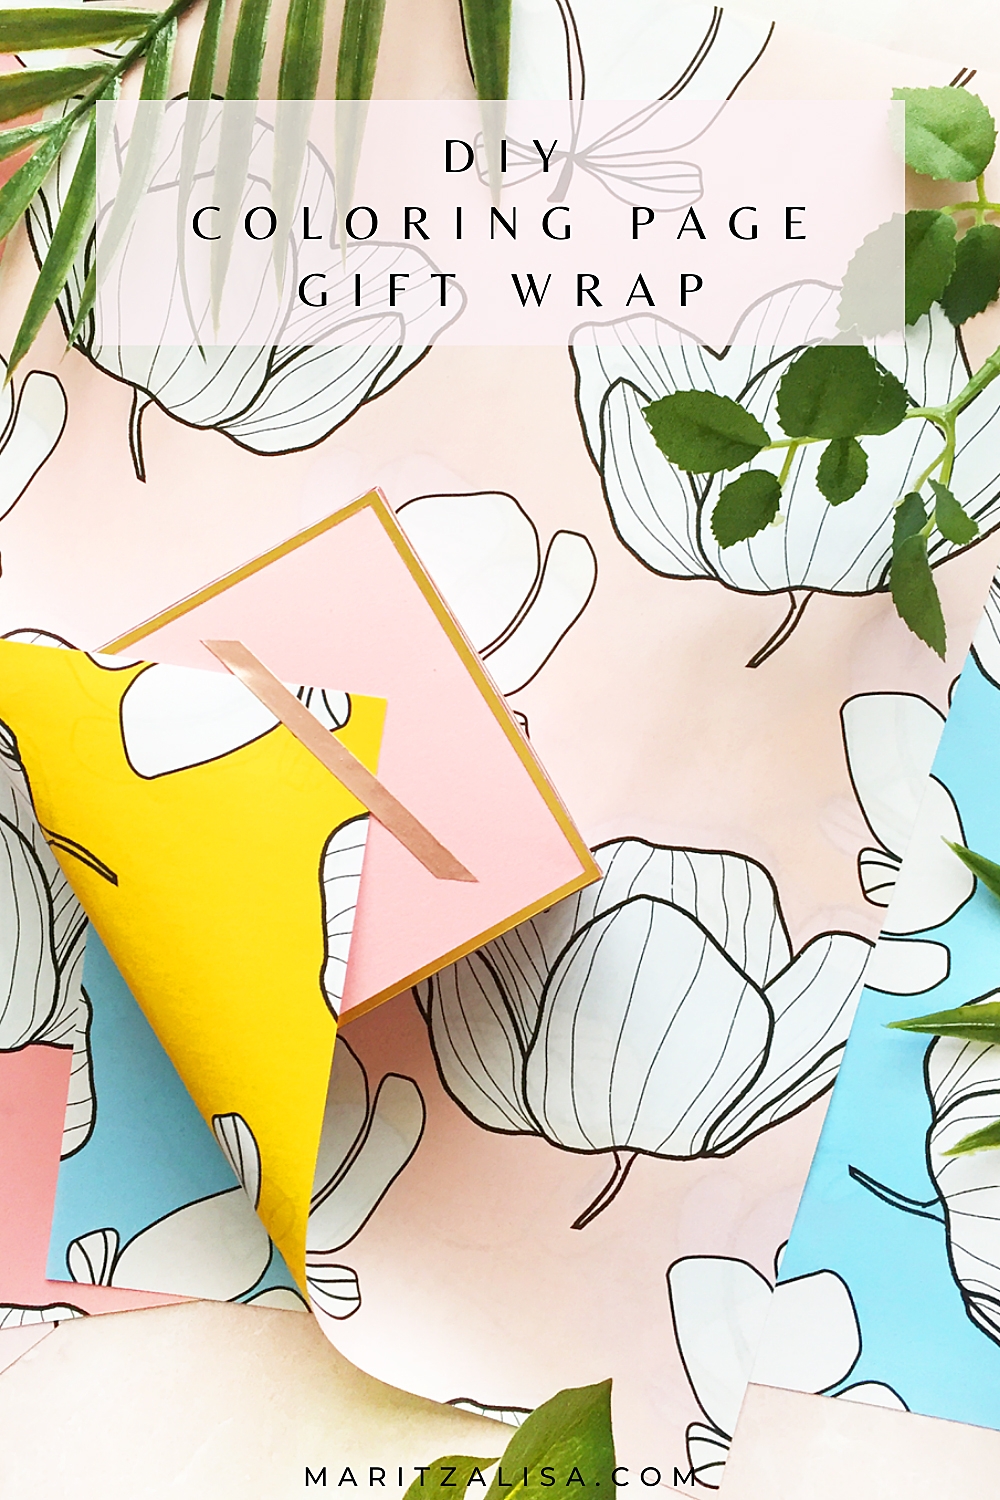
And that’s a “wrap”! All you need to do now is package up your pretty gifts with your gorgeous gift wrap!
Looking for some more crafty inspiration? Stay a little longer, and check out my other Packaging DIYs! Happy Making!
2 Comments on DIY Coloring Page Gift Wrap
Comments are closed.
Super cute idea!
So happy you like them, Michelle! Thanks! xoxo