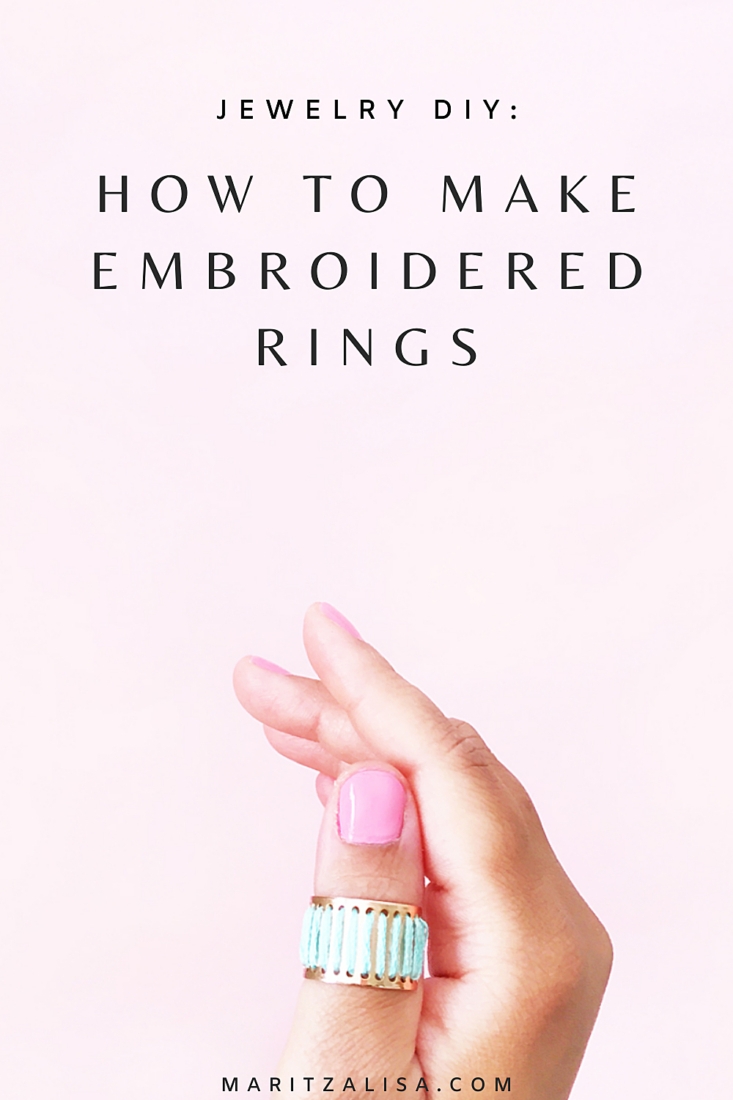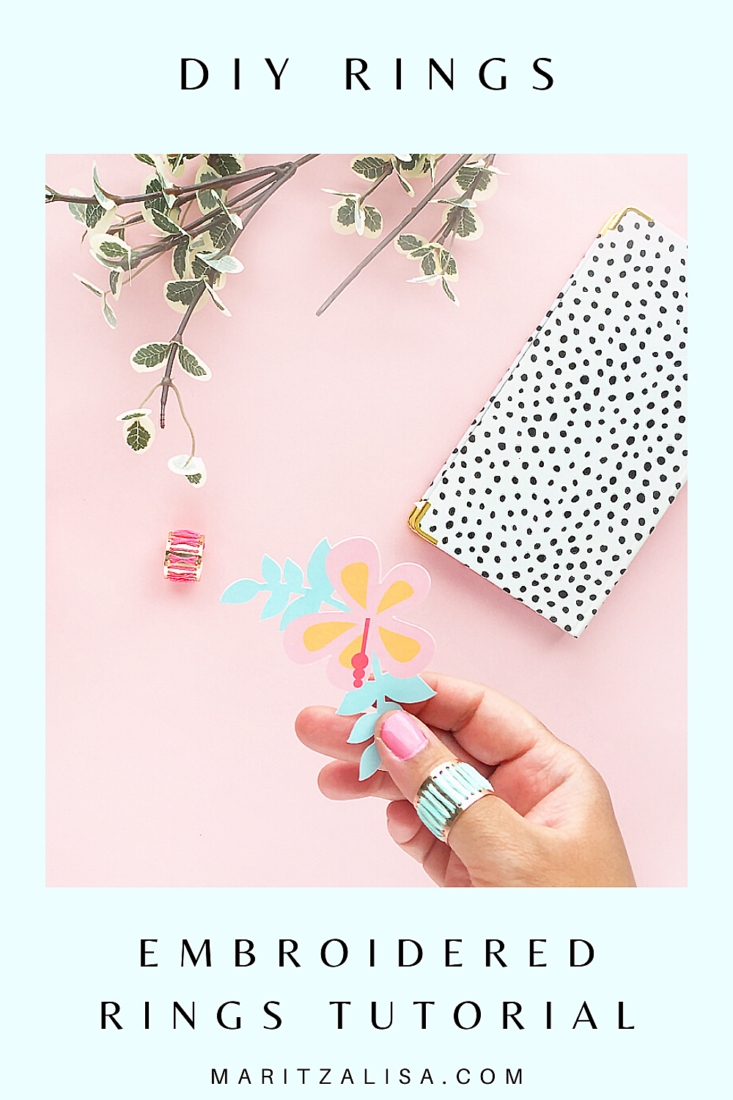
Happy Monday! Here’s a quick and easy tutorial to start off your week – DIY Embroidered Rose Gold Plated Rings. This is the easiest way to make your own jewelry, I promise. The rose gold rings are so pretty on their own, but adding a punch of color and texture will take them to a new level. You can go with any pattern you like – be creative! Have a read and let’s make some stunning accessories for our summer wardrobe!
What You Need – DIY Embroidered Rose Gold Plated Rings
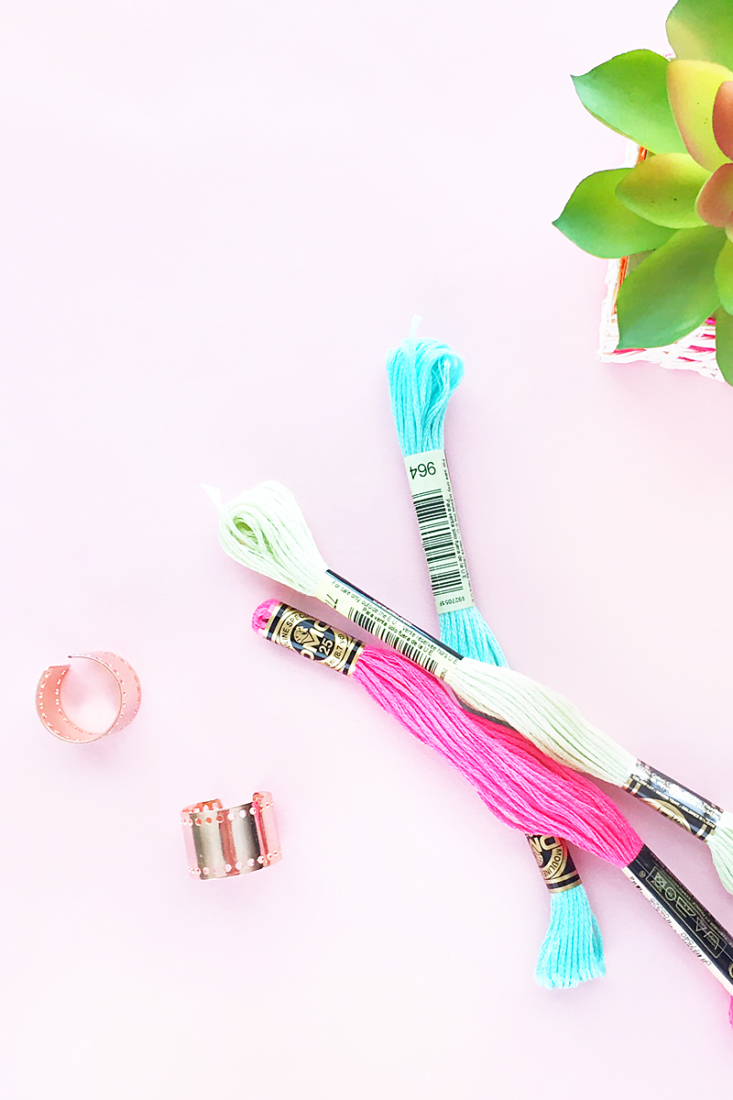
- Rose Gold Plated Adjustable Ring
- Embroidery thread
- Needle – optional to help knot at the end
*This post contains affiliate links for products that I use and love!
Instructions – DIY Embroidered Rose Gold Plated Rings
- Cut a length of your embroidery thread and double knot at the end
- Thread one end through one of the holes at the end of a ring
- Create a repeating pattern by threading along the holes (for example, criss-cross or stripes or a mix of both)
- Once your pattern has covered the entire ring, make a knot at the end
- Repeat another pattern for the other ring
And that’s it! All you have to do is slip on those rings with a pretty summer dress! Tell me in the comments below, which pattern did you use?




Looking for some more inspiration? Take a look at my other DIY jewelry projects!
