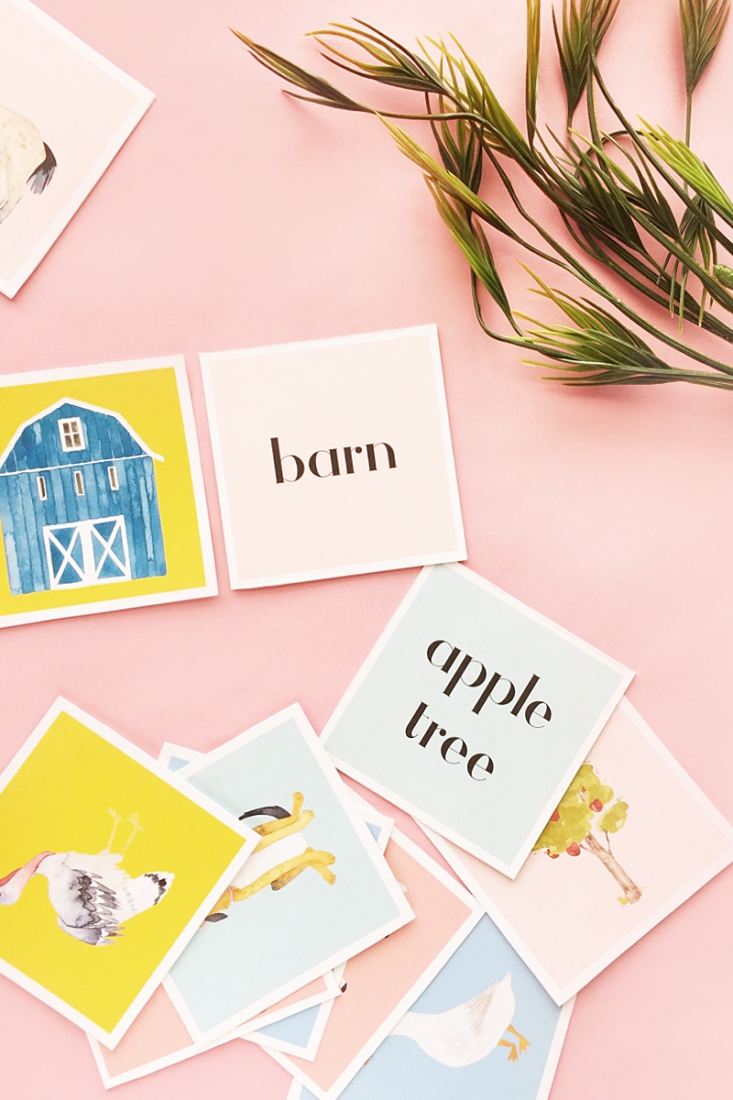
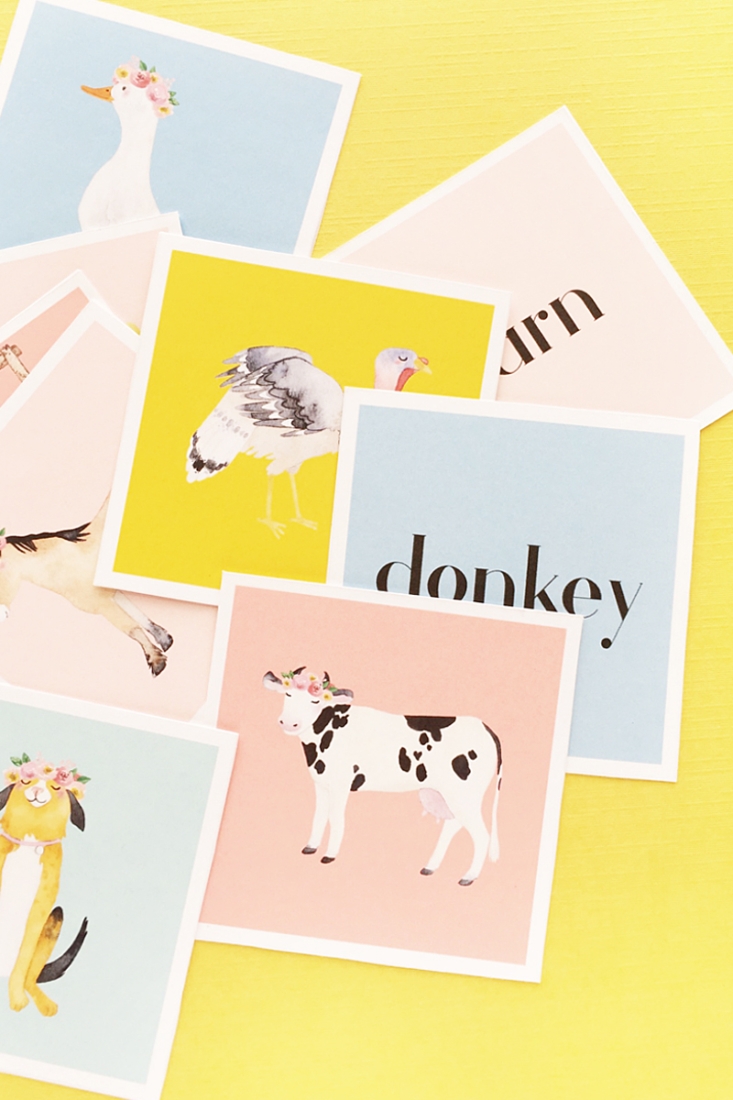
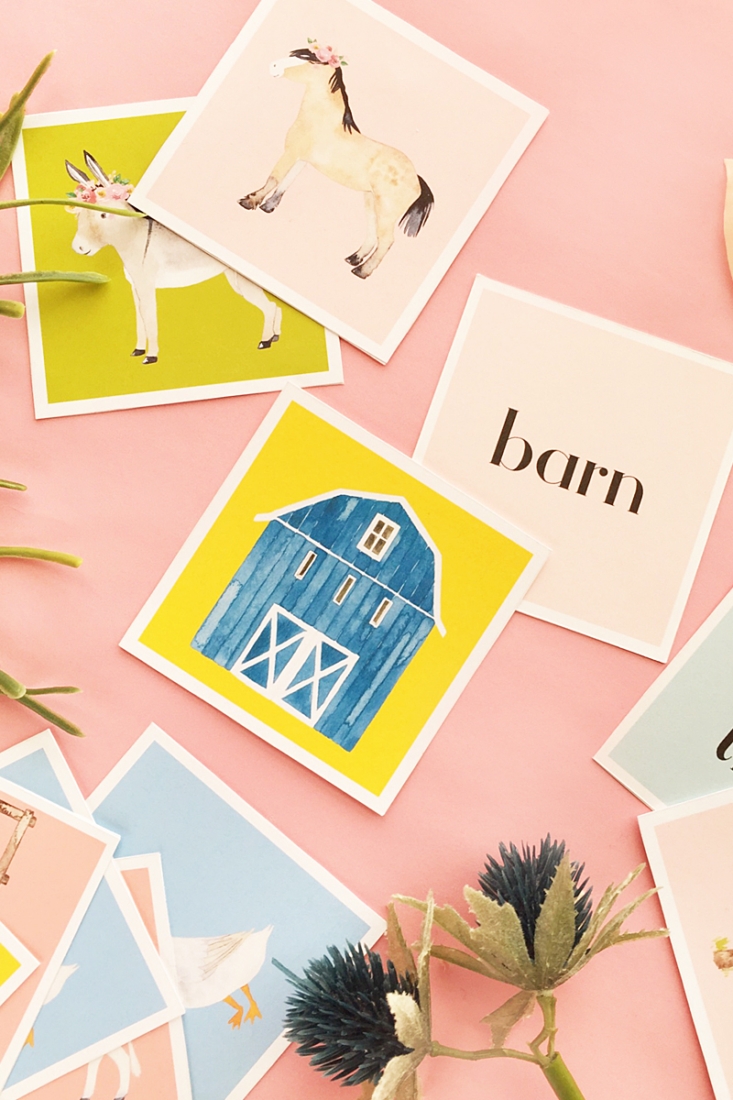
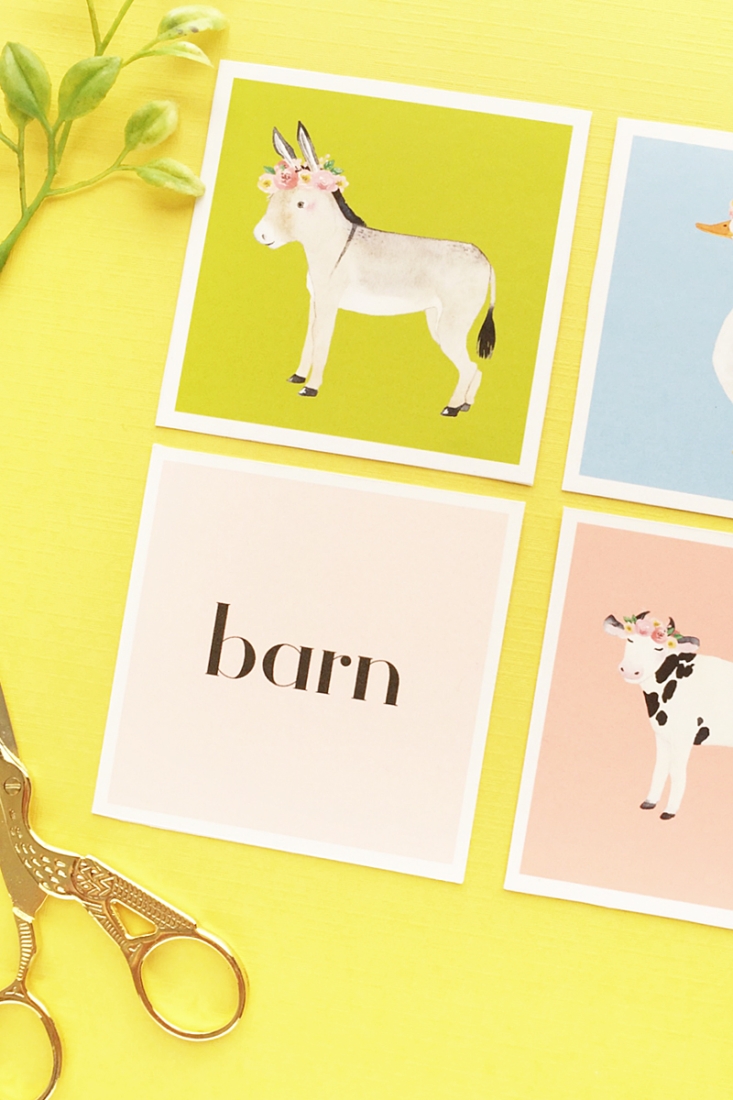
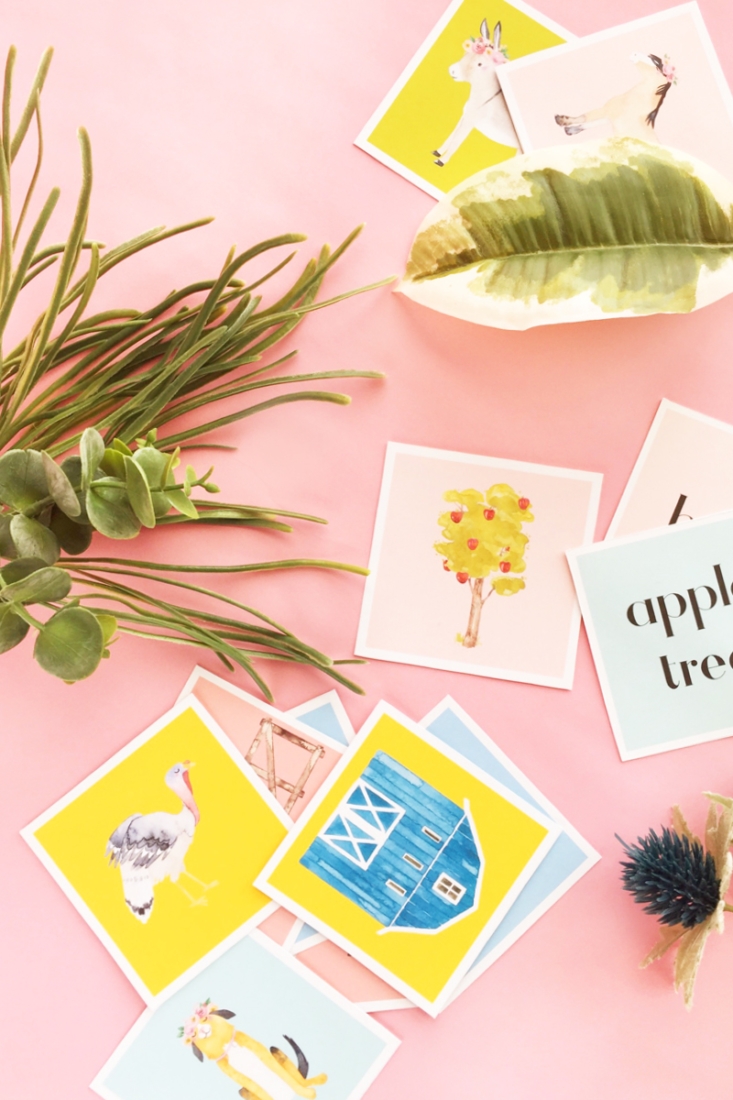
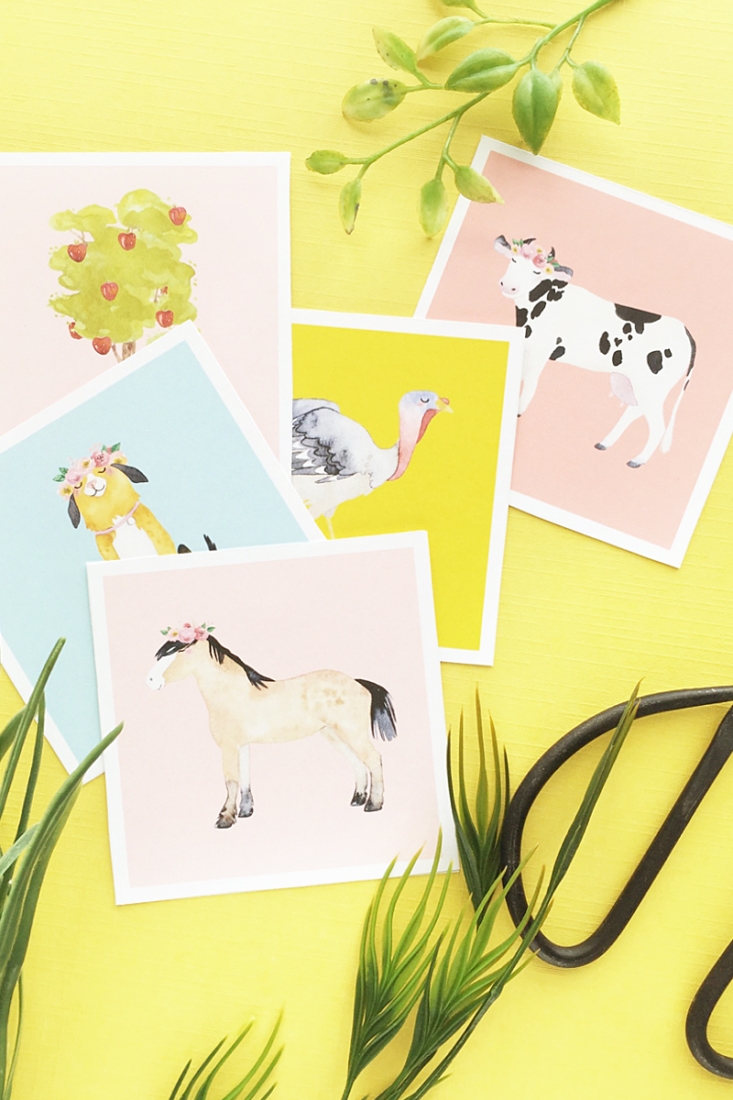
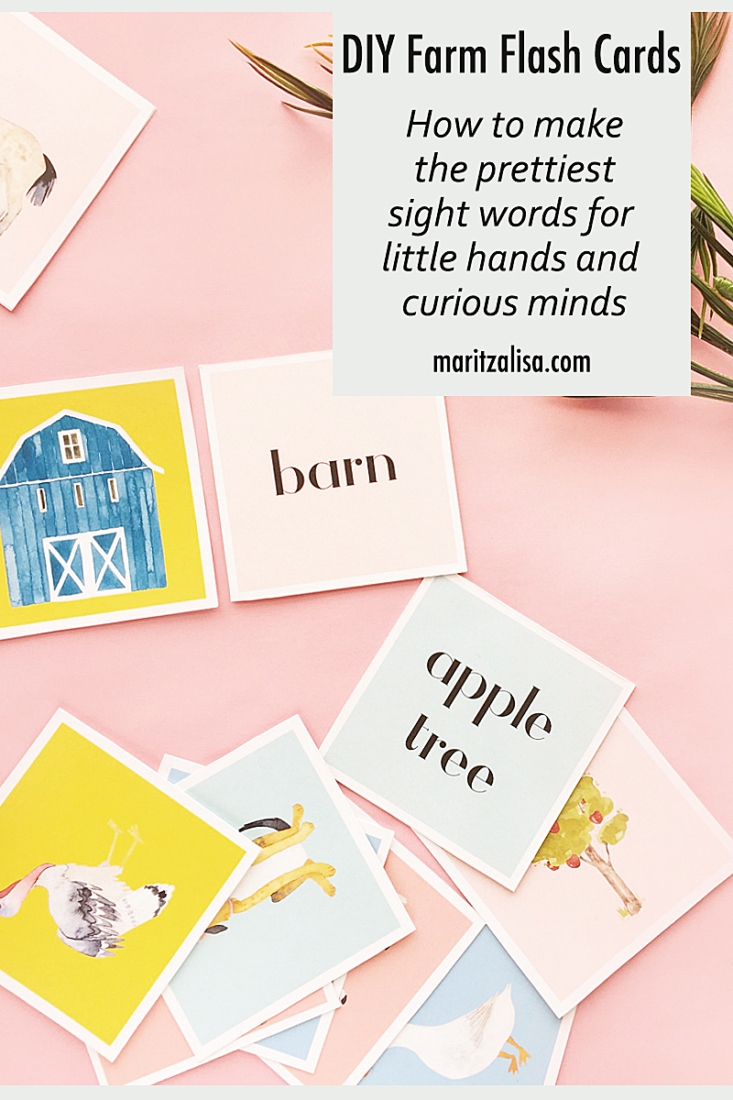
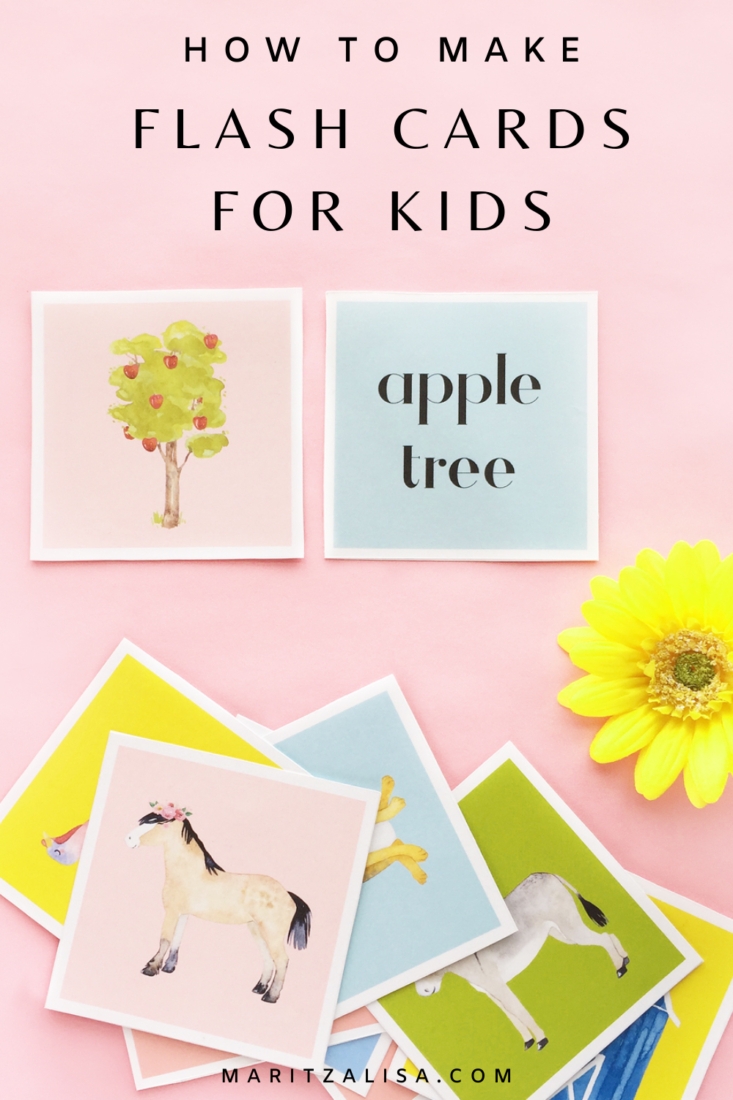
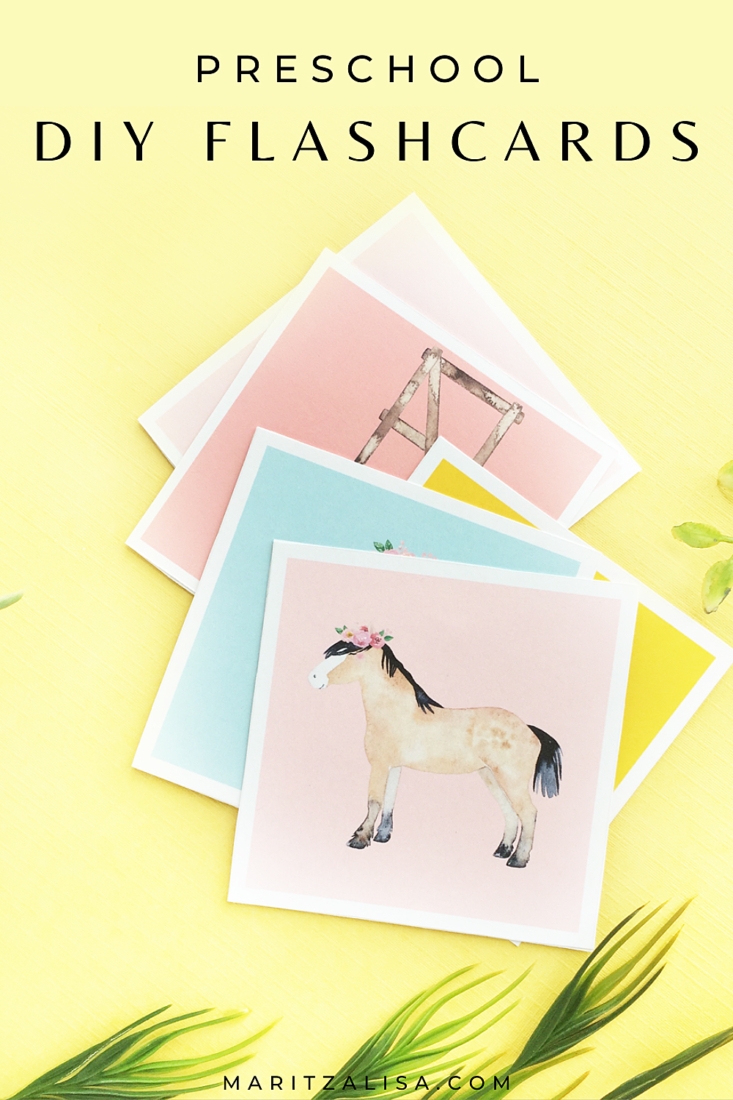
I saw these whimsical watercolor images on Creative Market and had to have them. Don’t you wish you learned sight words with these pretty double-sided DIY Farm Animal Flash Cards when you were little? They are so sweet for little hands and curious minds, and make the perfect gift for adorable early learners. Read on for the full tutorial to make your own!
DIY Farm Animal Flash Cards – What You Need
- Silhouette Studio – there is a free version!
- Whimsical farm images (I used these from Creative Market)
- Printer
- Scissors
- Sticker Paper
*This post contains affiliate links for products that I use and love!
How To Make DIY Farm Animal Flash Cards
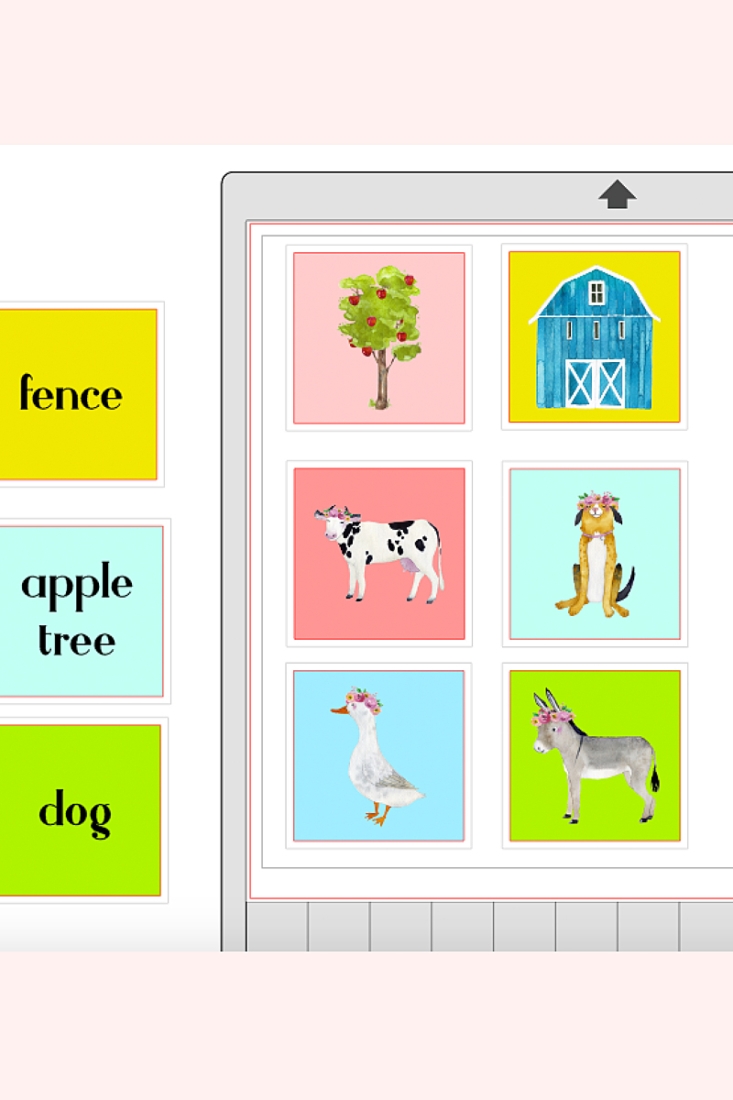
- Open your farm animal images (.png) in Silhouette Studio
- Create a square and fill with color
- Resize your farm animal image and place it in the middle of the square
- Create another square that is bigger than the one you made in step 2 – this will be the white frame or border around your flash card. Make sure the lines of this outer square will be visible when you print by changing the Line Thickness
- Center your squares and image
- Repeat for each flash card
- Send to print
- Cut out your flash cards
- Repeat the same process from step 2, this time instead of using images, use text for the sight words (I used the Athene font)
- Cut out your sight words
- Peel and stick the sight words on to the back of your flash cards
How pretty are these double-sided flash cards? They should take you about 20-30 minutes, depending on the number of cards you create. If you are doing a lot and own a Silhouette cutting machine (I own the CAMEO 3), use the Print and Cut feature to save time. Let me know how your DIY Farm Animal Flash Cards turn out!
Looking for some more inspiration? Take a look at these tutorials on How To Make Your Own Stationery!
