
Happy Tuesday! The weather has warmed up here in Maryland and it smells like spring outside. It’s a good day. How’s your day going? Speaking of good days, today I wanted to share a quick tutorial on these DIY Feather Wood Tags. These gorgeous feather images are free from Angie Makes. Go and download them, grab your tattoo paper and balsa sheet, and let’s get crafting!
The What
- Silhouette Studio (there is a free version)
- Temporary Tattoo Paper
- Wet towel
- Scraper
- Balsa wood
- Printer
- Natural hemp cord
- Hole punch
- Scissors or Craft knife and cutting mat
- Clear sealant or nail varnish
- Feather clip art from Angie Makes (free!)
The How
- To create your wood tags, cut rectangles from your balsa wood sheets
- Gently apply the hole punch to create a hole in your tag
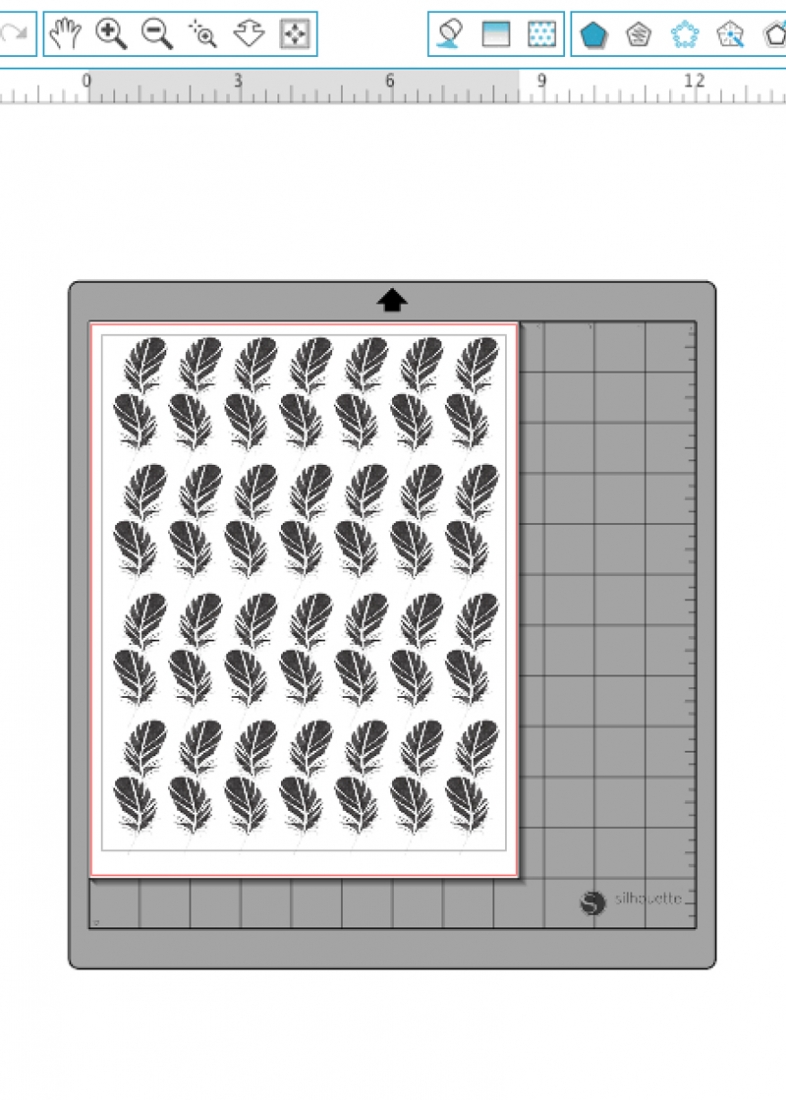
- Open Silhouette Studio and merge your feather image
- Create a pattern with your feathers
- Print your pattern onto tattoo paper
- Apply the clear adhesive sheet from the tattoo paper package. Use your scraper to smooth the bubbles out
- Cut closely around your pattern
- Remove the clear adhesive paper, and apply the tattoo to your wood tag with a wet towel
- Apply a clear sealant or nail varnish to the wood to protect the tattoo
And that’s it! Just add some string to your tag and packages and you’re set! How did your pattern turn out?







Looking for some more inspiration? Check out my other tattoo paper projects and craft a little longer with me.
2 Comments on DIY Feather Wood Tags
Comments are closed.
Loving your feather tags!
Thanks, Marwa!! xo