How are you on this fine Thursday? Feeling a little “foxy”? Well have I got a cute little DIY fox tag and sleeve set for you to try! I saw these adorable Mr. Fox patterns on Creative Market – which are free this week – and had to do something with them. There are 3 prints to choose from with different colored backgrounds and variation in the pattern with foxes. I love them all, but went with the blue one… here’s how…
The What
- Silhouette Studio
- Silhouette cutting machine
- Cutting mat
- Cardstock
- Printer
- Fox pattern (I got mine on Creative Market, which is free this week!)
- Free Tag and Sleeve set
- Glue
- Bone folder
The How
- In Silhouette Studio, open your Fox pattern and Tag and Sleeve Set
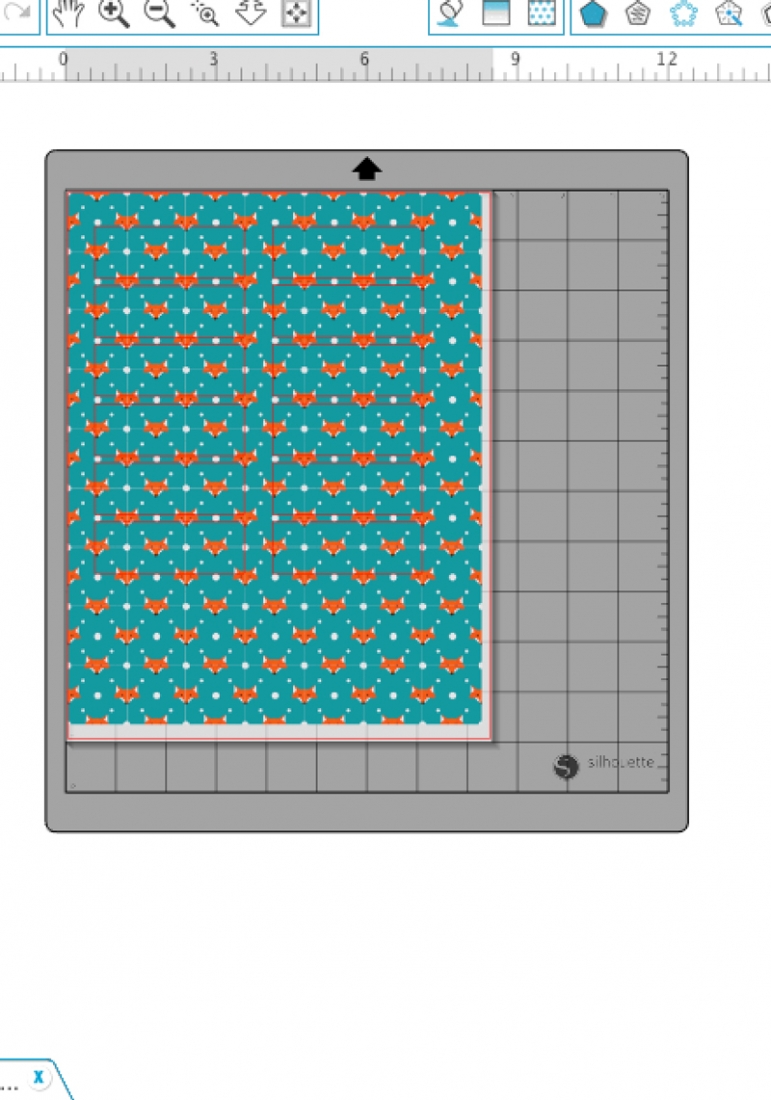
- Resize and replicate your fox pattern to fit the page
- Place the tag shapes on your pattern ensuring that the fox will appear in the window
- Print your pattern onto cardstock
- Load your cardstock and send your tags to cut using cardstock settings
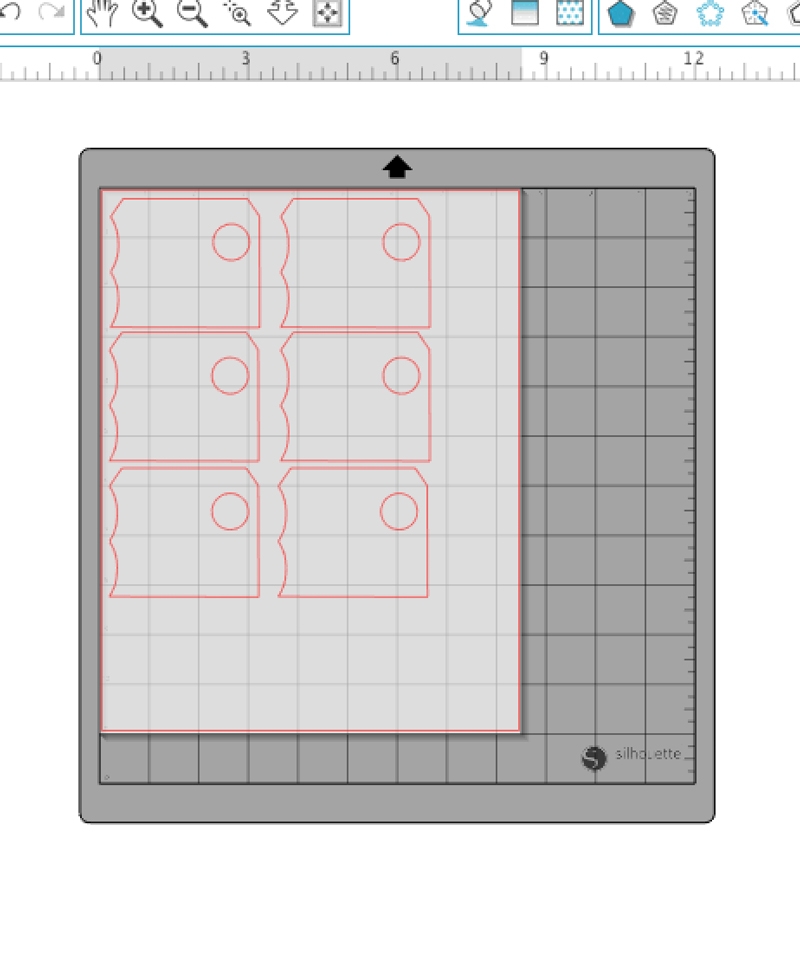
- Clear your page, then place your sleeve shapes on your page
- Load your cardstock and send your sleeves to cut using cardstock settings
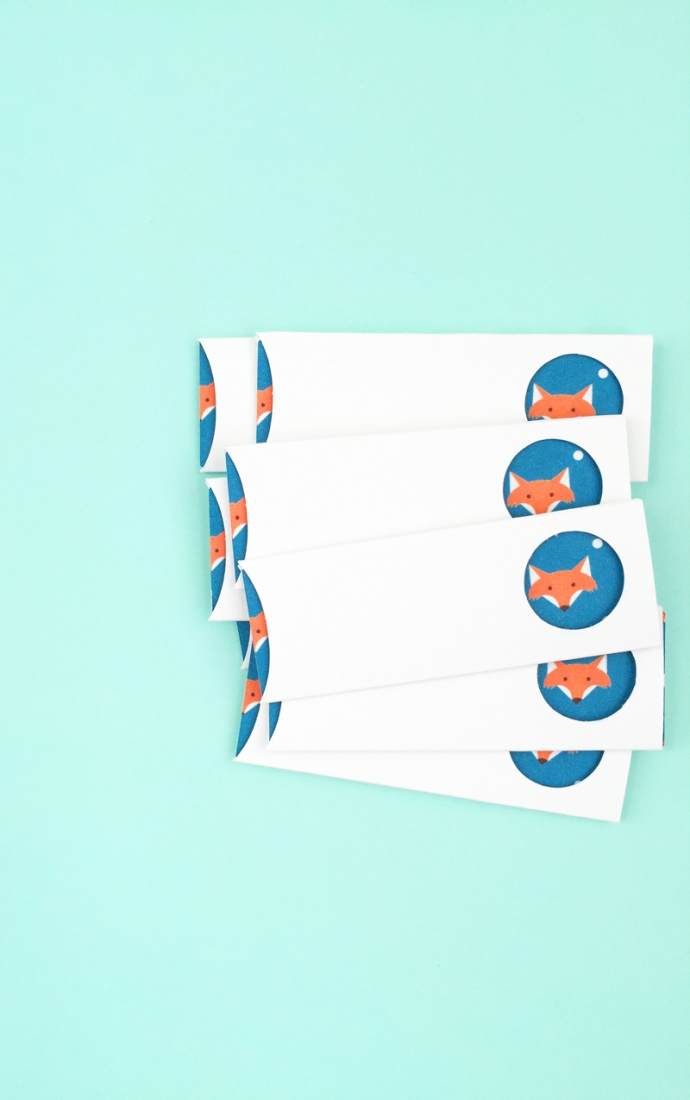
- Fold and glue your sleeves, then add your tag
And that’s it. You now have the most adorable fox tag and sleeve set – perfect for gift giving in the Fall. Which pattern did you use?
Looking for some more inspiration? Take a look at my other Silhouette projects.


