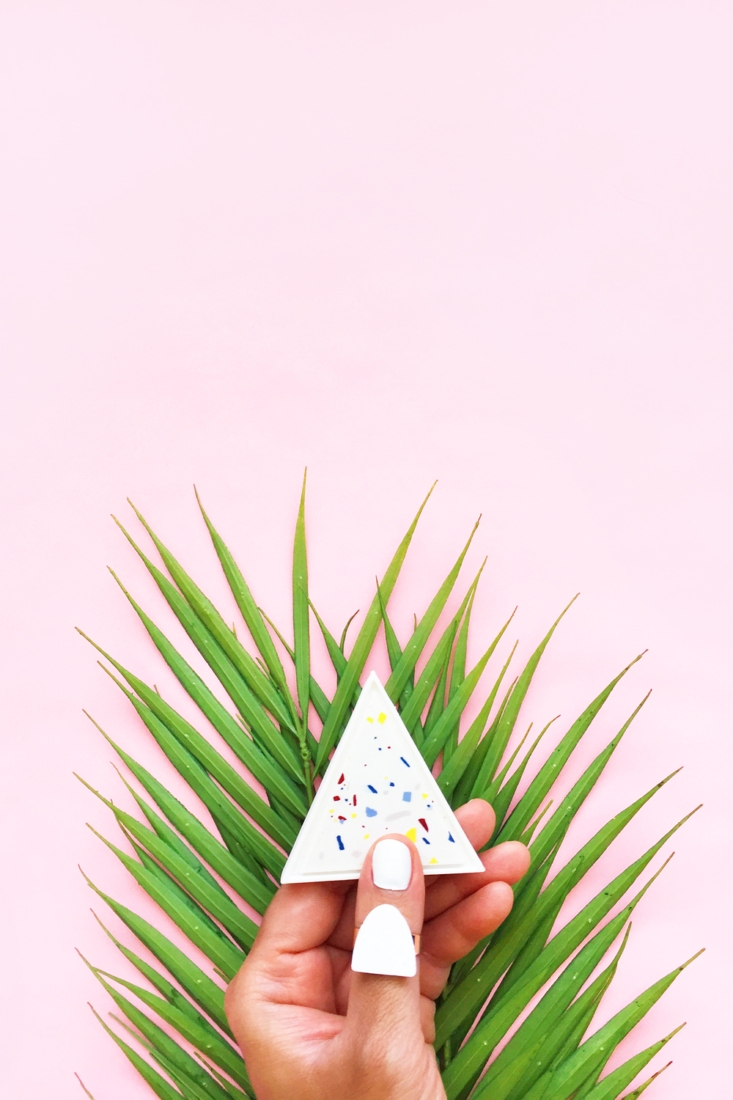
We can never have too many pieces of cute jewelry, right? I love rings. I collect them, I make them and wear them all year. This tutorial is all about using a 3D printer to quickly help and make this cute geometric statement ring. Shall we start making? Read on for the full tutorial!
What about the Silhouette Alta 3D Printer?
The Silhouette Alta is a 3D printing machine that can help you create amazing 3D objects, like our ring’s geometric shape, out of PLA plastic filament when connected to your computer.
When you purchase the Silhouette Alta, you can use a few free 3D designs to play with or design your own 3D objects. For today’s project, we will make our own geometric design by first designing a 2D version in Silhouette Studio, then importing the design into the 3D software that comes with the Alta 3D Printer. This feature is the one I use most because it’s so easy to design and use Silhouette Studio (which also comes as a free version)
PLA Plastic Filament – 3D Printing Material
According to Silhouette America, the PLA plastic filament is the material used by the Alta to 3D print our projects. Once the filament is loaded in to the 3D Printer, the machine heats the PLA plastic filament to a high temperature. The heat softens the filament which allows the printer to feed it through the print head of the machine and print your 3D geometric shape in layers. It’s pretty cool to watch your design get printed layer by layer into a 3D object.
The Silhouette Alta comes with a sample of white PLA plastic filament to get you started with your 3D projects. I personally love the white filament because of its versatility – you can leave the color as-is or you can paint the finished 3D object to any color you want. I’ve used chalk paint before and love its matte finish on the 3D design. There are larger rolls of filament in a variety of colors on the Silhouette America website you can purchase as well.
Silhouette America also states on its site that their PLA plastics do not contain BPA and is biodegradable.
What You Need To Make A Geometric Statement Ring:
- Silhouette Studio (there is a free version!)
- Silhouette Alta 3D Printer
- Silhouette 3D Software (access comes when you purchase the Alta)
- Strong jewelry glue
- Gold plated ring blank. A ring blank is a ring that you can decorate for jewelry making. They come as a solid ring with a flat plate or as an adjustable ring with a blank plate. We use this blank plate to decorate and customize the ring. I got my adjustable ring blank at Michaels but you can find similar ones online
*This post contains affiliate links for products that I use and love!
How To Make A Geometric Statement Ring:
If this is your first 3D project and you need additional help, you can check out my post on setting up your 3D Printer and making your first project.
1. Create A 2D Geometric Design in Silhouette Studio
- In Silhouette Studio, create your design using one of the shape tools. I created an oval (ellipse) and cut it in half using the knife tool
- Save your 2D geometric design
2. Import Your 2D Geometric Design into the Alta’s 3D Software
- In the Silhouette 3D Software, open the geometric design you created
- A pop-up will appear: Import As
- Select Extrusion – the design will now appear in 3D
- Adjust the dimensions so that your design will fit on the surface of your ring blank
3. Send Your Geometric Design To Be 3D Printed
- Select the 3D Print Tab on the top right of the 3D Software
- Select the Quality (I used the Standard option)
- Press Print
- The machine will heat up and 3D print the geometric design – you will see the countdown of time as well
4. Make Your Ring
Once your printed 3D design has cooled, glue the flat part of the blank ring to your geometric design. After the glue has dried, your statement ring will be ready for the world to see!
I love how my cute statement ring turned out. I can’t wait to hear how your ring turned out. Which geometric shape did you design? It will make an awesome gift too!

Looking for some more fun DIY and Crafts inspiration? Check out my other Silhouette Alta 3D Projects and craft a little longer with me!