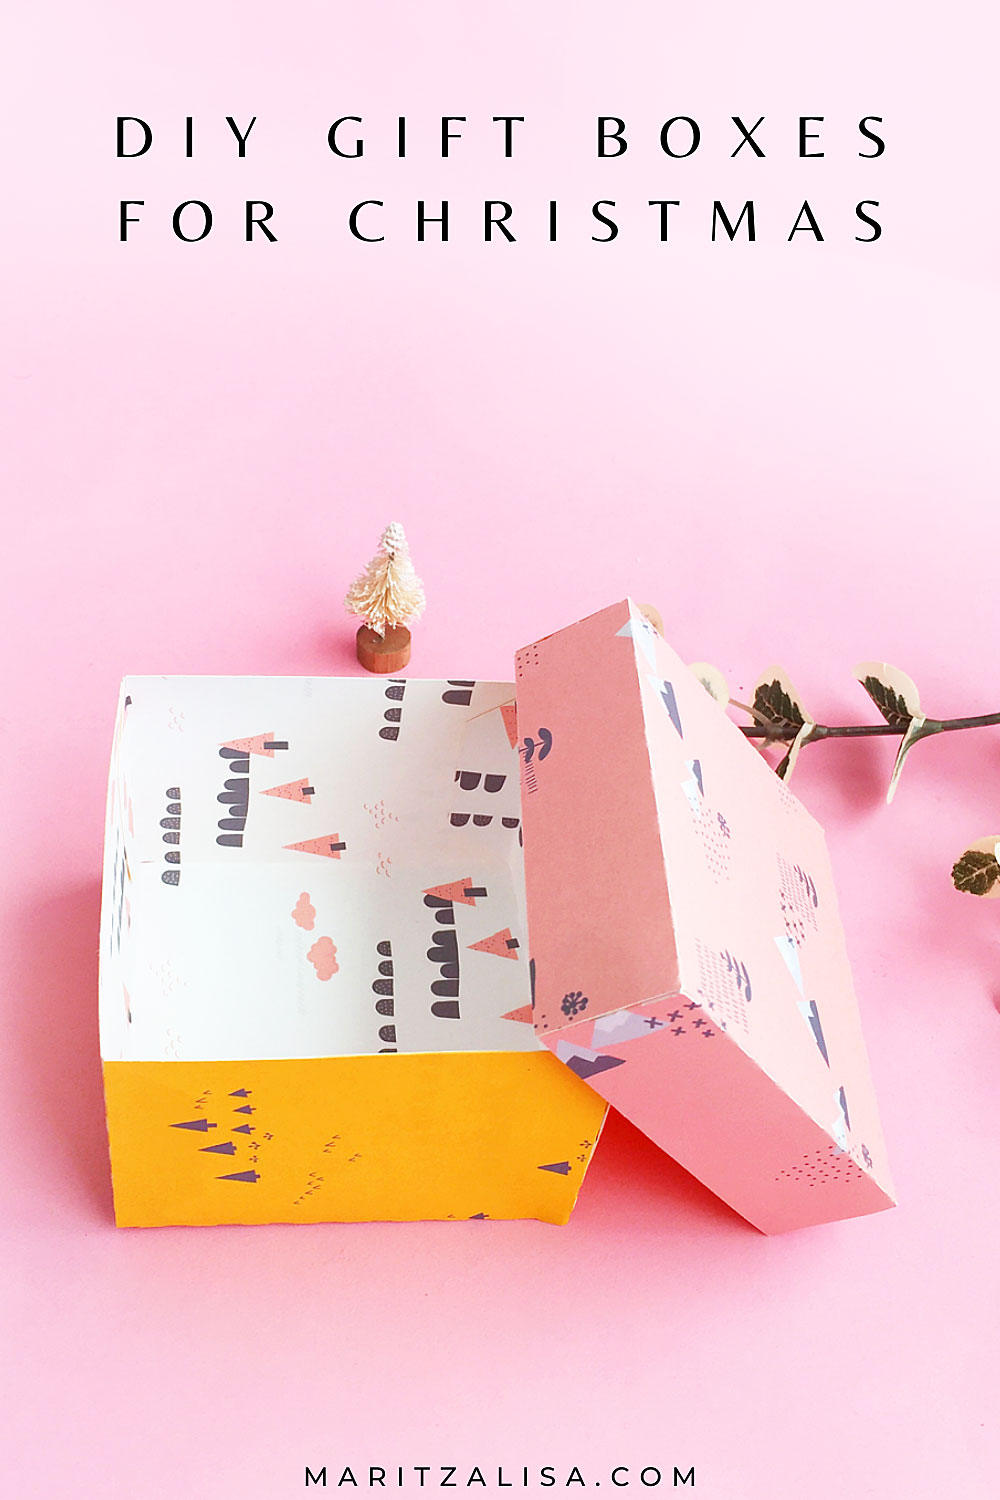
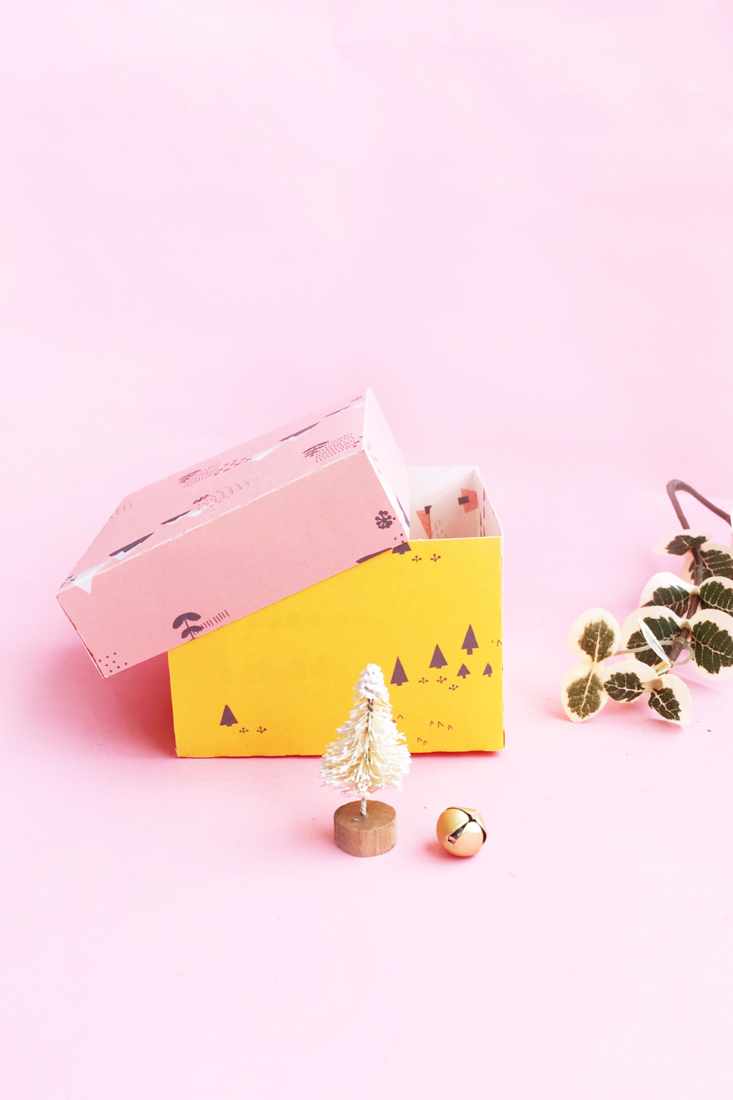
It’s December and I can’t believe I have not shared a DIY Gift Box tutorial yet for the Christmas season! This one leaves room for your creativity because you can personalize it with your own patterns and make the boxes double sided. I love the double-sided touch because it is easy to do and adds an extra detail to a regular gift box that I’m sure your friends and family will appreciate and love. Read on for the super easy step by step instructions!
*This post contains affiliate links for products that I use and love!
About The Silhouette Design Store:
The Silhouette Design Store is the official source for your Silhouette craft machine cut files, fonts, SVGs, and any other digital content for use with your cutting machine. When you sign up for a free Silhouette Design Store account, you will be able to download the weekly free shape and purchase designs and templates at the listed price. Each design is usually around $0.99 each. If you’re a more consistent Silhouette user, you can think about a monthly subscription which starts at around $4.99 per month. A monthly subscription will let you get monthly credits automatically added to your account balance which you can use to purchase any digital content within the design store. Another option is purchasing Credit Boosts. These allow you to buy bundles of credit at a discounted rate, but according to Silhouette, the monthly subscriptions offer more savings.
For today’s festive DIY Gift Box project, I will use a simple box design from the design store, but I encourage you to explore the vast array of diy gift box templates. If you see something you like, maybe you will purchase one and use it. I have reused mine several times over the years.
Materials: DIY Gift Box For Christmas
- Silhouette Studio (there is a free version available for download!)
- DIY gift box templates
- Silhouette Cutting Machine (I own the CAMEO)
- Christmas patterns – I used these pretty winter patterns from Creative Market
- Cardstock
- Glue
How To Make A DIY Gift Box For Christmas
Print Your Christmas Patterns
- Open Silhouette Studio
- Open your Christmas patterns. Some patterns come in squares.
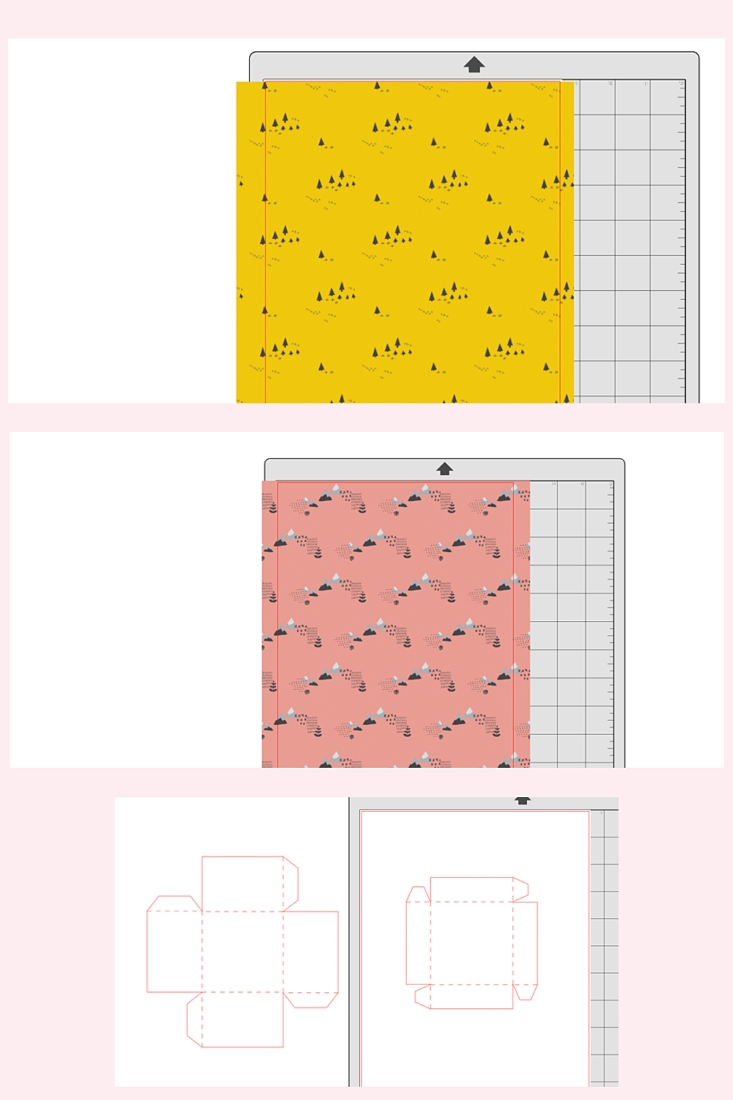
- Resize the square in the printable area in Silhouette Studio, then replicate the square throughout the page so that when you reach the end of the page, it looks like a completed patterned sheet ready for print
- Send your patterned paper to print on cardstock
- Reload that same printed cardstock into your printer so that the sheet will be double-sided
- Create a new pattern or reuse the one you just printed and send to print on the blank side of your patterned cardstock
- Repeat for as many boxes or box parts you need. I used one double sided sheet for the lid and another for the bottom
Download and open your Gift Box template
- In Silhouette Studio, open your Gift Box template from your library
- Resize your gift box design so that it can fit in the printable and cut area. Like I mentioned before, I used 2 sheets – one double sided sheet for the lid and another for the bottom
Send Your DIY Gift Box Design To Cut
For each box, or box part
- Load one double sided cardstock sheet into your Silhouette machine
- Send your box (or box part) design to cut from the Silhouette Studio software using “Plain Cardstock” settings and adjusting the blade settings as indicated
Assemble Your DIY Gift Box
- Once your gift box design is cut, fold the dash cut lines
- Glue the tabs for the box lid and bottom
- Repeat as needed for each gift box
And that’s it! All you need to do is fill your pretty Christmas Gift Boxes with gifts and put under the tree! Tell me in the comments below how they turned out!

Looking for some more fun and crafty inspiration? Take a look at some of my other Silhouette Projects!


