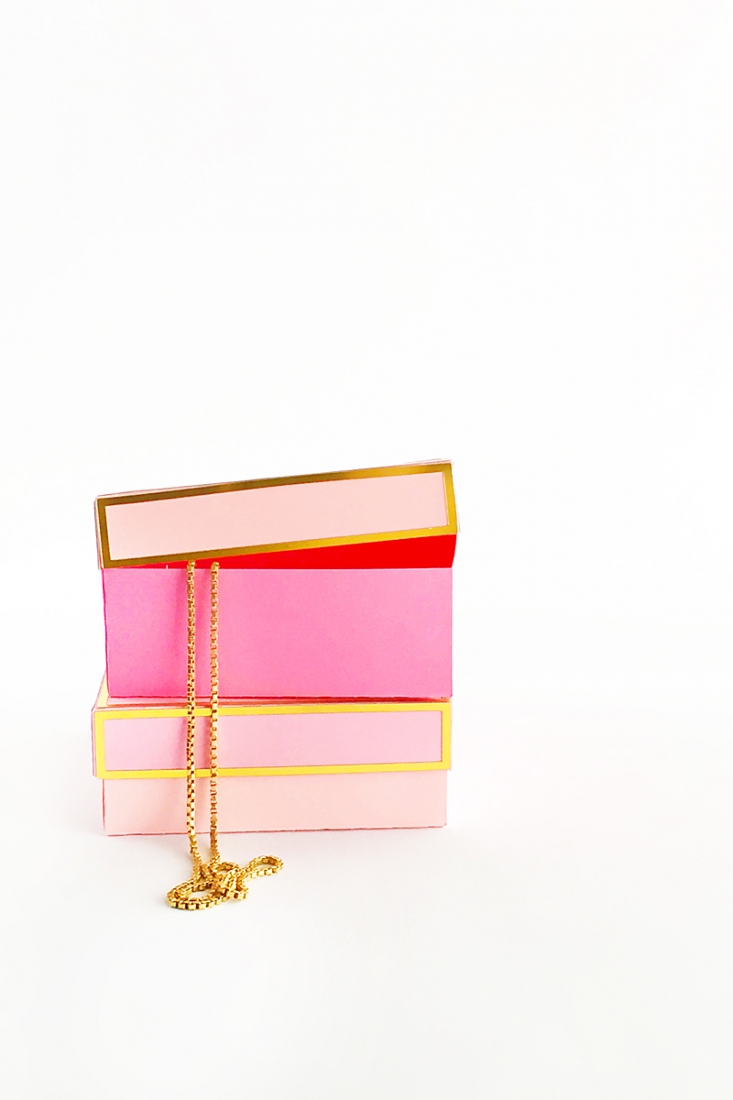
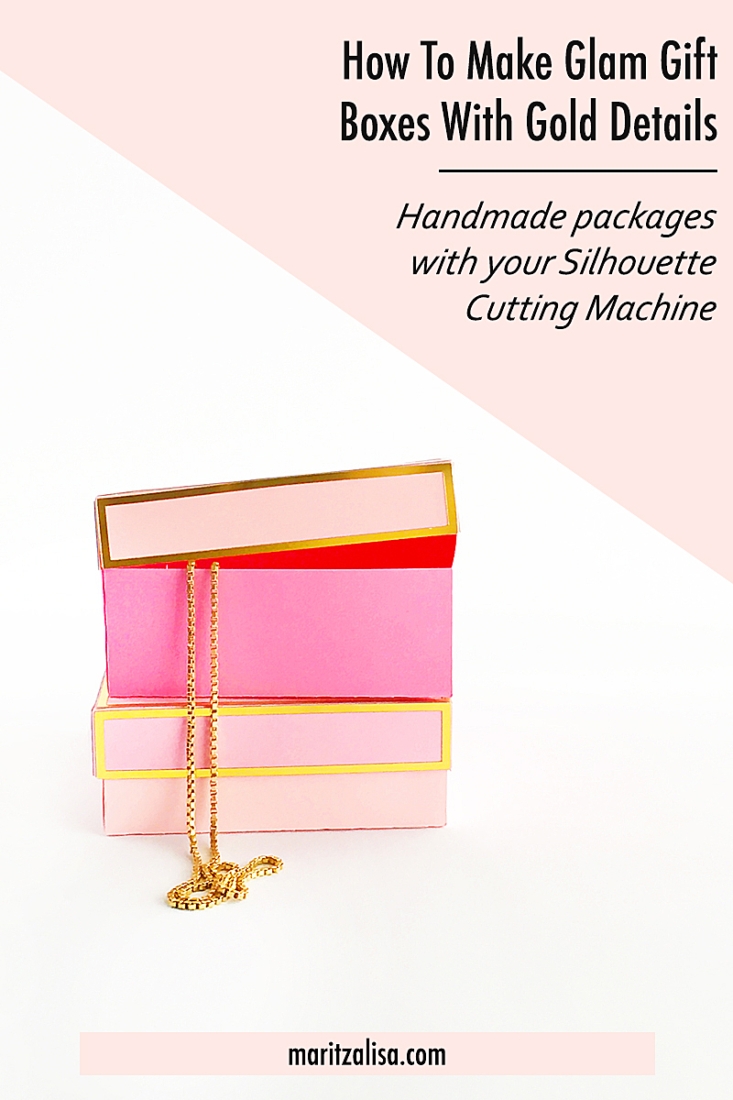
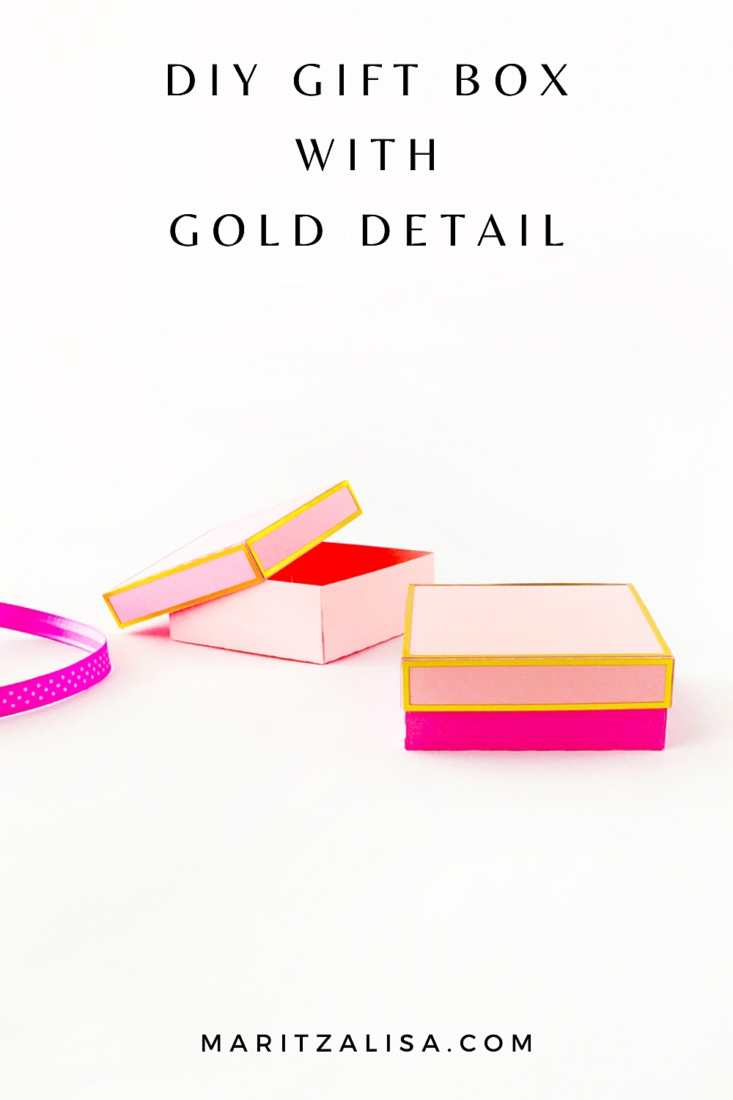
How was your weekend? I had an awesome one with my little family. The sun finally made an appearance which made me in the mood for gold. If you give me a chance, I’d put an edge or border on anything. So why not these DIY Gold Edged Gift Boxes? The gold adds a little touch of glam, don’t you think? Read on to make your own sassy gift boxes…
What You Need: DIY Gold Edged Gift Boxes
- Silhouette Studio
- Silhouette cutting machine
- Printable gold foil
- Box and Flower Tags design. The top of the box is the one with the smaller tabs
- Cardstock
- Glue
Instructions:
- In Silhouette Studio, open your box design
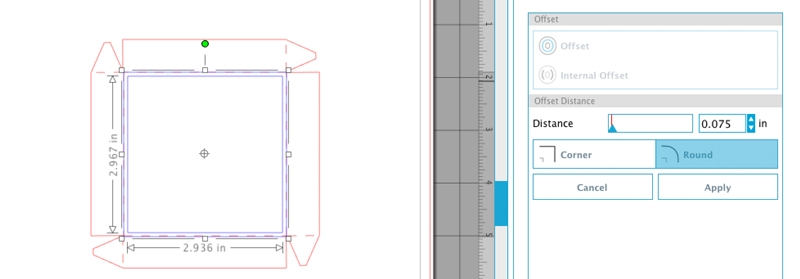
- Use the rectangle tool to draw a square the same size as the top of your box
- Use the offset tool and create an internal offset
- Group the 2 squares together – that will be your top gold edge or border
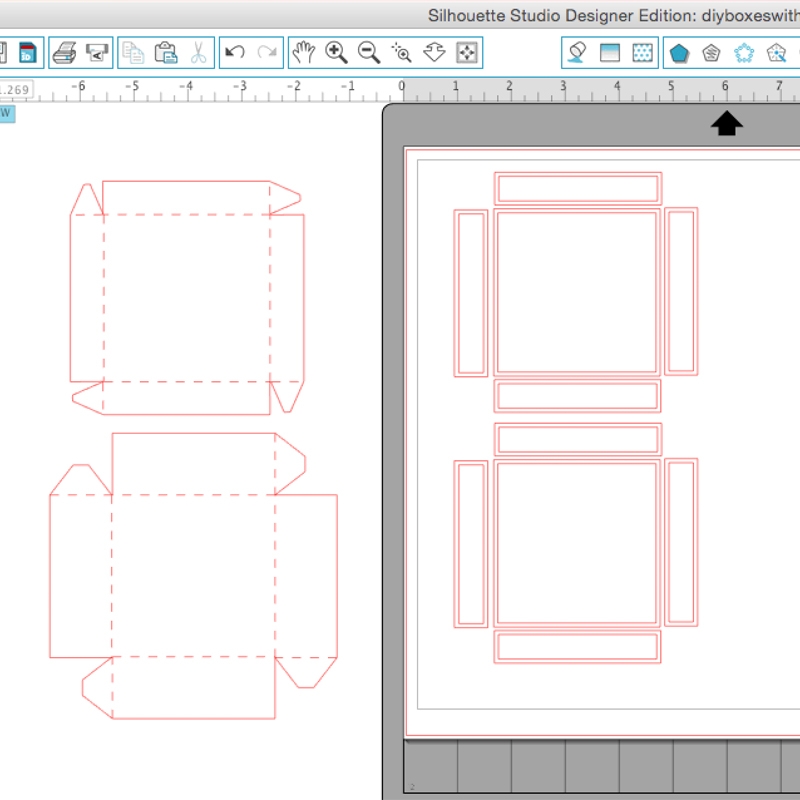
- Repeat for all 4 rectangular tabs on the top of your box
- Place your box design on the page and send to cut using cardstock settings
- Remove the box design and place your edge shapes on the page
- Send to cut using printable foil settings
- Stick your gold foil edges on the top of the box
- Assemble your box by folding at the dashed lines and glueing the tabs
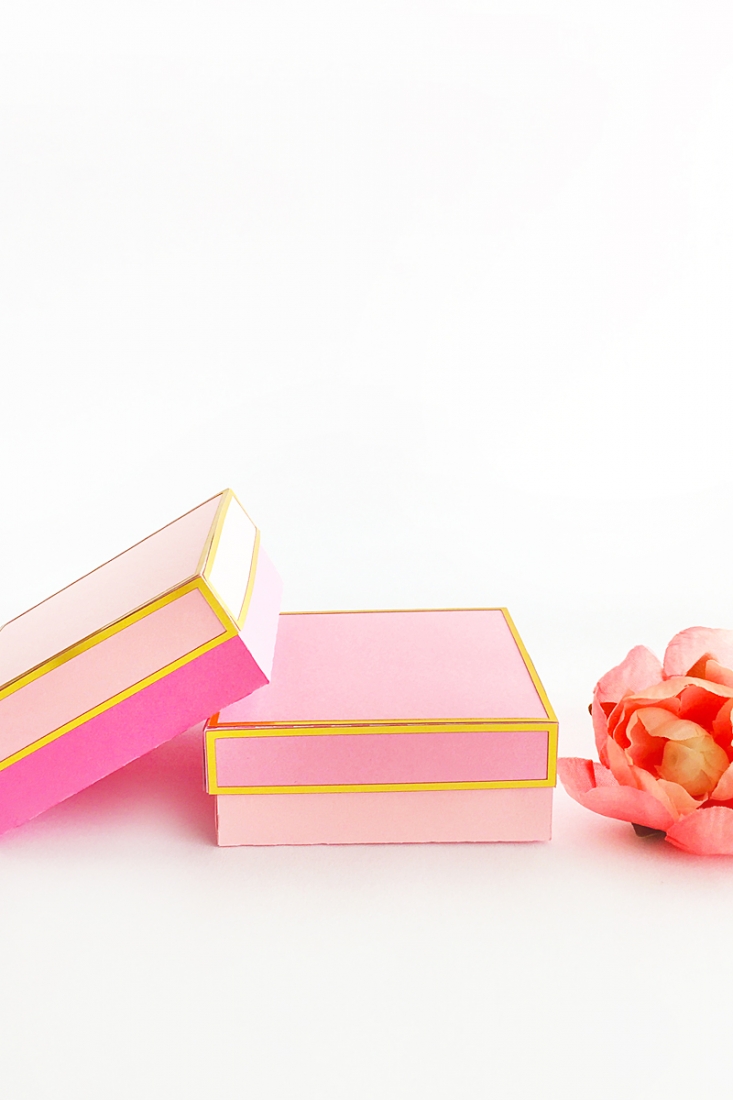
Now you have these pretty gold edged gift boxes, what fun treats will you put in them?
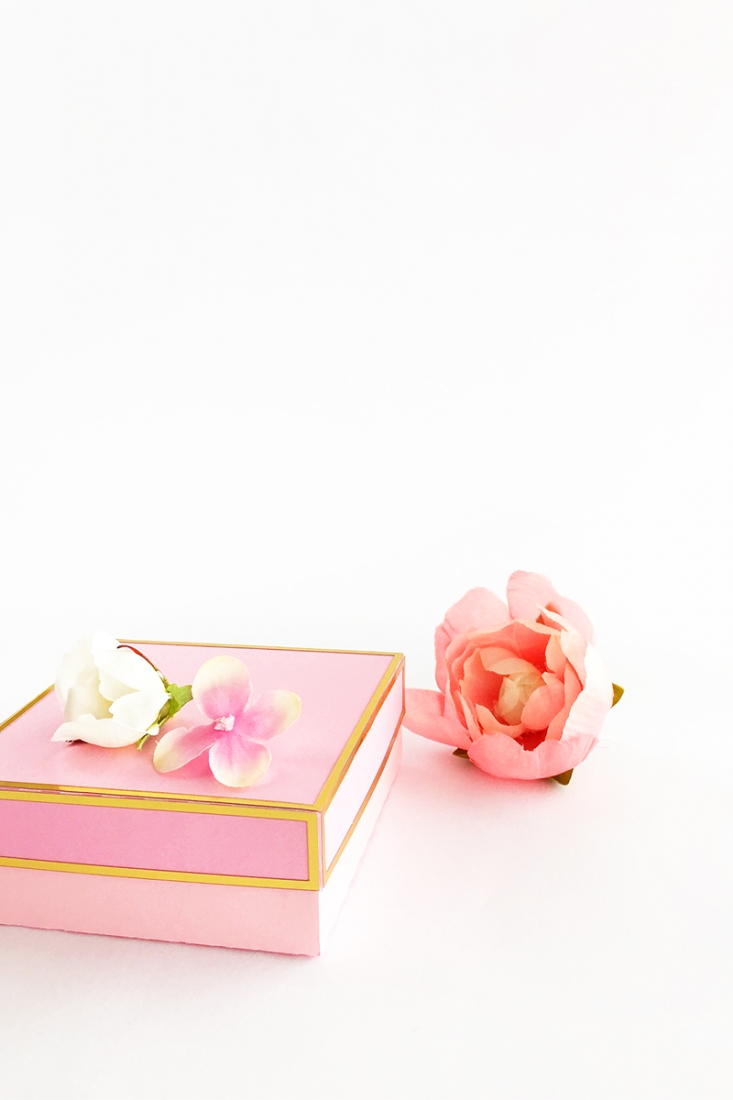
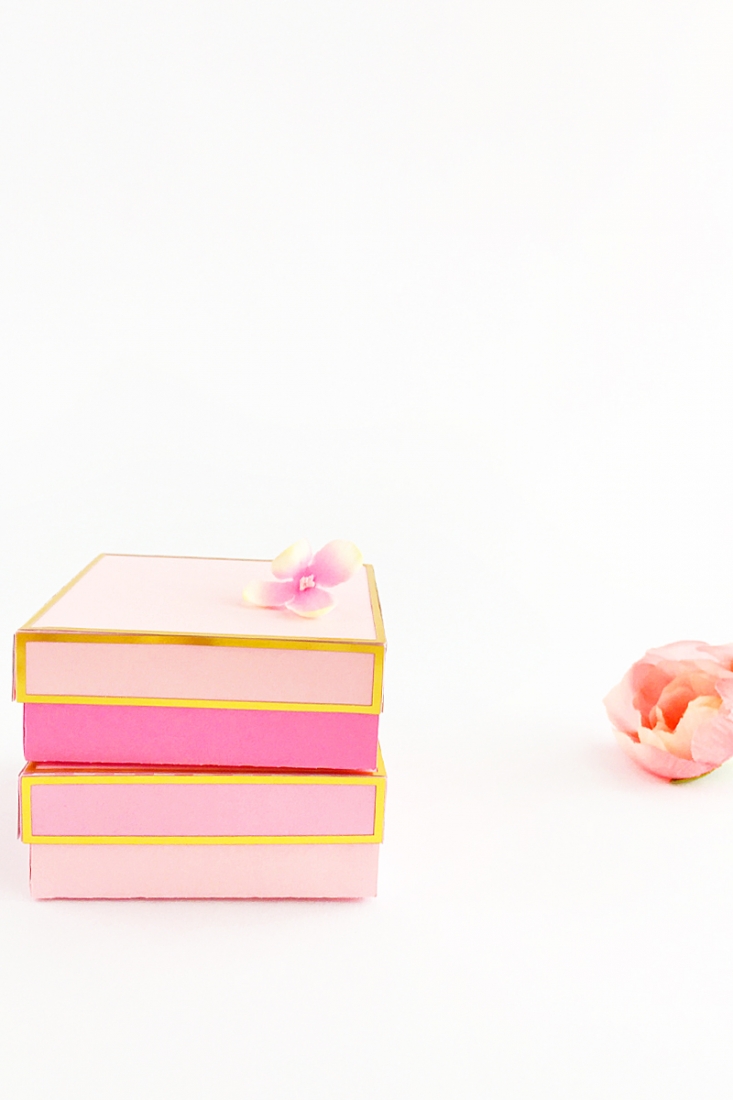
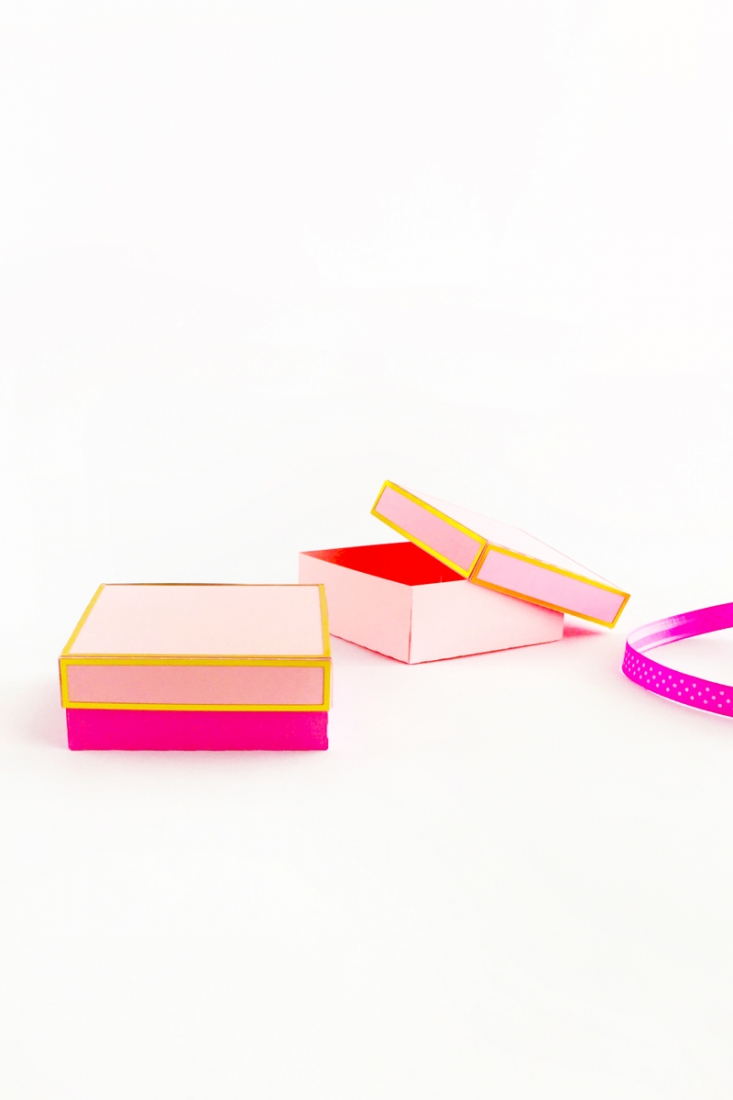
Looking for some more inspiration? Take a look at my other Silhouette Projects – Happy Making!
7 Comments on DIY Gold Edged Gift Boxes
Comments are closed.
So fun! These are great!
Thanks so much, Eden!! xoxox
I love these!! I don’t have a silhouette but I’m pretty sure I need to just go get one already!! And then make all of your adorable DIYs!!
So sweet of you to say, Kristie. Thank you! If you get one, I would love to see what you make!
There are so many options to choose from when it comes to boxes from your site, but the gold detailing on these boxes have totally won me over!
Thank you for sharing:)
Thanks so much, Marwa! So happy you like it! xoxox