
Do you journal? I’ve been journaling off and on for years. More off than on, to be honest. Today, I thought I’d get motivated by creating a Gratitude Journal and sharing the tutorial with you.
*This post contains affiliate links for products that I use and love!
What is a Gratitude Journal?
A gratitude journal is a notebook that you can use to record the good things that are happening in your life. What’s really awesome about it, is that this practice helps you deal with the not-so-good things as they pop up. Once you have made your journal, simply start by writing down the things you are thankful for on regular basis. Maybe you got a raise? Or figured out how to handle a situation? Made a new friend? Journal it.
The Benefits of Gratitude Journaling
Here are just some of the benefits you can enjoy from writing down the good stuff in a gratitude journal:
- You may feel calmer
- You may become more self aware
- You may be able to deal with stress better
- On the not-so-good-days you can read through your journal to review the good things in your life for a better outlook on your current situation
So, with all these benefits in mind, let’s make one!
What You Need To Make A Gratitude Journal
- Silhouette Studio (there is a free version!)
- Printer
- Graphic images for your cover design. I used these floral .png images from Creative Market
- Favorite font for the inspirational text. I used Josefin Sans
- Scissors
- Temporary Tattoo Paper
- Wet towel
- Scraper
- Blank white notebooks
How To Make A Gratitude Journal
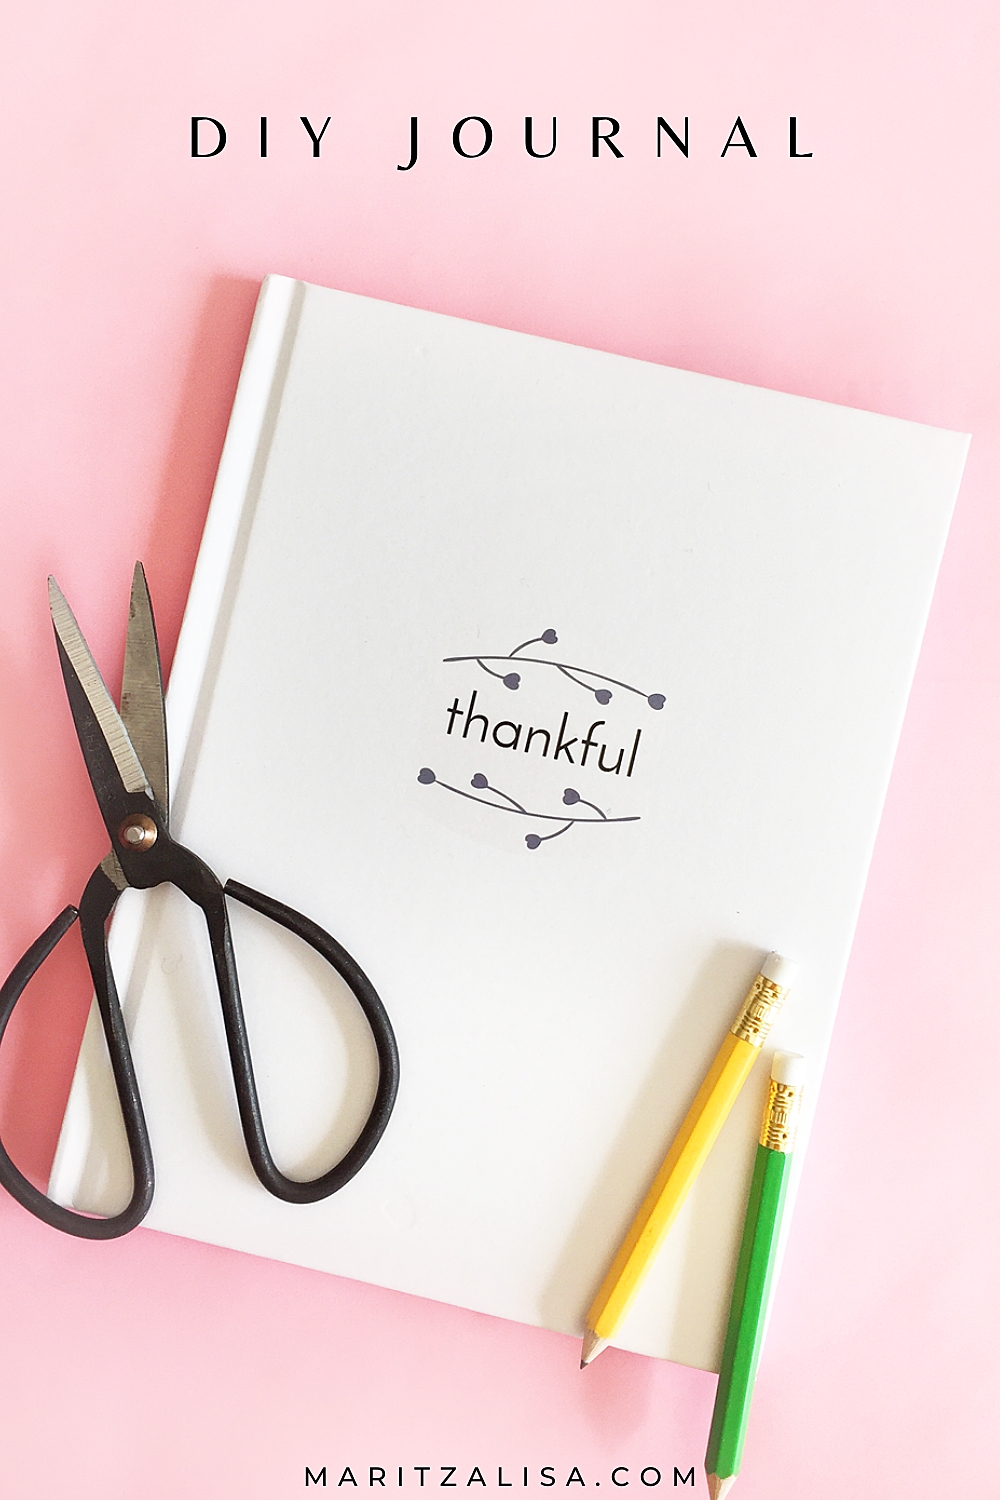
For this project, we will be taking a blank notebook to use as our journal, and decorate it with a design we create in Silhouette Studio. We will then print it on temporary tattoo paper and apply the design to the notebook cover.
Open your images in the Silhouette Studio software
- Open your cover design images in Silhouette Studio
- Resize your images so that they will fit on your journal
- Adjust the positioning of the images (rotate, etc.)
- Add your inspirational text
- Group everything together into one design
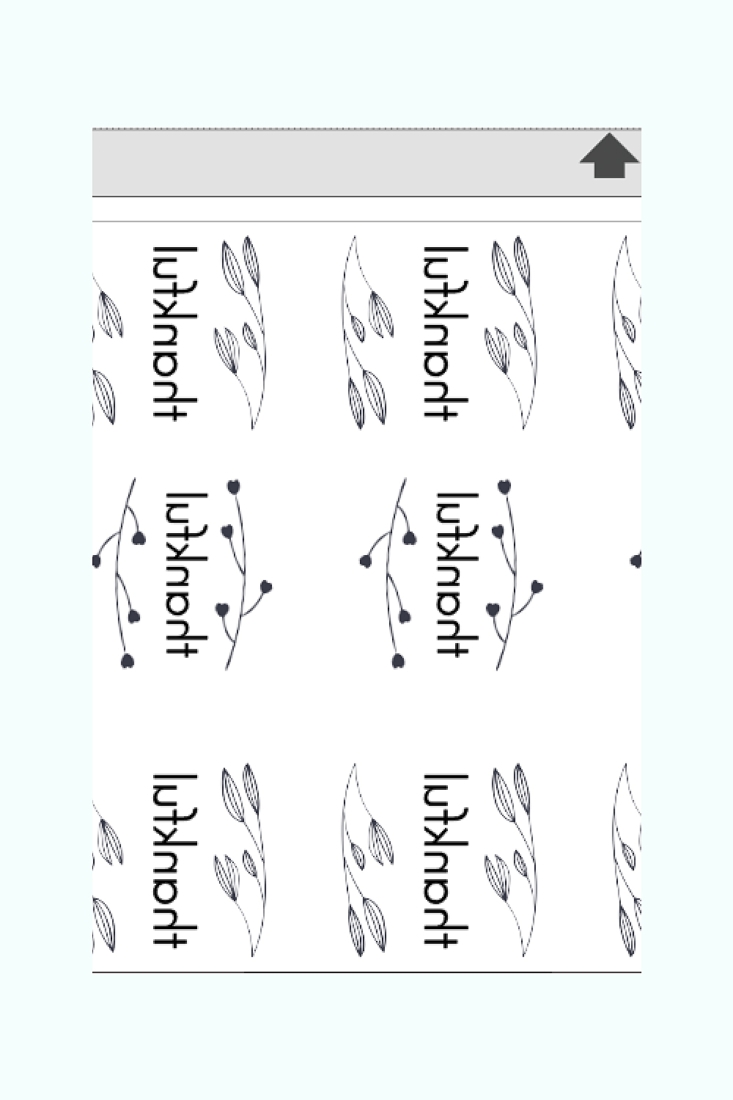
- Mirror your design so that they are reversed. When the images are printed and applied to your journal, they will appear the correct way
- Replicate for as many books you are making (maybe giving as gifts?)
- Place your images in the printable area of the Silhouette Studio software
Print Your Journal Cover Design onto Temporary Tattoo Paper
- Load your temporary tattoo paper into your printer, making sure that the images will print on the glossy side. I recommend using the highest quality print settings or photo paper settings
- Send your gorgeous design to print
- Let the ink dry
Prepare Your Temporary Tattoo for Your Journal
- Apply the adhesive sheet (that comes with your temporary tattoo paper) to the top of your printed images. You can do this by slowly peeling away the green backing on one end, aligning it with the end of the printed tattoo paper. Now continue to peel and smooth the adhesive sheet down to your printed tattoo paper
- Use the scraper to smooth out any bubbles and rub the adhesive sheet to the images
Cut and Apply Your DIY Temporary Tattoos To Your Journal
- Use your scissors to cut out the cover design, staying very close to each image’s edge
- Peel off the clear adhesive layer
- Apply the tattoo design face down on to your notebook, and cover with the wet cloth for 10-15 seconds until the white paper backing slides off easily
And that’s it! Now you have a gratitude journal that you can use tonight! I can’t wait to hear how it turned out!

Looking for some more inspiration? Check out my other tattoo paper projects and craft a little longer with me!