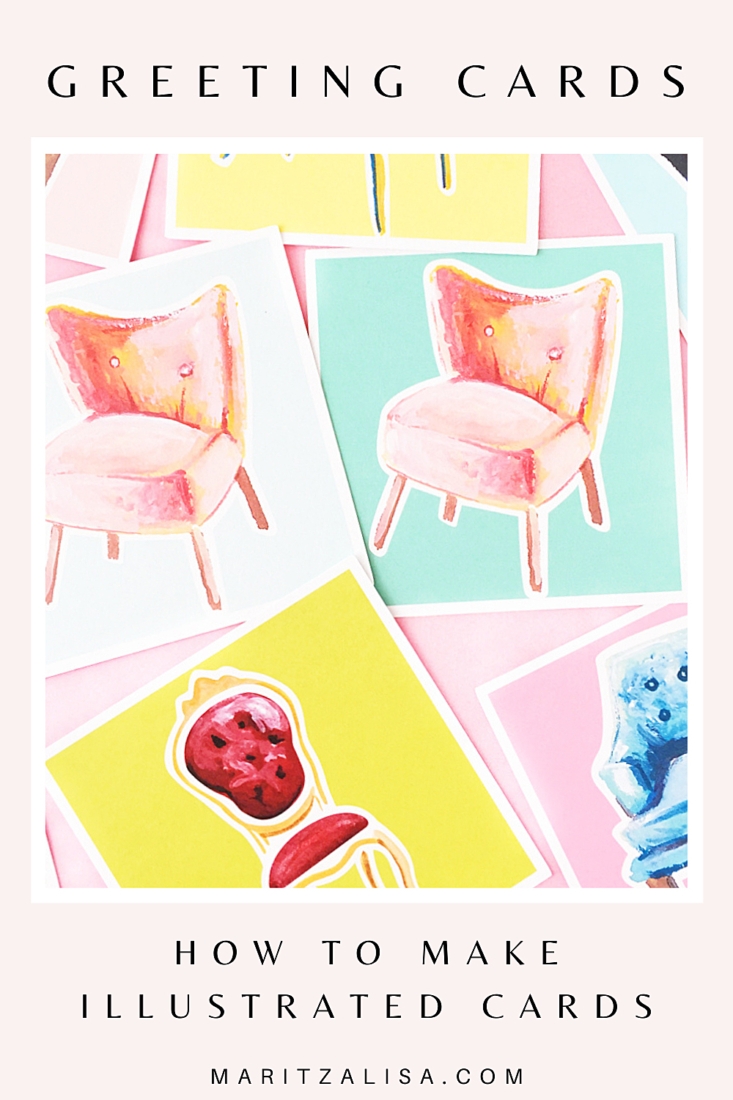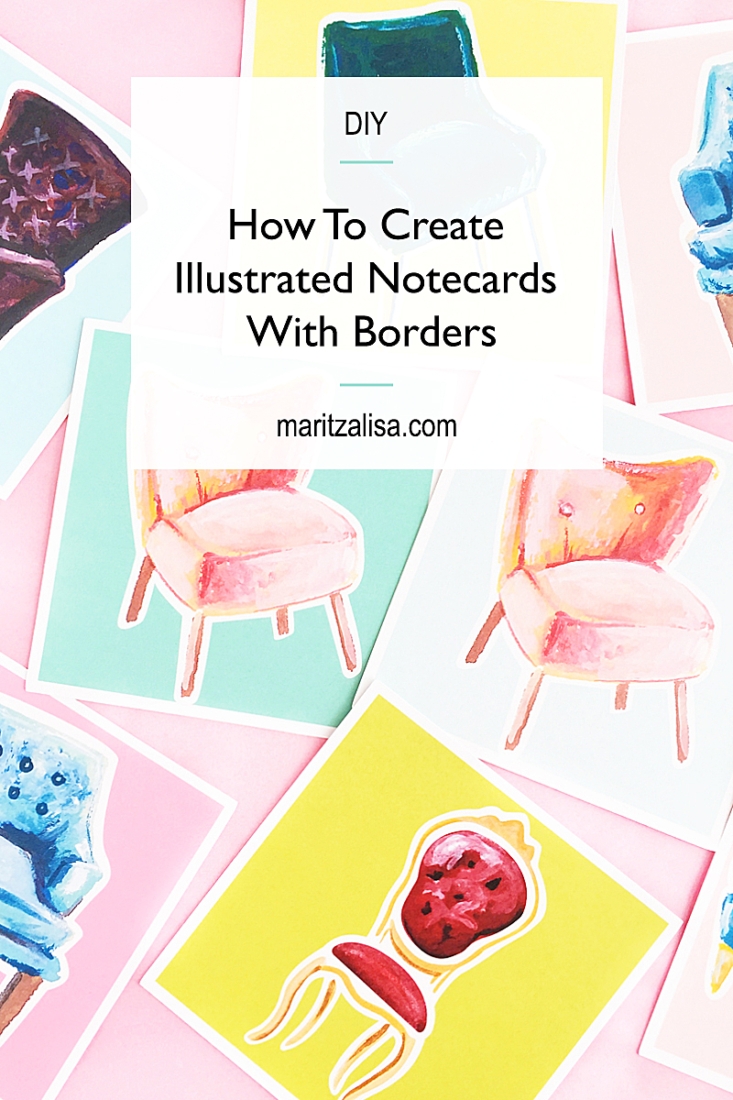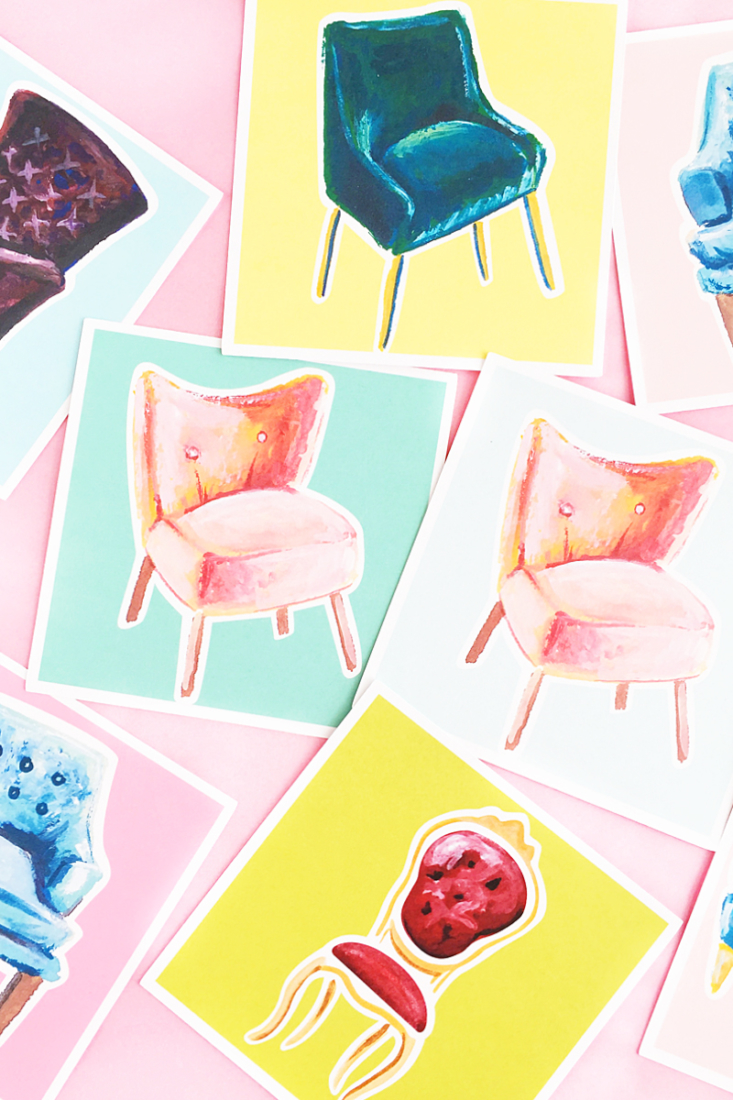
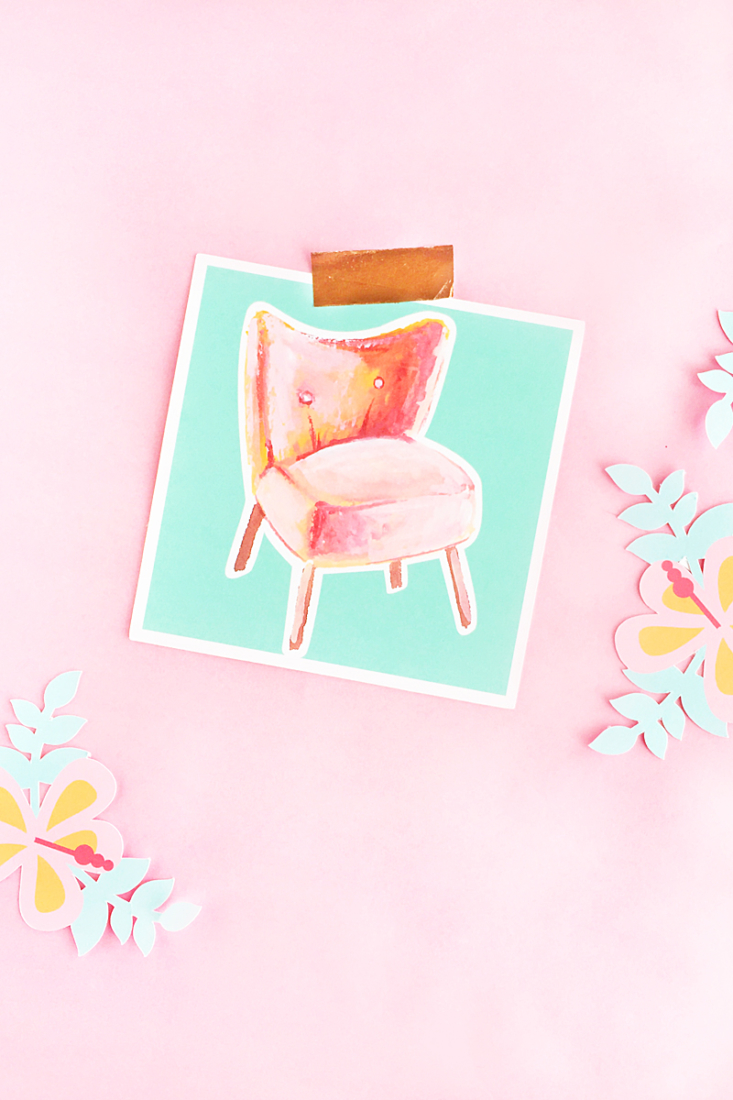
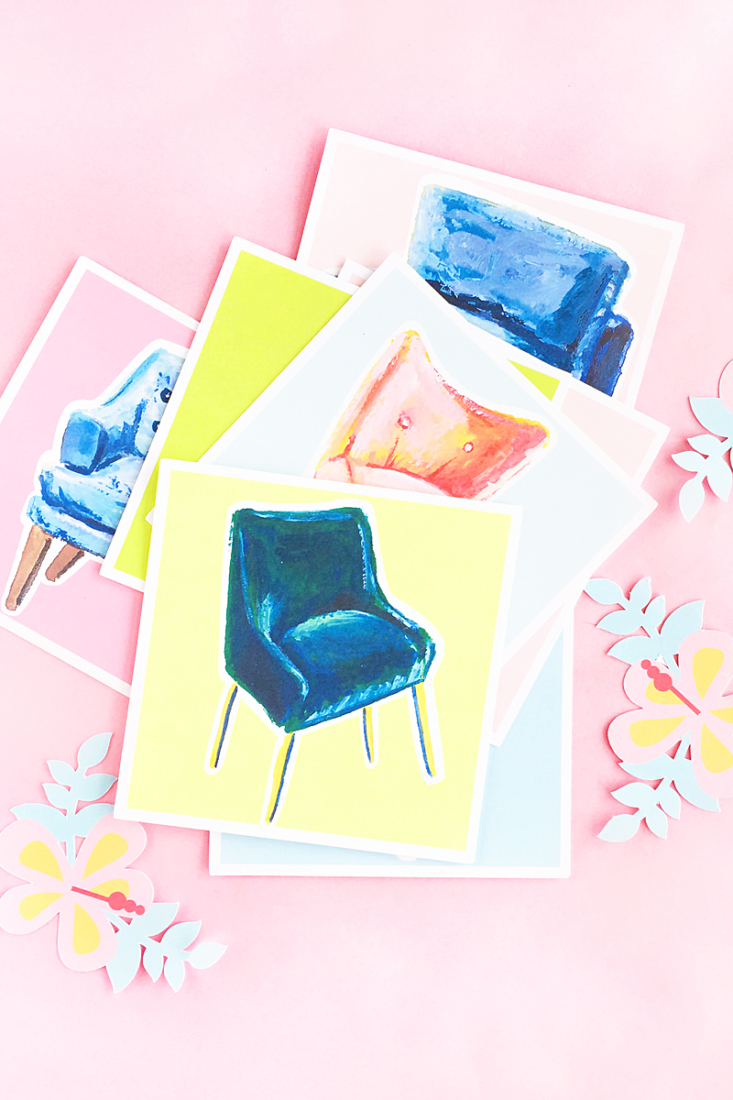
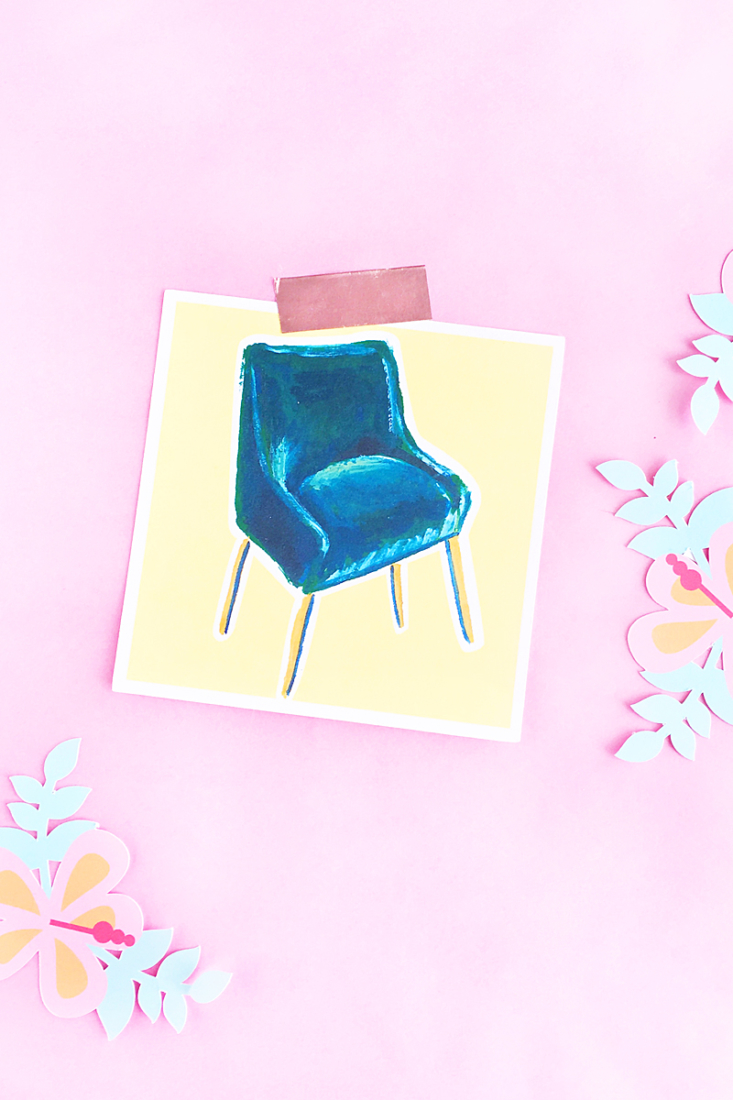
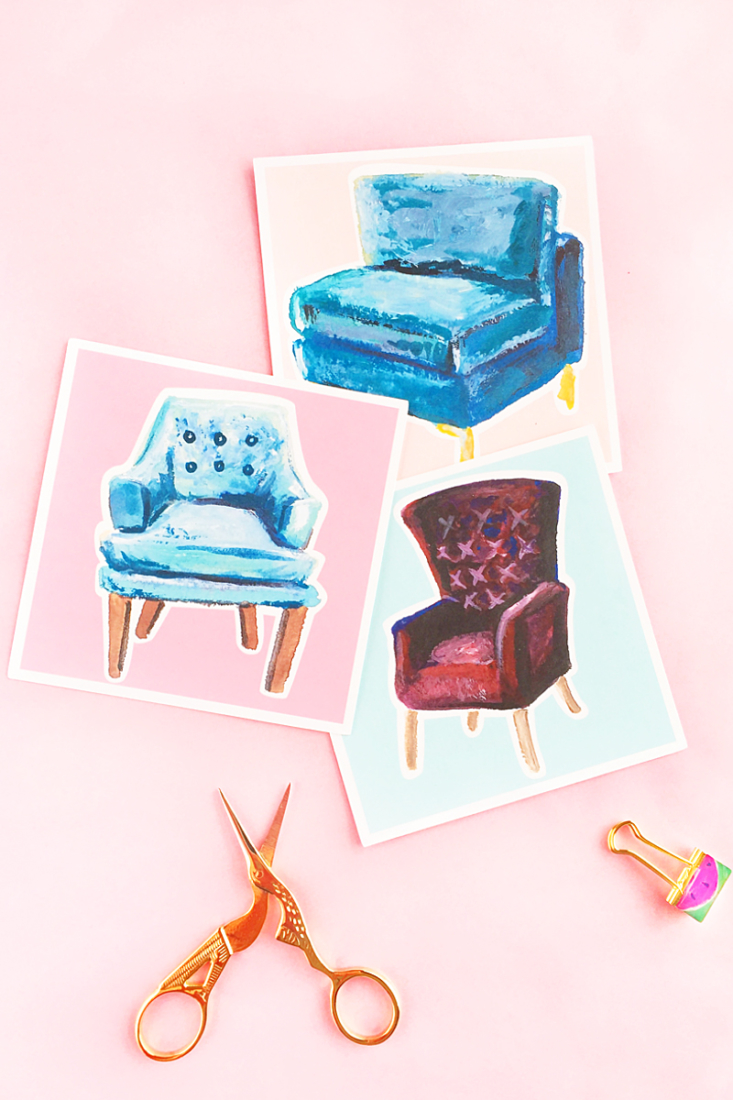
Happy April! If you love home decor or know someone who does, then you need to make these DIY Illustrated Chair Square Notecards pronto. They will be a perfect addition to your stationery stash or to even package them up as a gift. You can make these as a print and cut project with your electronic cutting machine or you can just print and cut them by hand. Read on for the full tutorial!
DIY Illustrated Chair Square Notecards – What You Need
- Silhouette Studio (there is a free version! I used v4)
- Silhouette cutting machine or you can cut by hand
- Bristol paper – this is like a thicker cardstock (cut into 8.5 x 11 in sheets so that you can print on them)
- Printer
- Hand painted chairs
- Scissors
*This post contains affiliate links for products that I use and love!
Instructions
- In Silhouette Studio, create your notecard shapes using the rectangle tool. To create a perfect square, hold the SHIFT key down while drawing your notecard.
- Fill your square with color
- For the white border, use the Offset tool to create an outer square and set the inner square to No Cut. If you are cutting by hand, increase your line thickness for the outer square so that you can see where to cut when you print your notecards out
- Merge your .png chair images on to your document, resize them and place them on top of your notecards (within the inner square)
- If you are using your Silhouette, show registration marks and use the print and cut feature
- If you are cutting by hand, print your notecards and cut them out with scissors
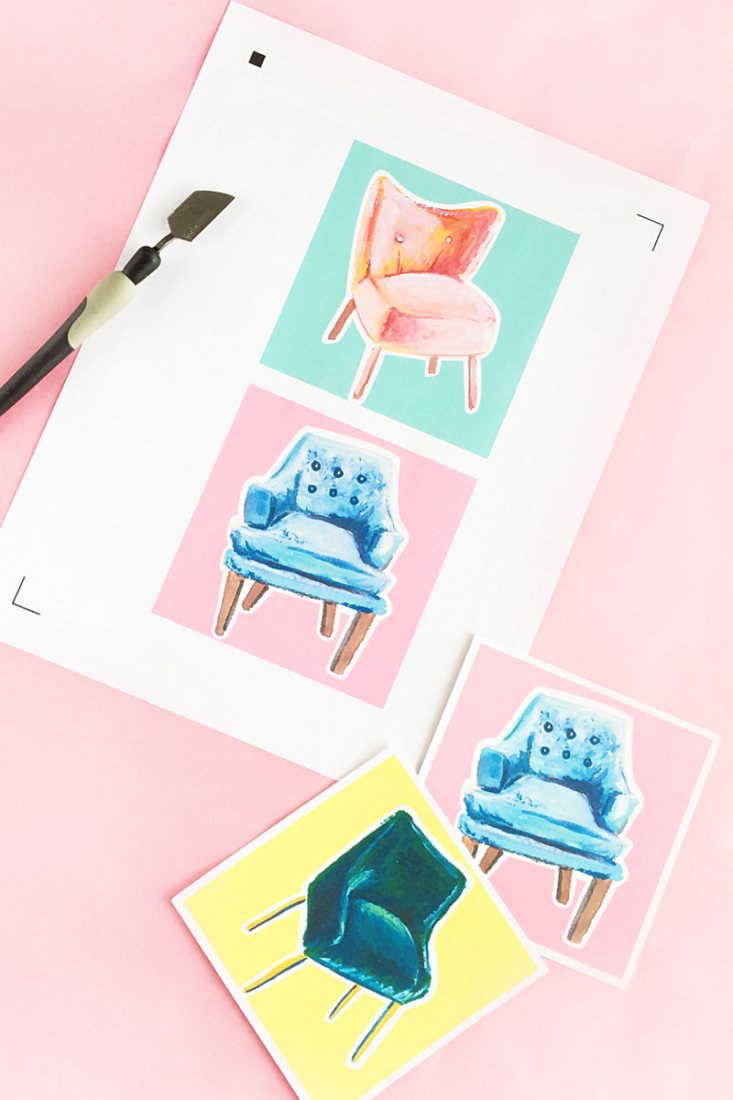
And there you have it! How cute are these cards? Tell me in the comments below how you designed your own pretty notecards!
Looking for some more inspiration? Take a look at my other Silhouette projects!
