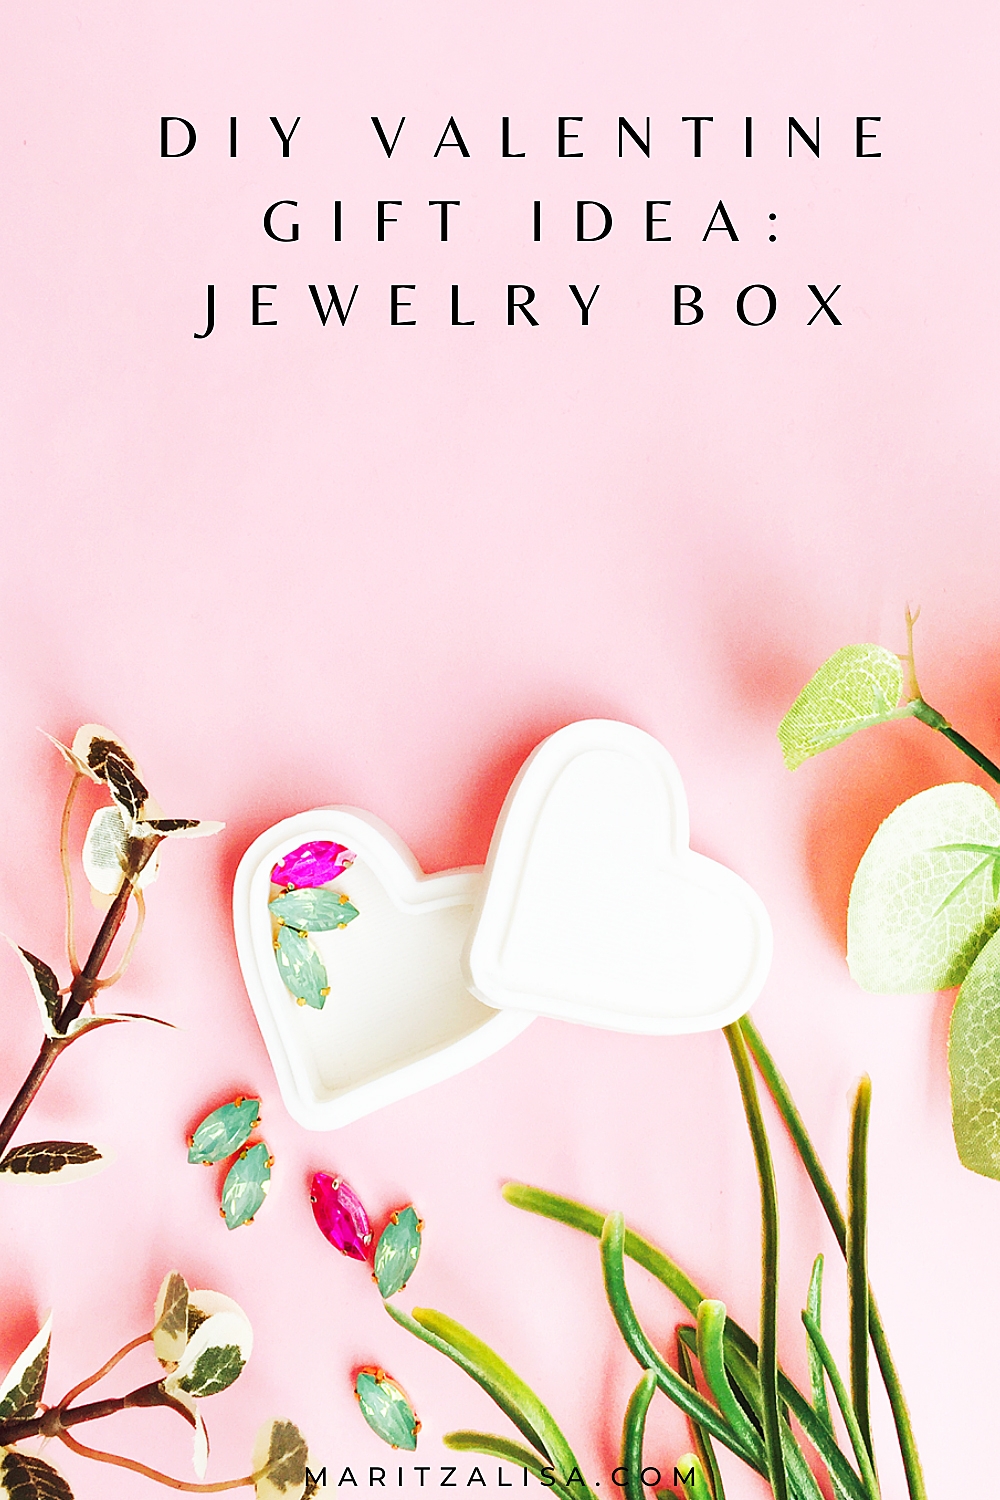
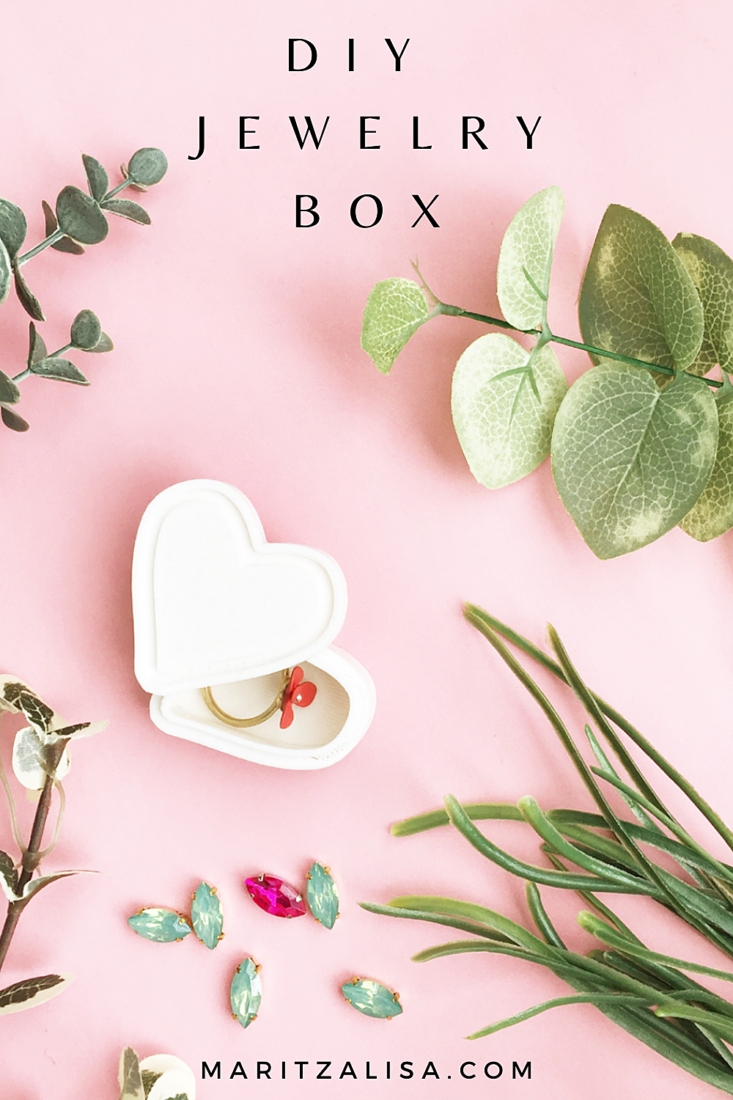
Today’s tutorial is all about hearts. I’ll show you how to design a 2-d heart using the Silhouette Studio software then 3D print a heat-shaped DIY Jewelry Box. This little trinket box will be perfect storage for your accessories. You can also make multiple smaller versions and use as gift boxes for every occasion. Read on for the full tutorial!
What Is the Silhouette Alta 3D Printer?
The Silhouette Alta is a 3D printing machine that can help you create fun 3D objects out of PLA plastic filament when connected to your computer.
When you purchase the Alta, you can use a few free 3D designs to play with. Once you have purchased and registered your machine, these designs are automatically added to your account. However, for today’s project, we will make our own heart design.
After downloading the Silhouette 3D software, you will be able to import your own 2D heart design and transform it into a 3D Jewelry Box design.
What is PLA Plastic Filament?
According to Silhouette America, PLA plastic filament is used to 3D print our projects. Once the filament is loaded in to the Alta, the print head heats the filament to a high temperature. The heated filament becomes very soft which allows the printer to feed it through the print head and print your 3D project in layers.
The Silhouette Alta comes with a sample of white PLA plastic filament to get started with your 3D projects. I personally love the white color because you can leave it as-is or you can paint the finished 3D object to any color you want. I’ve used chalk paint before and love its matte finish. There are larger rolls of filament in a variety of colors on the Silhouette America website you can purchase as well.
Silhouette America also states on its site that their PLA plastics do not contain BPA and is biodegradable.
What You Need To 3D Print DIY Jewelry Box:
- Silhouette Studio (there is a free version!)
- Silhouette Alta 3D Printer
- Silhouette 3D Software
*This post contains affiliate links for products that I use and love!
How To 3D Print DIY Jewelry Box:
If this is your first 3D project and you need additional help, I did a post on setting up your 3D Printer and making your first project.
1. Create Your 2D Heart Design in Silhouette Studio
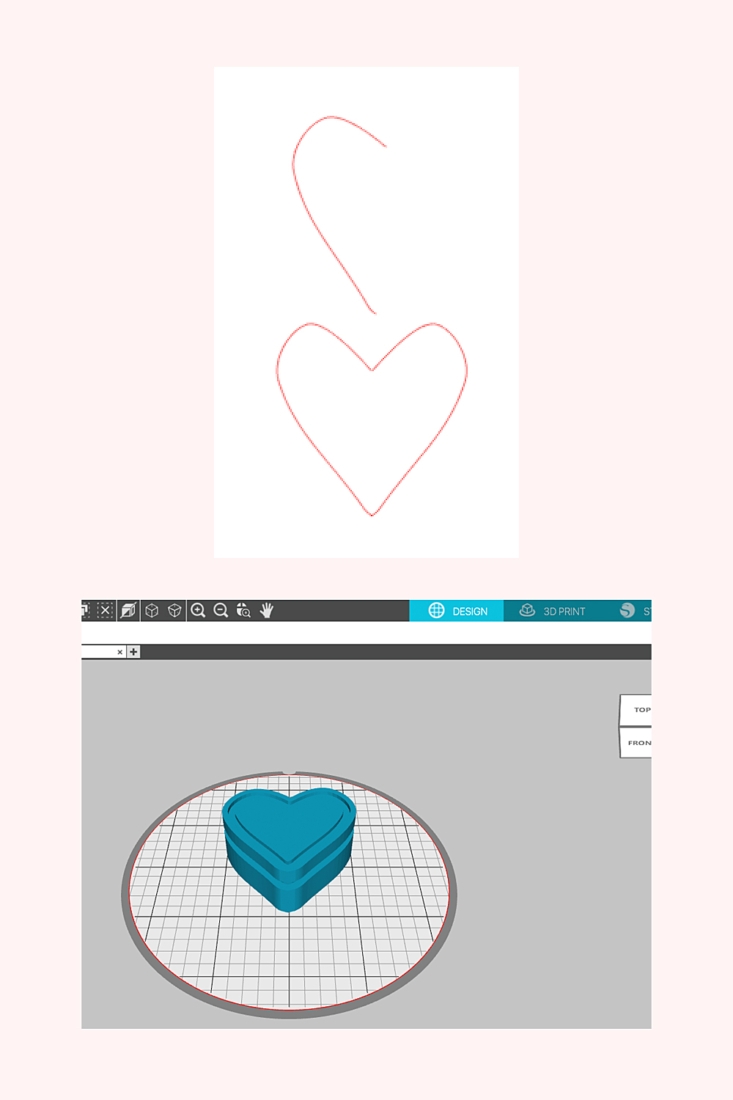
- In Silhouette Studio, create your heart design using the freehand tool (see image below)
- Once you are happy with the design, make it a compound path
- Save your 2D heart design
2. Import Your 2D Heart Design into the 3D Software
- In the Silhouette 3D Software, open the heart design you created
- A pop-up will appear: Import As
- Select Jewelry – the design will appear in 3D. Adjust the dimensions
3. Send Your 2D Heart Design To Be 3D Printed
- Select the 3D Print Tab on the right
- Select the Quality (I used the Standard option)
- Select the bottom of the jewelry box and press Print. The machine will heat up and 3D print the bottom of the jewelry box – you will see the countdown of time as well
- Once the bottom of the jewelry box is 3D printed, let it cool then remove the platform from the printer
- Select the top of the jewelry box. Repeat steps 3 and 4 for top of the heart shaped jewelry box
I love how mine turned out! What do you think? Let me know how your DIY Jewelry Box turned out! They make awesome gifts too!

Looking for some more fun DIY and Crafts inspiration? Check out my other Silhouette Alta 3D Projects and craft a little longer with me!


