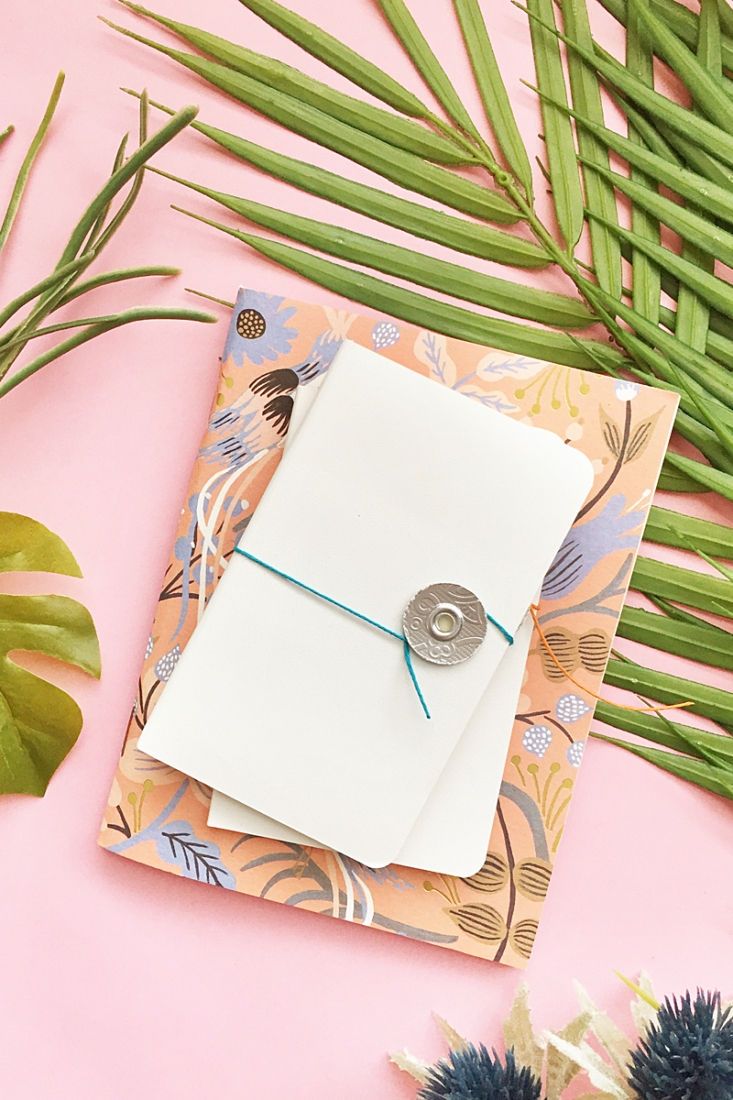
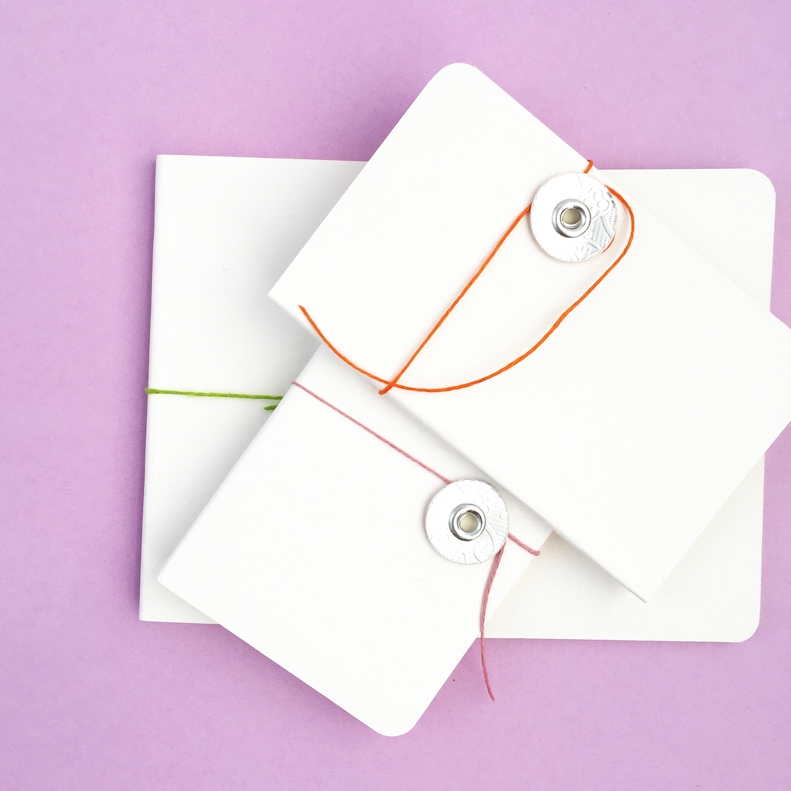
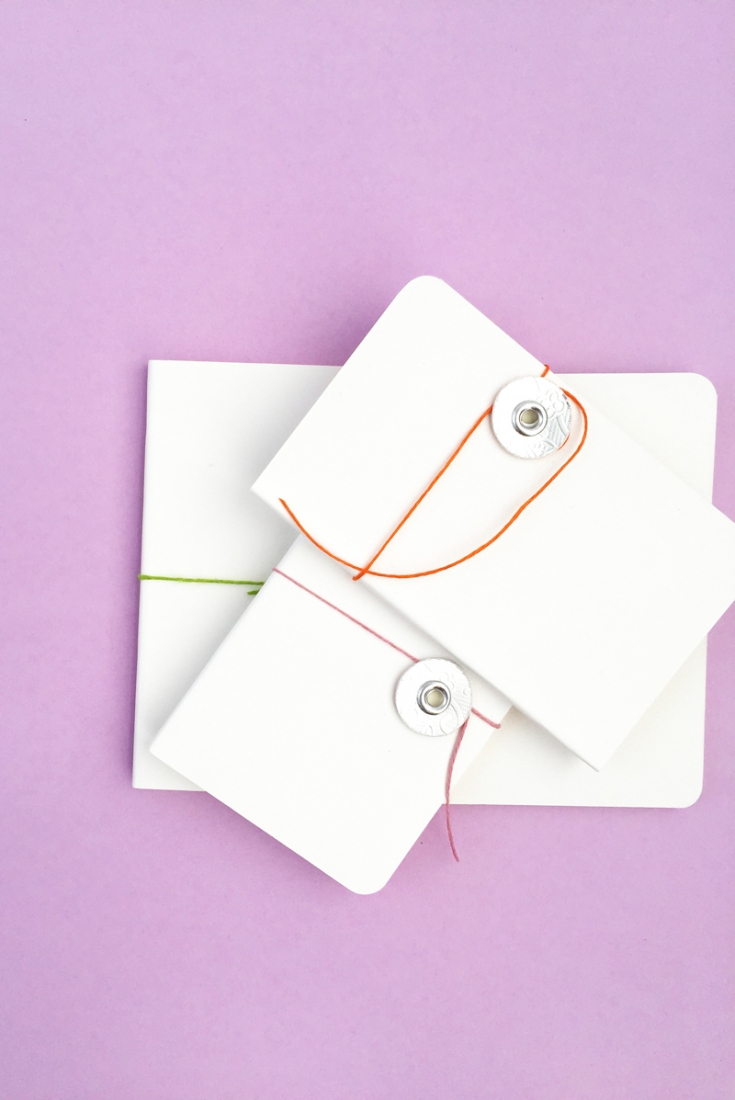
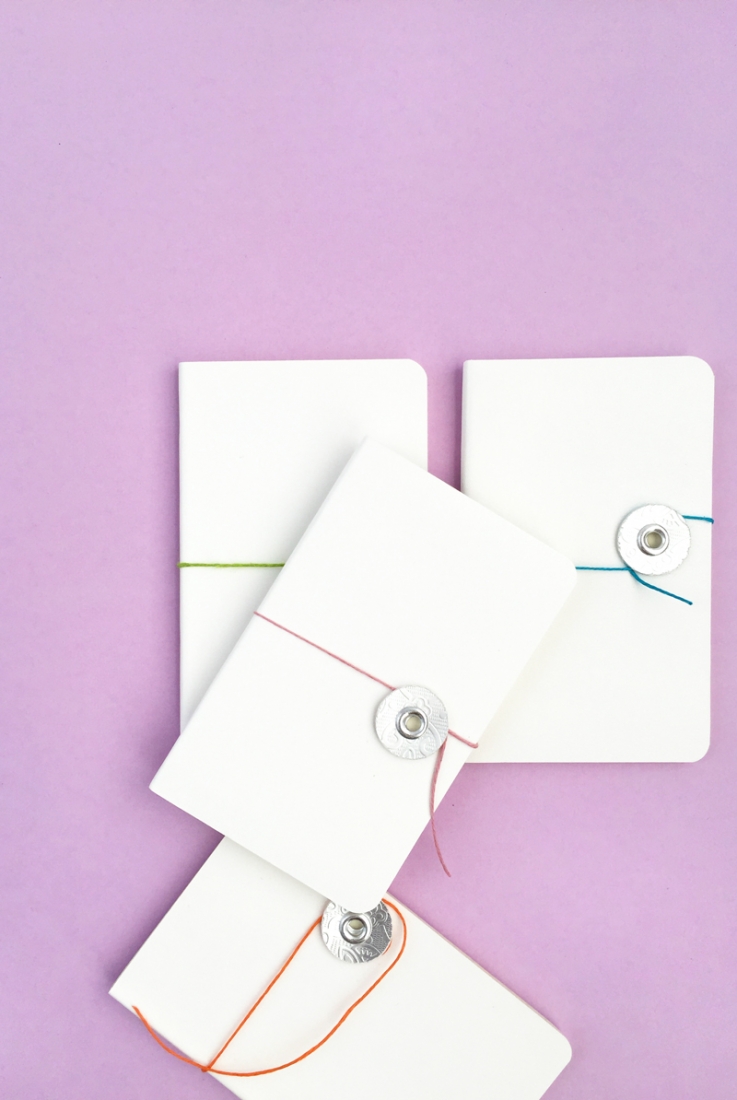
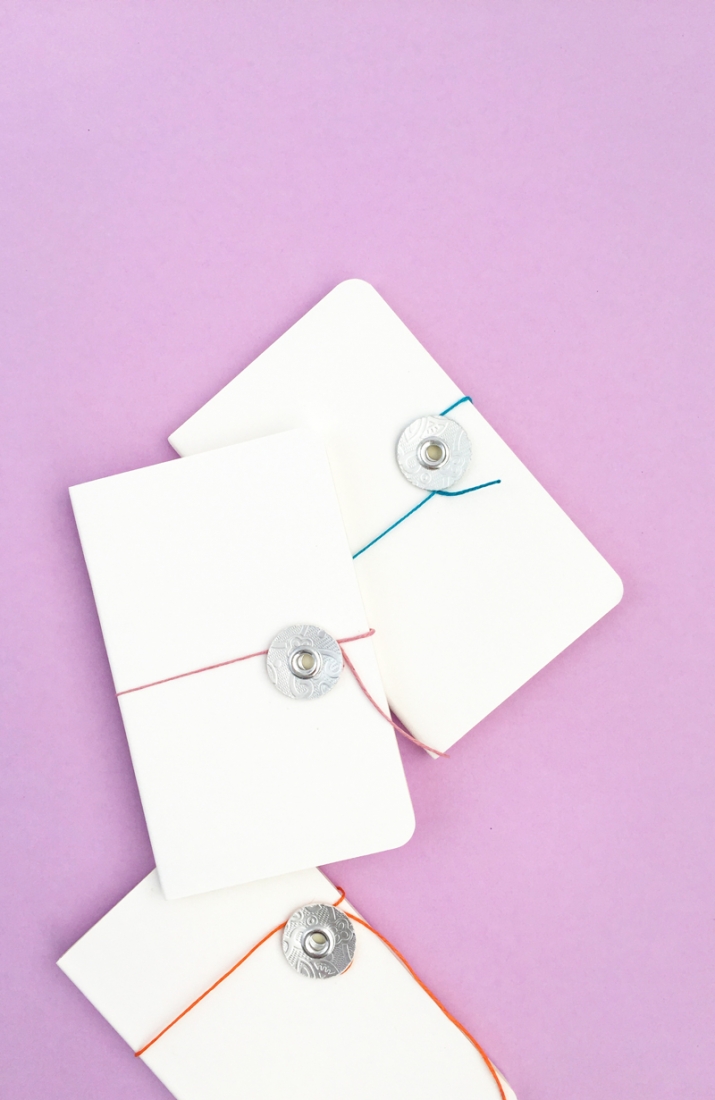
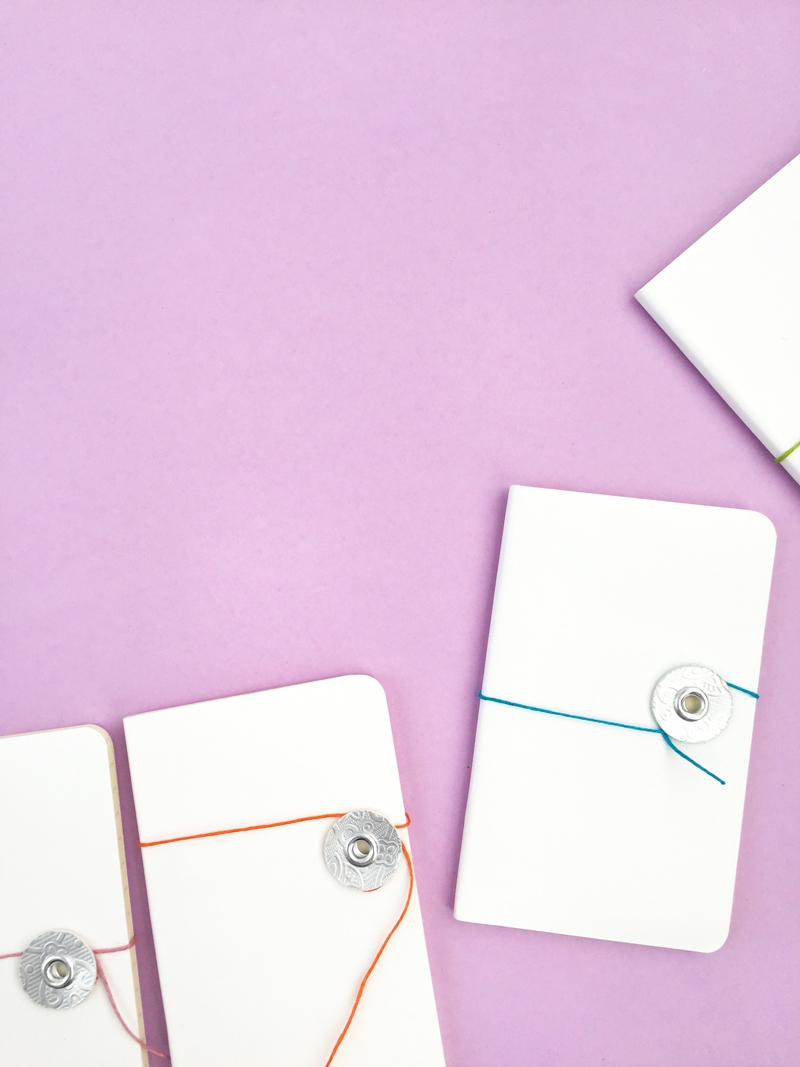
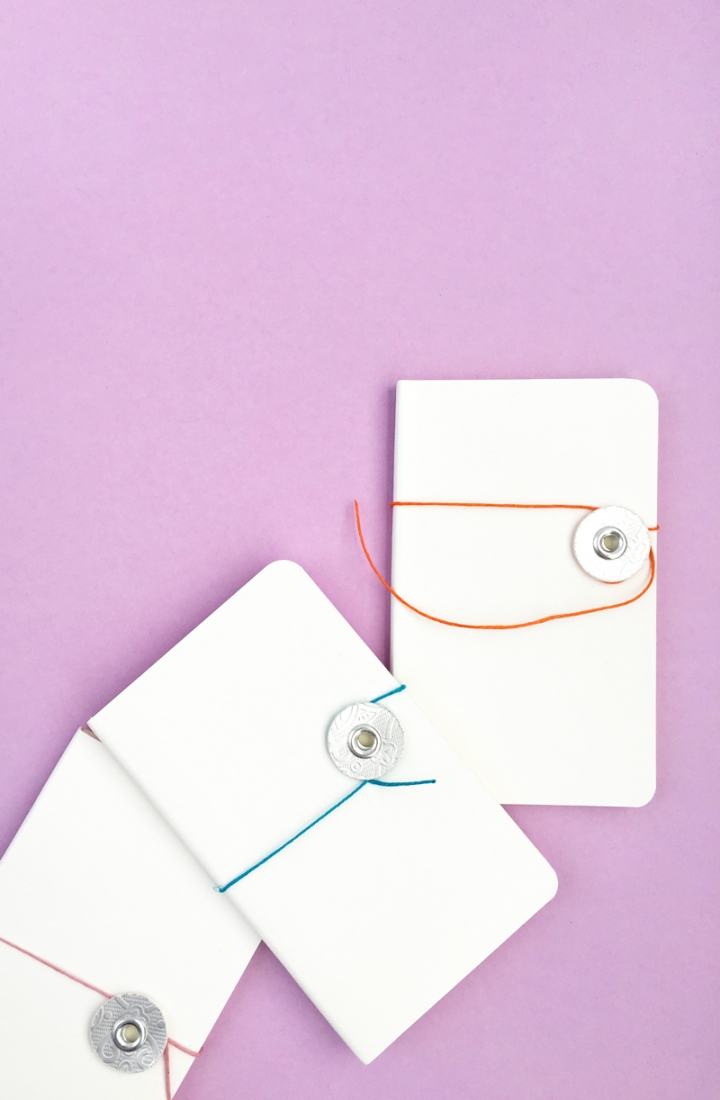
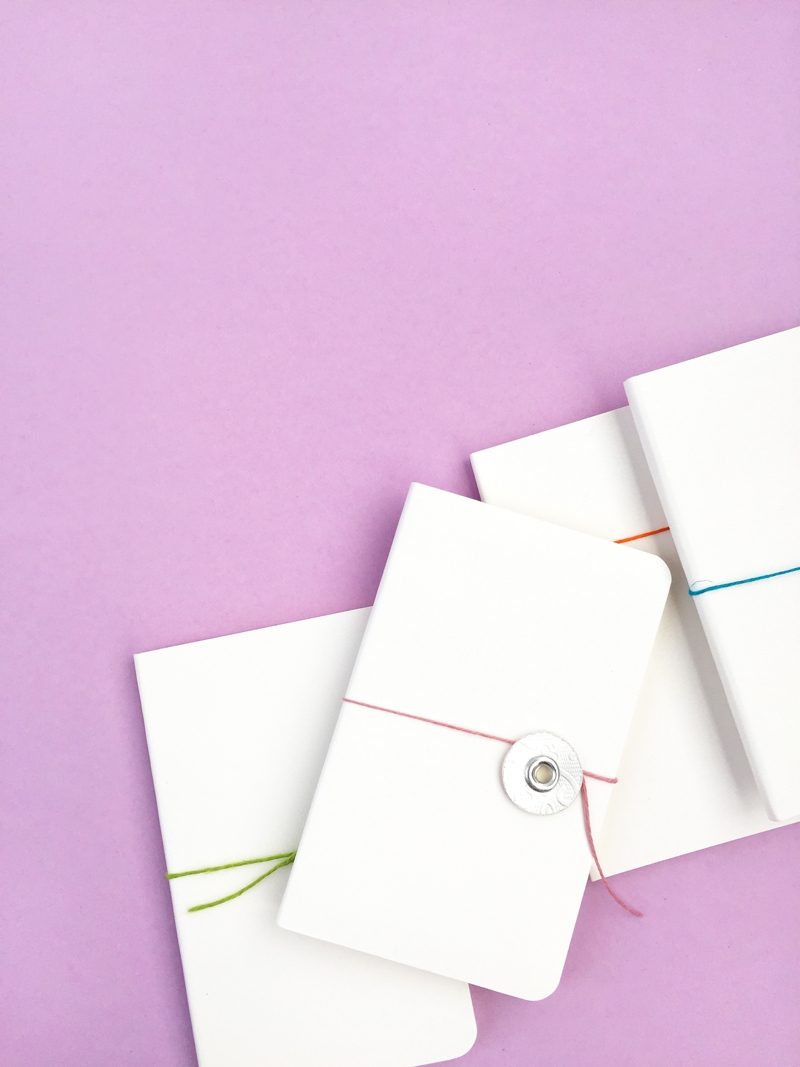
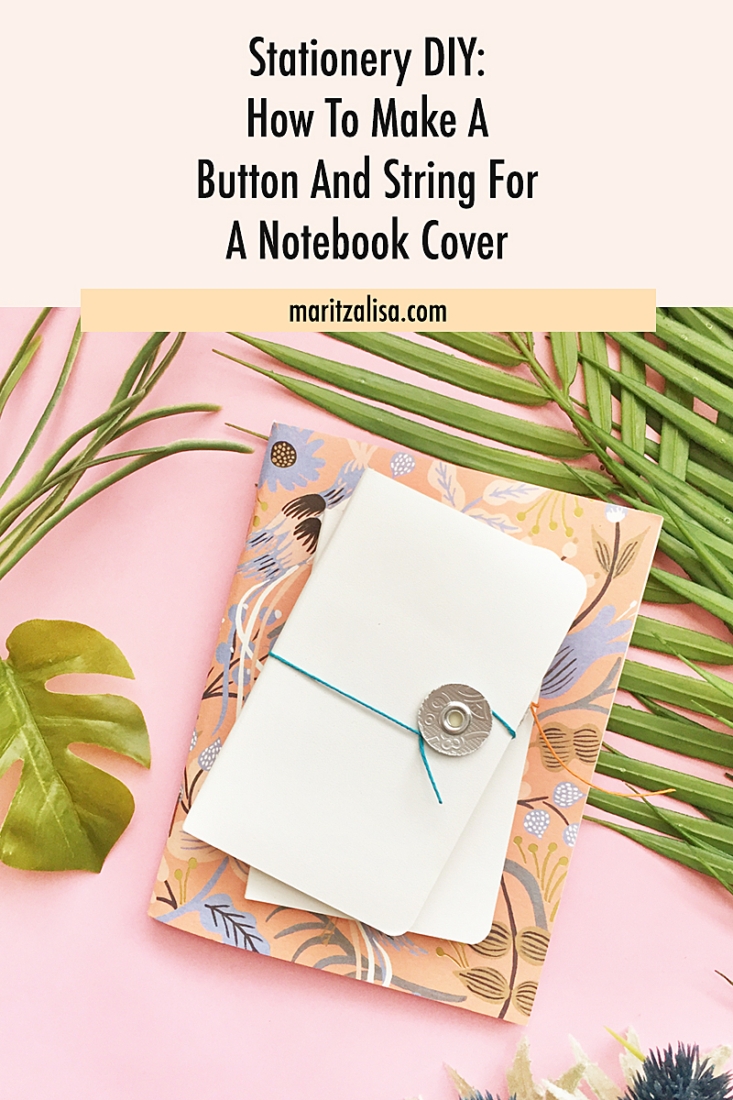
So, I finally got a chance to open and play with my Silhouette Curio. The Curio is one of Silhouette’s latest cutting machines that allows you to etch, score, emboss, stipple and perform dual jobs at once (think sketch and cut) on a variety of materials. It’s the perfect complement to my CAMEO – especially for smaller DIY projects. So, after downloading the latest Silhouette Studio software (tip: go directly to Silhouette’s site to download the latest version), and setting up my new toy, I decided to test it out with something very small and easy. Enter these DIY mini button and string notebooks. Now – this can totally be done with your other cutting machines, and manually, but like I said, I wanted to test it out with a relatively easy project. Want to try it out? Read on for the tutorial!
Disclosure: This post is brought to you by Silhouette America. I adore my Silhouette cutting machines and all the other products I have used from Silhouette. This awesome partnership allows me to share great bundles and deals, as well as fun projects, like this one.
Materials: DIY Mini Button and String Notebooks
- Silhouette Studio
- Silhouette cutting machine (I used the Curio)
- Cutting mat
- Textured cardstock (I got mine at Michaels)
- 3/16 inch eyelets and washers
- Crop-a-dile (I used the Big Bite)
- String
- Mini Moleskine notebooks
Instructions:
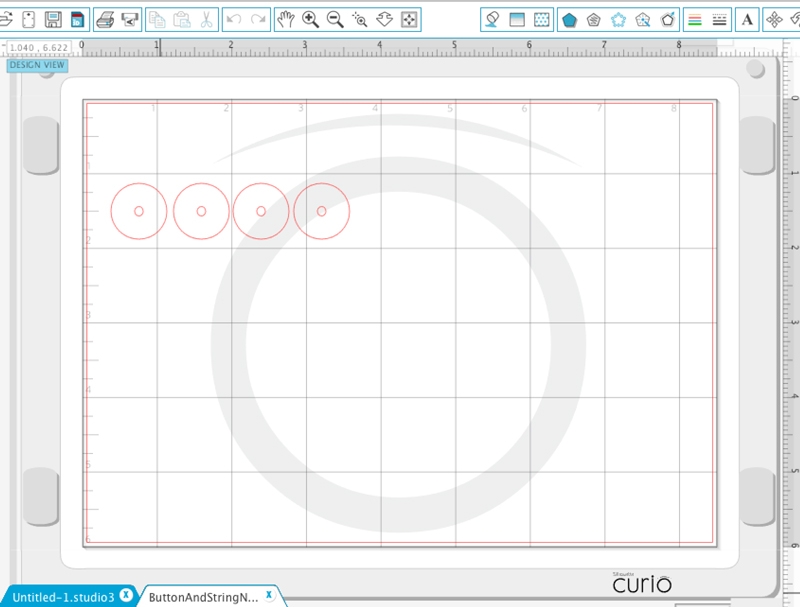
- In Silhouette Studio, go to the Design Settings Page and confirm that your page and mat are showing Curio settings
- Create your buttons. I create mine as circles (.75 in. wide) with an inner circle to fit my 3/16 in. eyelets
- Set your blade to Textured Cardstock settings in the Tool 1 (red) slot
- Load your cardstock on to your mat (note: peel the blue protective sheet off first).
- Load your mat and other platforms onto the tray. In the settings, you will see 6 platforms are required. These are the platforms that come with your curio bundle. Each one is labeled with a 1 or 2 (which counts as the number of platforms). Your mat counts as 1. So you will need a two 2s and a 1, then your mat (2+2+1+1=6)
- Load your tray onto your machine, and send to cut using the Textured Cardstock settings
- Use the Crop-a-dile to punch a 3/16 in. hole on your front notebook cover, then to set your button, eyelet and washer
- Add your string
And that’s it! How will you use your new button and string notebooks?
Looking for some more inspiration? Take a look at my other Silhouette Projects and craft a little longer with me!
