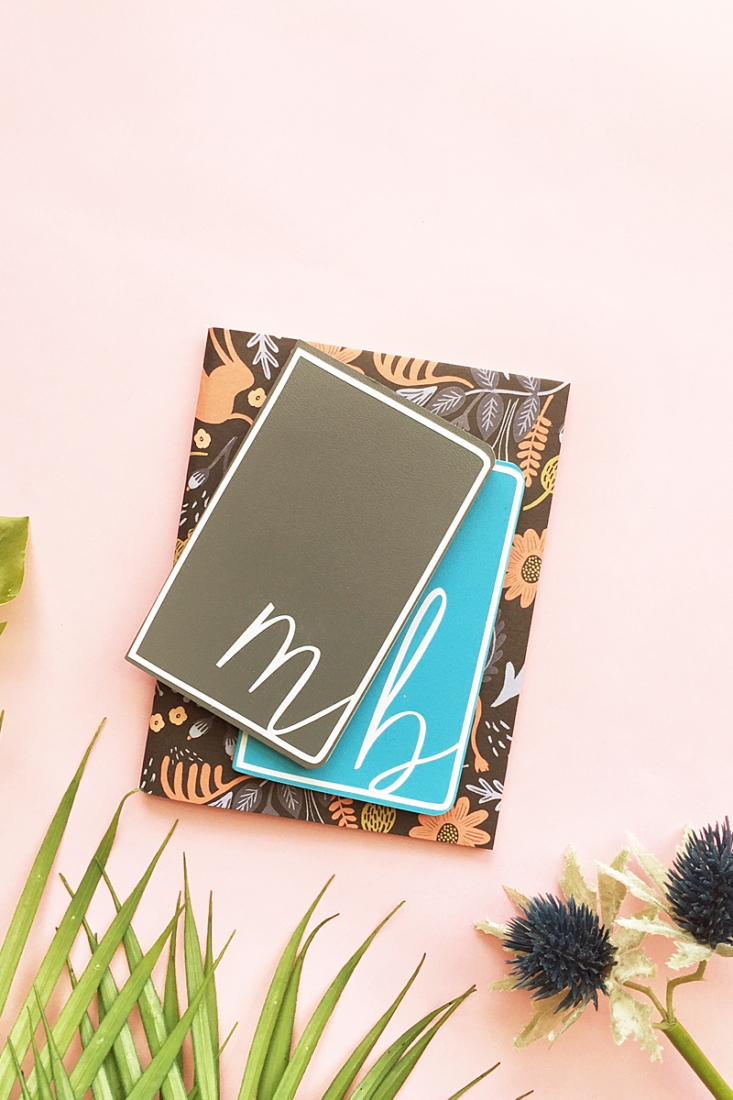
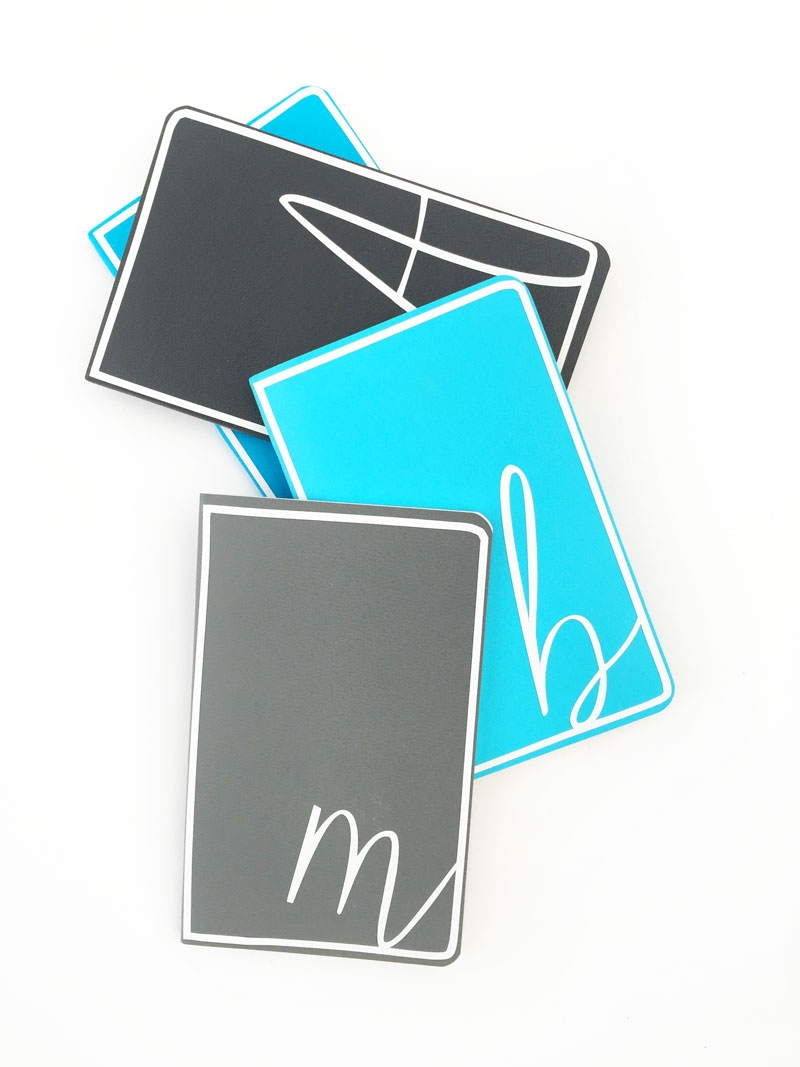
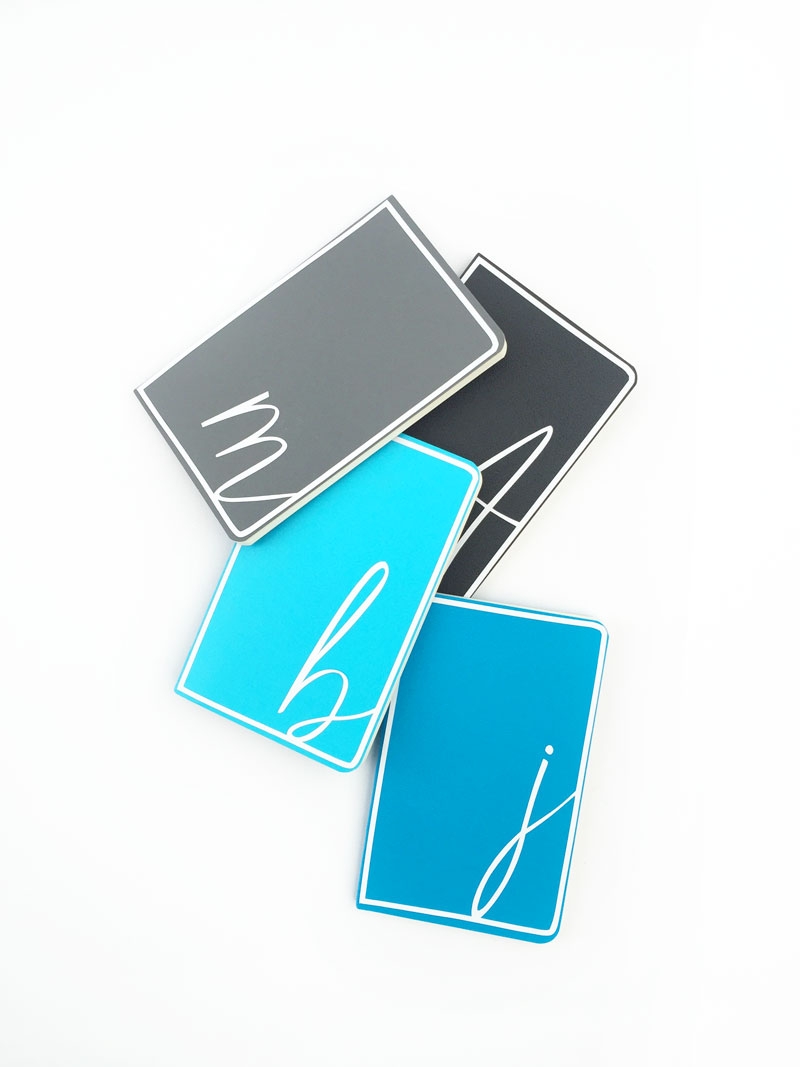
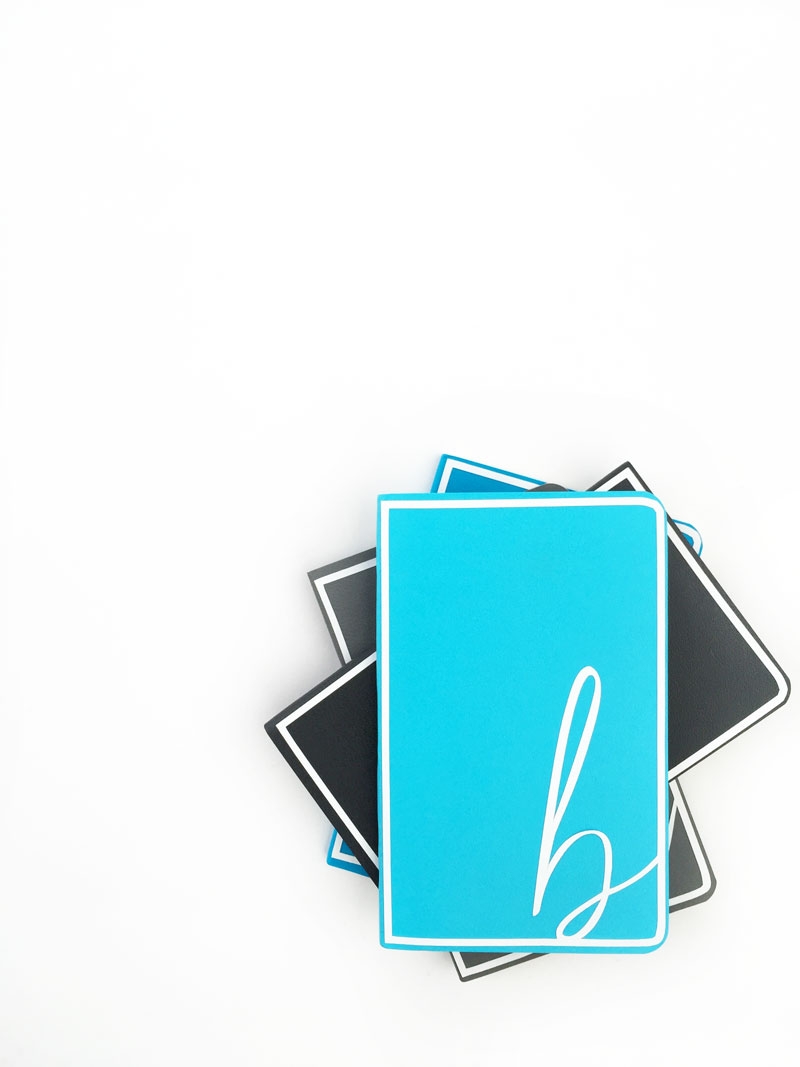
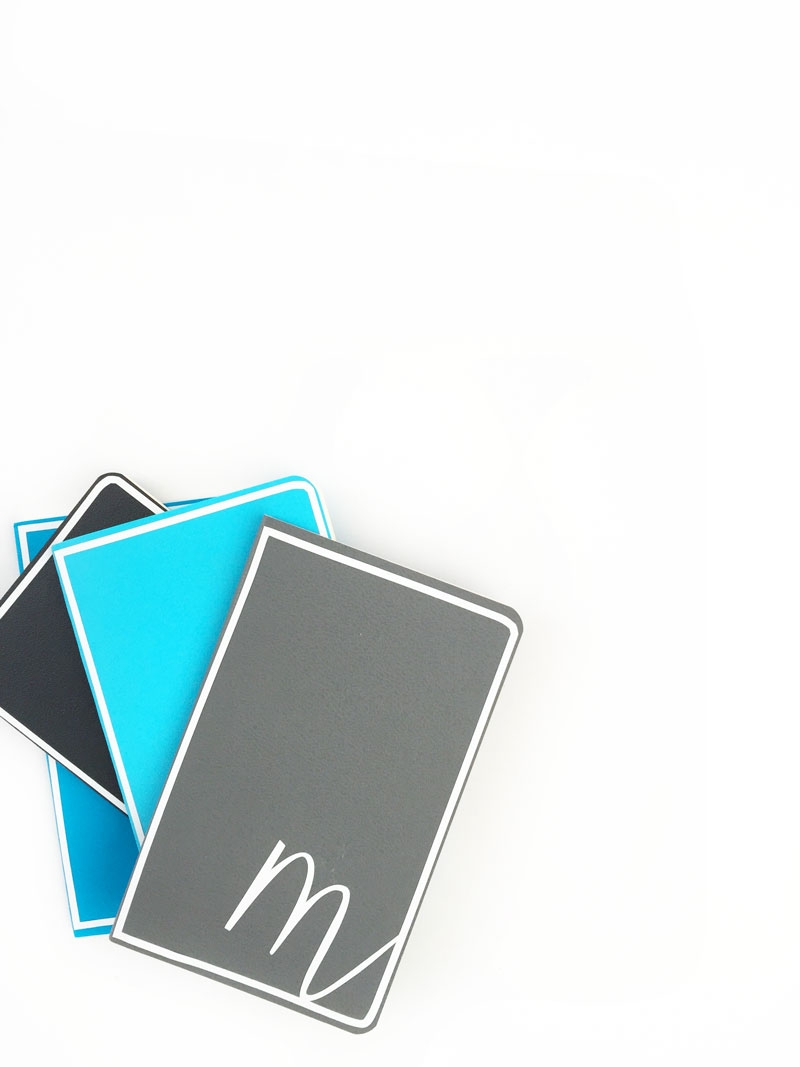
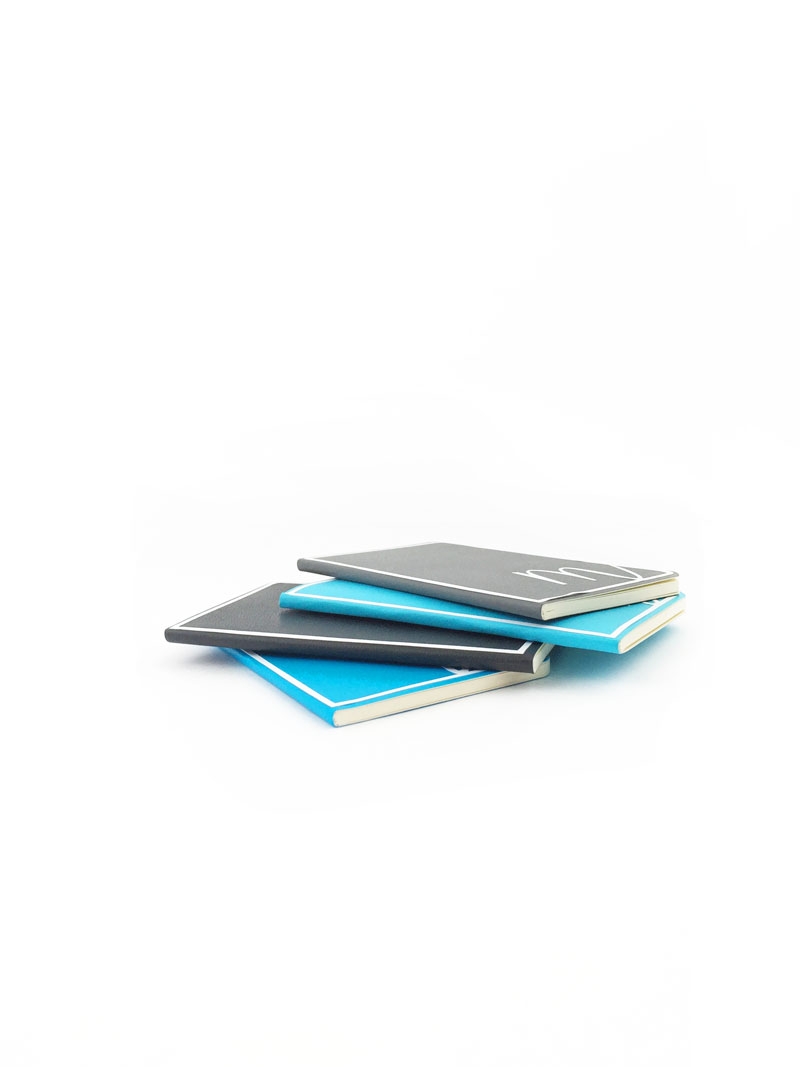
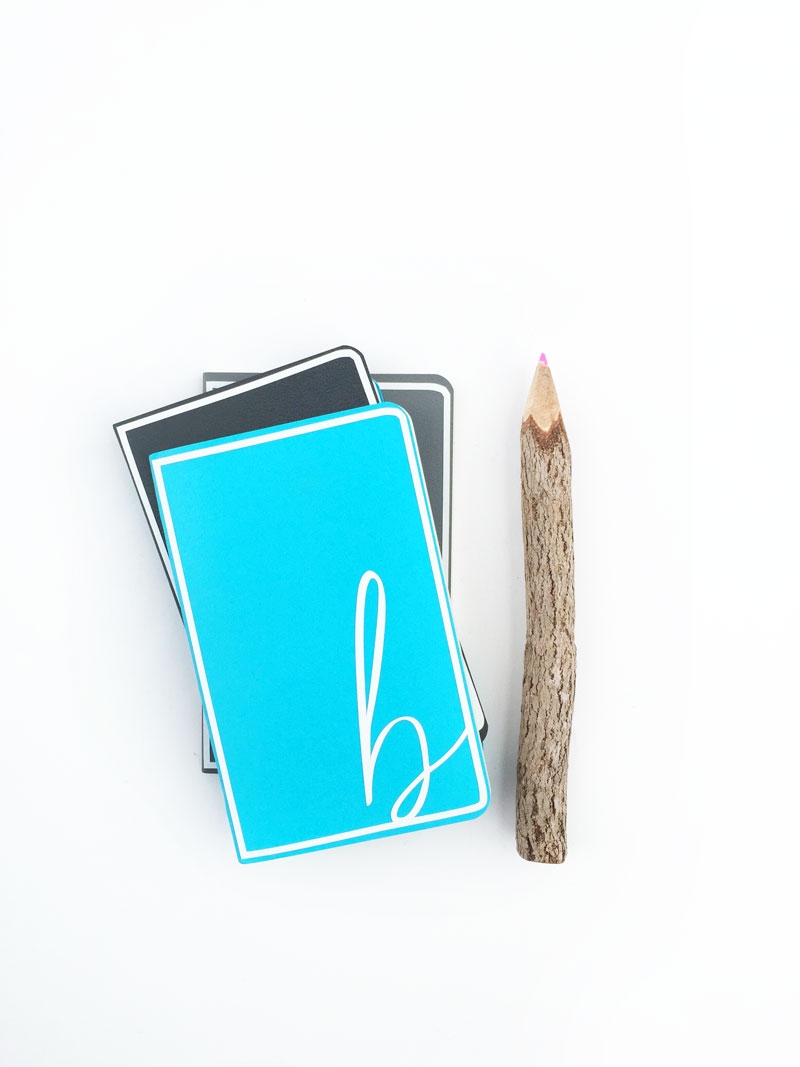
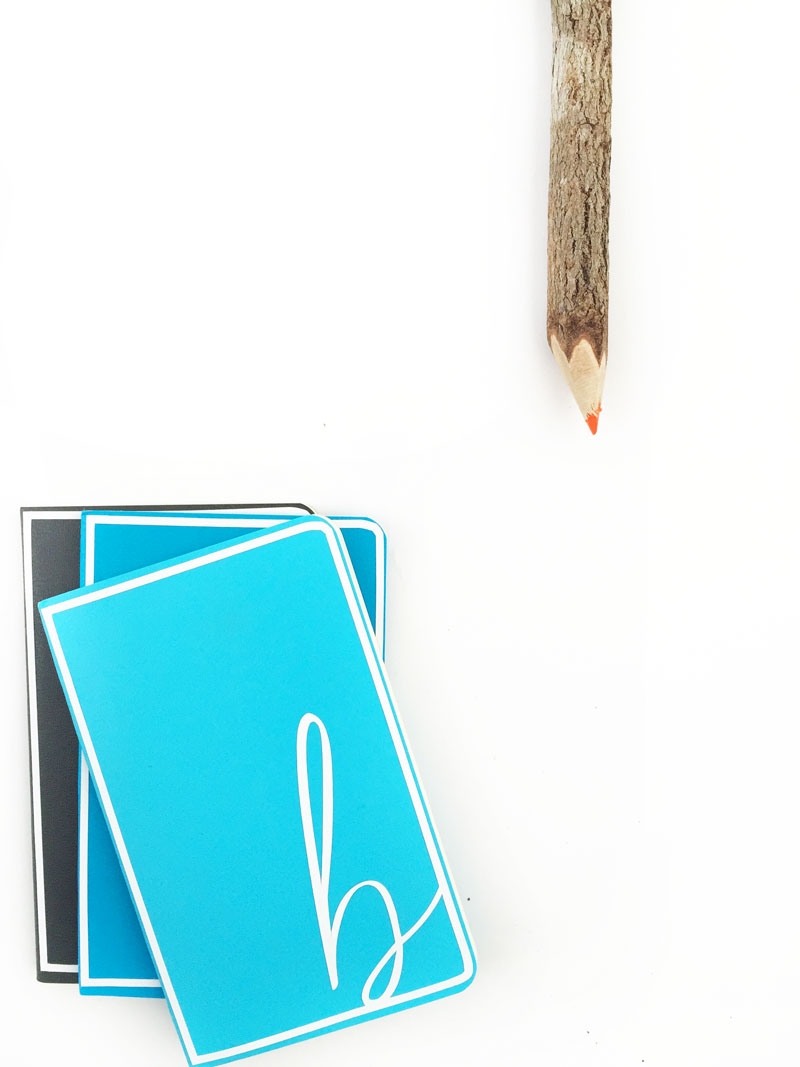
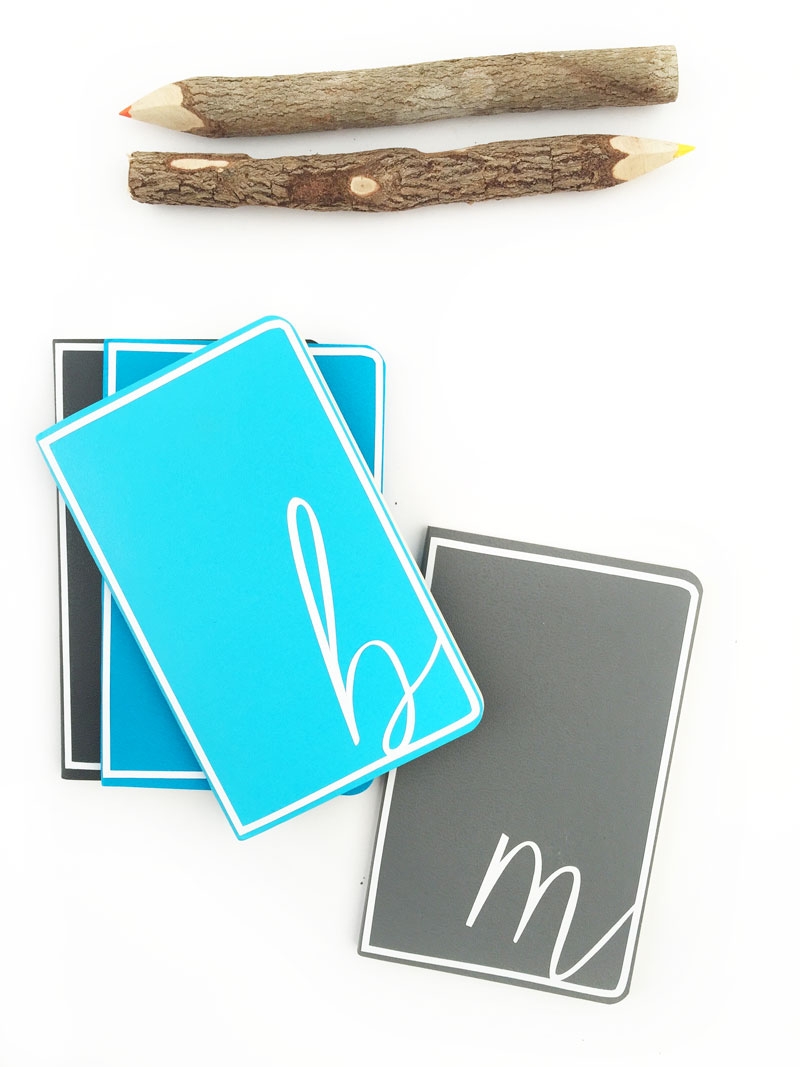
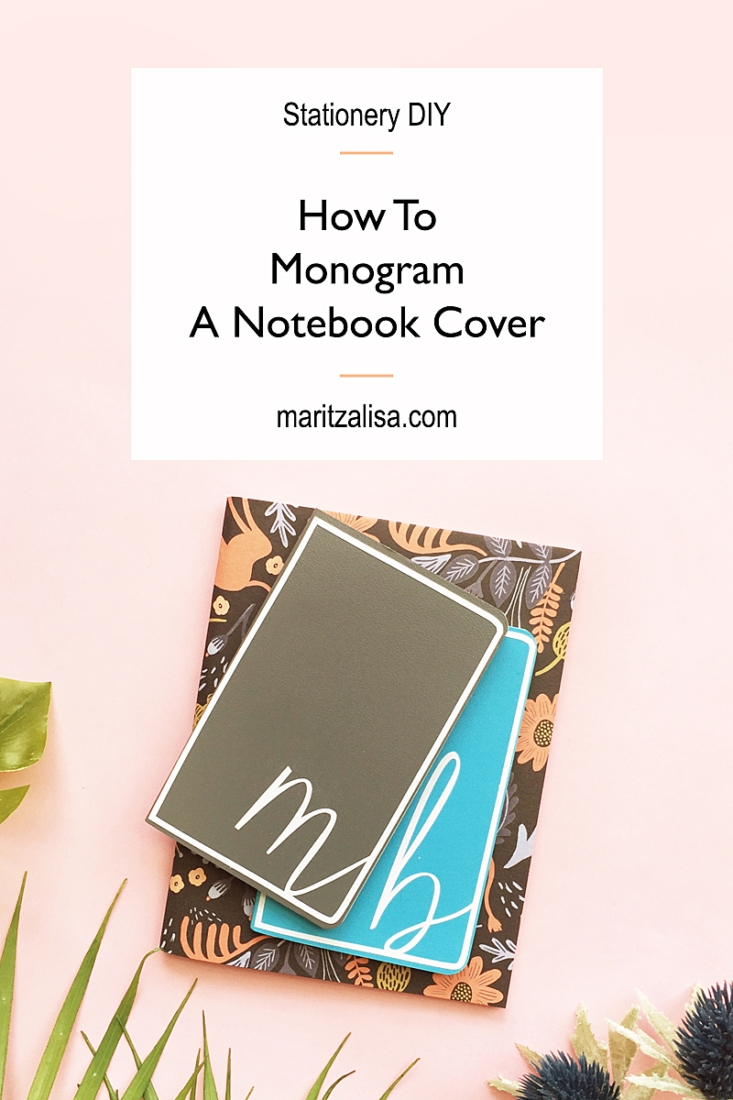
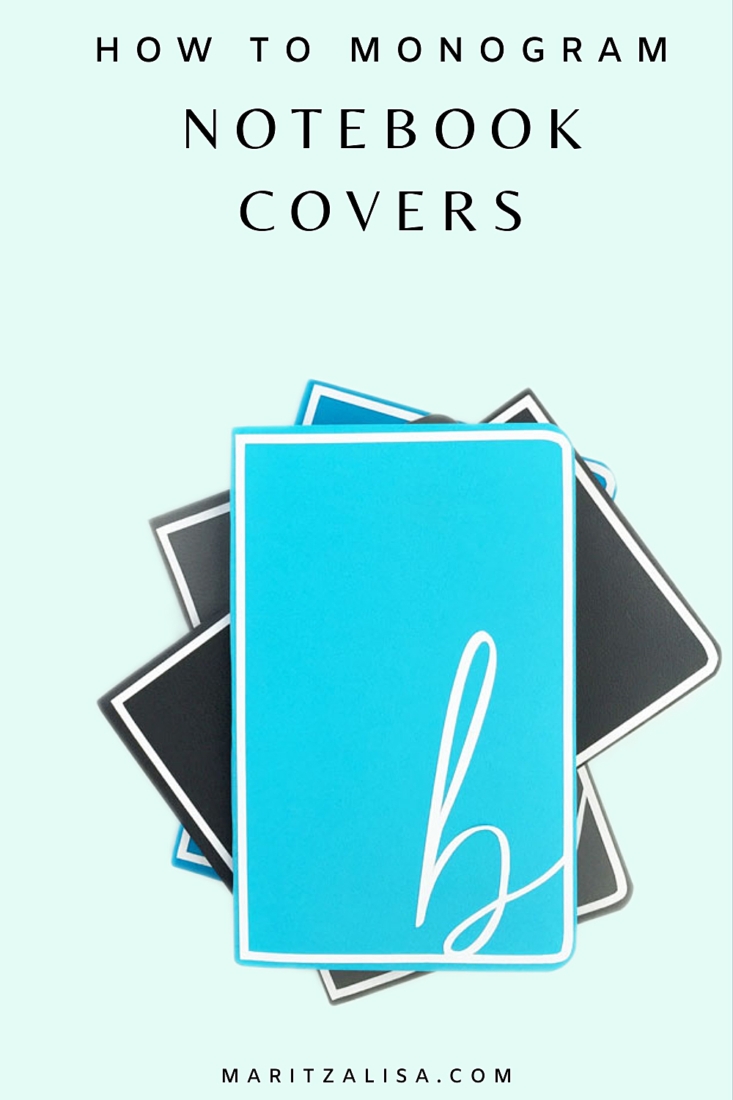
You know about my incessant love for all things paper and stationery. When it comes to mini, I swoon even more. So when I happened upon these sweet mini Moleskine notebooks, I could not resist buying them. As soon as I got home, I wanted to personalize them and so here we are with these DIY Mini Monogrammed Notebooks. Want to make your own? Read on!
Materials: DIY Mini Monogrammed Notebooks
- Silhouette Studio (there is a free version!)
- Silhouette cutting machine (I own the CAMEO)
- Cutting mat
- Printable sticker paper
- Moleskine notebooks
*This post contains affiliate links for products that I use and love!
Instructions:
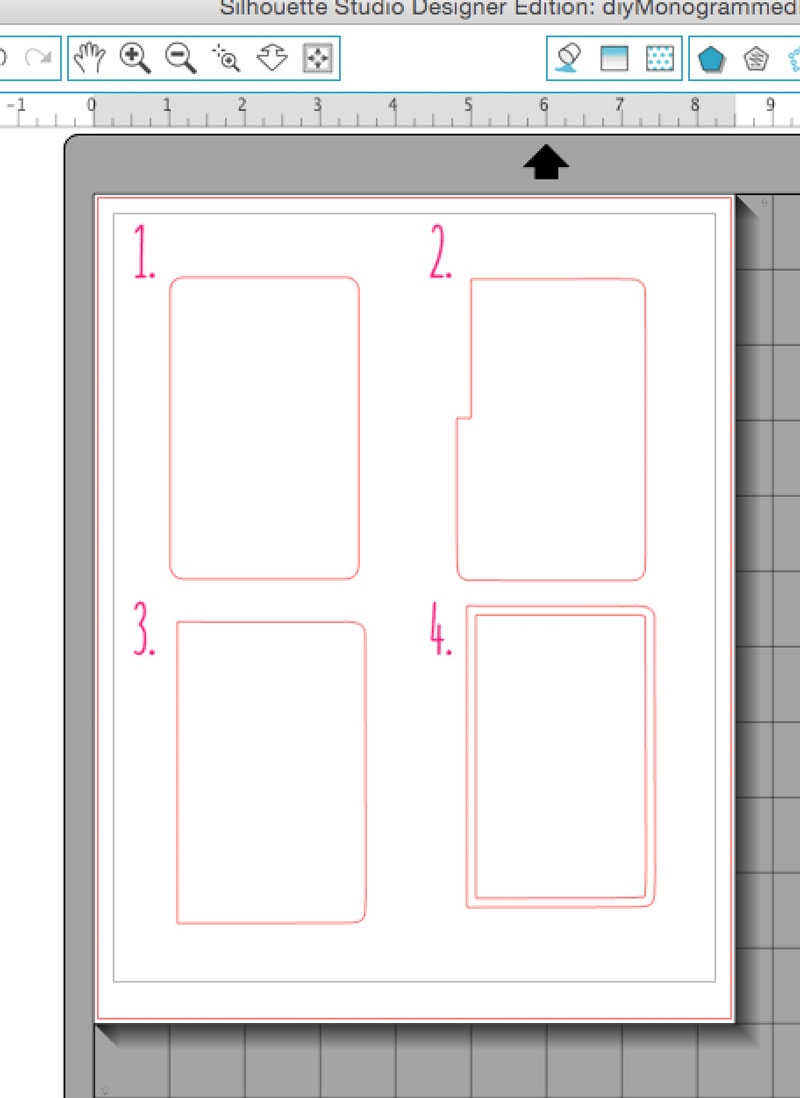
- In Silhouette Studio, create a frame with slightly smaller dimensions than your notebook
- Use the eraser tool to flatten the left side (to match the shape of the notebook)
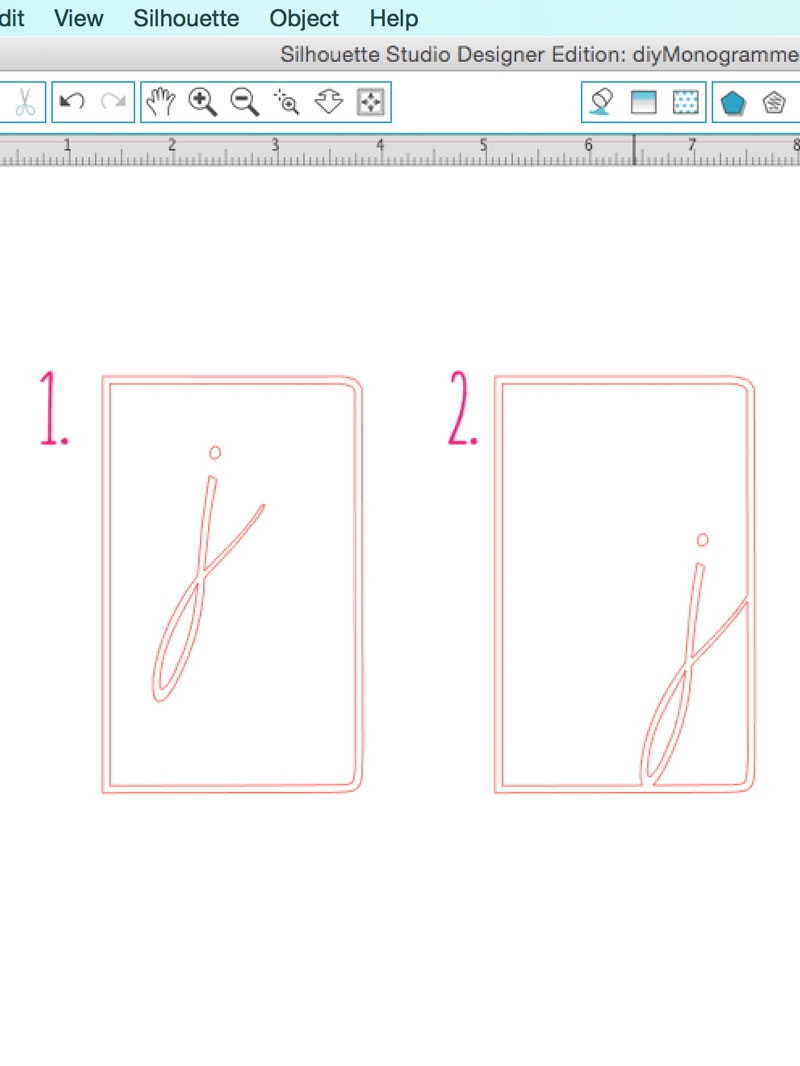
- Create a smaller version using the (inner) offset tool
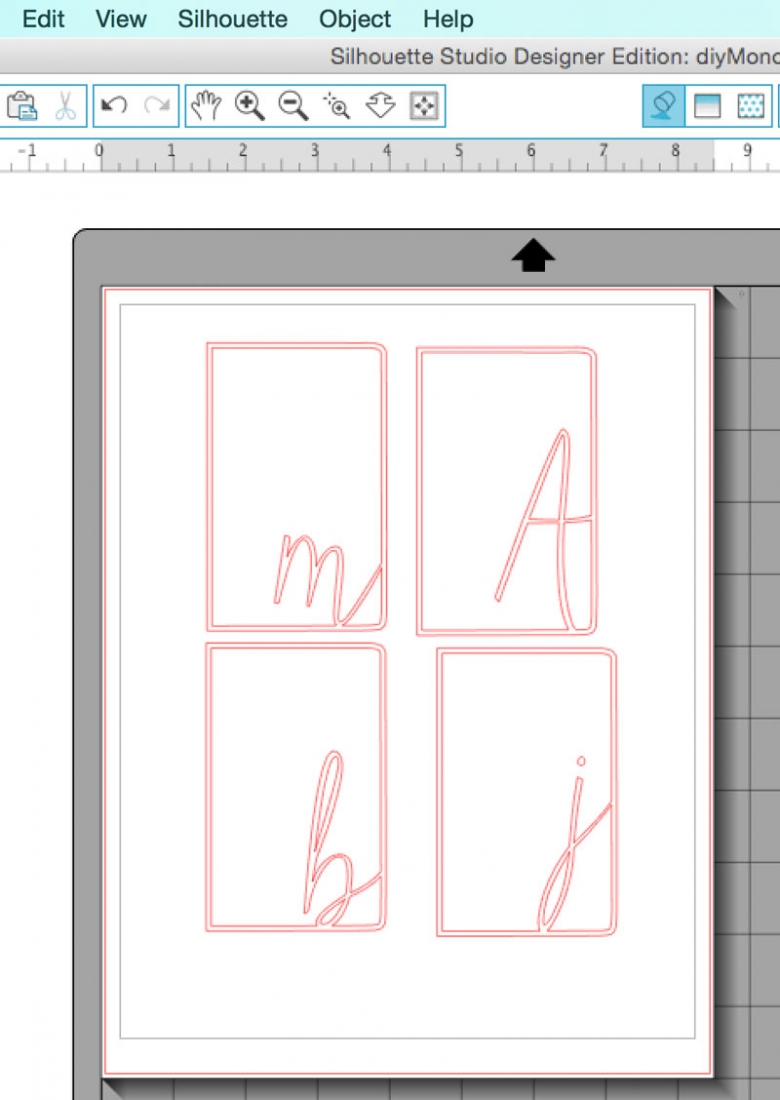
- Use one of your favorite fonts to create complete the text of the monogram (I used Matchmaker)
- Weld the text onto the frame
- Send to cut using printable sticker paper settings
- Adhere your monogrammed frames to the front of the notebooks
And that’s it! How many monogrammed notebooks did you end up making?
Looking for more inspiration? Check out my other DIY Back To School tutorials!
2 Comments on DIY Mini Monogrammed Notebooks
Comments are closed.

Thank you for the tutorial! I always love reading your blog post that goes to my inbox 😀 Lots of inspirations. THANKS!
So happy you like them, Helen – what a lovely thing to say – thank you! xo