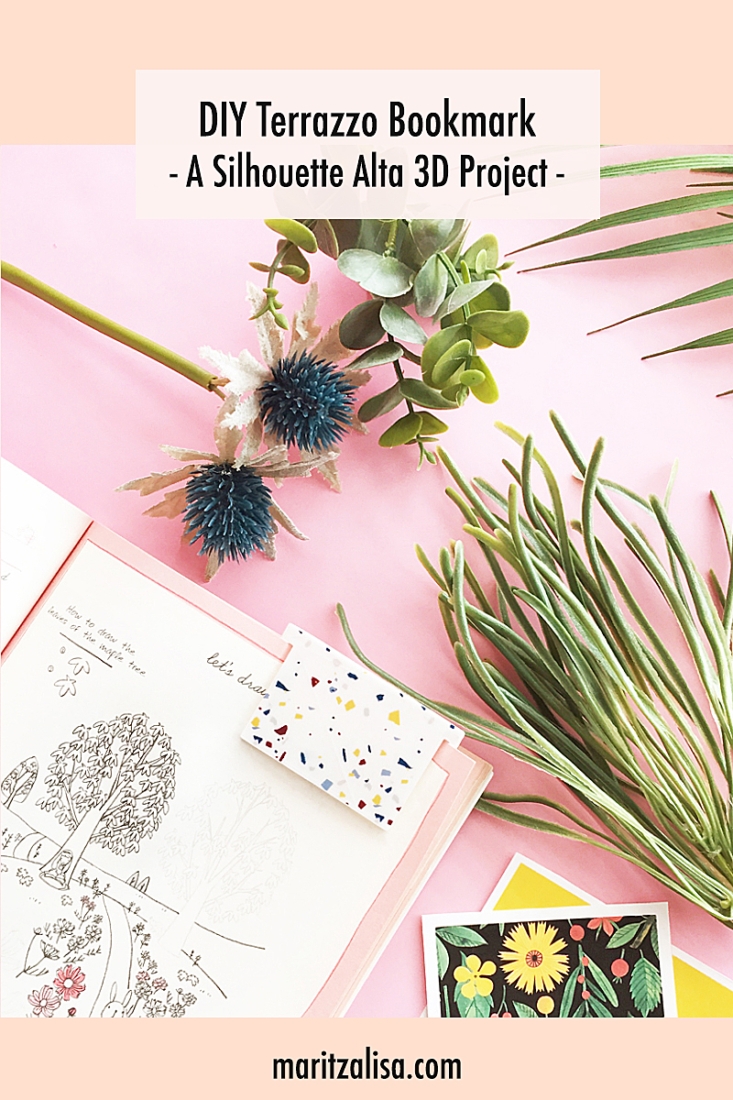
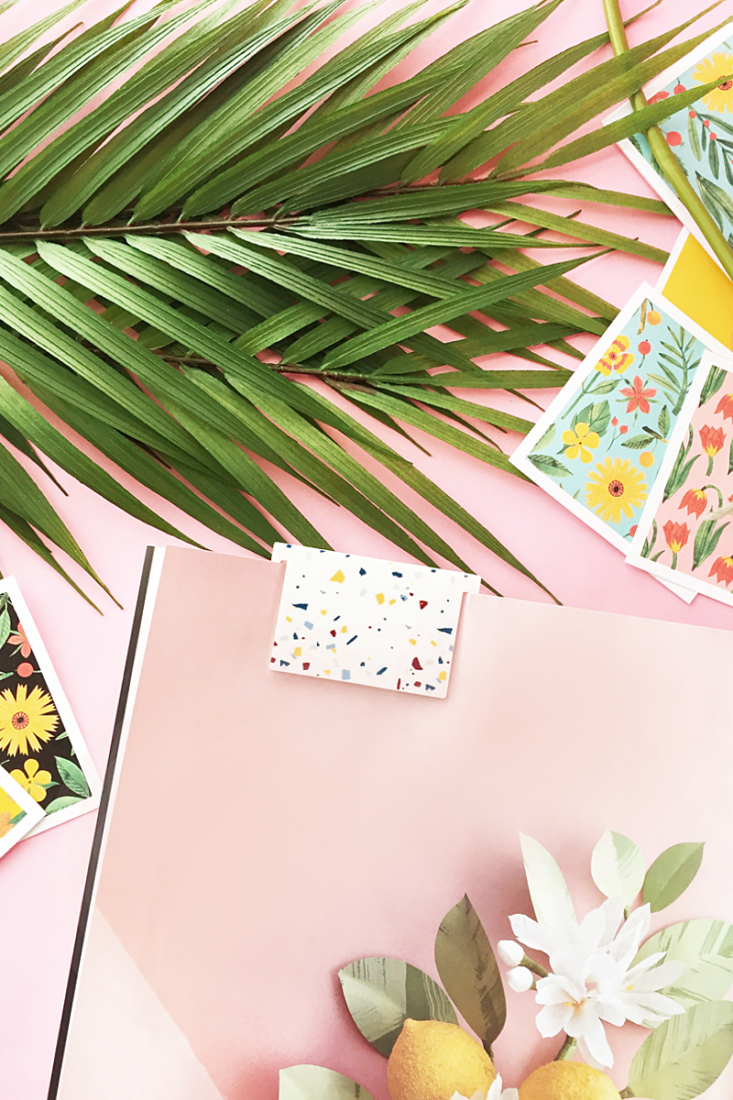
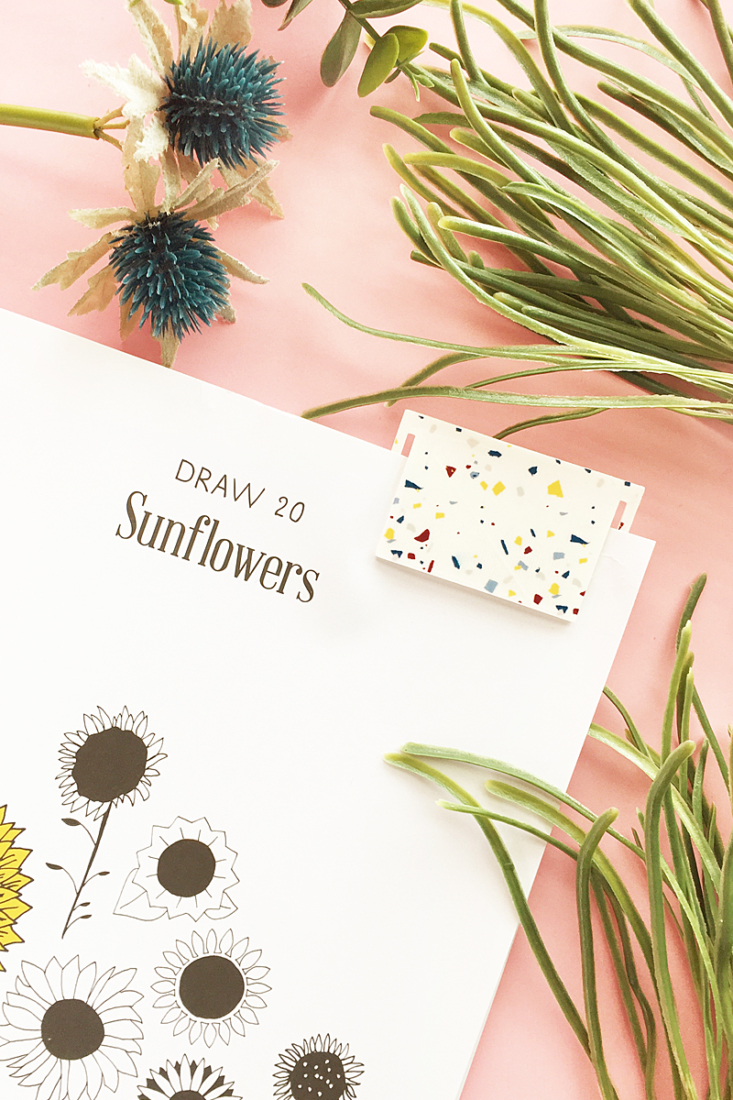
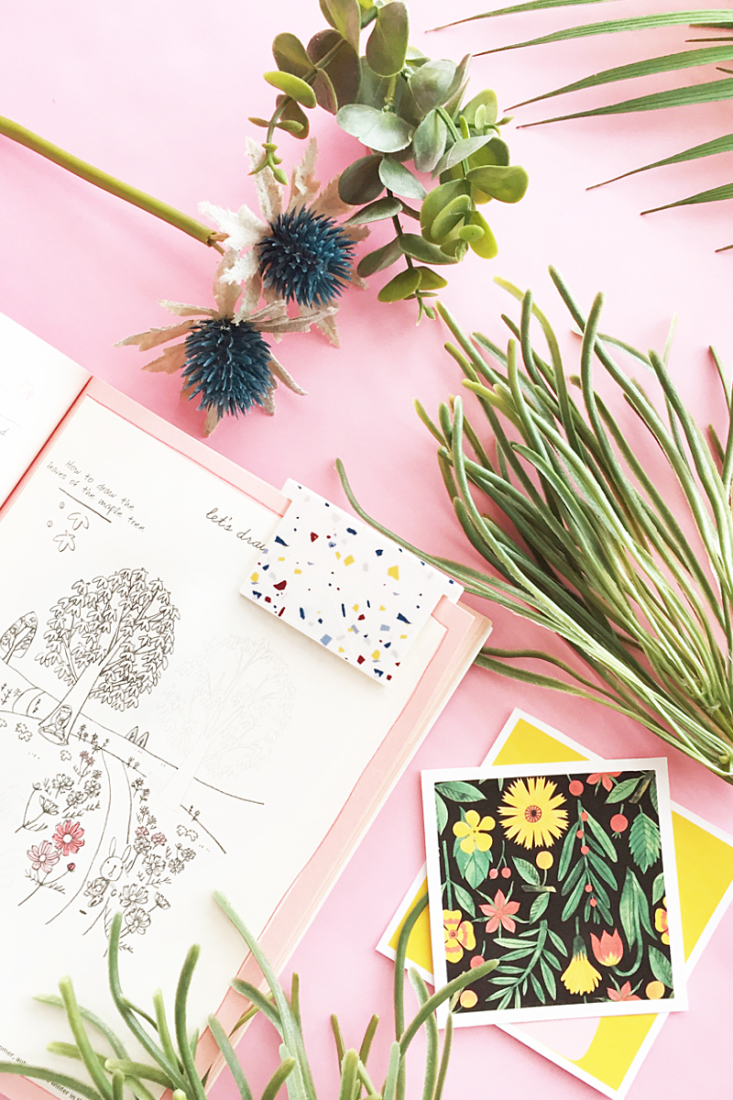
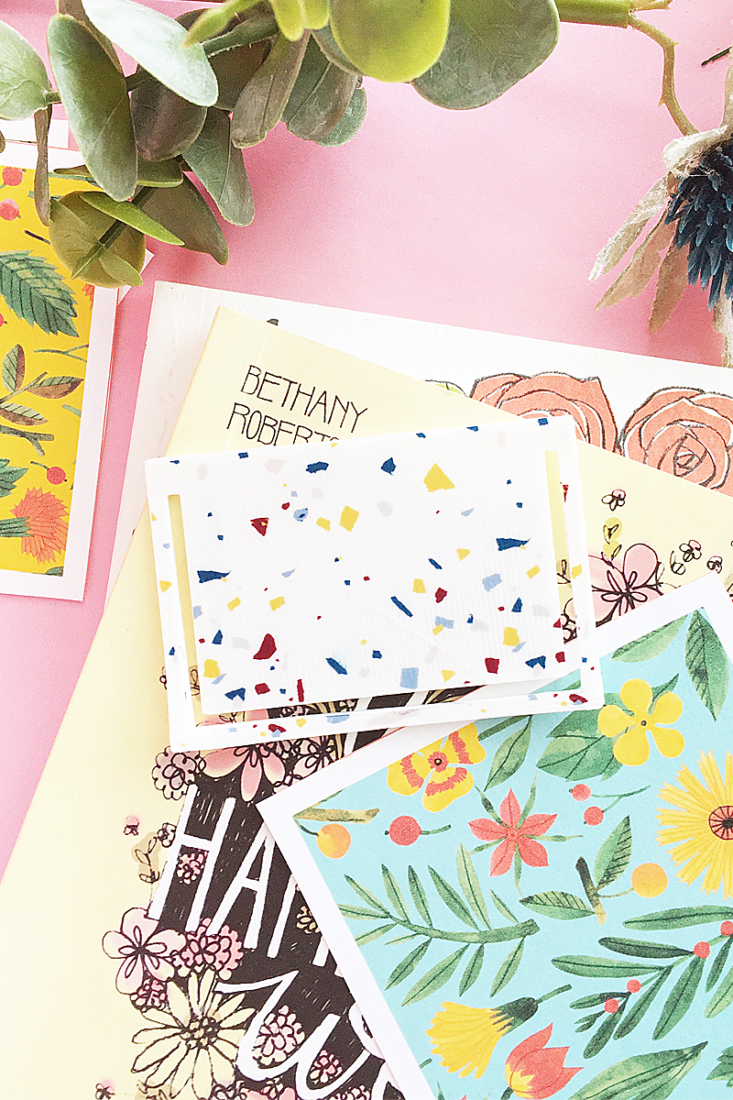
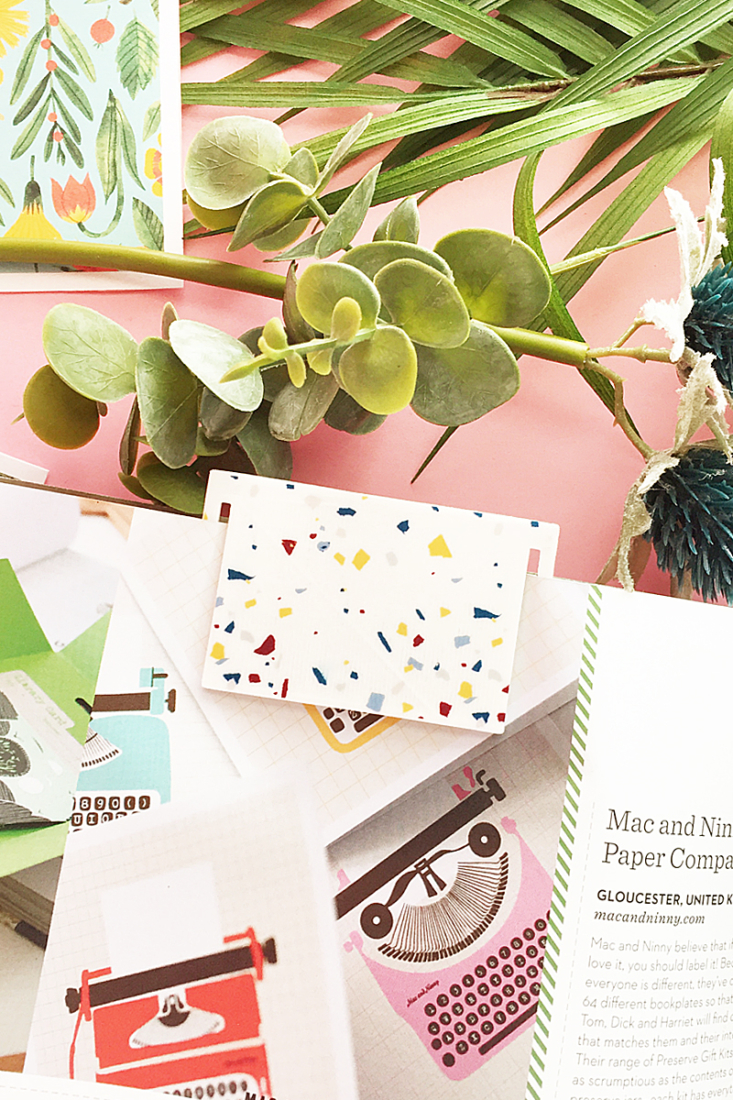
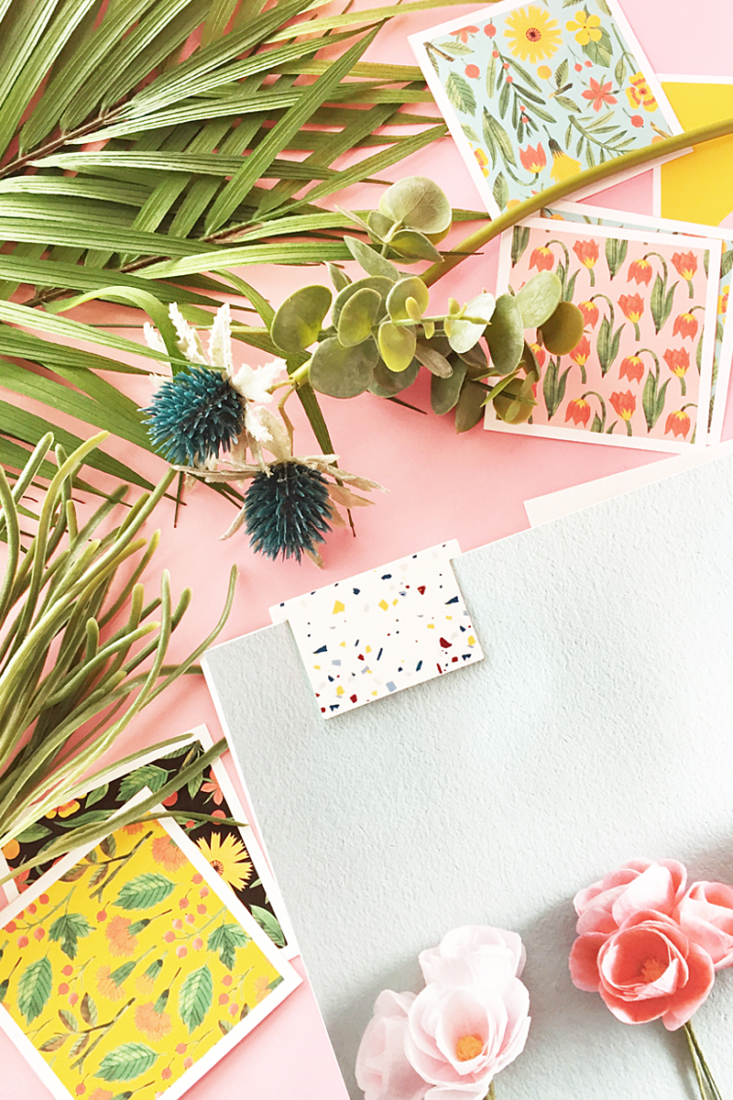
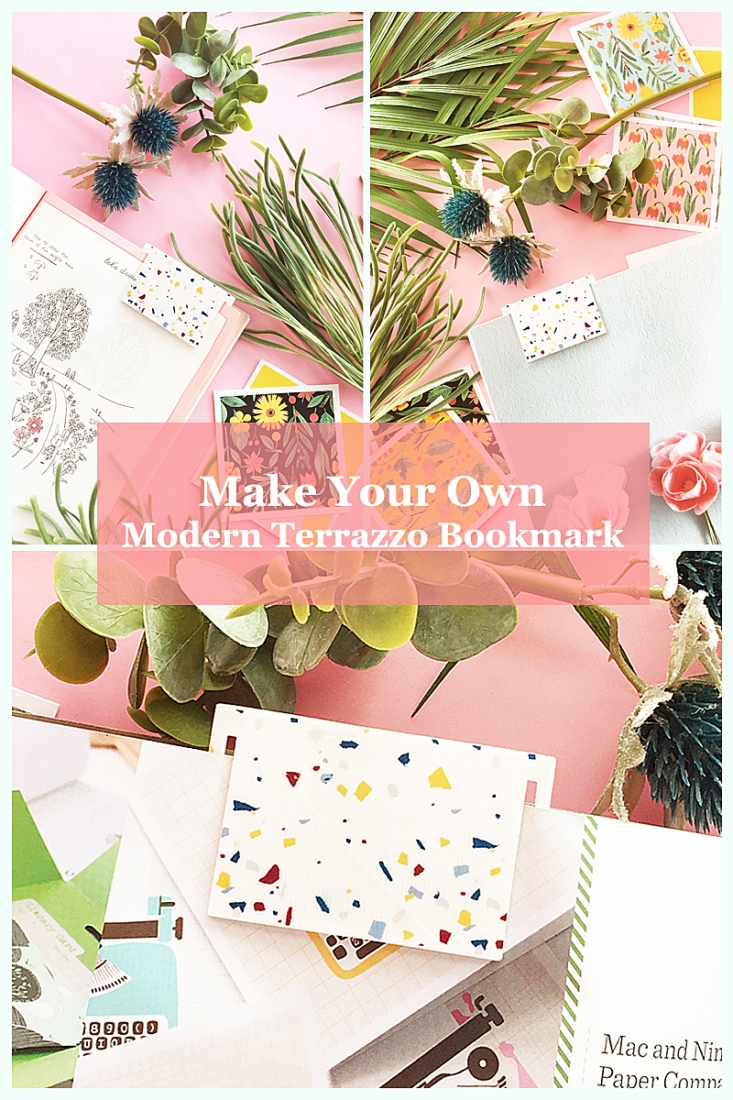
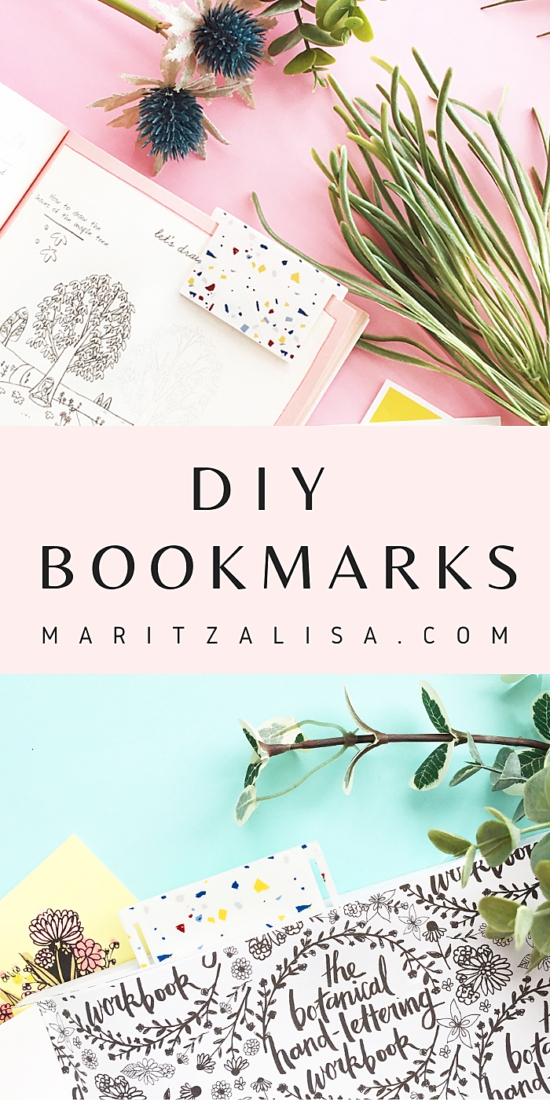
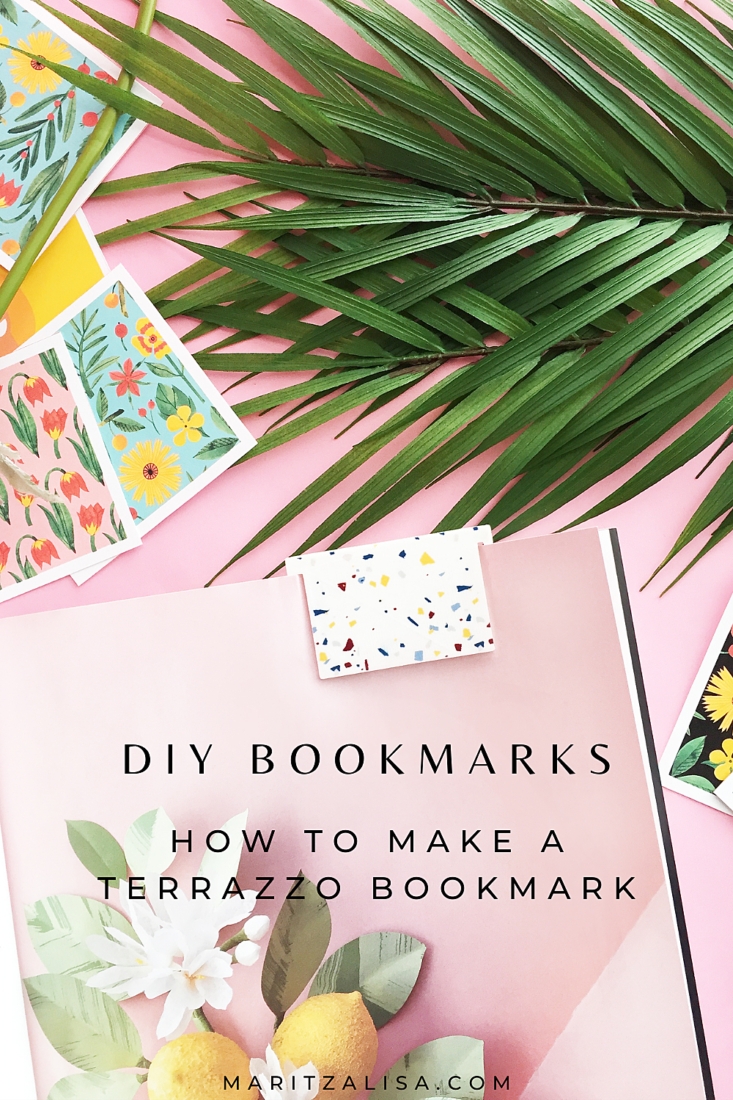
I’m back with another 3D Printing and Tattoo Paper project today. I had some left over terrazzo patterned tattoo paper, so I thought this DIY Terrazzo Bookmark would be an awesome project. I made a simple design in Silhouette Studio and then used my Silhouette Alta to 3D print the design. This little beauty was the final result. I love that I can use it as a bookmark and paper clip. Read on for the full tutorial!
DIY Terrazzo Bookmark – What You Need:
- Silhouette Studio (there is a free version!)
- Silhouette Alta 3D Printer
- Silhouette 3D Software
- Printer
- Silhouette cutting machine ( I used the CAMEO 3)
- Temporary Tattoo Paper
- Wet towel
- Scraper
- Optional: Sealant
- Terrazzo pattern
*This post contains affiliate links for products that I use and love!
DIY Terrazzo Bookmark – Instructions:
If this is your first 3D project and you need additional help, I did a post on setting up your 3D Printer and making your first project.
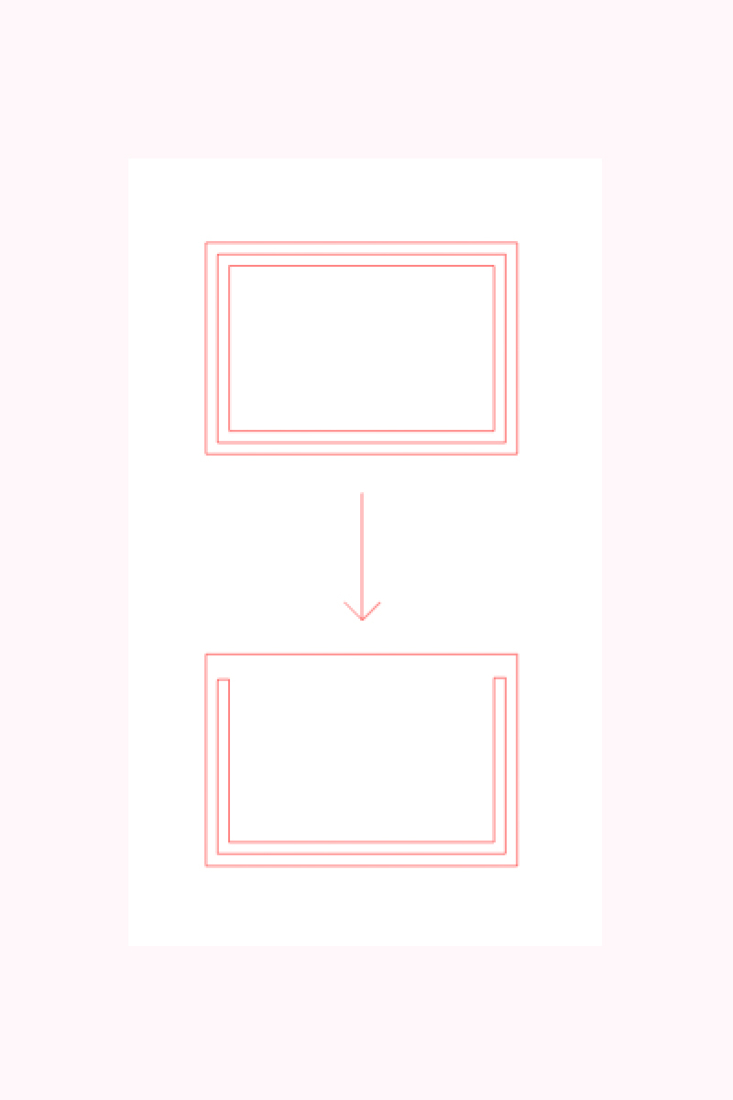
- In Silhouette Studio, create your bookmark design. I used the rectangle tool, then created 2 internal offsets. I then used the eraser tool to get rid of the tops of the offsets and used the line tool to create the design below
- Save your design
- In the Silhouette 3D Software, open your bookmark design
- A pop-up will appear: Import As
- Select Extrusion – then design will appear in 3D. Adjust the height (or other dimensions)
- Select the 3D Print Tab on the right
- Select the Quality (I used the Standard option)
- Press Print. The machine will heat up and print – you will see the countdown of time as well
- Use the spatula to gently remove the 3D design and any extra filament
- Once your bookmark is printed and cooled off, it’s time to cut the tattoo paper. Follow the instructions here to print your terrazzo tattoo paper
- In Silhouette Studio, adjust/ make sure your design is the same size as your 3D bookmark
- Load your terrazzo tattoo paper (with the clear adhesive applied) and send your design to cut using tattoo paper settings
- Remove the clear adhesive paper and apply the terrazzo tattoo face down to the top of the bookmark
- Optional: After the tattoo is been applied, you can apply a sealant to protect the pattern
Cute, right? Another way to add terrazzo to your daily life without breaking the bank. Tell me how you designed your bookmark in the comments below!
Looking for some more inspiration? Check out my other tattoo paper projects and craft a little longer with me!
4 Comments on DIY Terrazzo Bookmark
Comments are closed.

This is so aesthetically pleasing!
Thanks, Laura – so happy you like it!
Such an awesome arts & craft project. Really changing the game for invitations as well!