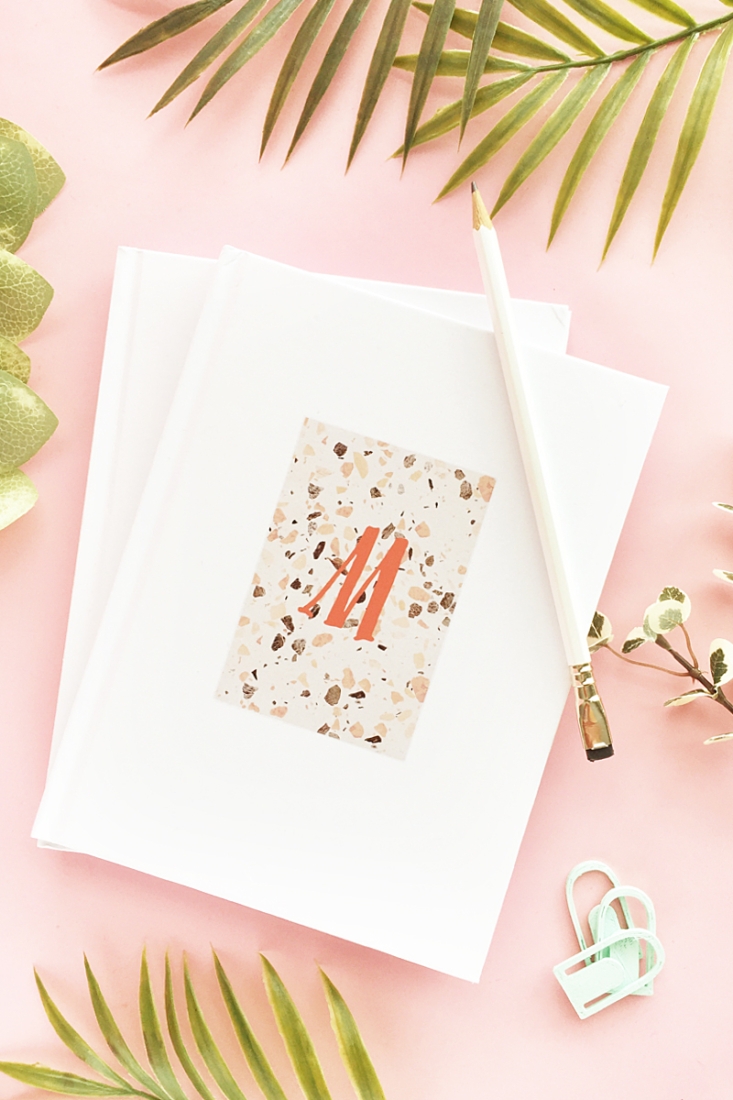
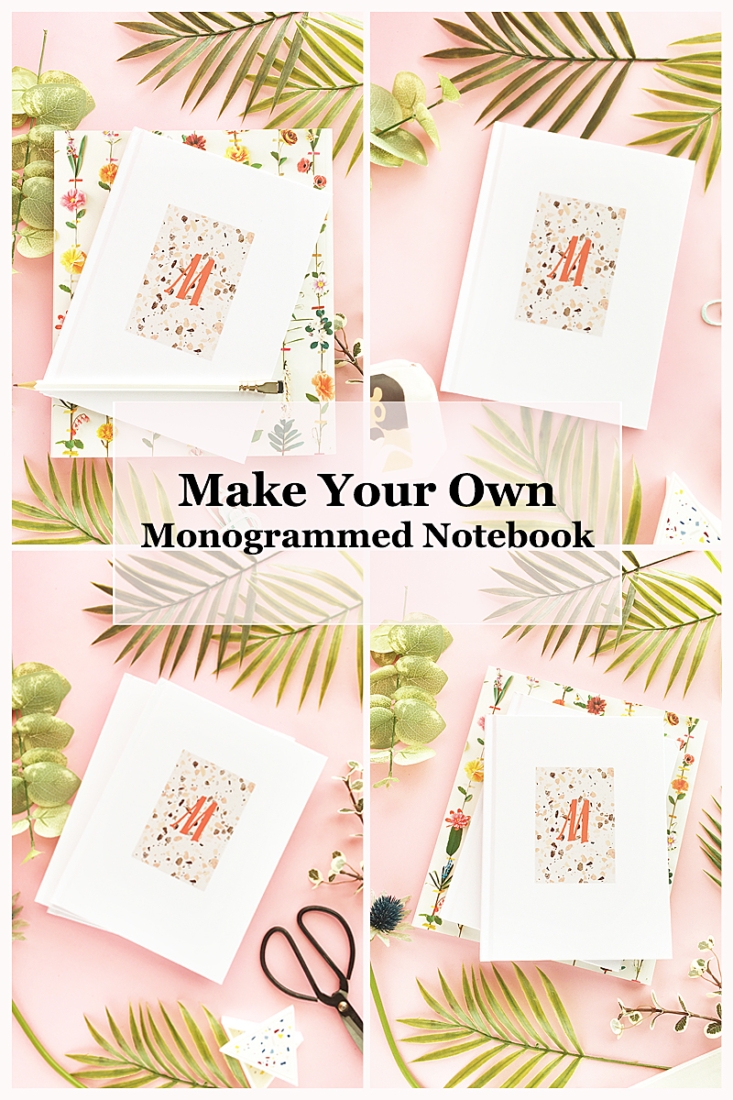
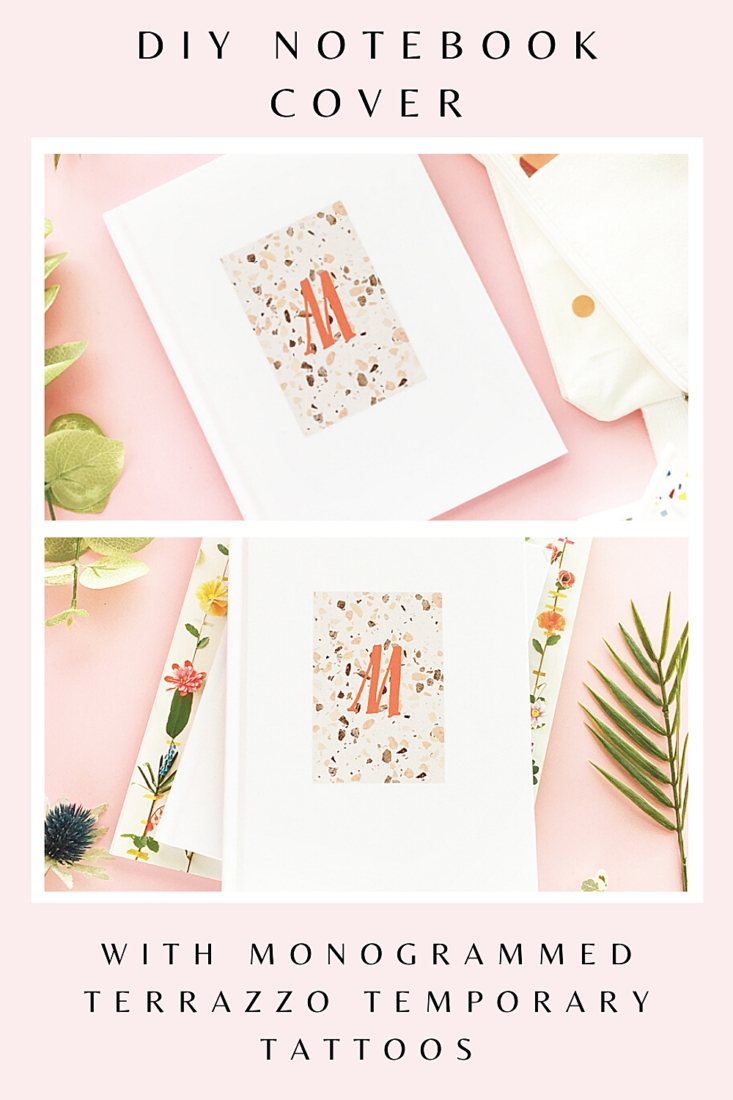
Well hello, August. Um, August? Please stay a while. I think it’s time for another stationery project since school is just around the corner. This DIY Terrazzo Monogrammed Notebook is a modern twist using a pattern you know I love and printable temporary tattoo paper. Click through for this easy tutorial!
Materials: DIY Terrazzo Monogrammed Notebook
- Silhouette Studio (there is a free version!)
- Printer
- Terrazzo pattern – if you have this set, the pattern is in the textures folder
- Favorite font for the monogram. I used Capriccio
- Scissors
- Temporary Tattoo Paper
- Wet towel
- Scraper
- Blank white notebooks
- Optional: Sealant
*This post contains affiliate links for products that I use and love!
How To Make: DIY Terrazzo Monogrammed Notebook
- Download your terrazzo pattern and font
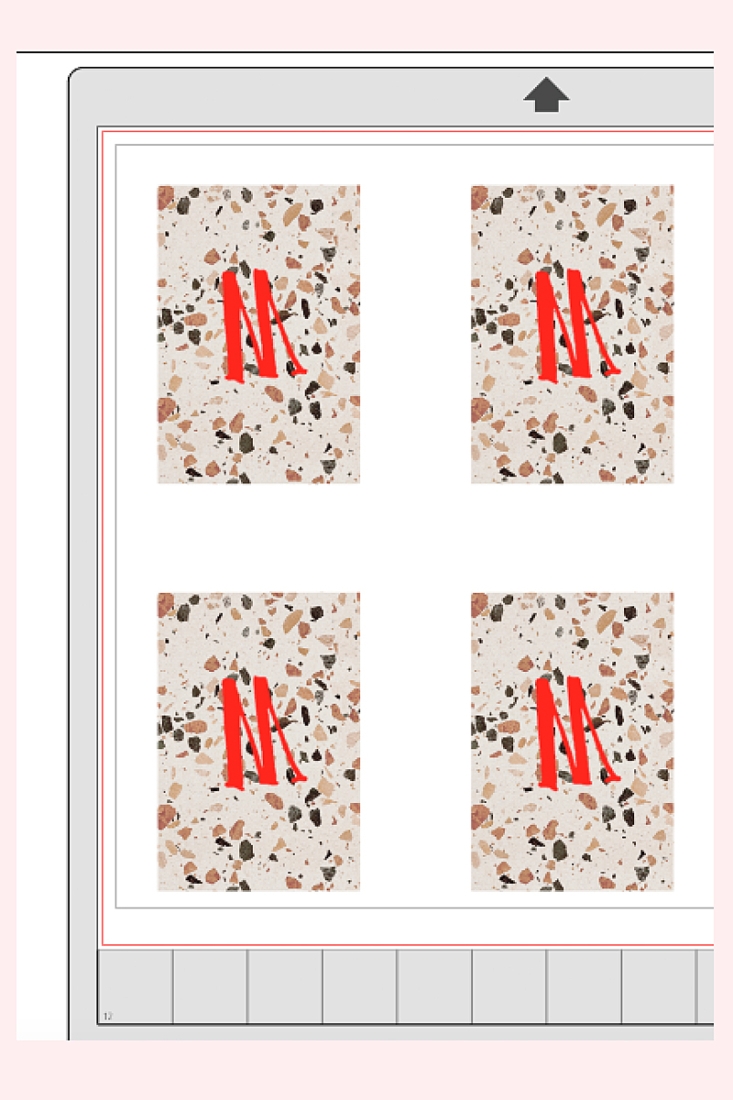
- Open the terrazzo pattern and font in Silhouette Studio
- Resize or crop the pattern so that it will fit on your notebook
- Use the text tool to add your monogram letter
- Fill the text/monogram with color
- Place the monogram on the pattern
- Make any size adjustment and alignments to the monogram and pattern
- Group the monogram and pattern together
- Mirror your grouped image (this is so that when it is applied it to your notebook, it will appear the correct way)
- Print your image on to tattoo paper (as indicated on your package)
- Follow the directions on your tattoo package, and apply the clear adhesive sheet that came with your tattoo paper. Use your scraper to smooth the bubbles out
- Cut very closely around the monogrammed image
- Remove the clear adhesive paper, and apply the tattoo face down on to your notebook
- Optional: After the tattoo has been applied, you can apply a sealant to protect the temporary tattoo
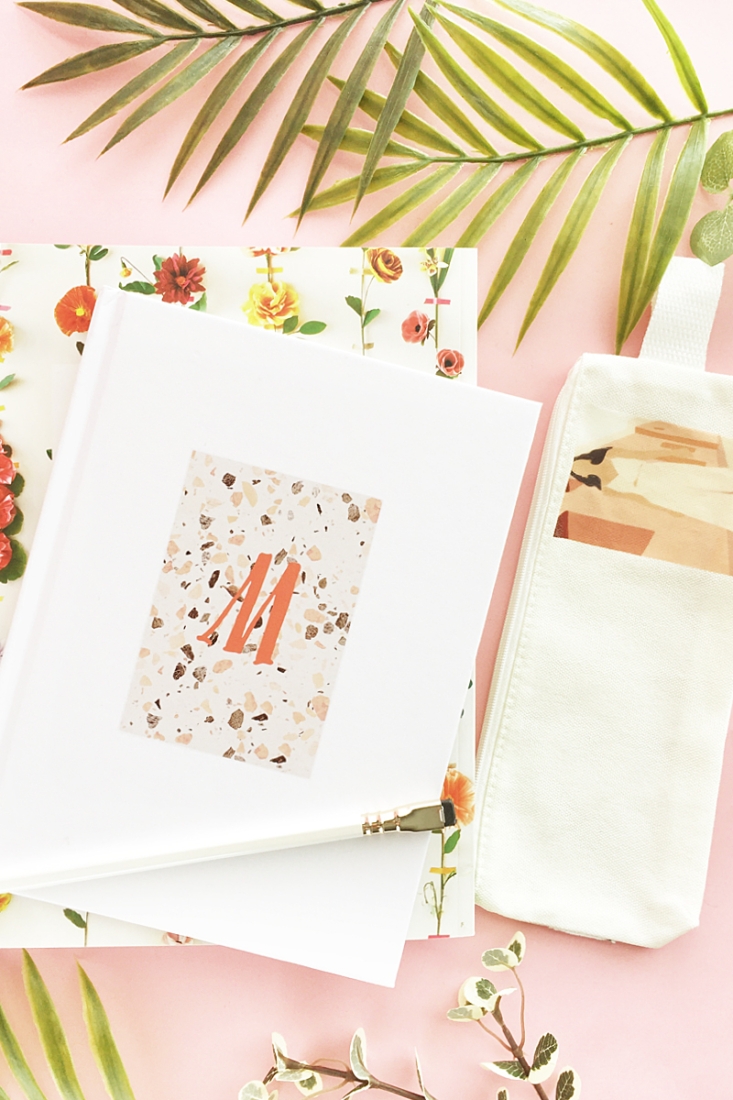
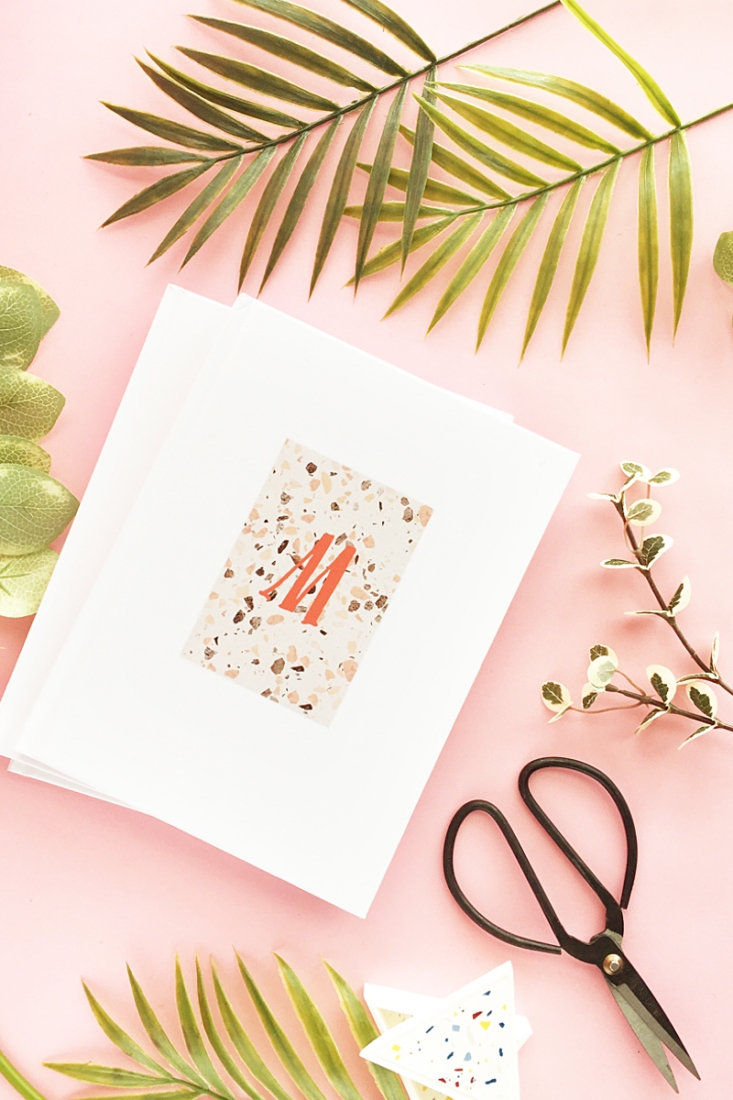
And that’s it! Now you have a modern notebook to add to your stationery collection or to give as a gift. Tell me, how will you use your books?
Looking for some more inspiration? Check out my other tattoo paper projects and craft a little longer with me!
