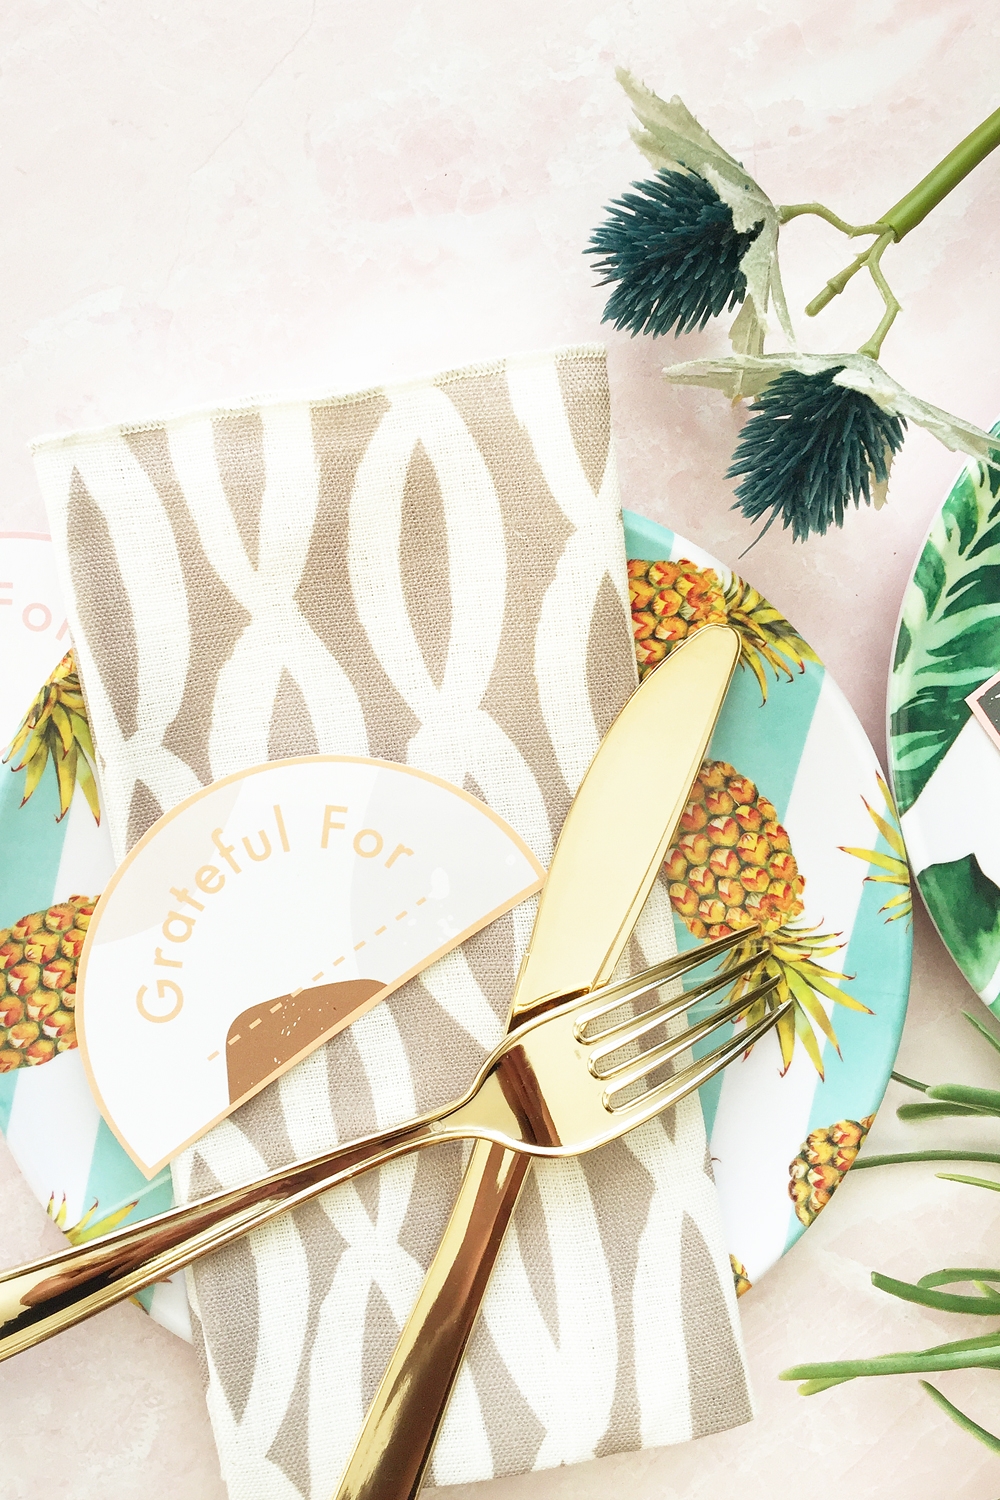
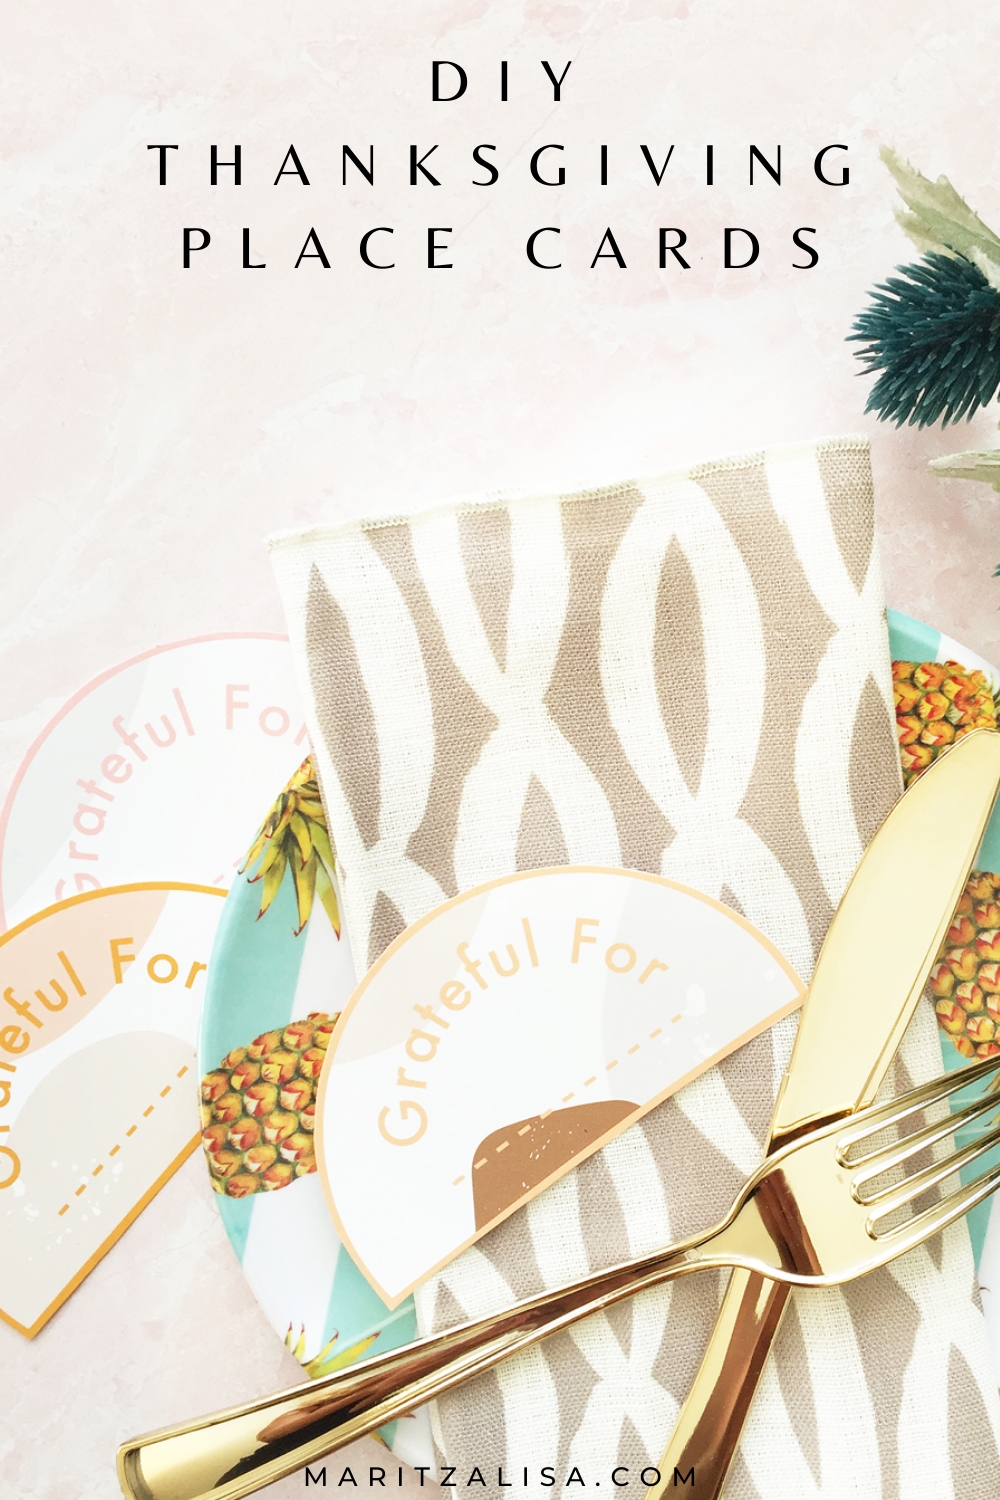
This year has been a long one and as we start to wind down and reflect as the year slowly ends, I thought I’d show you how to make these sweet Thanksgiving Place Cards for your dinner table. For today’s tutorial, I will also show you how to create your own rounded Thanksgiving message using the Silhouette Studio software. Read on for the full step by step instructions!
*This post contains affiliate links for products that I use and love!
About Silhouette Studio
I personally love and use this software for most of my crafting projects, including these Thanksgiving Place Cards. Silhouette Studio is the graphic design software that you can use with your Silhouette America cutting machines. The most basic version is free and you can download it here: silhouetteamerica.com/software
Once you have the Silhouette Studio software installed on your computer, you can use it for making, editing and printing your own basic designs and ones from the Silhouette Design Store. After your designs are completed, they can then be sent to cut on your Silhouette cutting machine or sent to print.
For today’s project, we will not need a Silhouette cutting machine. If you do have one, you can certainly use the print and cut feature to save time. I will show you how to use it just to design your place cards and then send to print, so that you can cut by hand.
DIY Thanksgiving Place Cards: Materials
- Printer
- Scissors
- White Cardstock
- Silhouette Studio (there is a free version!)
- Pattern for your place cards – I used these ones from Creative Market
How To Make DIY Thanksgiving Place Cards
Open your pattern in Silhouette Studio:
- Open the Silhouette Studio software
- Open your patterns in a new document
- Resize the pattern tiles so that they are approximately the size of your place cards
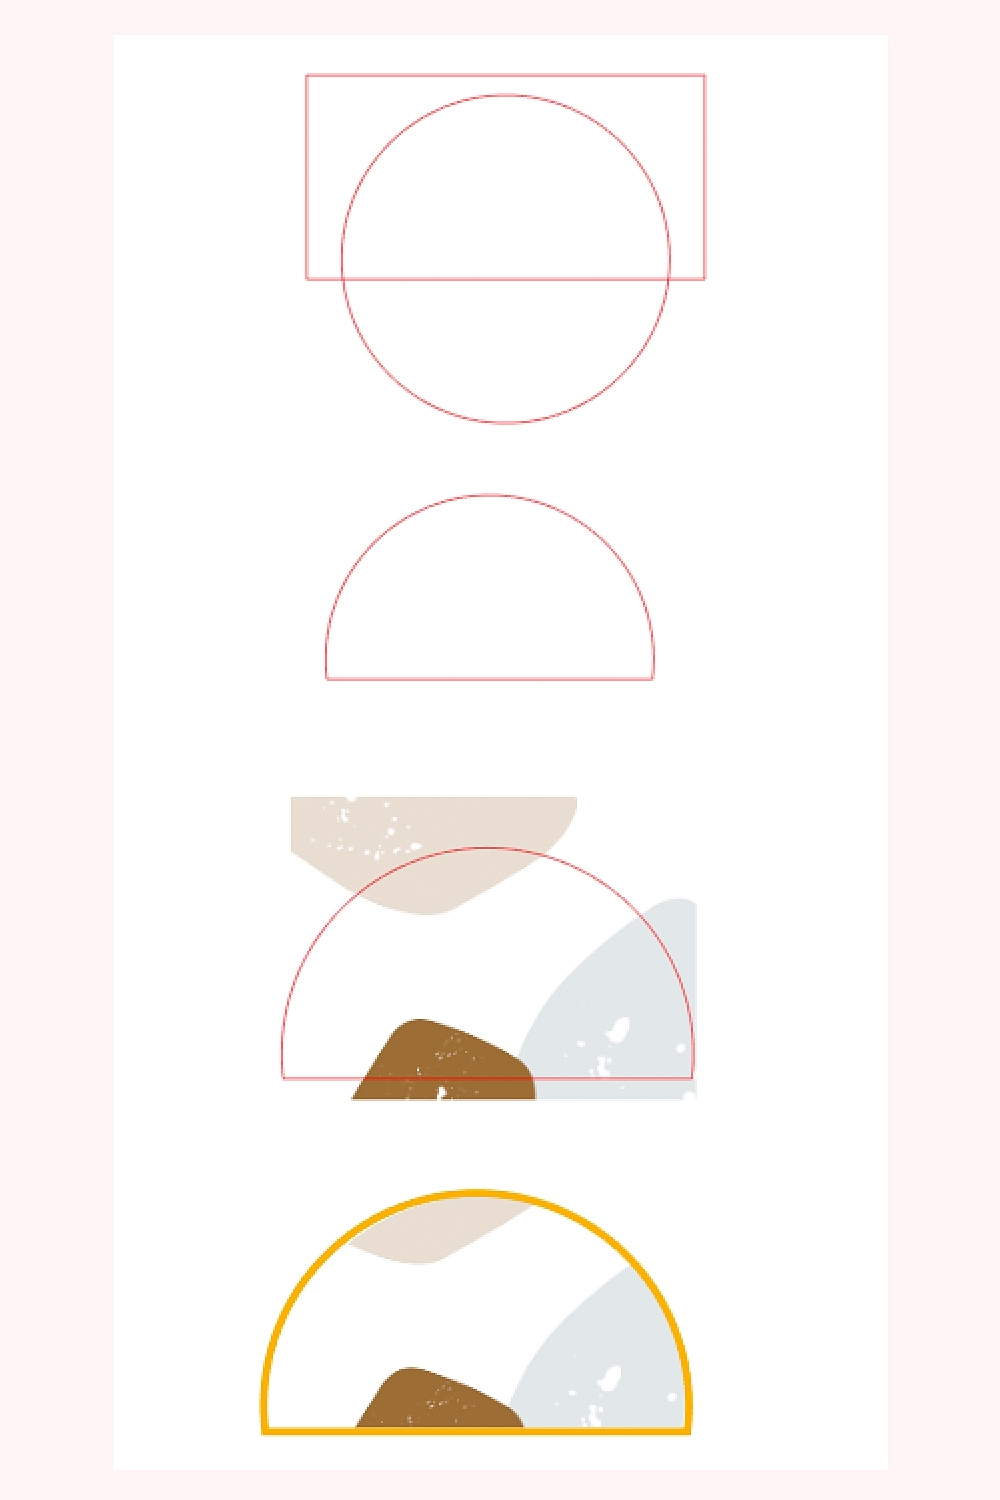
Create the semi-circle shape of your place card:
- Use the ellipse tool to create a circle
- Use the rectangle tool to create a rectangle over the circle (shown in the image below)
- Select both shapes then crop (Object > Modify > Crop)
- Create a copy of your semi-circle and resize it to the size of your place card
- Place the semi-circle over your pattern and crop it. This will change the shape of your pattern tile to a semi-circle
Create a border for your place card:
- Create a copy of your semi-circle and change the color and line thickness to however thick you need your border to be
- Resize it to the same as your patterned semi-circle. This will be your border
- Place it into your patterned semi-circle and group the two shapes together
- Center the two shapes by selecting both and going to menu Object > Align > Align Center Middle so that the border is even around the design
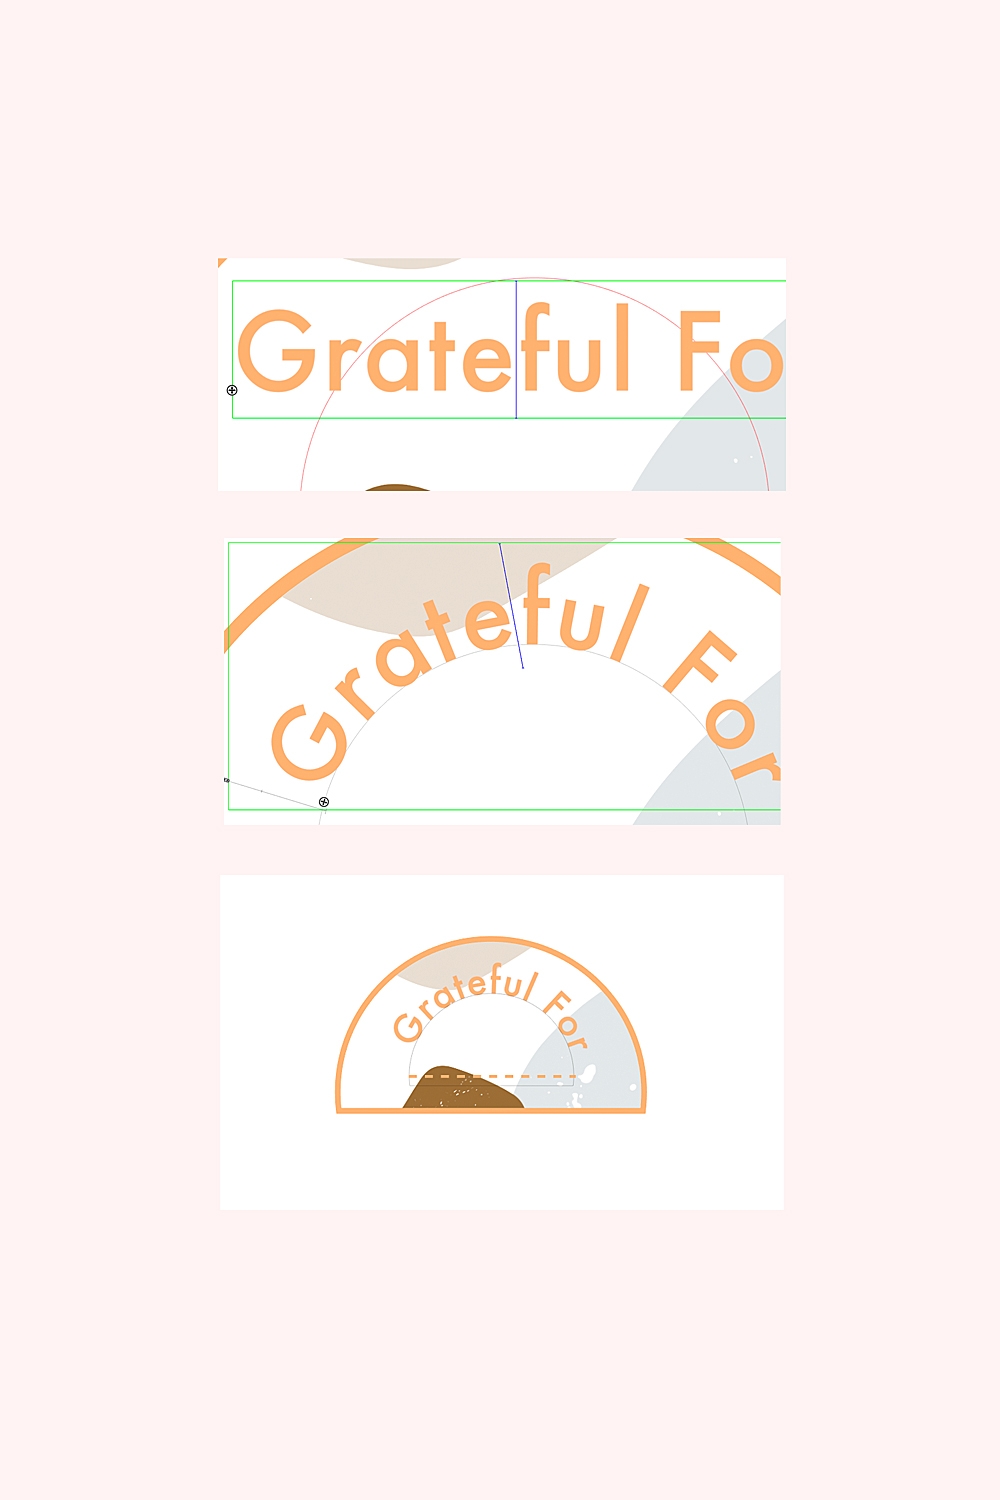
Add your rounded text:
- Add your place card text using the text tool (I used the Futura font)
- Create a smaller version of your semi-circle – this is what you will use to make your text look round
- Double-click your text. You will see the text in a rectangular green box with a smaller black circle to the left. Note that it is usually easier to work with text when you a zoomed in
- Click on the small black circle and drag it to the semi-circle. The text will snap to the shape. You can drag it so that it is positioned the way you want it with the small black circle
- Place your text on the place card design (patterned semi-circle with border)
- Use the line tool to create a line below the text for the name to be hand-written on your place card. You can select either a straight line or dashed line using the Line Style Panel in the same color as your text
Prepare your place card designs to print:
- Group all the elements (pattern, border, text) by selecting them and going to menu Object > Group
- Replicate your grouped design in the printable area
Send your Thanksgiving Place Cards to print:
Send as many copies as you need to print on the white cardstock. Use the best settings your printer offers for the best quality print
Cut out your Greeting Cards:
Use your scissors to cut each greeting card out, cutting along each pretty border
Cute right? All you need to do now is write your favorite people’s names on the cards once the table is set – let me know how your gorgeous Thanksgiving place cards turned out!
Looking for some more crafty inspiration? Take a look at these tutorials on How To Design and Make Your Own Stationery!