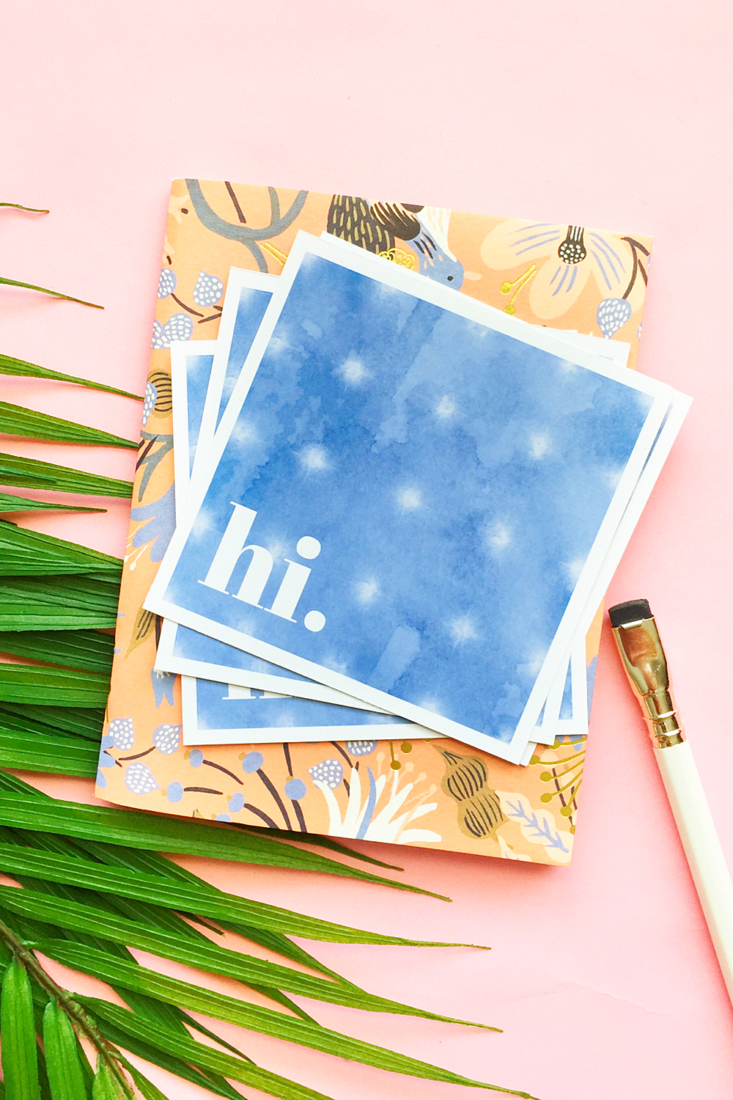
Tie Dye is making a huge comeback and in cool and modern way. As you may (or may not) know, I’ve been drawing and making art on my iPad using the Procreate app. So, I found some cool tie dye brushes and stamps and wanted to try them out. I made these fun notecards out of my first design, and wanted to share the tutorial and design with you – what do you think? Read on for the full how-to and download!
*This post contains affiliate links for products that I use and love!
The Tie Dye Trend
Today you will find tie dye everywhere – people, social media you name it. You will see designs ranging from homemade to store bought. Why? Because it is an easy trend to try or DIY. Especially now that we are home with more time to flex our creative muscles. Inspiration is everywhere – there are designs with rainbow colors or limited color palettes – the choice is yours. You can buy a white tank or pillow covers and a tie dye kit and make your own pretty designs for your home or wardrobe. What’s awesome is that no two designs will be exactly the same, so your work will be original. If you don’t feel like making it with fabric, this tutorial is the no-mess version. And, when you are done, you can share this trend by sending someone a sweet note with your greeting cards!
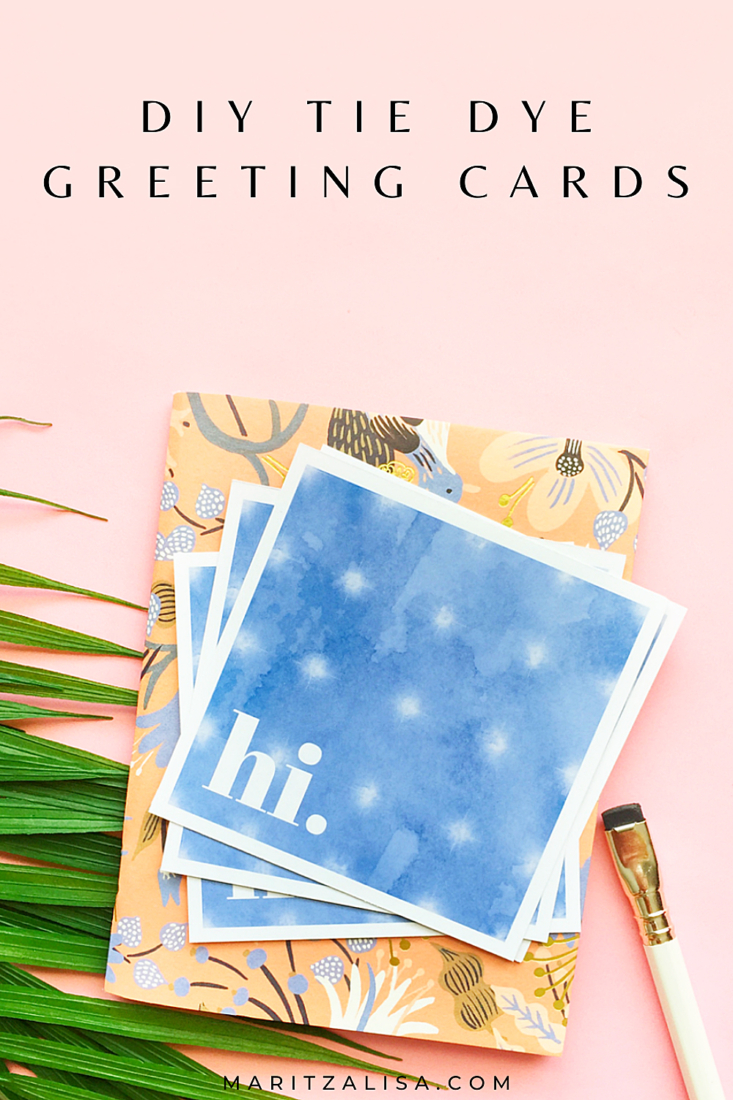
DIY Tie Dye Greeting Cards: Materials
- Printer
- Scissors
- White Cardstock
- Silhouette Studio (there is a free version!)
How To Make DIY Tie Dye Greeting Cards
Download your free tie dye design:
Click —> this link <— to go to the download page, then click the download button for the tie design JPG file. Please note that this JPG file is free for personal use only
Open the free tie dye design in Silhouette Studio:
- Open the Silhouette Studio software
- Open the design in a new document (link is above)
- Resize the design to the size of your card
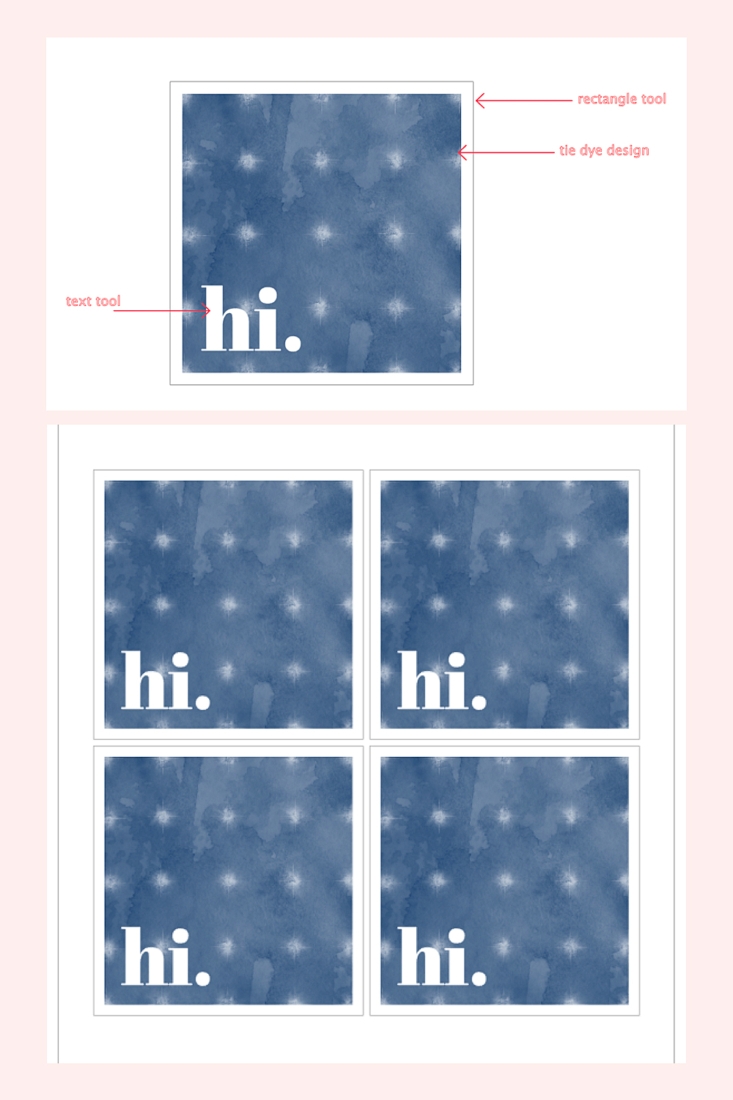
Create a border for your greeting card:
- Use the rectangle tool to create a square slightly bigger than the tie dye design
- Set the line thickness to greater than 0 so that you can see where to cut when it is printed. To set the line thickness, open the Line Style panel from the Panels menu, then click the tab with the white lines. The line thickness option is there for you set to any number
- Center the two shapes by selecting both and going to menu Object > Align > Align Center Middle so that the border is even around the design
Add your greeting:
- Add your greeting using the text tool (I used the Abril Fatface font)
- Place your greeting text anywhere on the tie dye design (I placed mine at the bottom left)
Prepare your design to print:
- Group all 3 elements (design, border, greeting text) by selecting them and going to menu Object > Group
- Replicate your grouped design in the printable area
Send your Tie Dye Greeting Cards to print:
Send as many copies as you need to print on cardstock. Use the best settings your printer offers for the best quality print
Cut out your Greeting Cards:
Use your scissors to cut each greeting card out, cutting along each border
Cute right? All you need to now is write lovely handwritten notes to your favorite people – let me know how your greeting cards turned out!
Looking for some more crafty inspiration? Take a look at these tutorials on How To Design and Make Your Own Stationery!
These greeting cards are so cute! I love the fact that the tye dye trend is coming back 🙂 xx
mia // https://beautiful-inspiring-creative-life.com
Thanks so much, Mia! Yes, I am happy it’s back too! xoxo