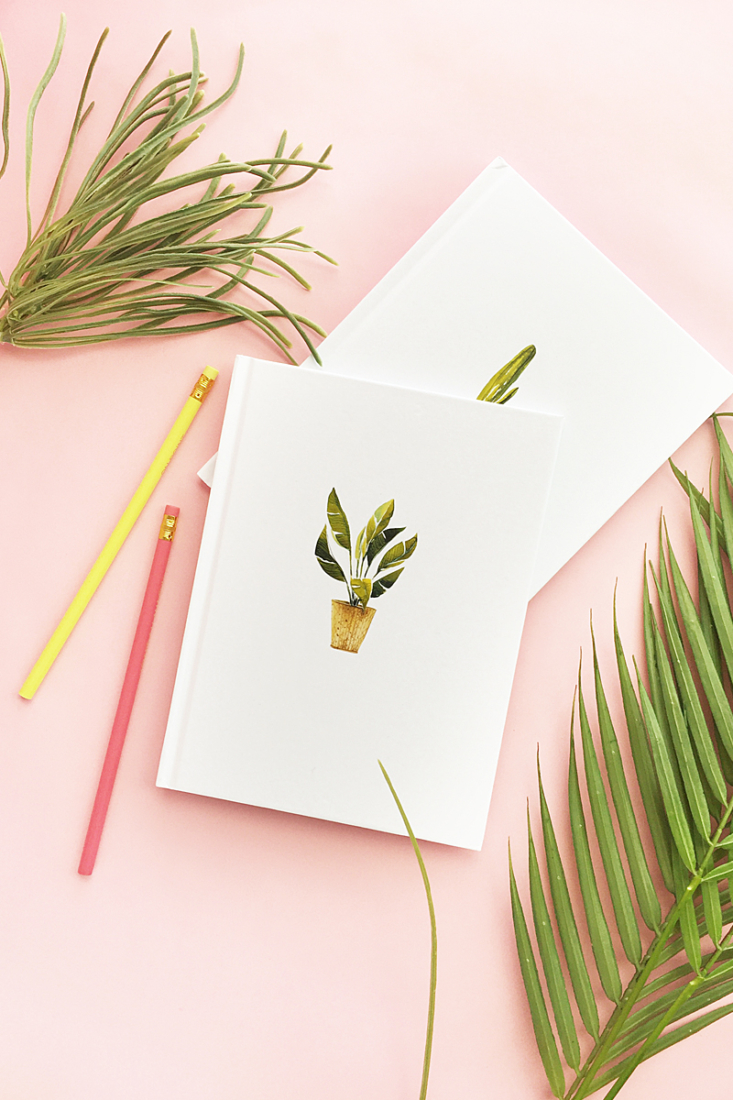
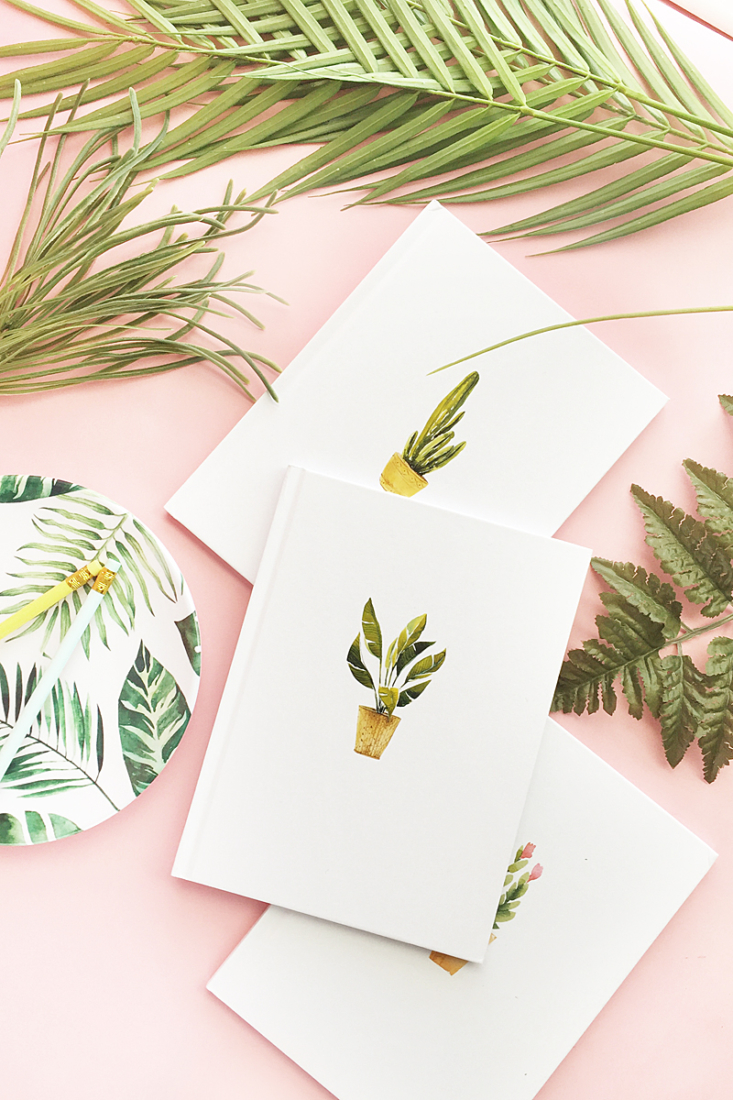
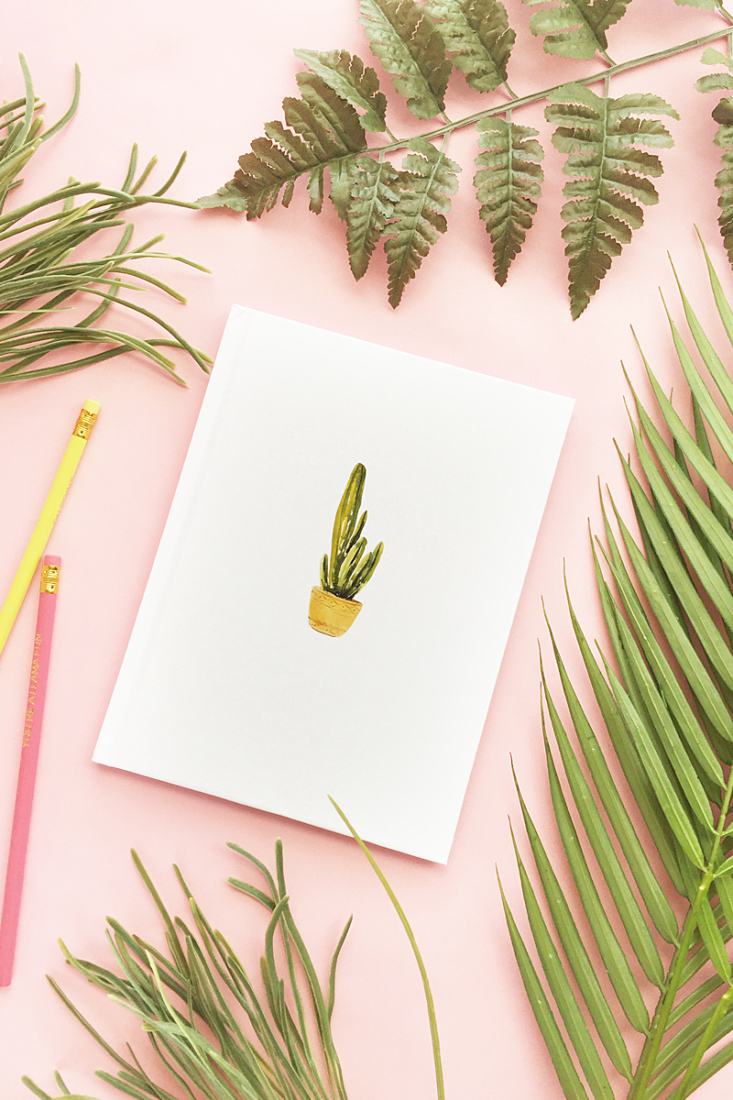
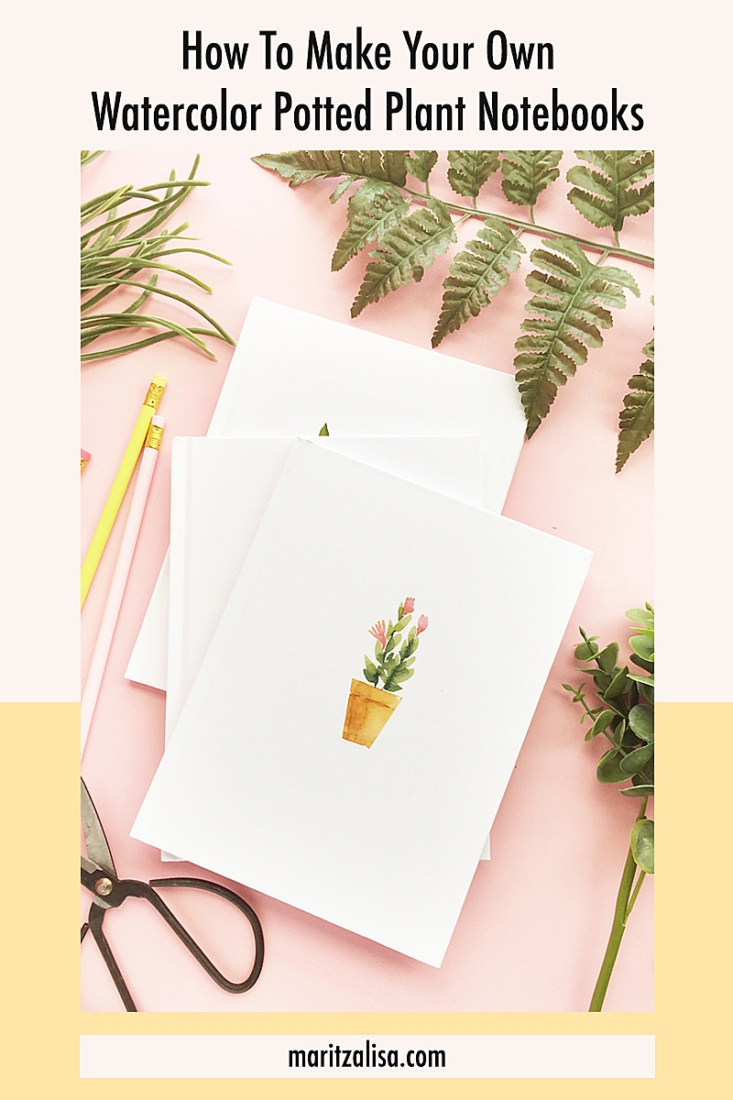
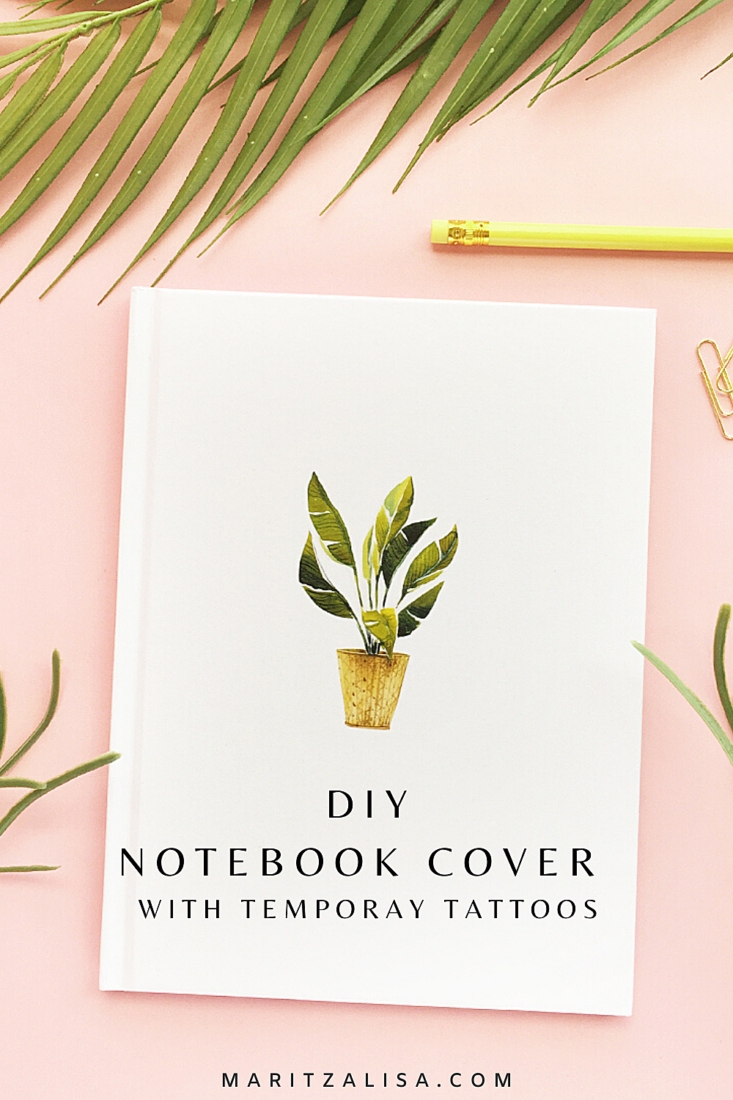
Well hello! I think it’s time for another stationery project. What say you? These sweet DIY Watercolor Potted Plant Notebooks are so easy to make! This tutorial is one that you can use over and over to customize your stationery. Click through to make your own!
Materials: DIY Watercolor Potted Plant Notebooks
- Silhouette Studio (there is a free version!)
- Printer
- Watercolor Potted Plant Images – free this week only on Creative Market!
- Scissors
- Temporary Tattoo Paper
- Wet towel
- Scraper
- Blank white notebooks
- Optional: Sealant
*This post contains affiliate links for products that I use and love!
How To Make: DIY Watercolor Potted Plant Notebooks
- Download your Watercolor Potted Plant Images
- Open your .png potted plant images in Silhouette Studio
- Resize your plant images so that they will fit on your notebooks
- Mirror your plant images (this is so that when they are applied it to your notebooks, they will appear the correct way)
- Print your images on to tattoo paper (as indicated on your package)
- Follow the directions on your tattoo package, and apply the clear adhesive sheet that came with your tattoo paper. Use your scraper to smooth the bubbles out
- Cut very closely around each potted plant image
- Remove the clear adhesive paper for each one, and apply each tattoo face down on to each of your notebooks
- Optional: After all the potted plant tattoos have been applied, you can apply a sealant to protect the temporary tattoos
And that’s it! Now you have lovely notebooks to add to your stationery collection or to give as gifts. Tell me, how will you use your books?
Looking for some more inspiration? Check out my other tattoo paper projects and craft a little longer with me!
2 Comments on DIY Watercolor Potted Plant Notebooks
Comments are closed.







Cute!
Thanks, Theresa! Hope all is well with you! xoxoxo