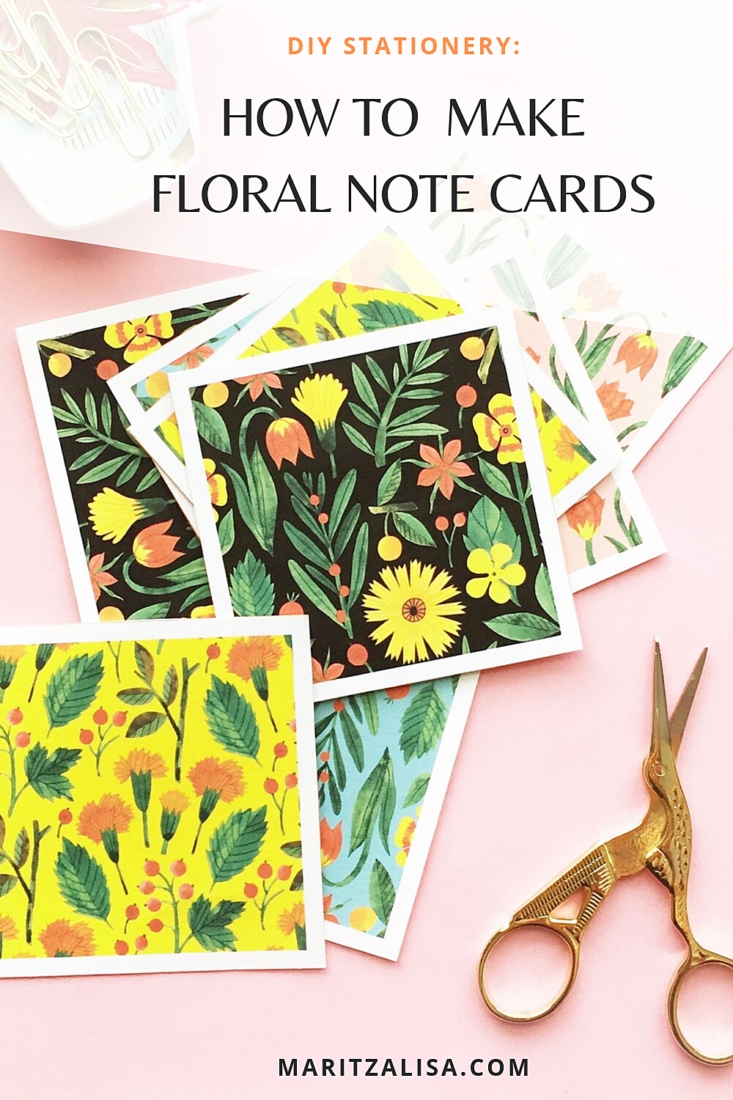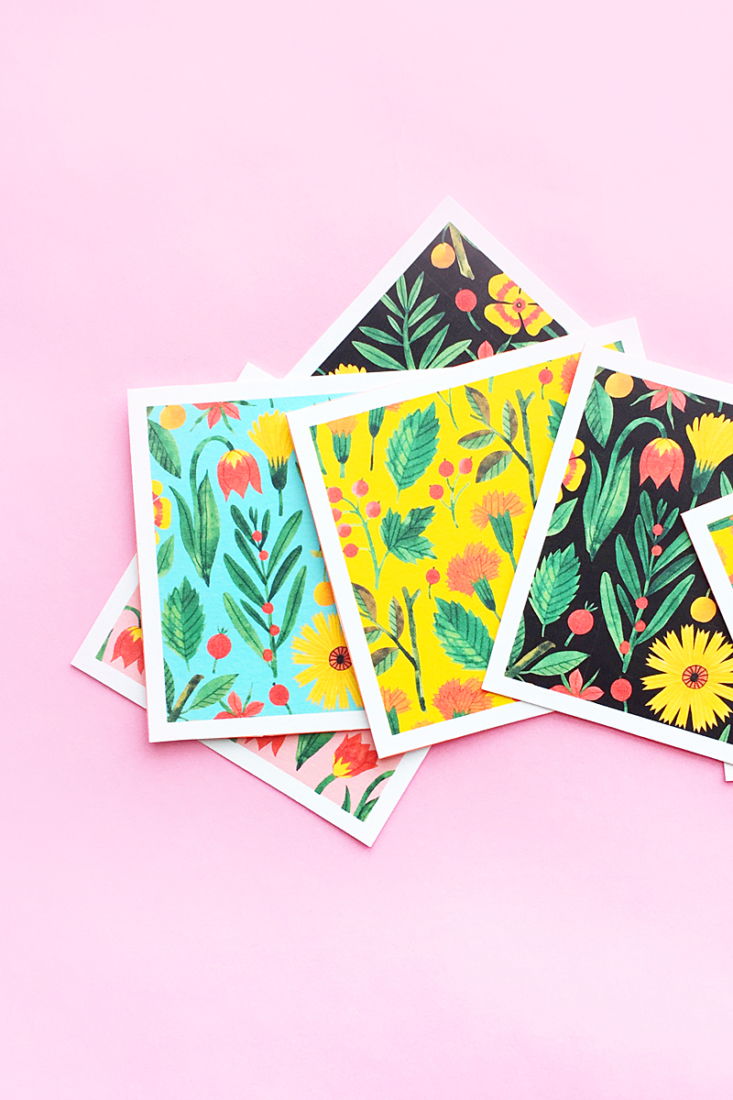
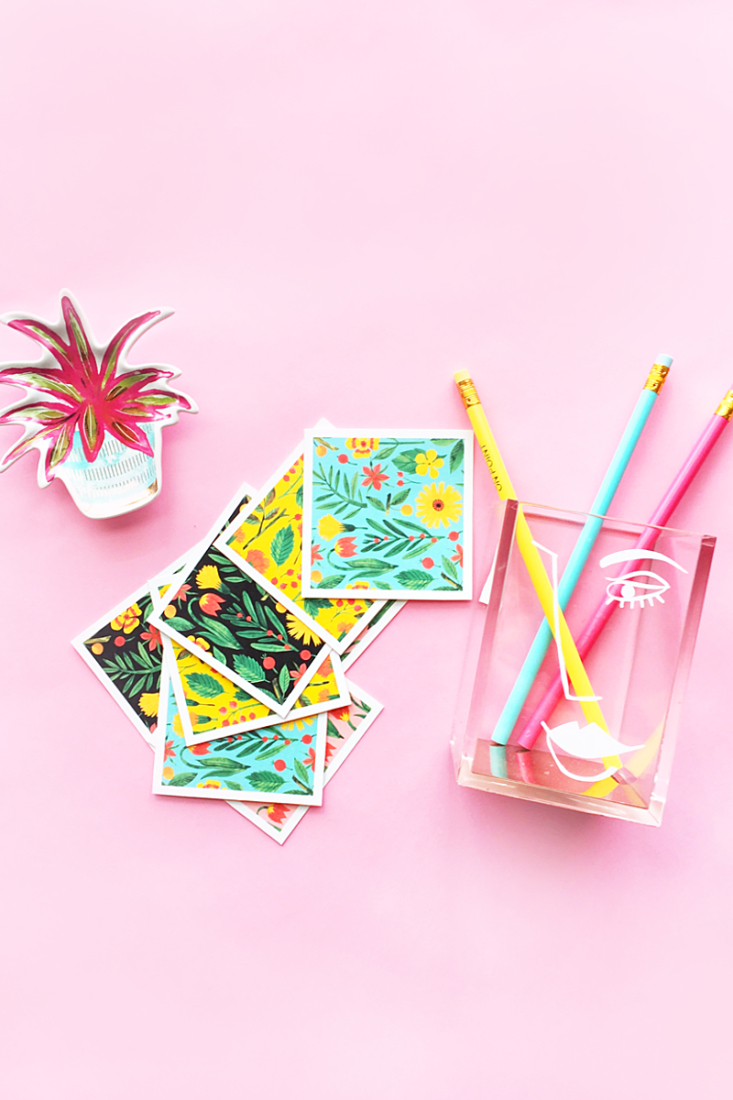
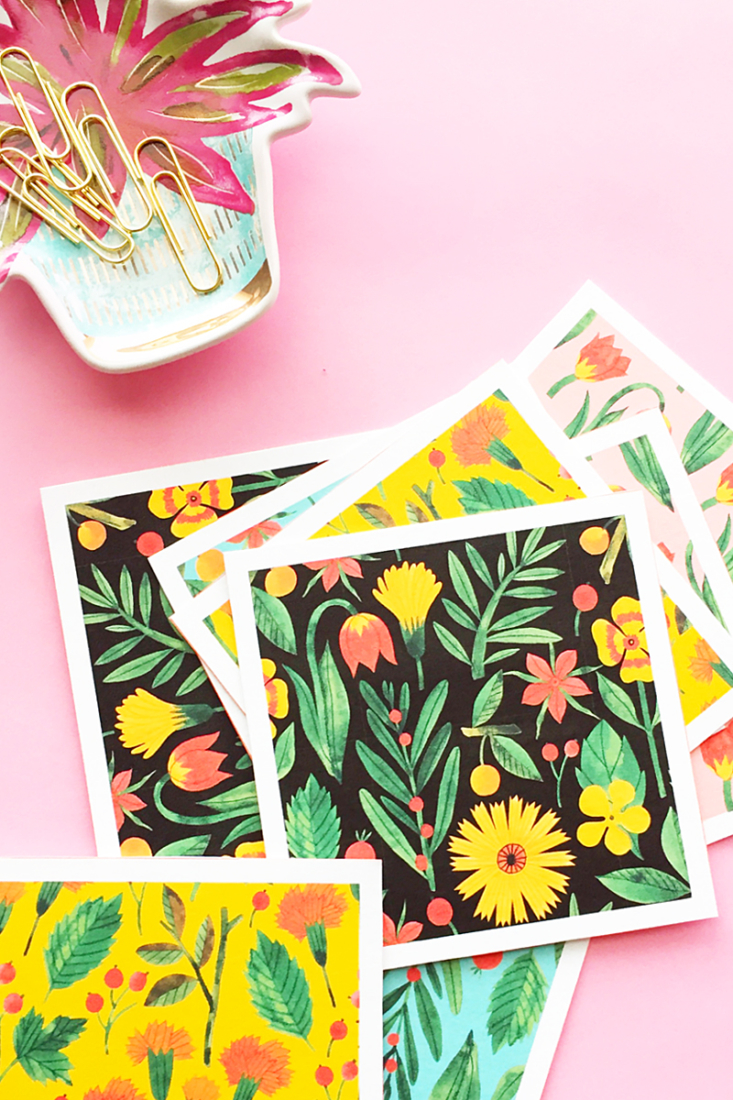
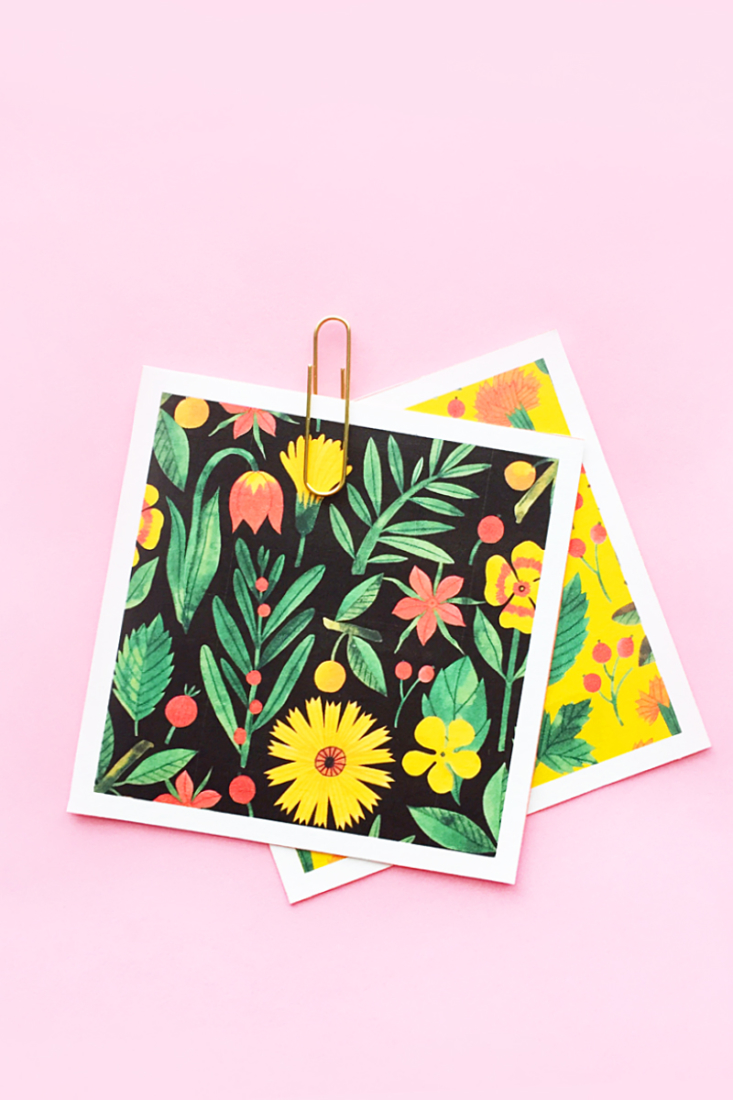
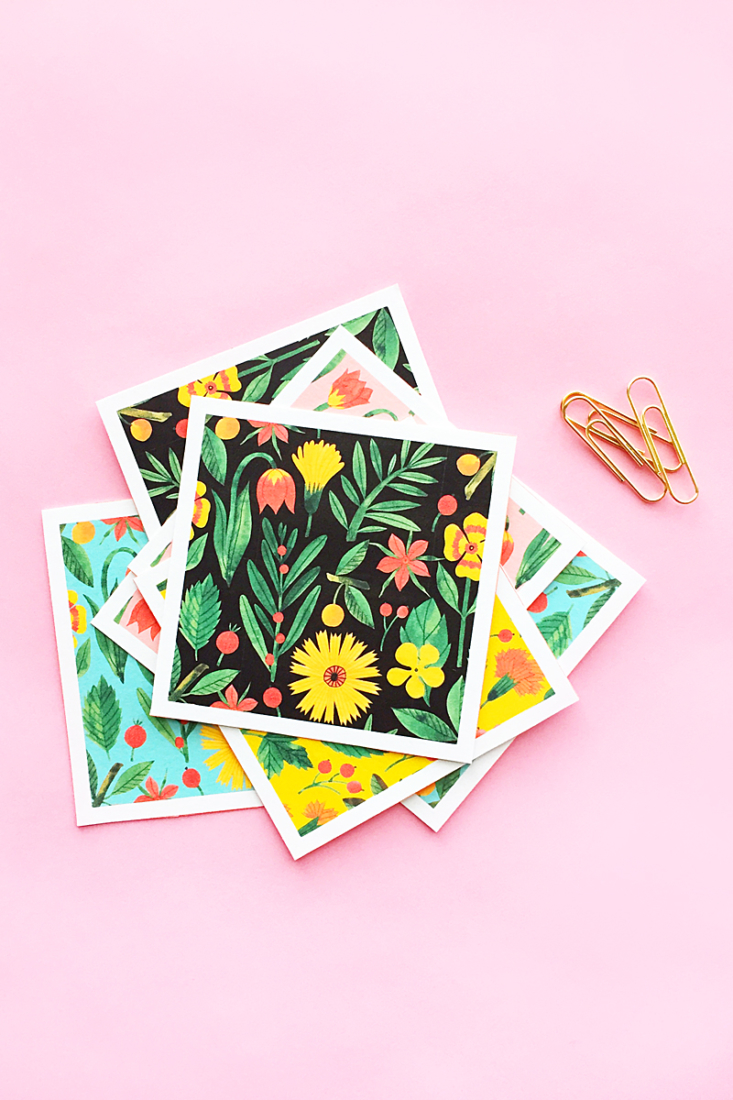
Today, let’s make these Easy Pretty DIY Botanical Notecards. Another one of my homemade stationery ideas to try. They have a lovely contemporary vibe that can be used any time of the year. I used the .png images so that I can incorporate different colored backgrounds. What do you think?
Easy Pretty DIY Botanical Notecards – What You Need
- Silhouette Studio (there is a free version!)
- Botanical patterns (I used these – from Creative Market)
- Printer
- Scissors
*This post contains affiliate links for products that I use and love!
Easy Pretty DIY Botanical Notecards – Instructions
For this tutorial, I am changing the backgrounds using the same technique I used in How to Change Background Colors in Silhouette Studio
- Open your botanical pattern (.png) in Silhouette Studio
- Optional – change the background color
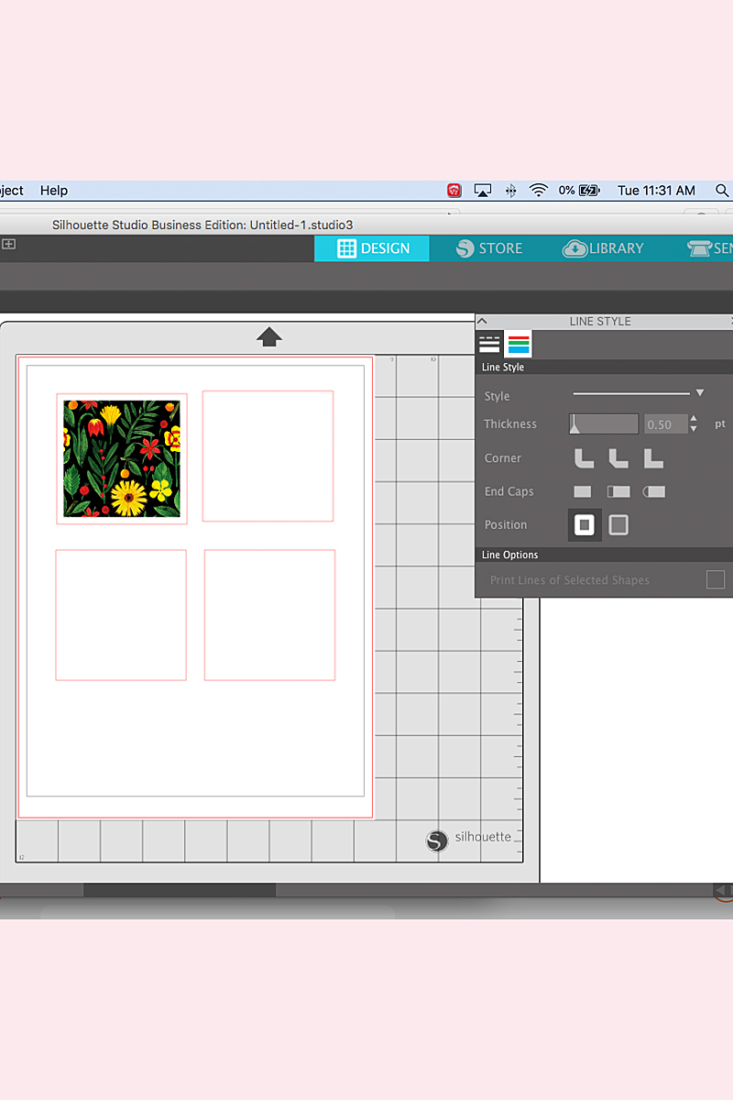
- Create a square – this will be the white frame or border around your notecard. Make sure the lines of the square will be visible when you print by changing the Line Thickness
- Place your pattern on the square – resize so that you can see the border
- Select both the frame and the pattern and Object > Align > Align Center-Middle
- Repeat for each notecard
- Send to print
- Cut out your notecards
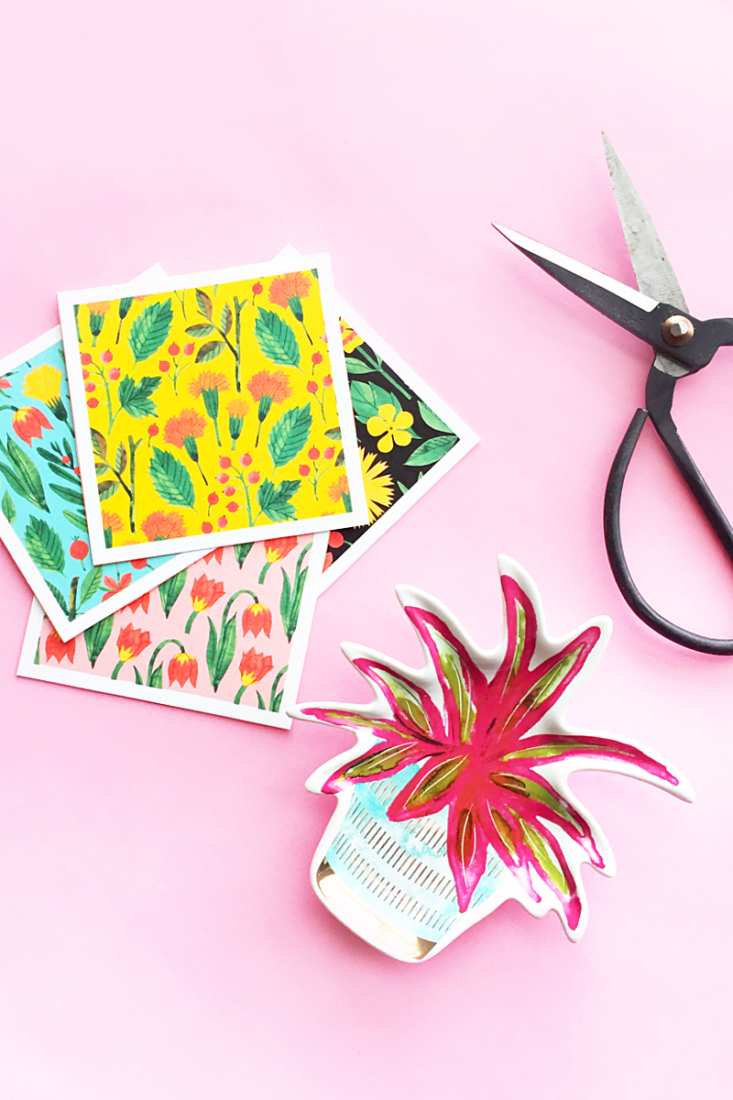
Cute stationery idea, right? This project will take you about 20-30 minutes, depending on the number of note cards you create. If you are doing a big batch and own a Silhouette cutting machine (I own the CAMEO 3), use the Print and Cut feature to save time. Let me know how your DIY Floral Note Cards turn out!
Looking for some more cute stationery ideas? Take a look at my other DIY Stationery Projects!
