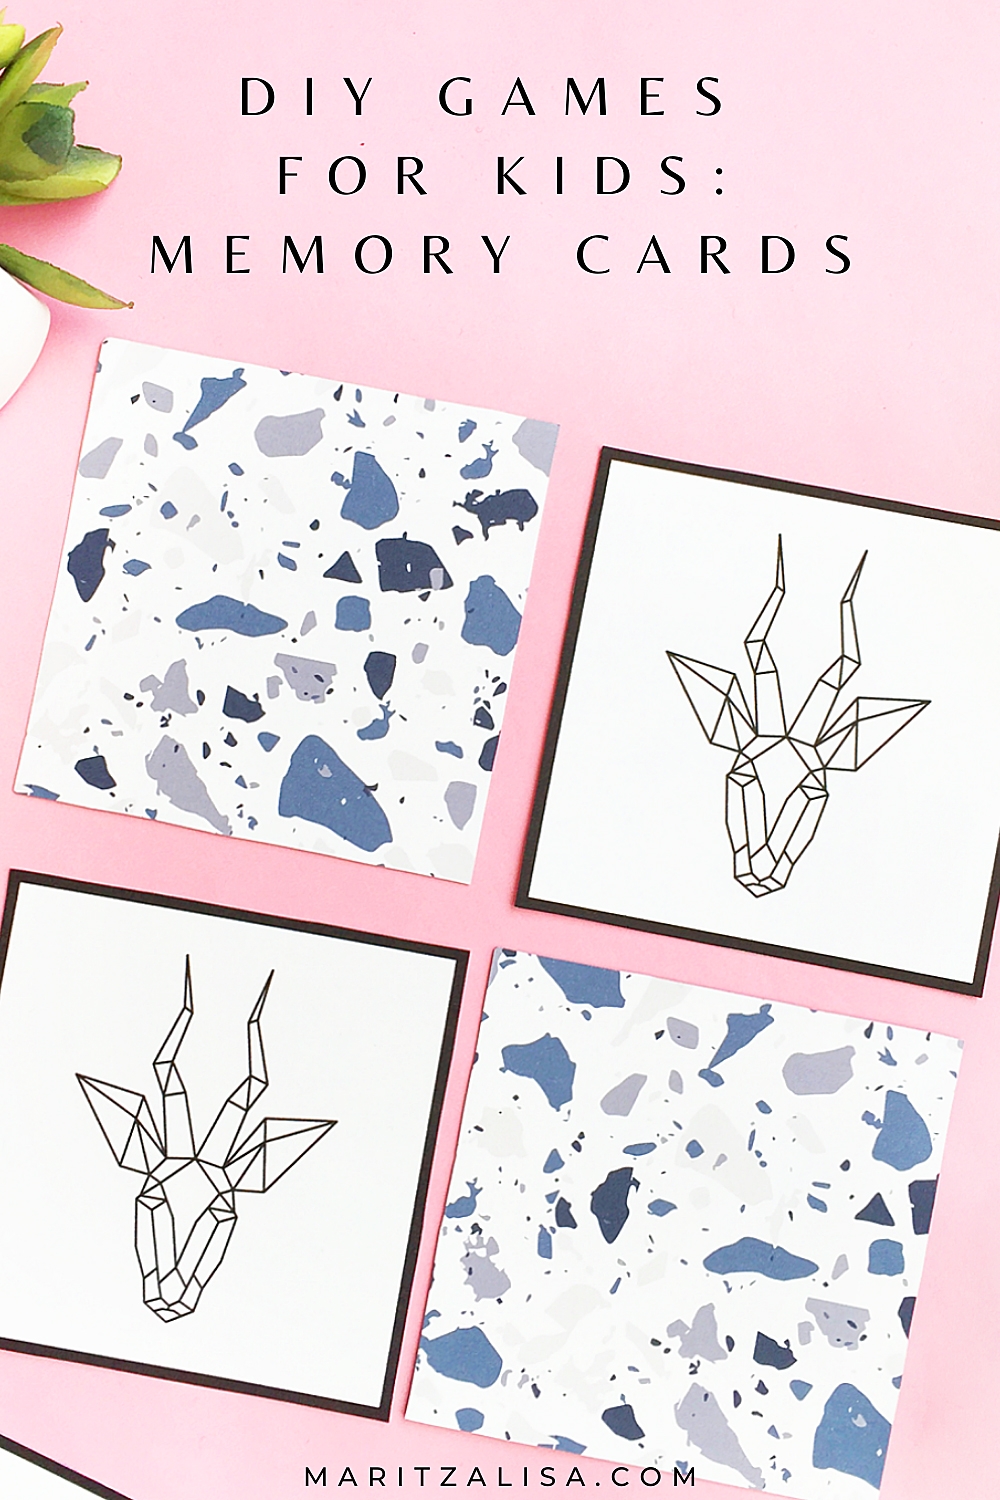
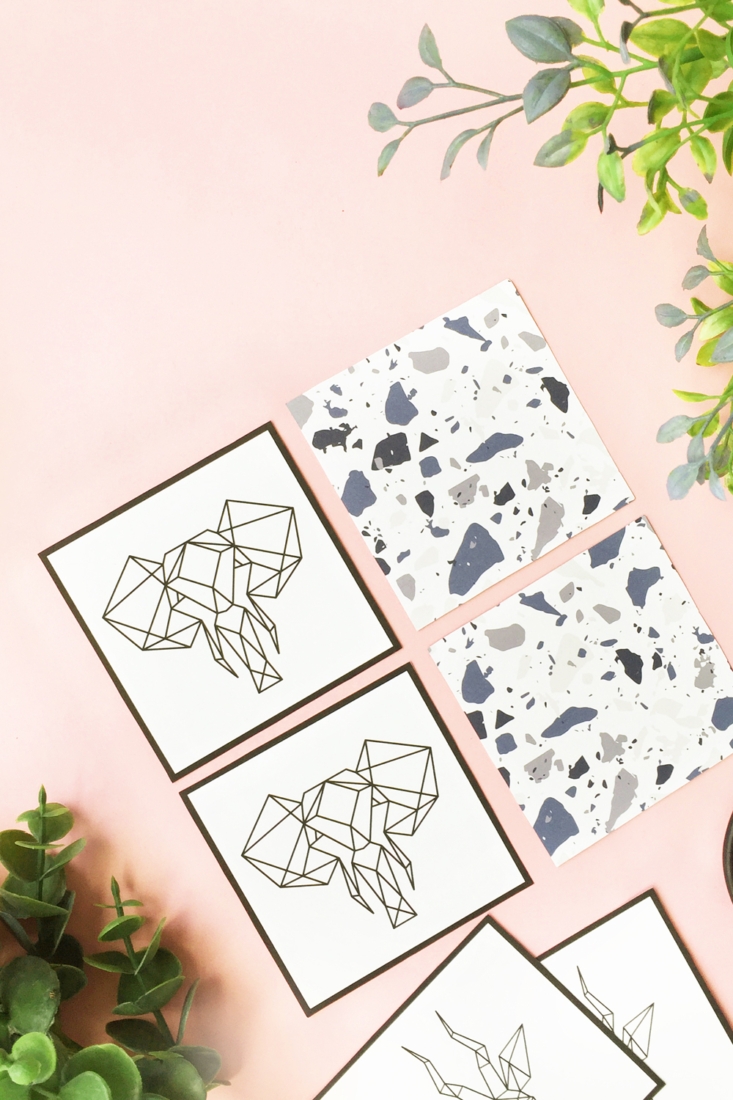
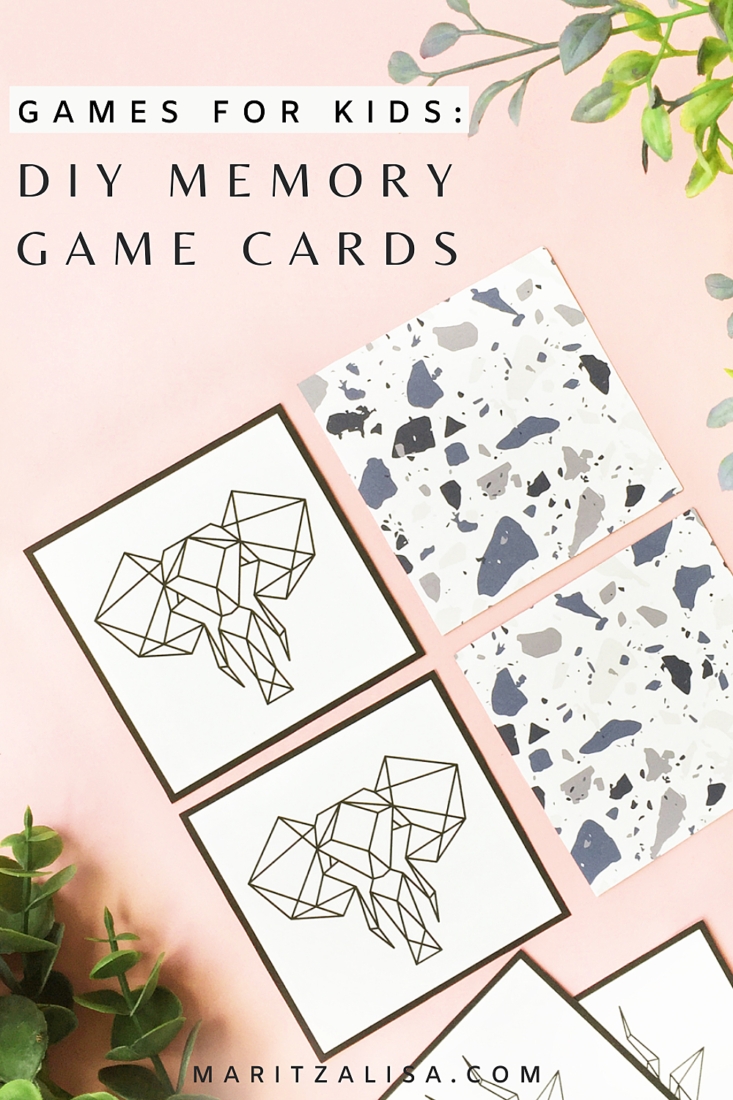
My family will be home for the next two weeks and I thought a little crafting was in order. Since we will need a lot of indoor fun planned, I wanted to make fun games for kids, and this DIY Memory Card Game came to mind. My boys are a little older and they love animals, so I thought I’d use cool animal images for the cards. If you’ll be home for a little while or heading on a road trip with your family, and looking for ideas for games for kids, then read on to make your own!
*This post contains affiliate links for products that I use and love!
The Benefits of Memory and Matching Games
Aside from being a fun activity for all ages, memory and matching games are simple to make and can have many benefits. They can:
- Improve critical thinking skills – Memory games are excellent for visual memory aid. The ability to store and retrieve memories without help is a critical aspect of reading, writing, spelling, including developing math skills
- Exercise the brain – it’s a cool way to train the brain as a game – a classic example of learning through play
- Improve problem-solving skills – Memory matching games can help sharpen problem-solving skills, concentration and even patience.
- Strengthen visual perception – Memory games can improve visual perceptual skills so that kids can mentally visualize outcomes with little to no trial and error
Now that we know how amazing memory and matching games are, let’s make one!
Games For Kids – DIY Memory Game Cards: Materials
- Silhouette Studio – there is a free version!
- Memory Images (I used these Geometric Vector Animals from Creative Market)
- Pattern for your cards (I used a terrazzo pattern from this collection at Creative Market)
- Printer
- Scissors
- White Cardstock
Games For Kids – DIY Memory Game Cards: Instructions
Source your images:
Like I mentioned before, I purchased my images and patterns from Creative Market. If you have your own images and patterns, please feel free to use them
Create the patterned side of the cards:
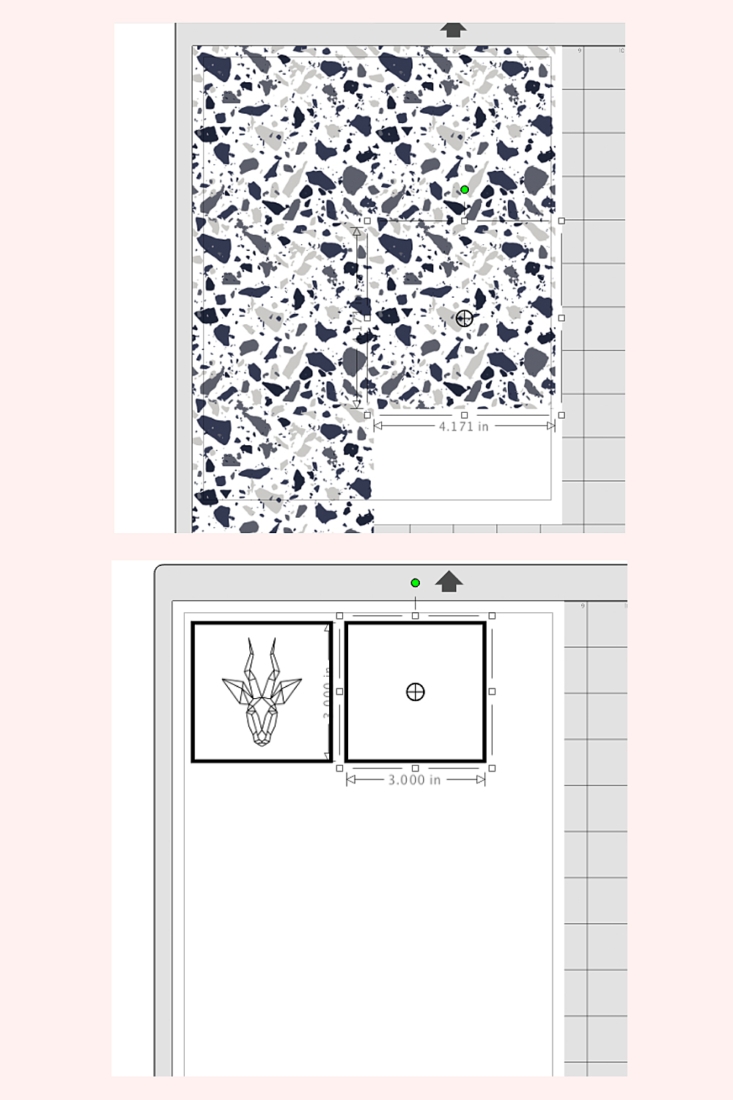
- Open your pattern in Silhouette Studio
- If your pattern appears as a square, resize and replicate the pattern in the printable area
- Send to print on cardstock
- Once printed, re-feed the page back into your printer so that it can print on the blank side
Create the memory images for the cards:
- Create a square in the Silhouette Studio software and plan it in the printable area (after removing your pattern). This will be the size and shape of your memory cards
- Set the square’s line thickness to something greater than zero to create a border (I used 6)
- Replicate these squares throughout the page
- Merge your memory images (I used the geometric animals above) onto your document
- For each animal image, create a duplicate and center each image in each of your squares. Repeat for each animal
- Create as many animal square pairs you need for your memory game
Print Your Memory Cards:
- Remember to re-feed the printed patterned page back into your printer so that it can print on the blank side
- Send your memory squares to print on cardstock
- Repeat the process for each page of cards you need for the game
Cut Your Memory Cards:
Use your scissors to cut each card out, cutting closely around each border
If you own a Silhouette cutting machine (I own the CAMEO 3), use the Print and Cut feature to save time!
I love how they turned out and can’t wait to play with my kids! The beauty of this is that you can re-use your card templates for so many other games for kids – let me know how your memory cards turned out!

Looking for some more inspiration? Take a look at these tutorials on How To Make Your Own Stationery!


