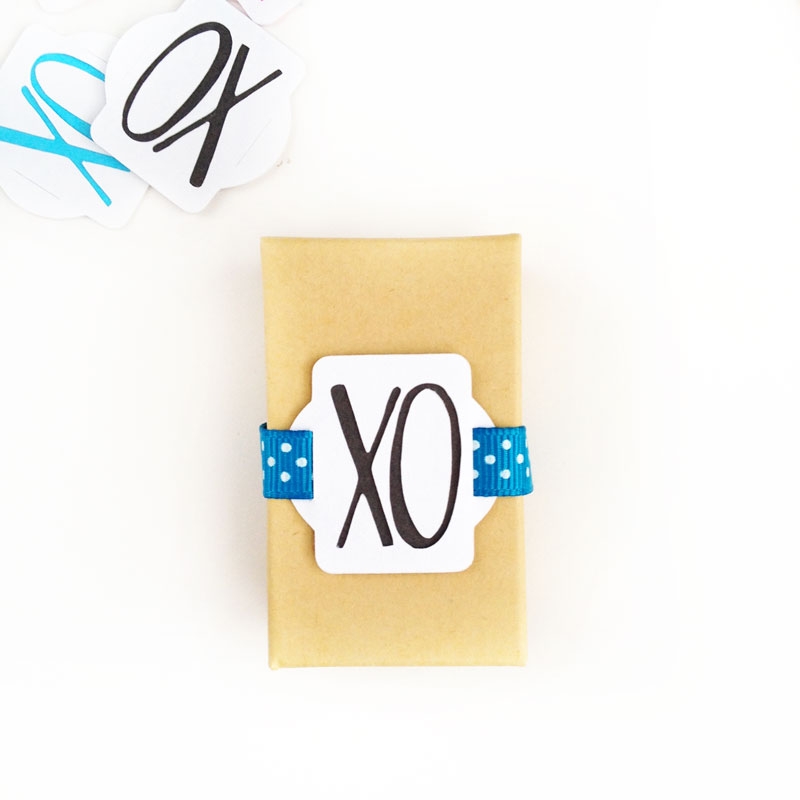
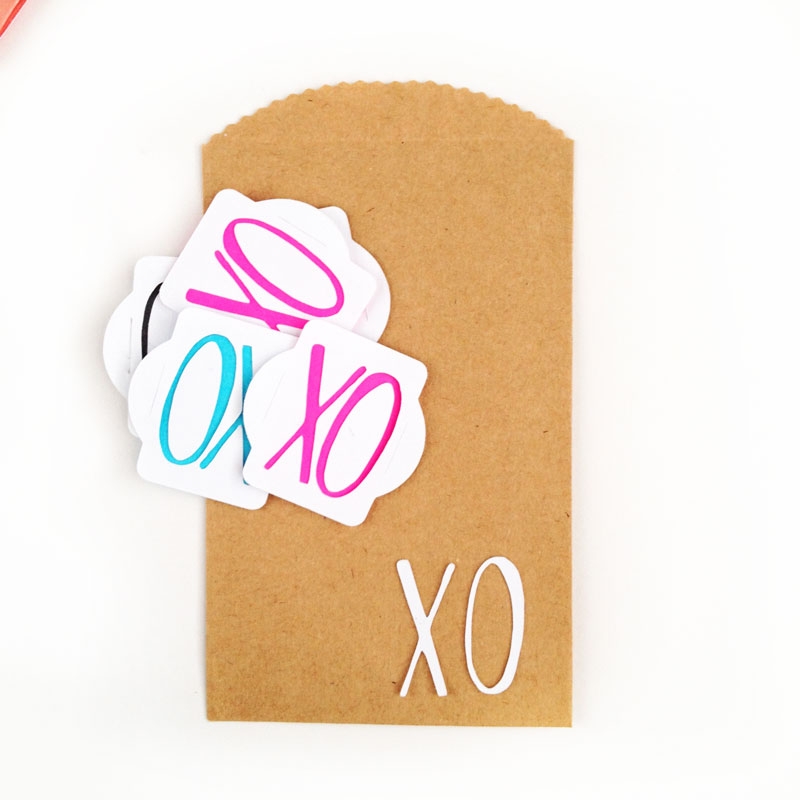
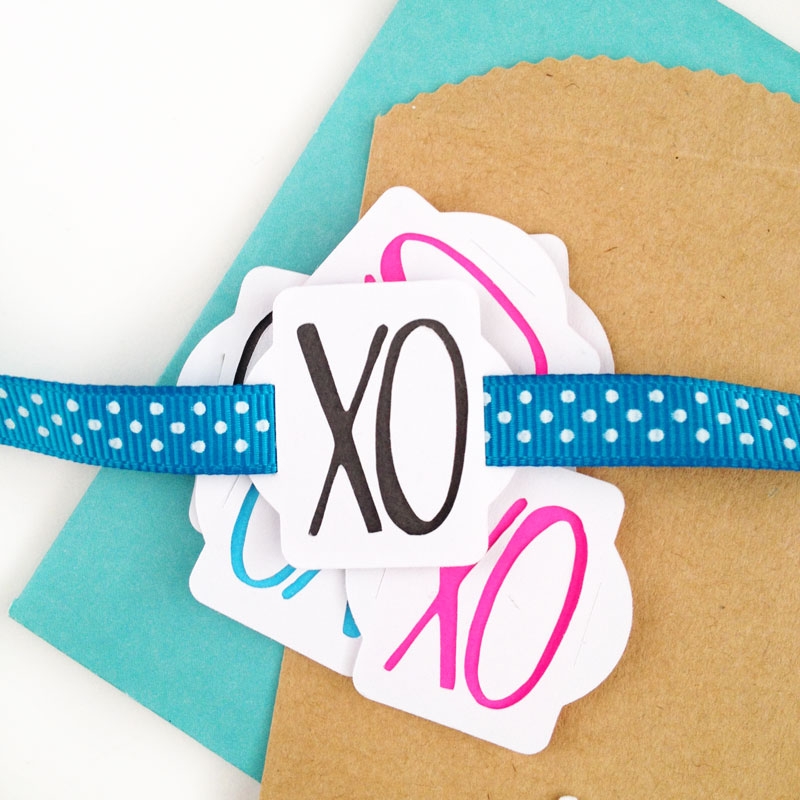
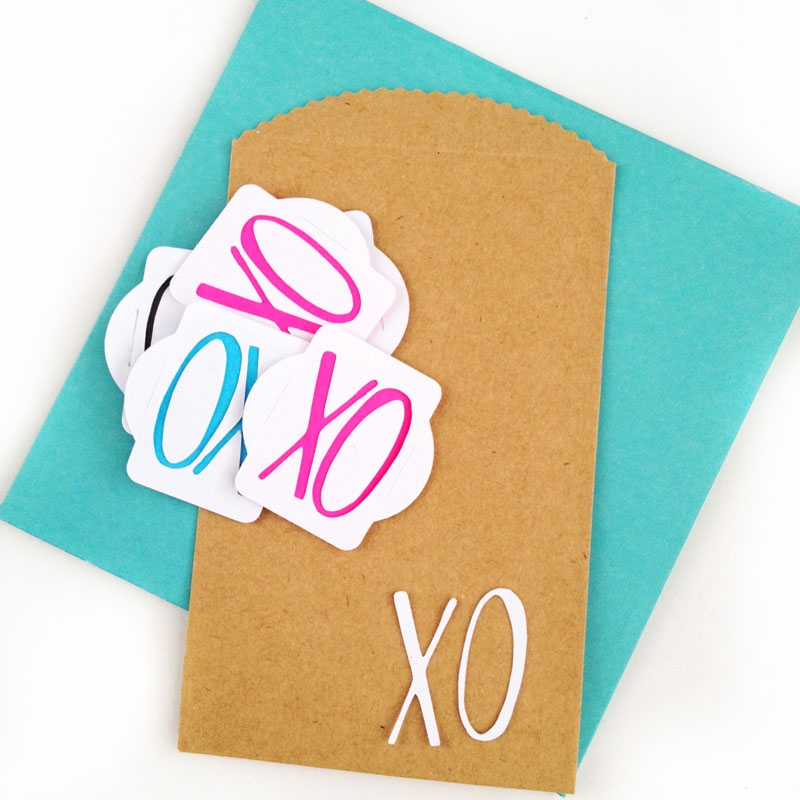
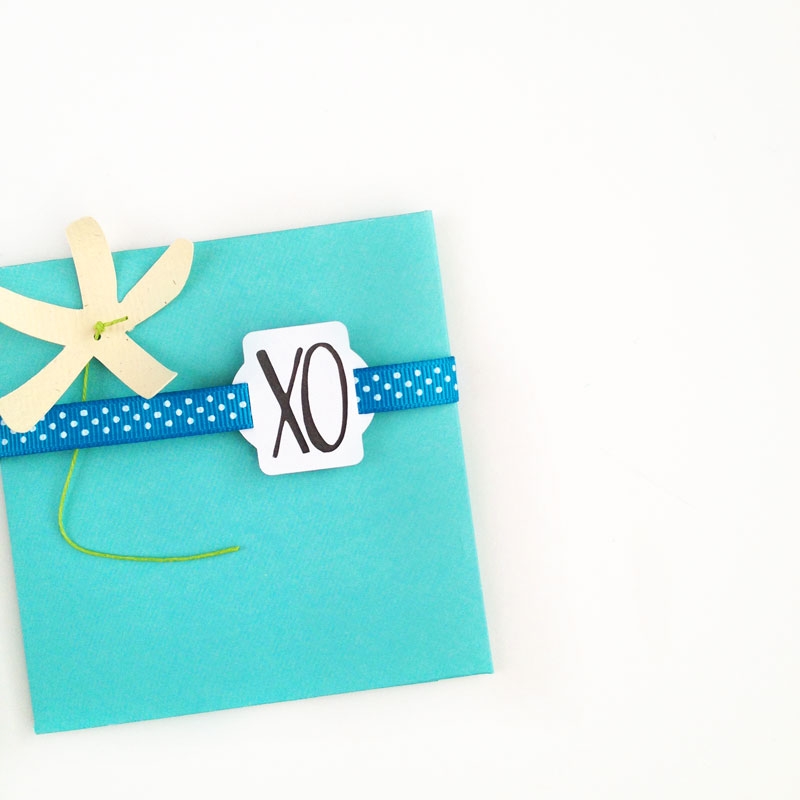
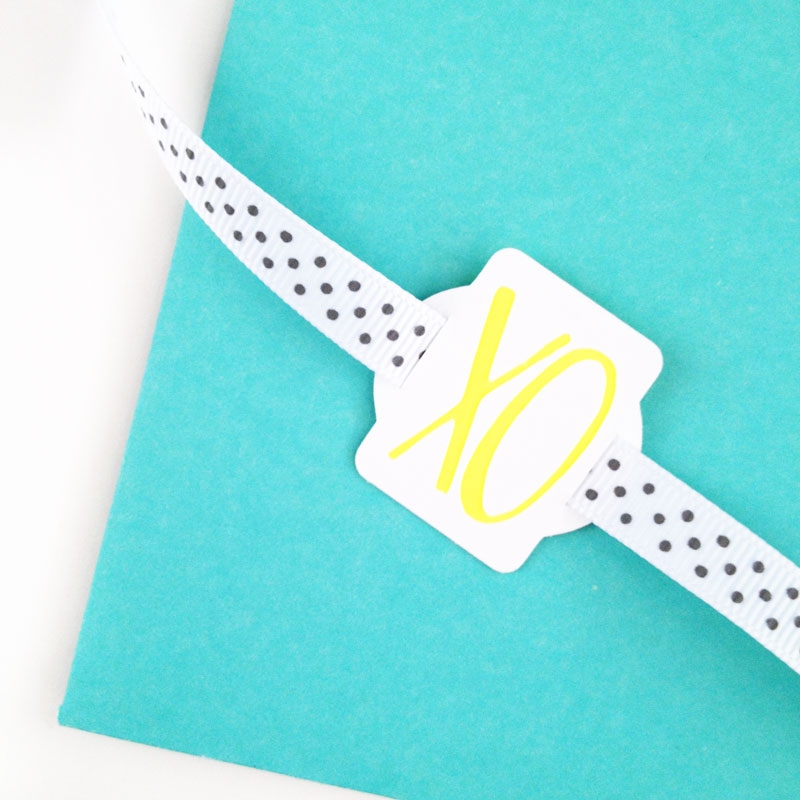
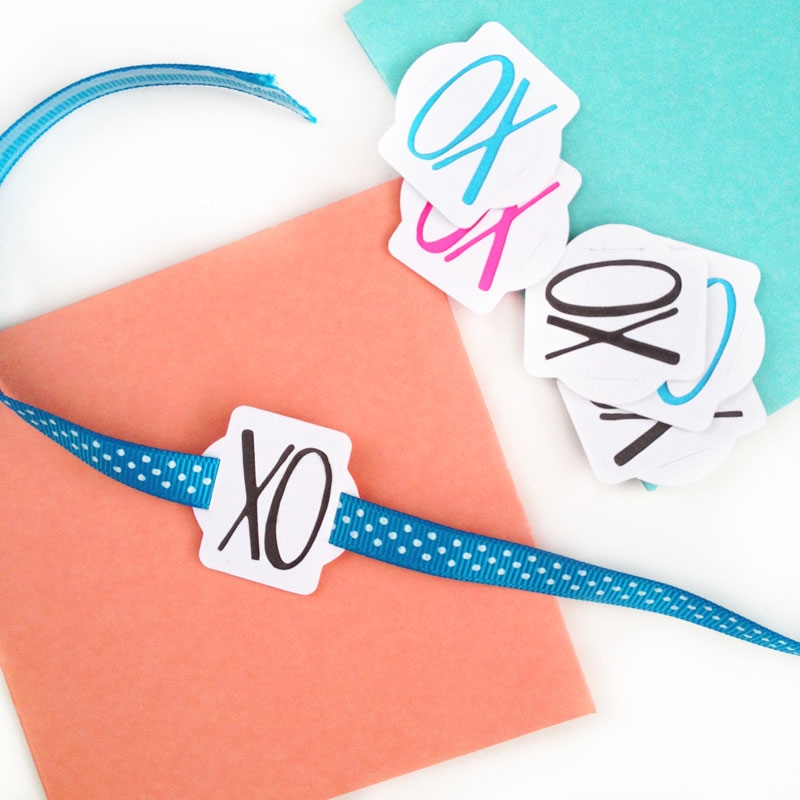
A long weekend called for some Valentine’s crafts. Today’s post is all about another Silhouette CAMEO (or Portrait) tutorial. A little DIY Valentine’s slider tags. The inspiration? I saw this beautiful invitation suite from Oh So Beautiful Paper, which prompted me to make my own version of the belly band or slider tag. I used the Silhouette Studio software to design my tags, but I’m pretty sure you can draw or use shapes in your home to create your designs. Once you finalize your design, use a craft knife and cutting mat to cut and create your gift tags.
The What
- Silhouette cutting machine (I own the CAMEO)
- Silhouette Studio
- Cutting mat
- Cardstock
- Glue
- Ribbon
The How
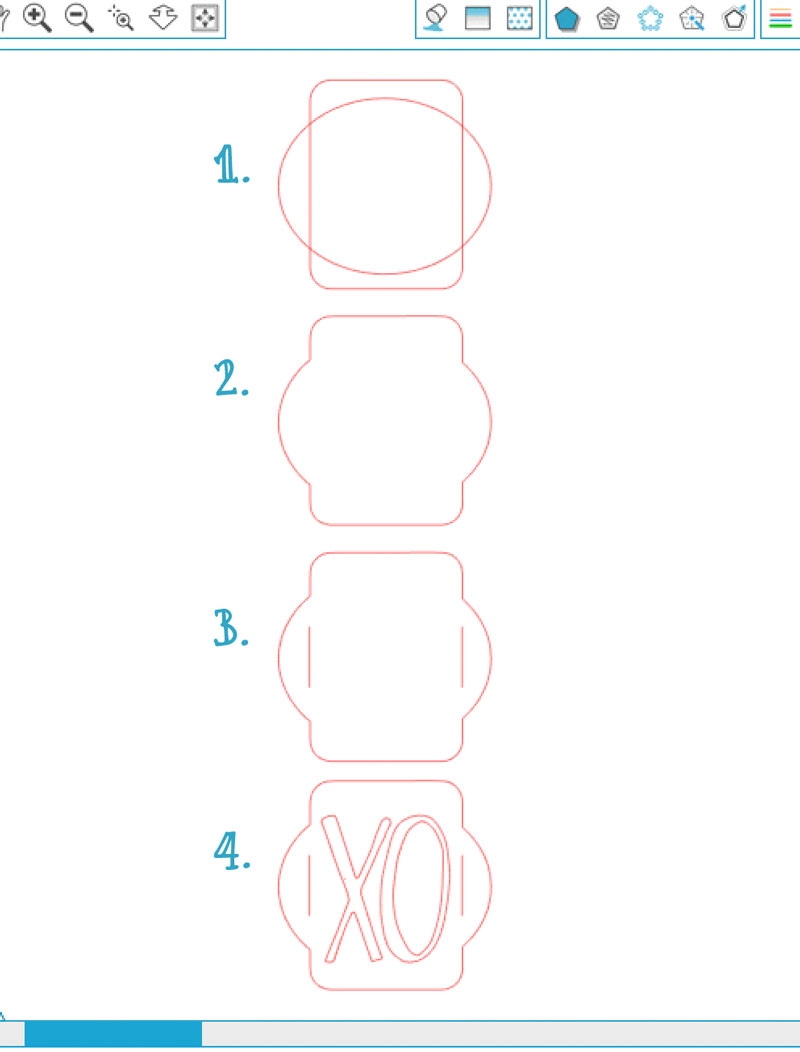
- Open a new document in Silhouette Studio. Overlap and center a rounded rectangle and oval
- Weld the 2 shapes together
- Create 2 lines for the slits. This is where your ribbon will be placed, so make sure the length will accommodate its length
- Add your text in the middle. I used the Turner font
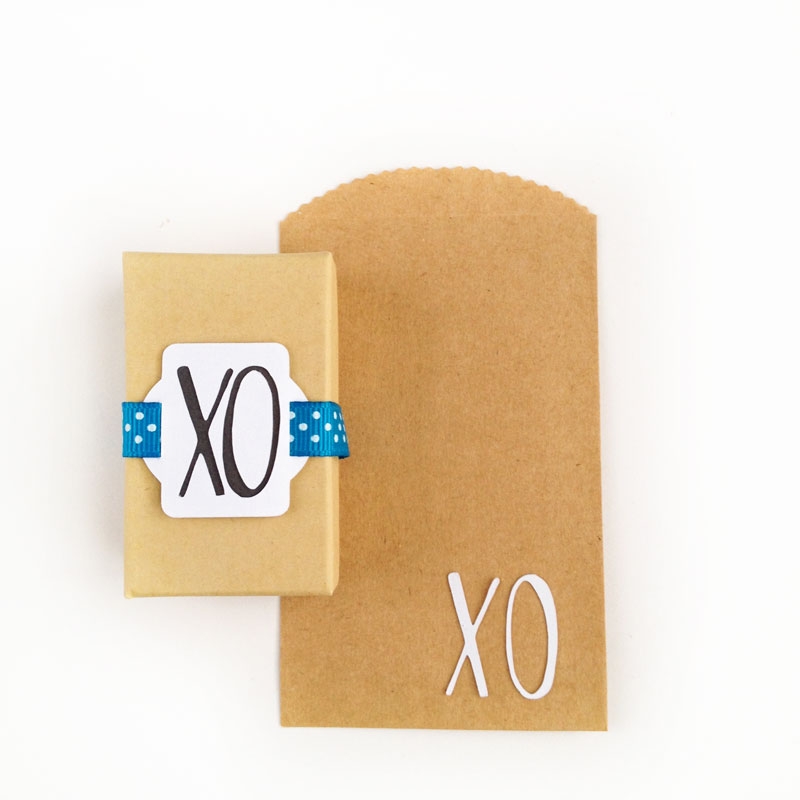
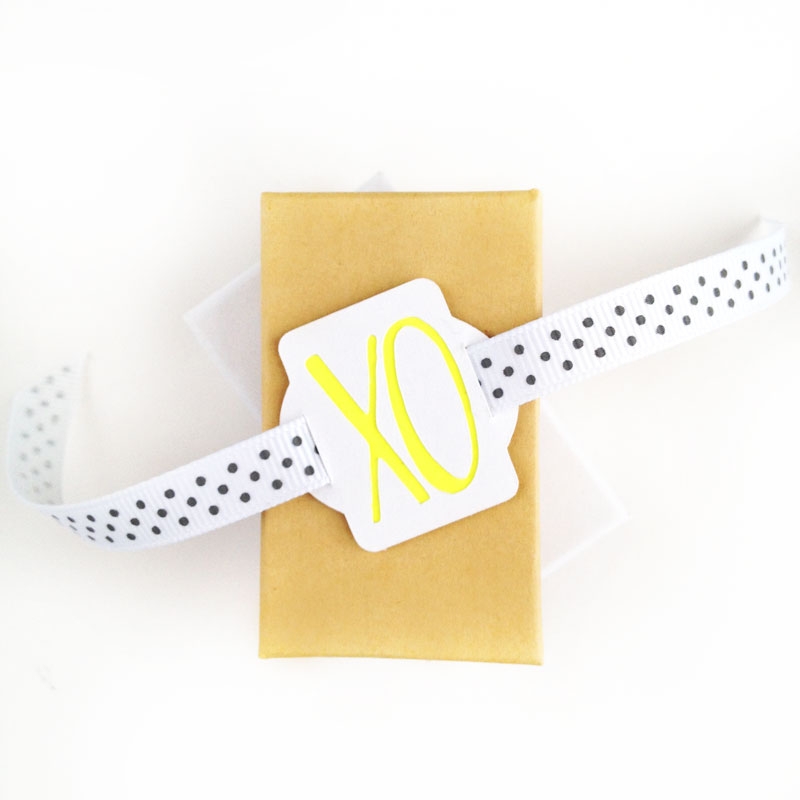
Finally, send to cut using cardstock settings. Once your shapes are cut, glue a different colored cardstock to the back of the tag. Add some, ribbon, and you now have some lovely tags for your loved ones.
Looking for another Silhouette CAMEO tutorial? Take a look at these!
4 Comments on Silhouette CAMEO (or Portrait) Tutorial: XO Slider Tags
Comments are closed.


Great idea!!!!!! hugs, patty
Thanks, Patty! 🙂
These are lovely Maritza 🙂
Thanks, Sue!! 🙂