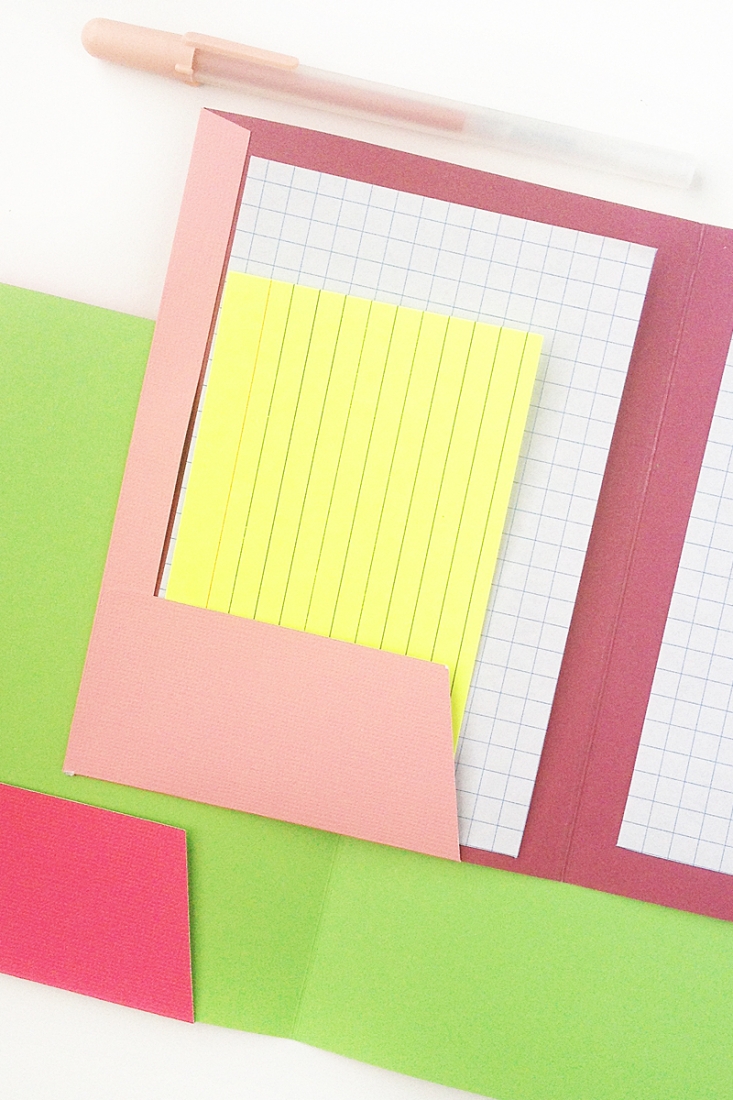
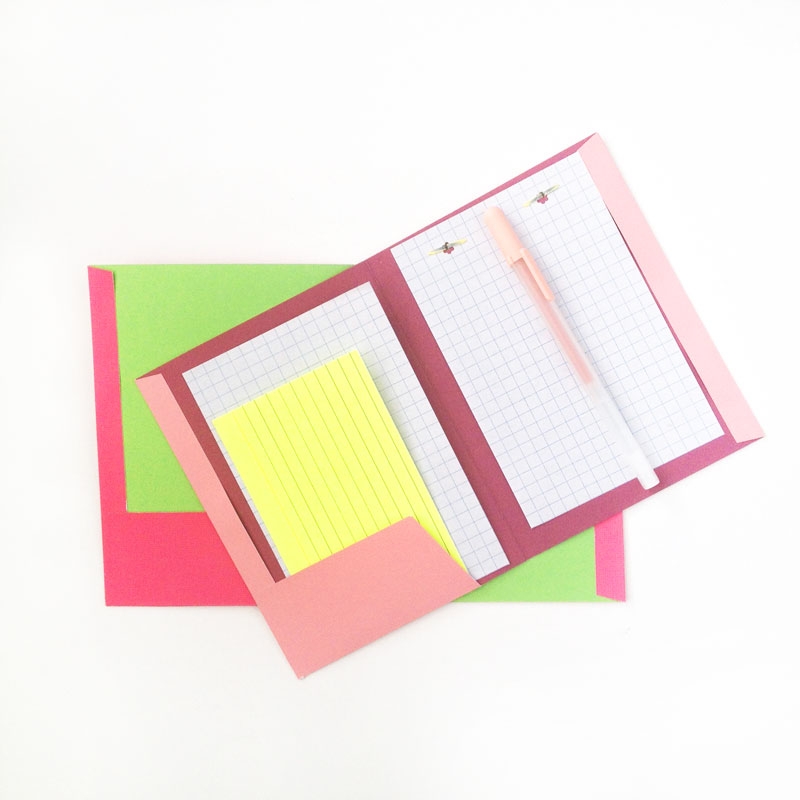
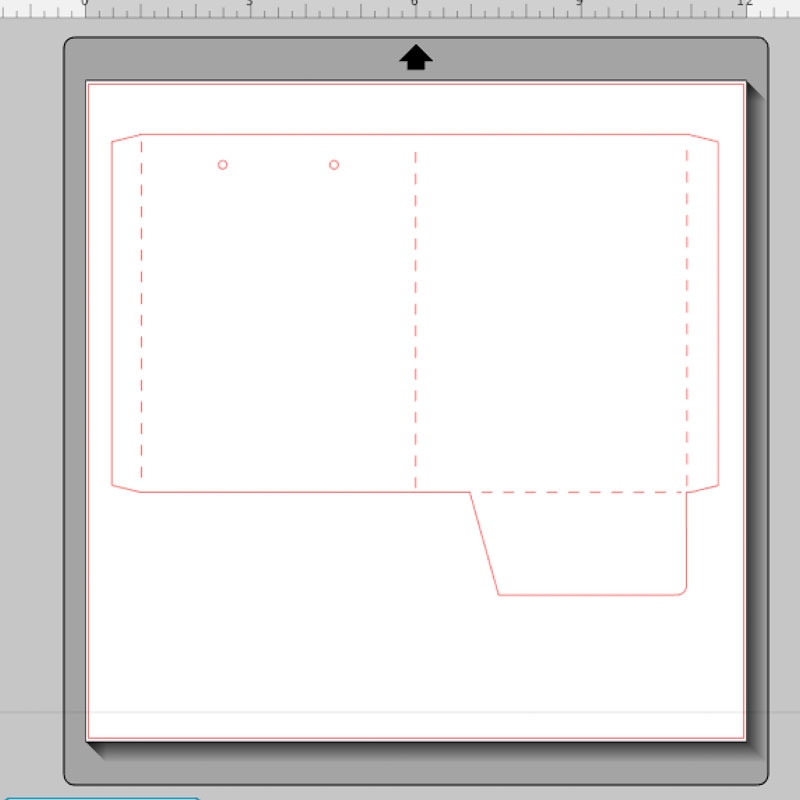
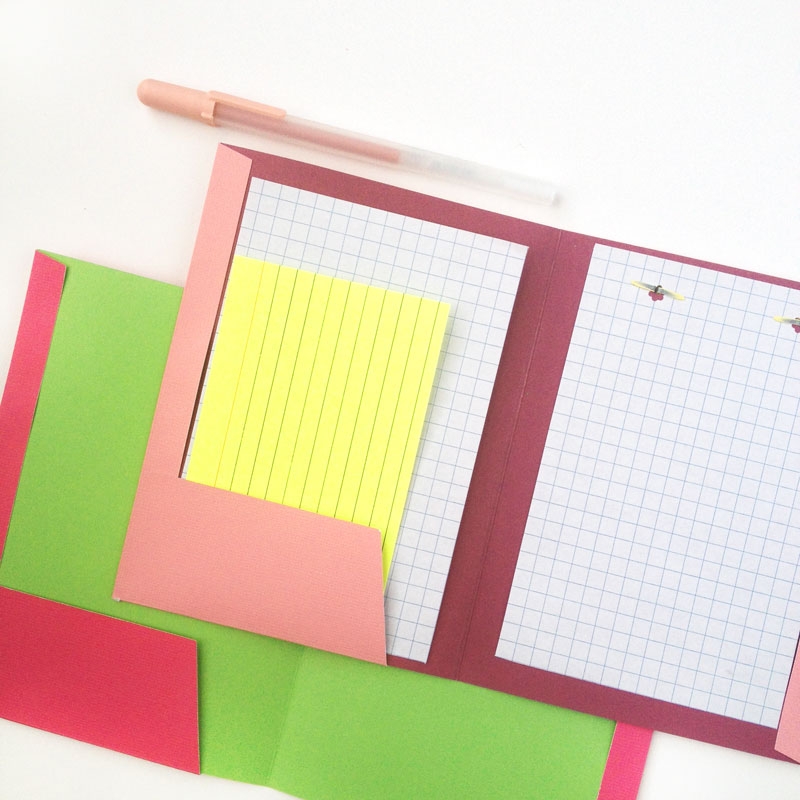
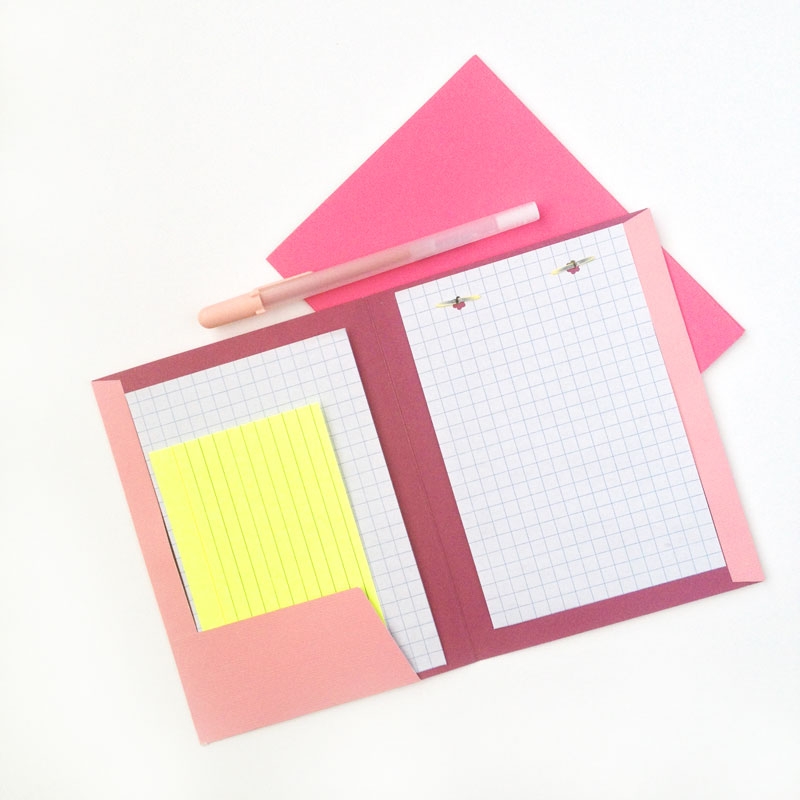
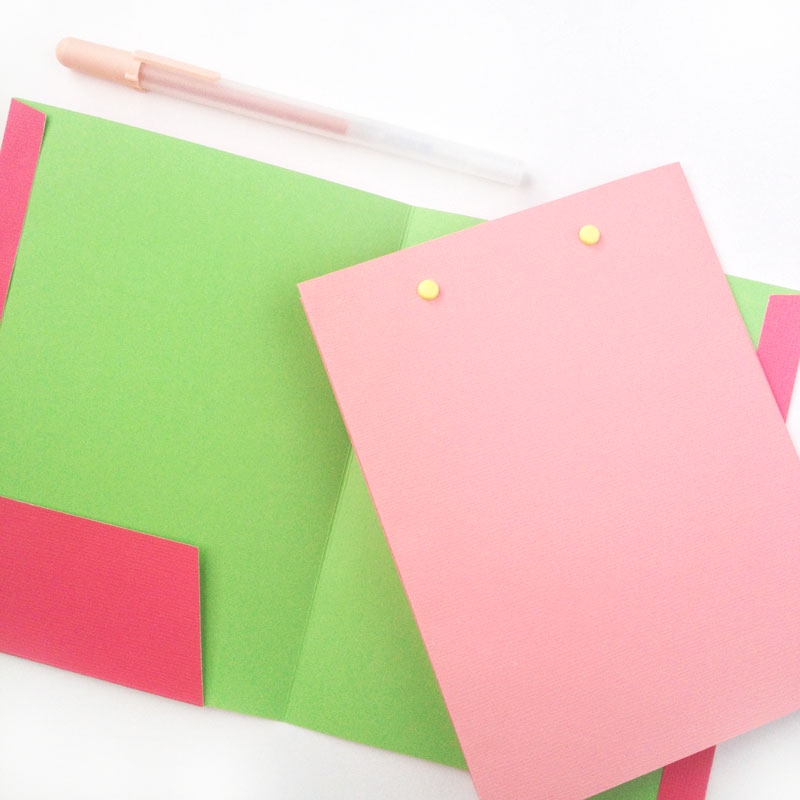
Did I mention how much I love shopping for back to school anything? Happy place. Couple that with a mini version in happy colors? Sigh. So, to save myself a few dollars, and because I wanted to make my own, I decided to try out these mini folders. There’s a pocket on one side and the other side has 2 holes for punched paper which can be secured with brads. Check out the Silhouette Studio v3 cut file which is available for free download (at the bottom of this post). I basically turned the grid on, and manipulated a number of rectangles into the final shape. The dashed lines can be removed – just ungroup and delete them. I added them as a guide for where the scoring and folding guides.
The What
[row] [span columns=”5″] [/span] [span columns=”5″] [/span] [/row]The How
Step 1: Download my cutting file (at the bottom of this post) and use Cardtock settings to cut the shape
Step 2: Fold at the dashed lines (or score then fold)
Step 3: Glue the tabs, and side of the pocket
Step 4: Fill with paper (4 in x 6 in ideally), add brads. And you are done! These will be perfect for any holding little notes or reminders. How will you use your mini folders?
8 Comments on Stationery: Mini Folder DIY
Comments are closed.
This is such a cute idea. Thank you for sharing.
So happy you like it, Alice! Thank you! 🙂
Good ideas useful!keep it up!!
Thanks, Iriene! 🙂
Love the addition of the brads! Thanks for the cut file! Pinning 🙂
Thanks, Lisa! 🙂
Another well executed wonderful idea. Love them.
Thanks, Mom!