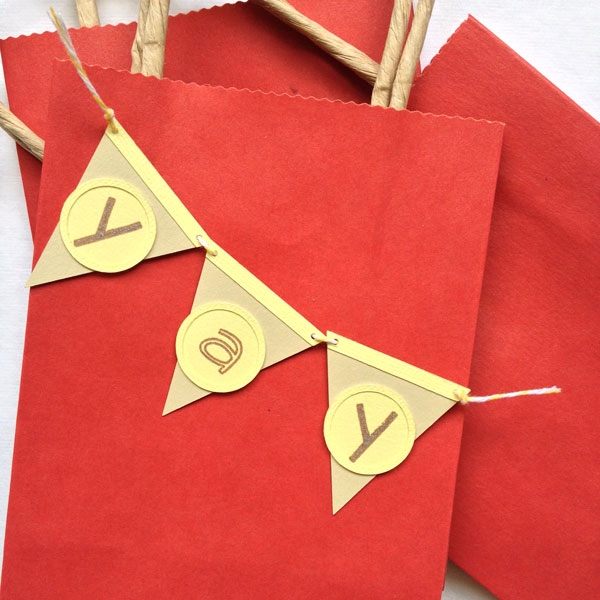
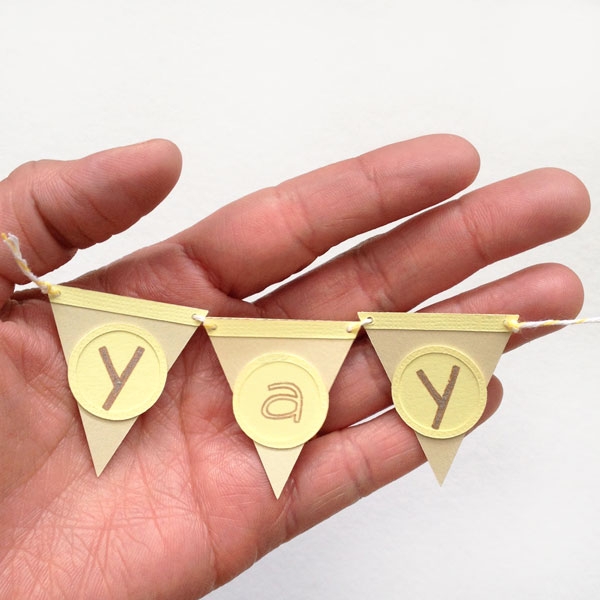
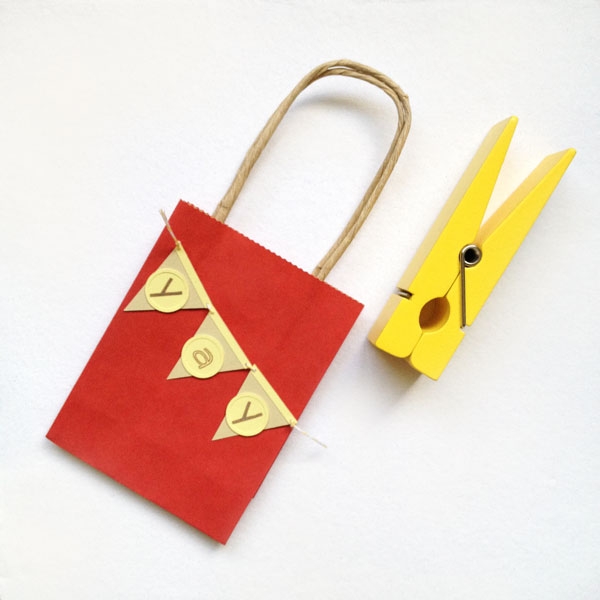
Hello and Happy May! Yay! Indulge me. Soooo… Silhouette gave us another free shape this week – did ya get it? So, what’s a girl to do with a free shape? Make a mini version of it, of course! This little banner fits in the palm of your hand – for all your small gifts and favors. Wanna? Here’s how.
The What
- Silhouette cutting machine
- Silhouette Studio
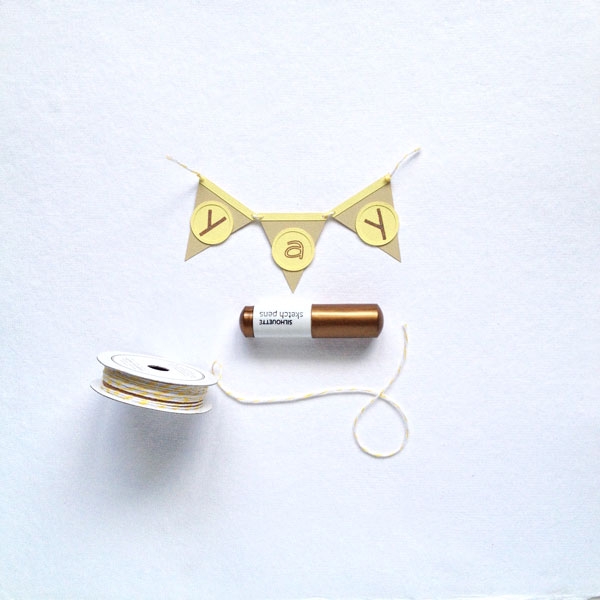
- Silhouette Sketch Pen – I used the bronze one
- Cutting Mat
- Celebration banners
- Baker’s Twine – I used yellow and white
- Cardstock – I used taupe and light yellow
- Sticker Tool
The How
Step 1: Download and open the free shape (celebration banners) in Silhouette Studio
Step 2: Select and Ungroup the shape, then resize. I used the 3 shapes as shown below
Step 3: Duplicate the circle and create an internal offset. This will be a circular frame for your letters
Step 4: Make multiple copies of all the shapes, then use the Text tool to add your letters (I used the free font for personal use: Skinny Jeans Solid)


Step 5: In your cut settings select only your text for cutting. Put your cardstock on your mat, replace your blade with the sketch pen, select Silhouette Sketch Pen, then Send to Silhouette. Note – My triangle shape was cut using the taupe cardstock, while the others were in light yellow
Step 6: In your cut settings, deselect your text for cutting and highlight the other shapes. Replace your pen with your blade, select Cardstock, then send to Silhouette. Note: when switching from pen to blade, do not unload the mat if you sketching then cutting a shape around the sketch
Step 7: Unload your circles with text and other shapes. Now, if you chose another color for your triangles like I did, cut those, using the Cardstock and Blade settings


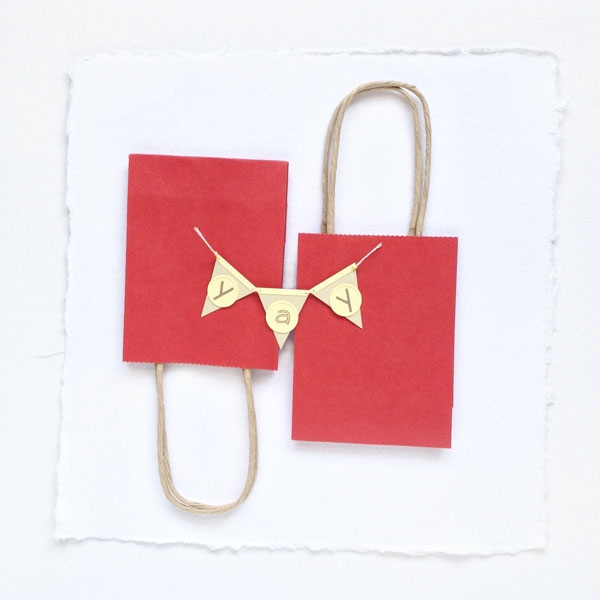
Once everything was cut, I filled in the Ys with the sketch pen, then used my sticker tool and baker’s twine assemble the pieces
Then, I had some fun taking pictures of everything…

Can’t wait to see what you will do with your free shape! Until next time!