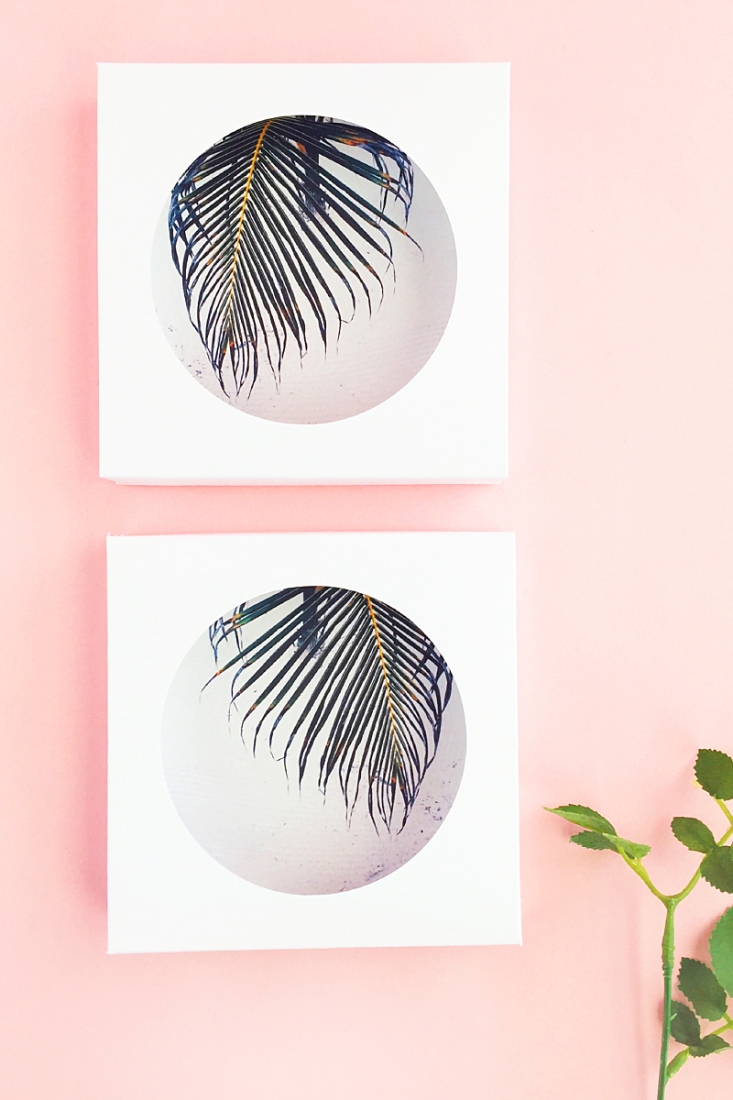
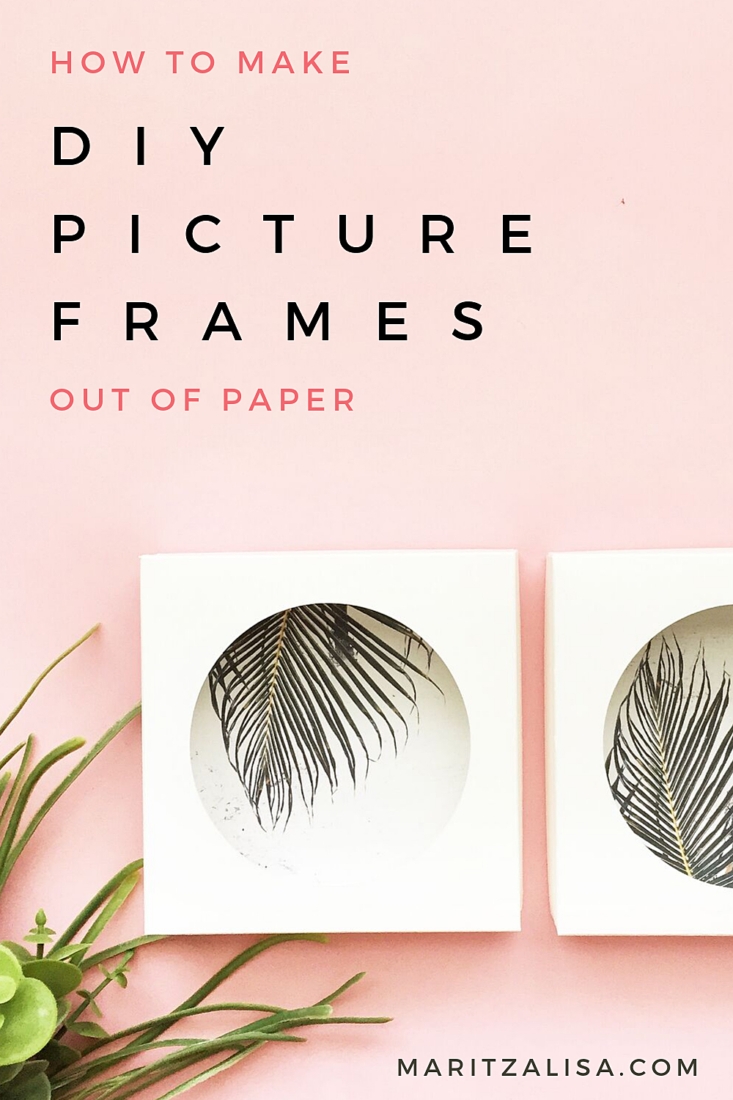
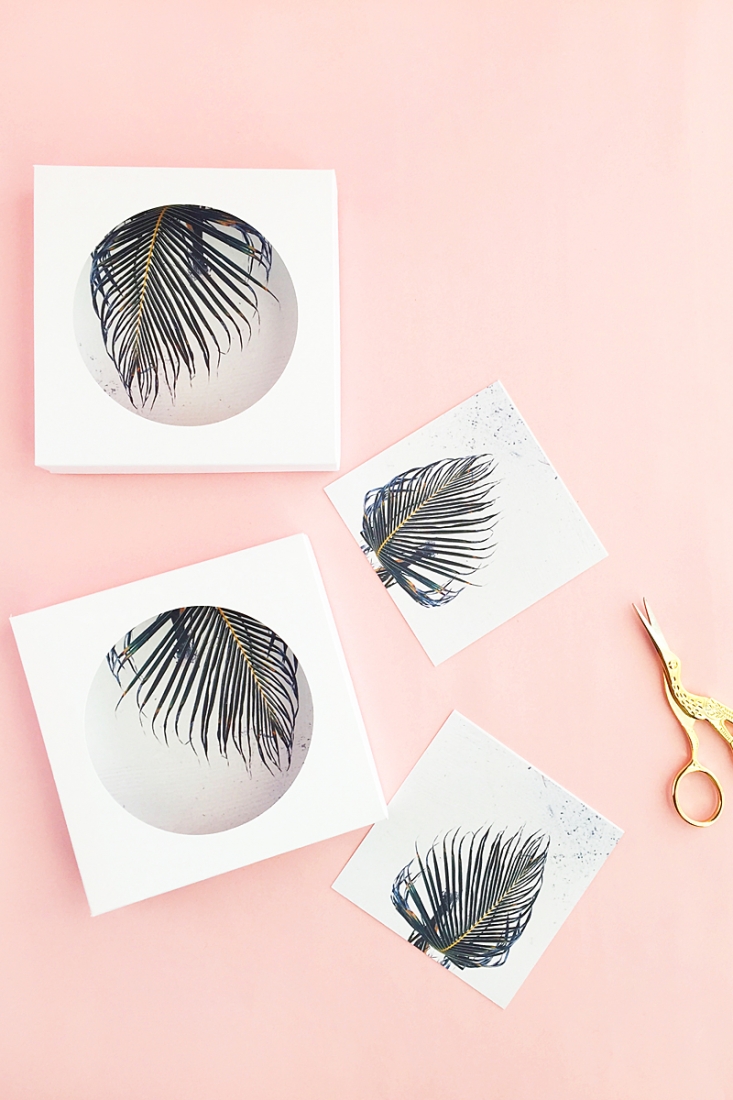
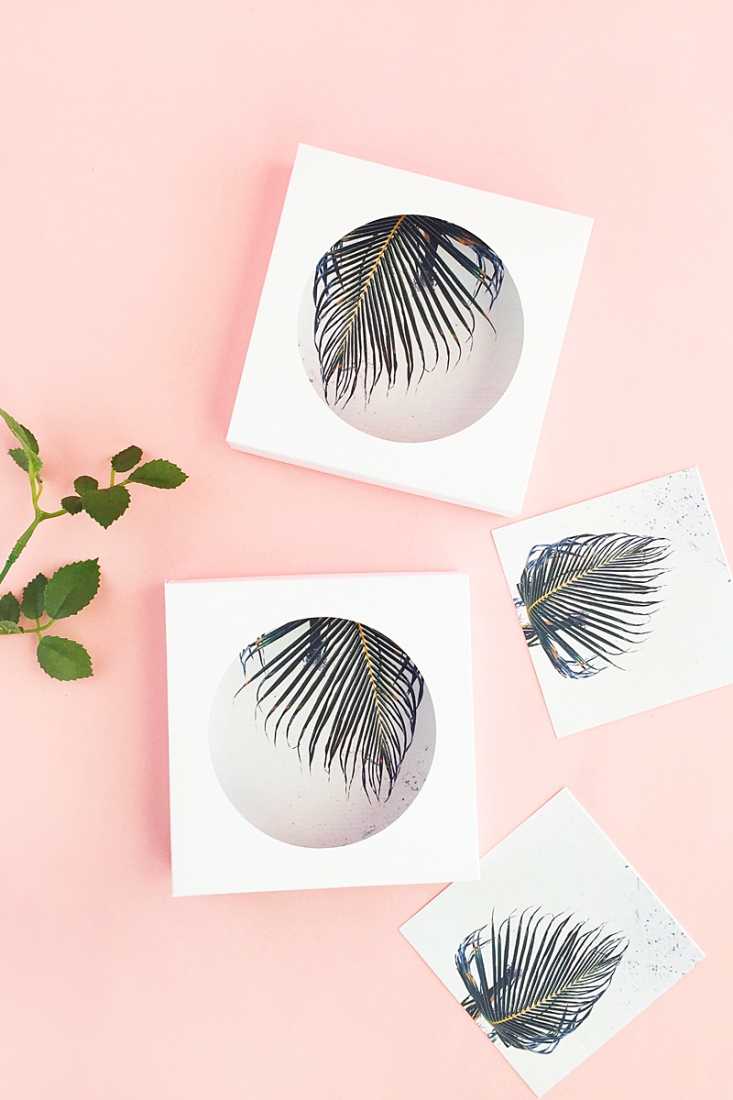
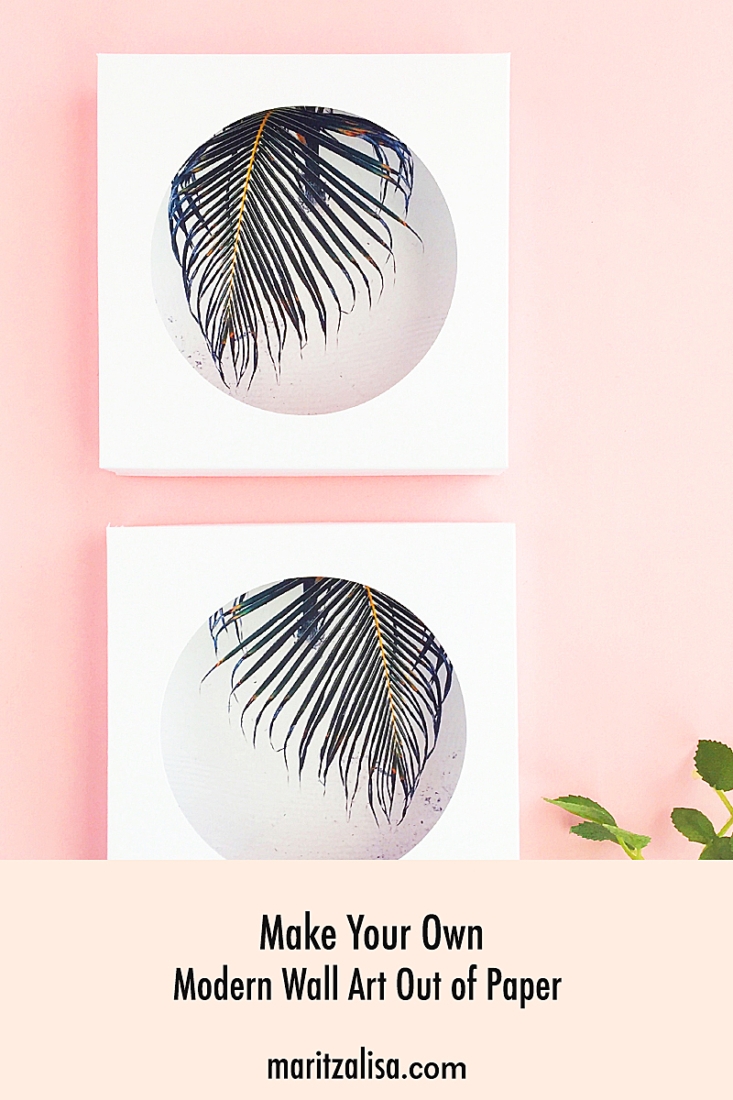
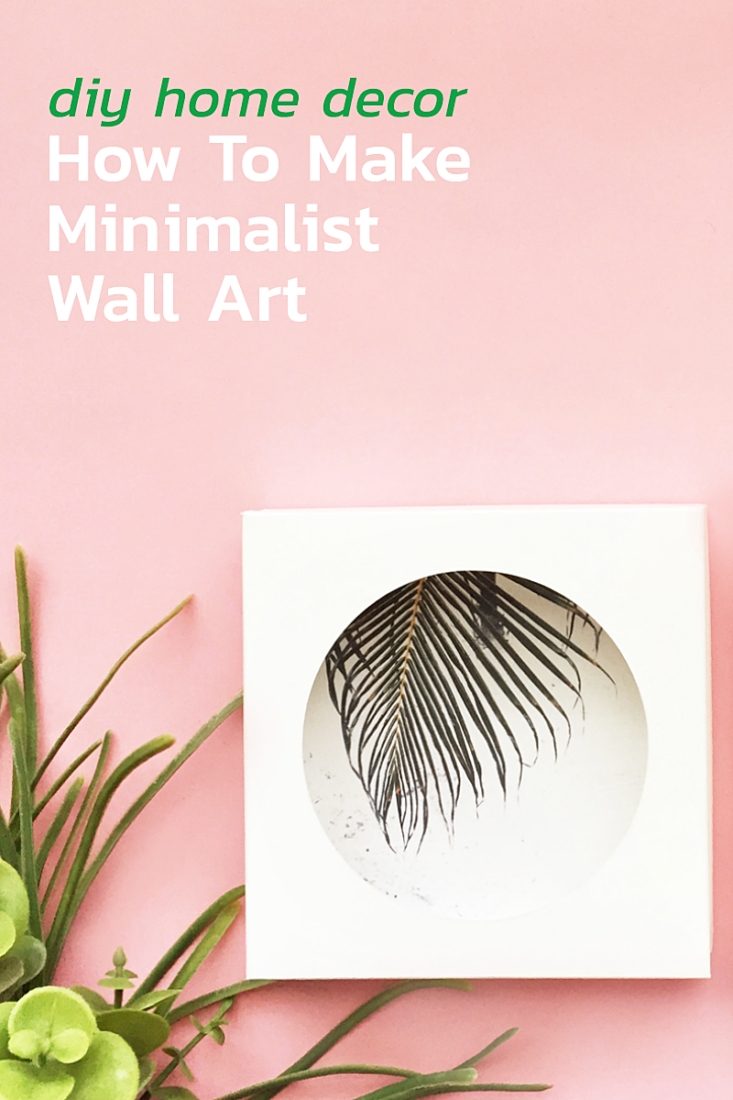
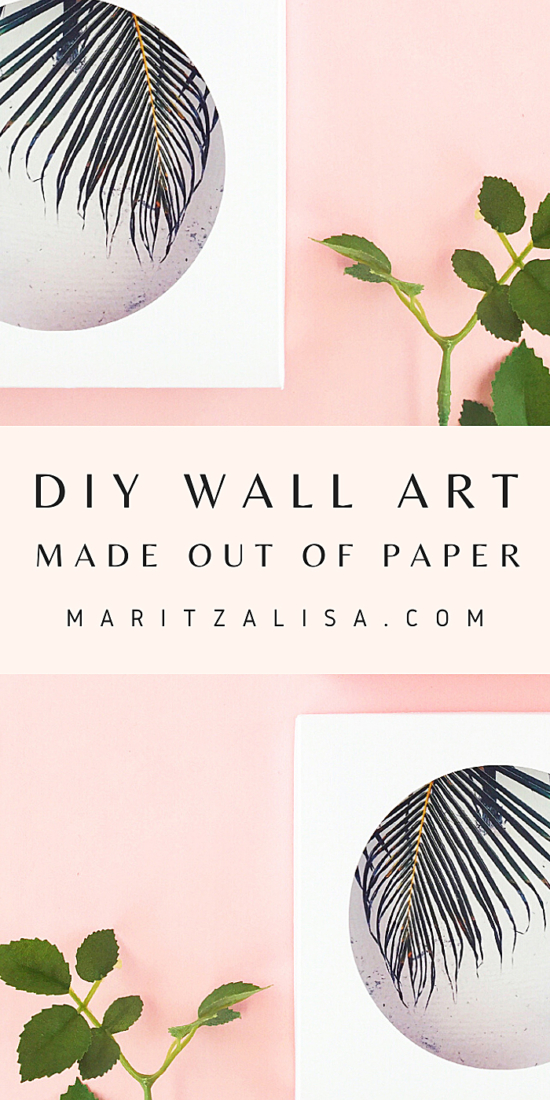
Today, I want to share with you a tutorial on How To Make Amazing Paper Frames For Wall Art. I use the word amazing because not only are these frames made out of paper, but you are basically using a box template to make your own framed wall art. To cut the frame and art designs, I used my Silhouette CAMEO, but if you do not have one yet, you can make your wall art decor by hand, just by using the free version of the Silhouette Studio software. Want to make your own? Read on for the step-by-step tutorial!
*This post contains affiliate links for products that I use and love!
What You Need To Make Paper Frames For Wall Art
- Silhouette cutting machine (I used my CAMEO). If you do not have your cutting machine yet, read below to get the instructions to make your frames for wall art by hand
- Silhouette Studio (there is a free version!)
- Cutting mat
- Cardstock
- Printer
- Circle Photo Box design from the Silhouette Design Store
- Glue
- Favorite artwork (I got mine here on Creative Market)
Instructions – DIY
Frames For Wall Art with your Silhouette
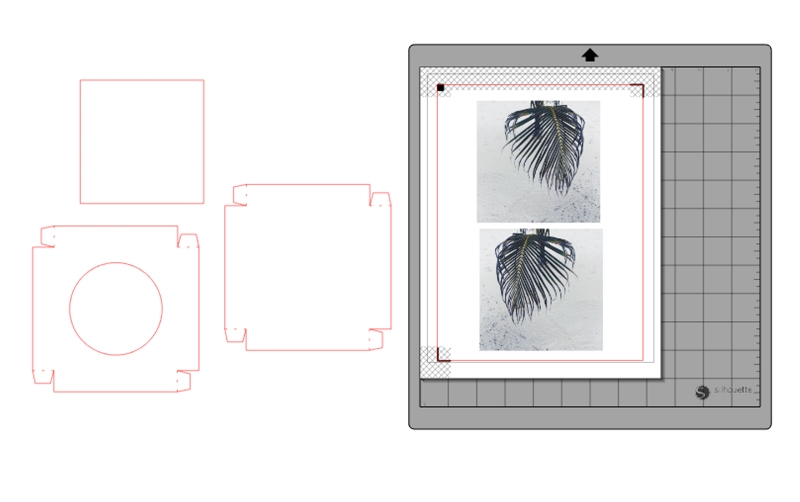
- In Silhouette Studio, open your Circle Photo Box design and artwork
- Optional: Ungroup the box shapes and remove the dashed square lines (I used a scoring board and bone folder to fold my box. Regroup and resize your design to the size you want your frame to be
- Resize your artwork so that it is the same size or slightly smaller than the square that came with the box design
- Send your box shape to cut using cardstock settings
- Show registration marks, then replace the box shape with the artwork (make sure your artwork is set to Cut. Print your artwork on cardstock
- Send your artwork to cut using cardstock. Your CAMEO will read the marks, then print around the cut lines of your artwork
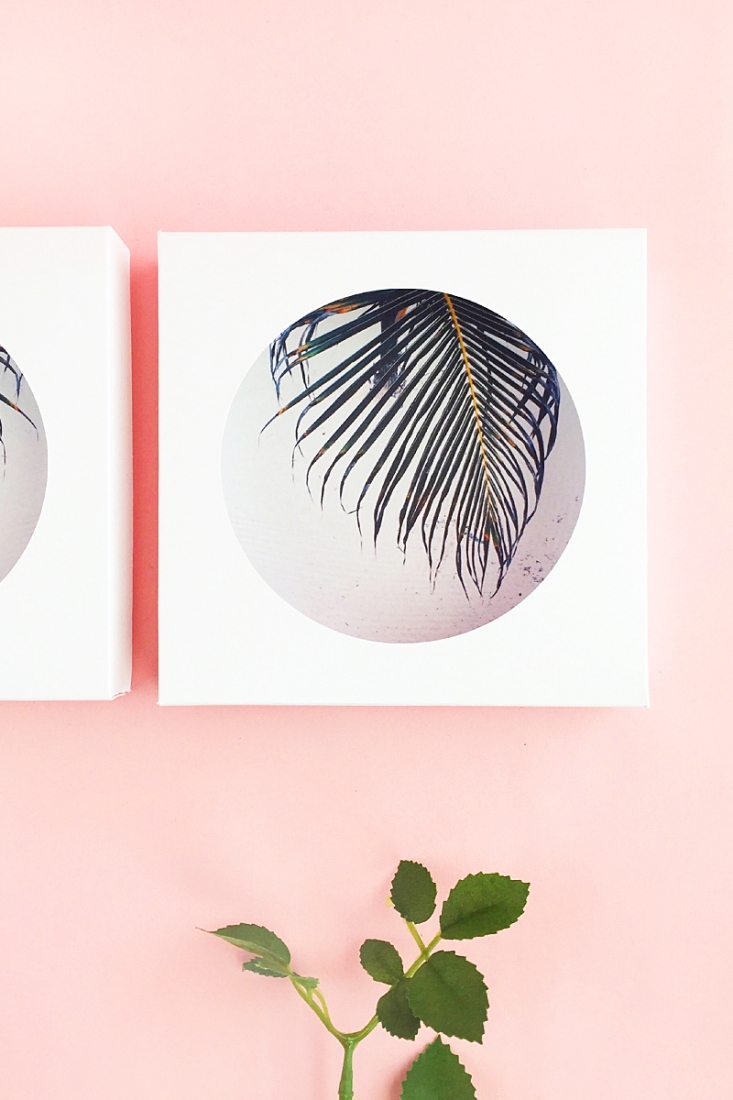
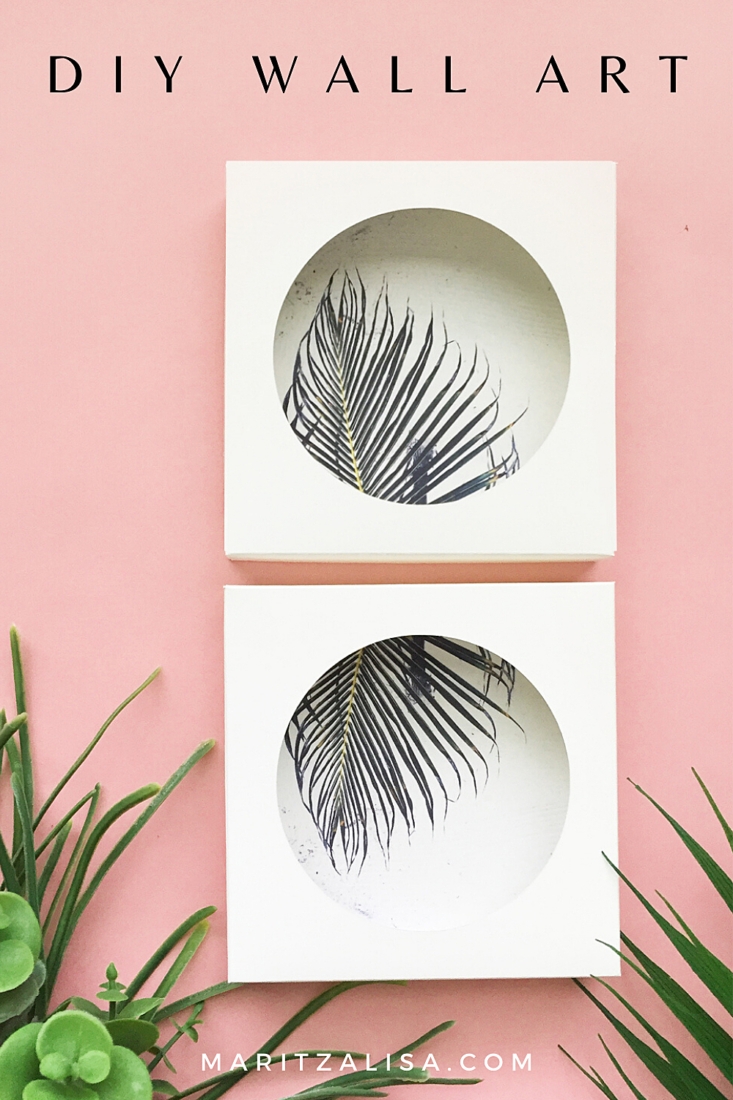
- Fold and assemble your framed artwork (adhere with glue). For a shadow box effect, glue your artwork to the bottom square of the box
How To Make Paper Frames For Wall Art By Hand
Materials:
- Silhouette Studio – download and use the free version
- Cardstock
- Printer
- Circle Photo Box design from the Silhouette Design Store
- Glue
- Favorite artwork (I got mine here on Creative Market)
- Scissors
Instructions:
- In Silhouette Studio, open your Circle Photo Box design and your artwork
- Set the line thickness of the Circle Photo Box design to greater than 0. This is that when you send the design to print, you will see the lines in the design to cut and fold
- Send your Circle Photo Box design to print on cardstock
- Move your Circle Photo Box design off of the print area in the software, and replace with your artwork
- Resize your artwork so that it is the same size or slightly smaller than the square that came with the box design. This is so that it can fit within the boxed frame
- Print your artwork on cardstock
- Cut out your Circle Photo Box design and art work
- Fold along the dashed lines and assemble your Circle Photo Box (adhere with glue). For a shadow box effect, glue your artwork to the bottom square of the box
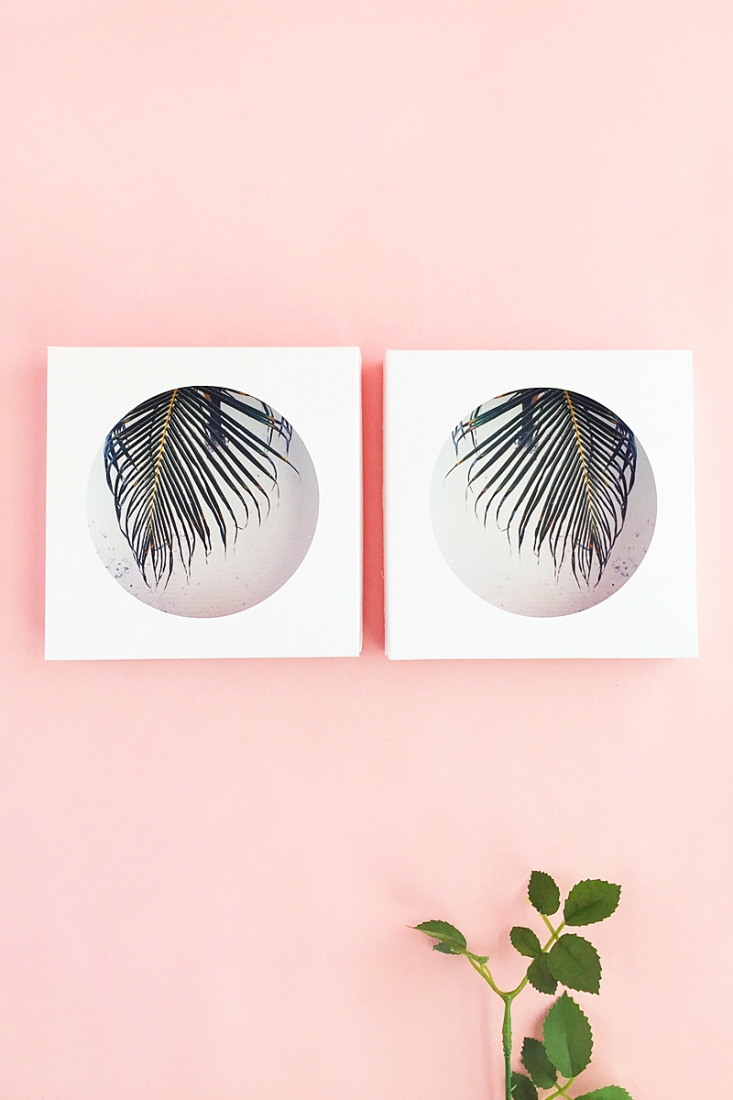
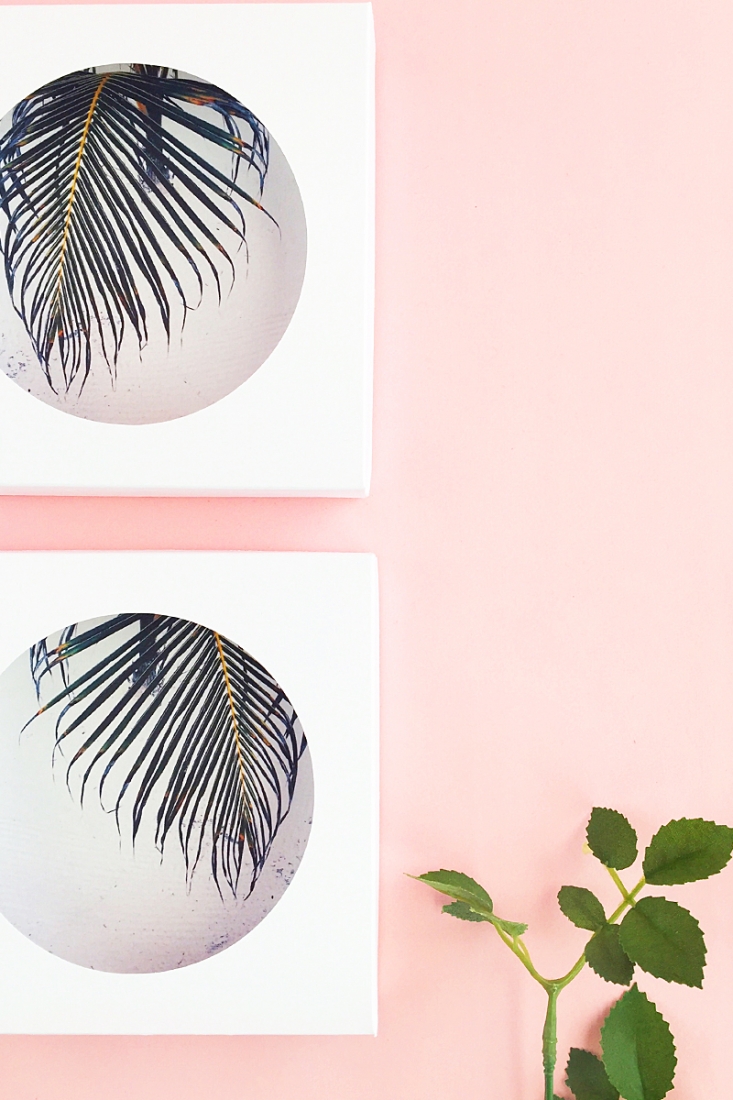
Now you have lovely framed wall art for your desk or walls! I can’t wait to hear how your gorgeous paper frames and wall art turned out. Let me know in the comments below!
Looking for some more crafty and fun inspiration? Take a look at my other Silhouette Projects and Tutorials!
3 Comments on How To Make Amazing Paper Frames For Wall Art
Comments are closed.
Really beautiful!
Thanks so much, Viktoria! xoxoxoxo