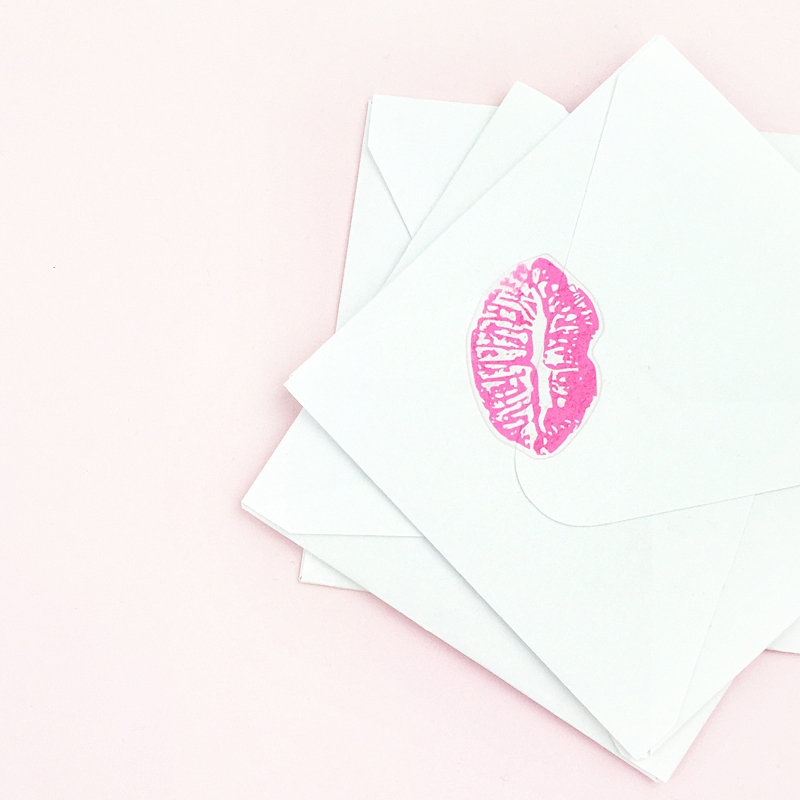
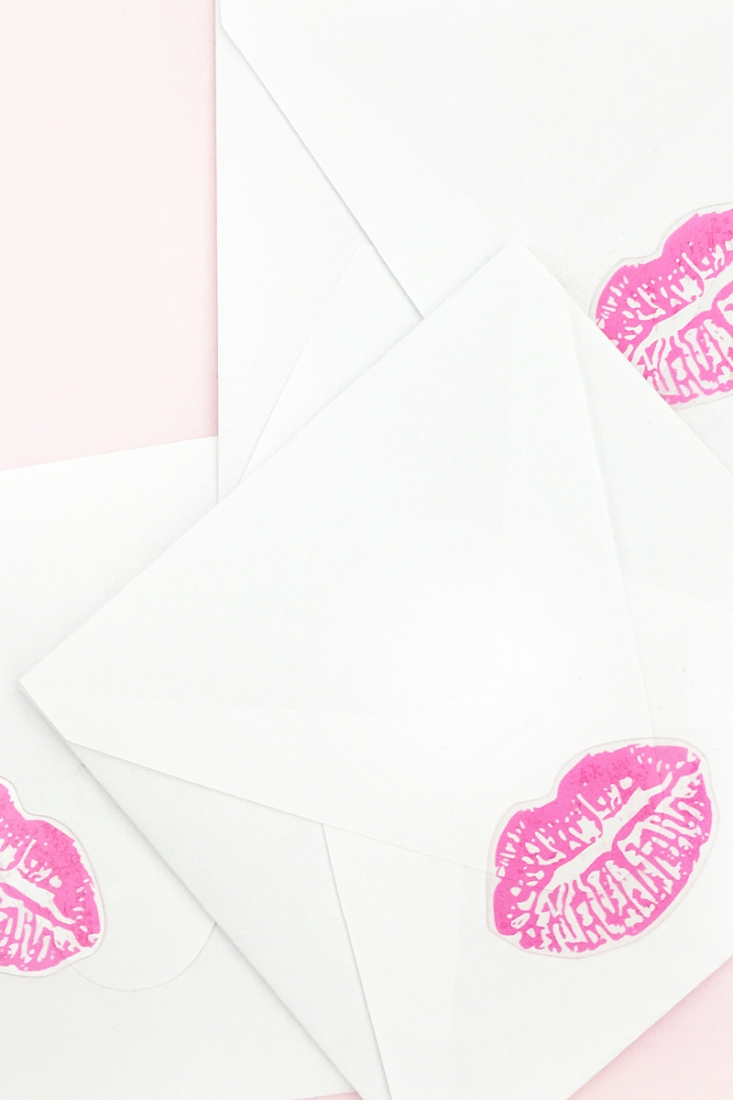
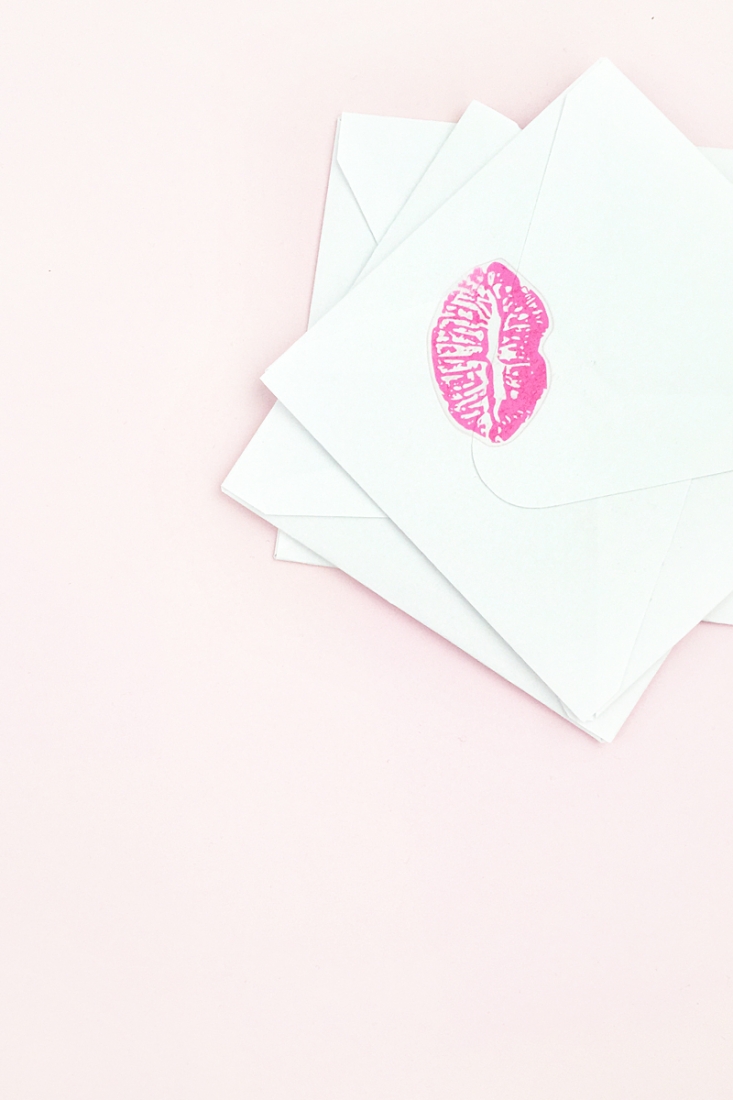
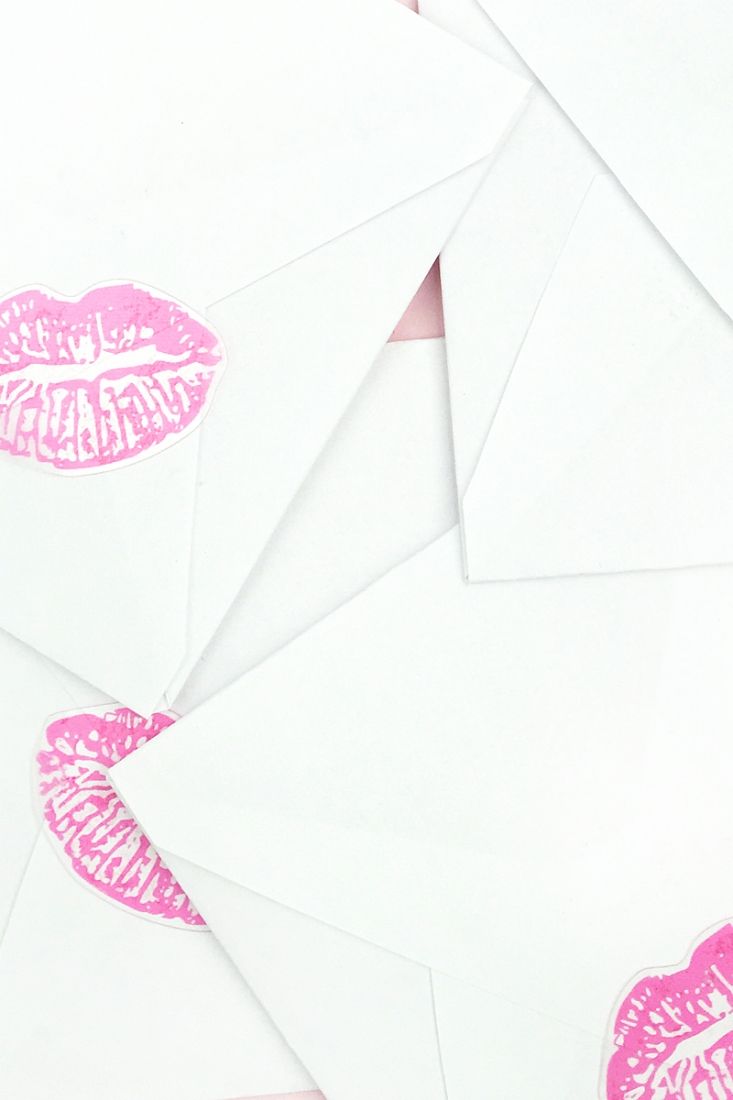
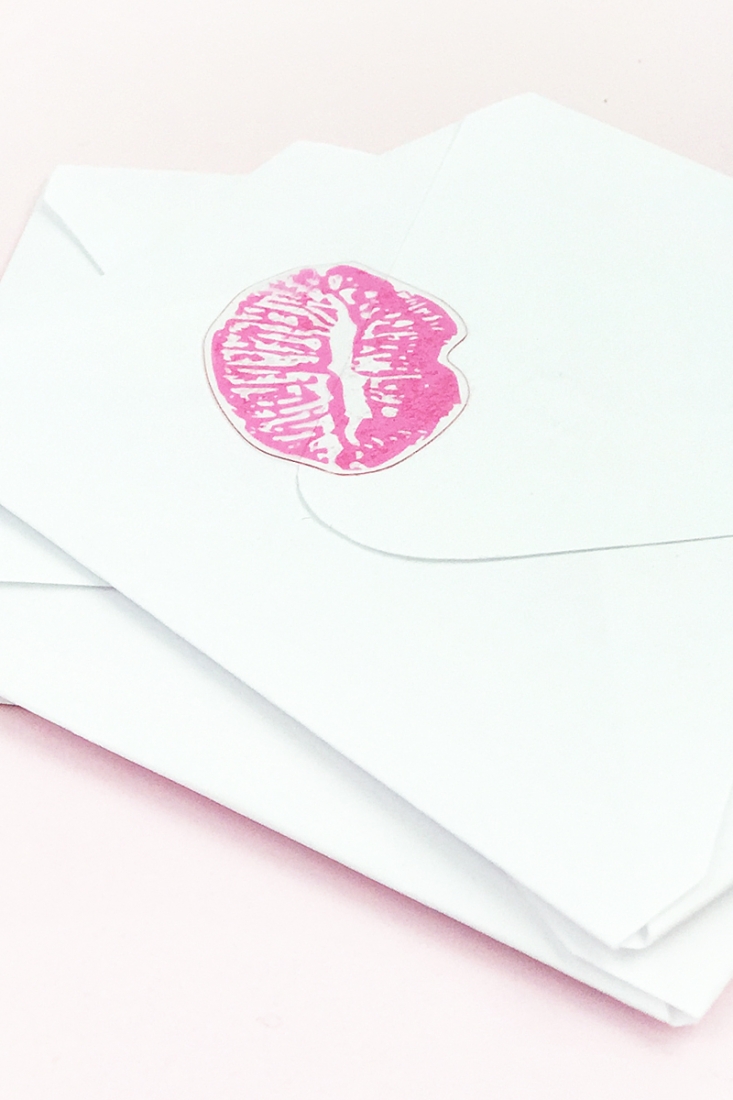
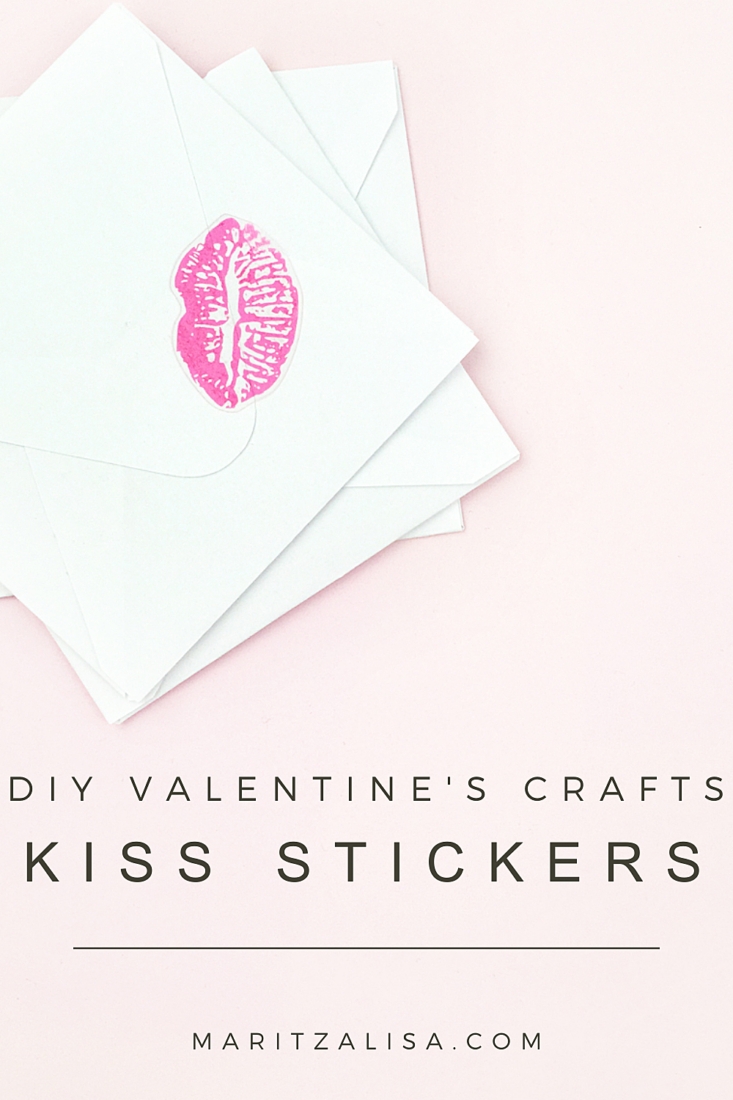
Happy Tuesday! And Happy February too. First thing I do every Tuesday is check Silhouette’s free shape of the week. This week, I’m in love. No pun intended. These Mix and Match Valentines images can be used for so many things. But today, I wanted to share how you can make your own transparent DIY Kissy Lips Seals for your pretty Valentines envelopes or packages. I’ll also show you how you can change the color of an image using the Trace tool in Silhouette Studio. Shall we?
DIY Kissy Lips Seals – Materials:
- Silhouette cutting machine
- Silhouette Studio
- Cutting mat
- Printable clear sticker paper
- Mix and Match Valentines images (free this week!)
DIY Kissy Lips Seals – Instructions:
- Create a new document in Silhouette Studio and open the Mix and Match Valentines images
- Ungroup the images and select the kissy lips
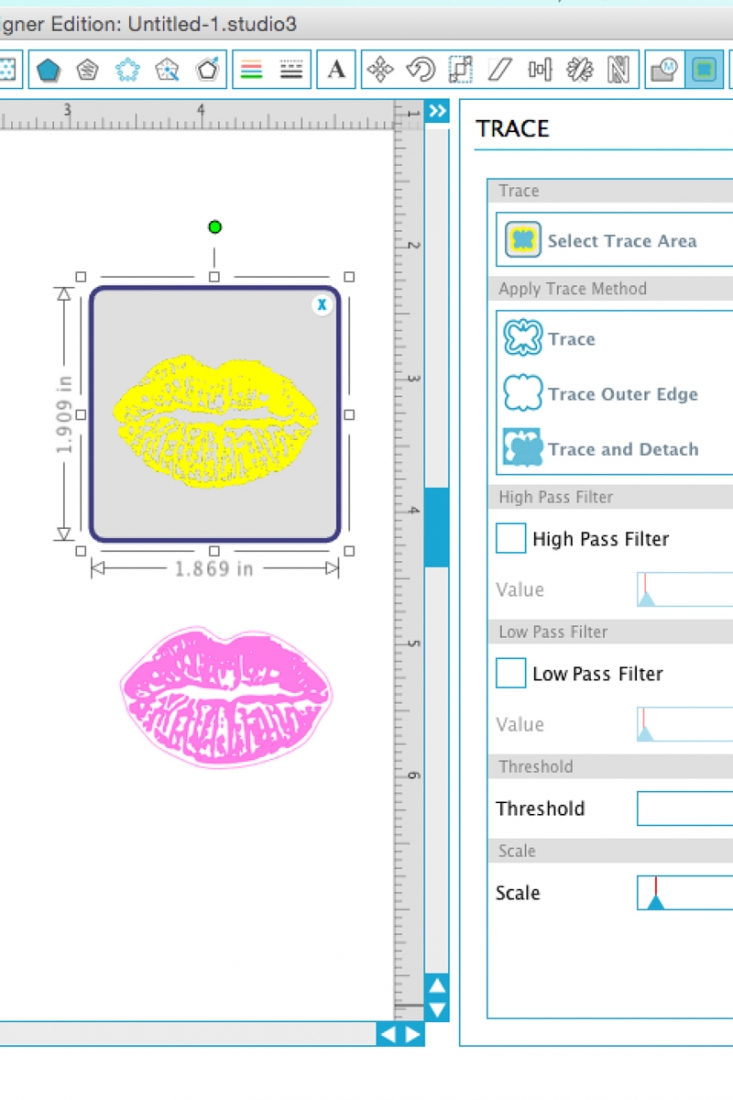
- To change the color of the lips, use the trace tool to trace the image.Take the traced image and fill with the color of your choice. Set to No Cut
- Ungroup the original lip image and place the outline (cut line) so that it surrounds the newly colored lips. Group these two together
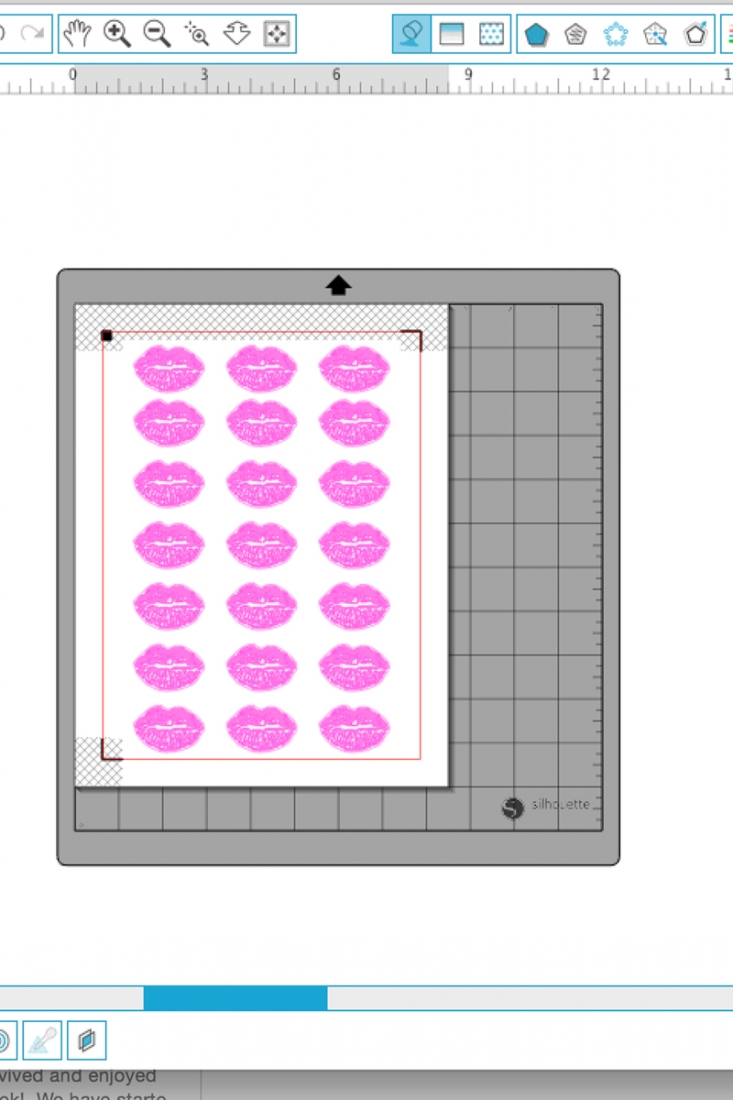
- Replicate throughout the page and send to print and cut using Clear Sticker Paper settings
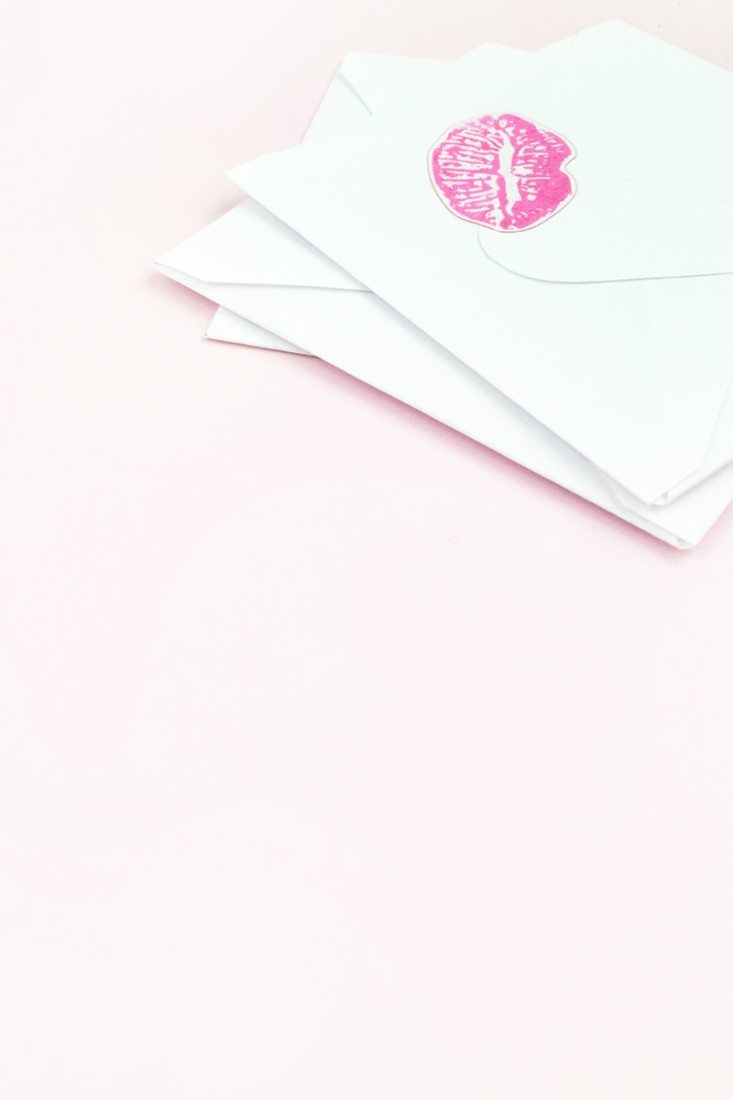
Now you have these sassy kissy lips to seal your envelopes and packages. What lip color did you use?
Looking for some more inspiration? Take a look at my other Silhouette projects.
2 Comments on DIY Kissy Lips Seals
Comments are closed.
What a cute idea! Love these! I wonder how hard it would be to make them on regular label paper and cut out?
Thanks, Sara! I have not tried it, but you should be able to from Silhouette Studio (there is a free version) – let me know how it turns out!