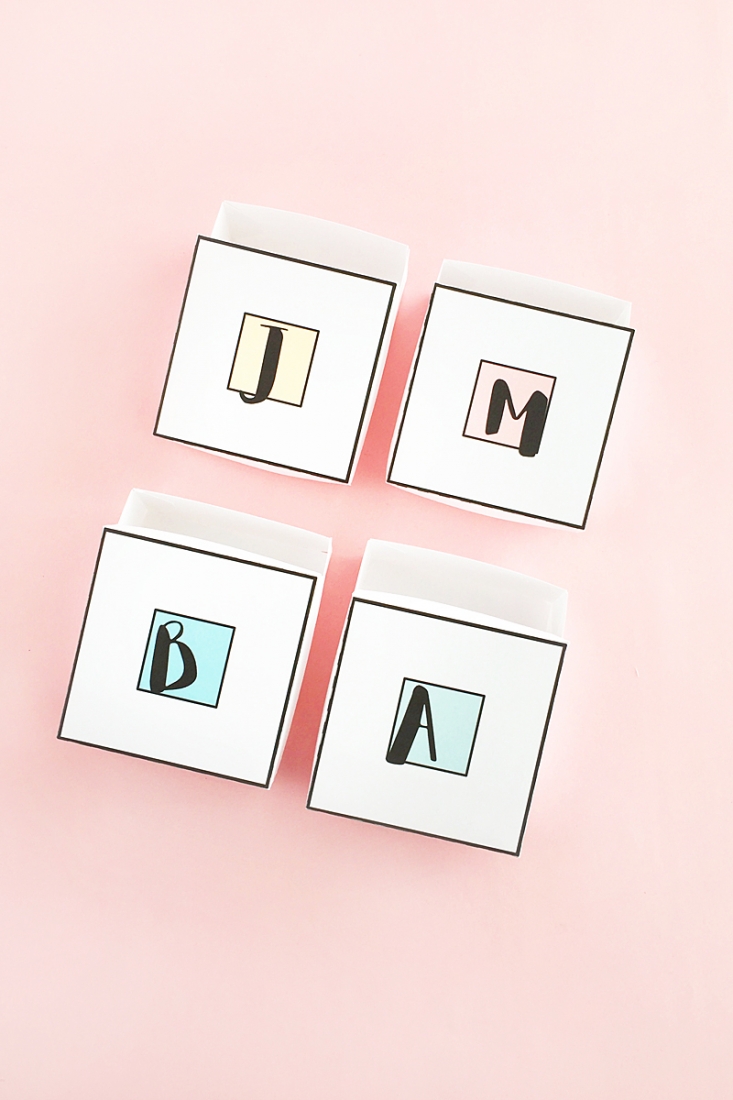
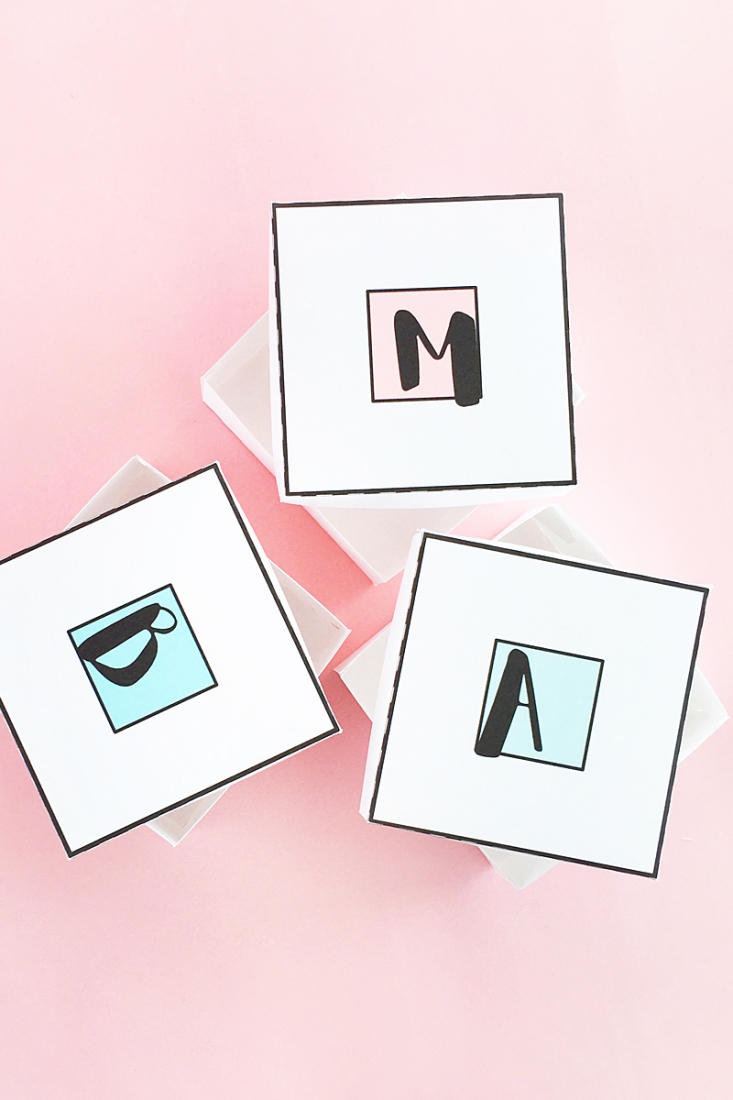
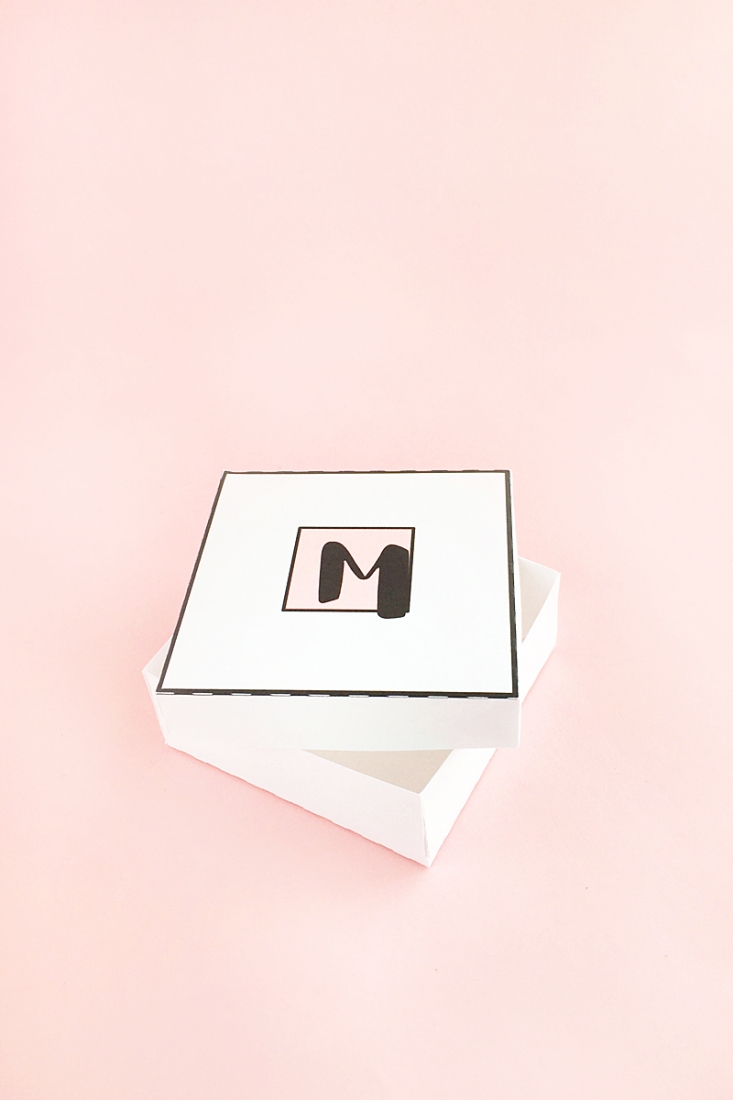
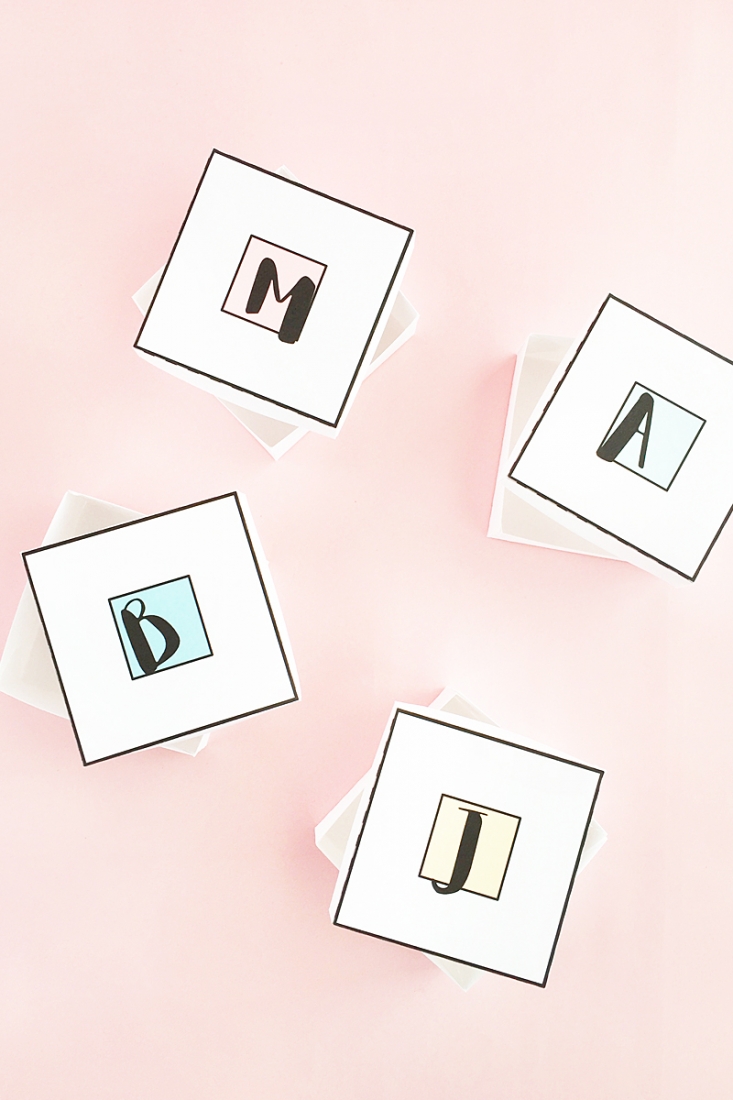
Wednesday, how did you get here already?! I’m rushing around getting ready for our road trip to Toronto, but wanted to pop in quickly and share these DIY Pastel Monogrammed Gift Boxes with you. Keep calm and craft on is what I say! I’m using one of my favorite Silhouette designs and one of my brand new favorite fonts that’s free this week only on Creative Market… Read on to make your own!
The What
- Silhouette Studio
- Silhouette cutting machine
- Box and Flower Tags design. The top of the box is the one with the smaller tabs
- Cardstock
- Glue
- Printer
- Favorite Font (I used this awesome Ornette font which is free only this week on Creative Market!)
The How
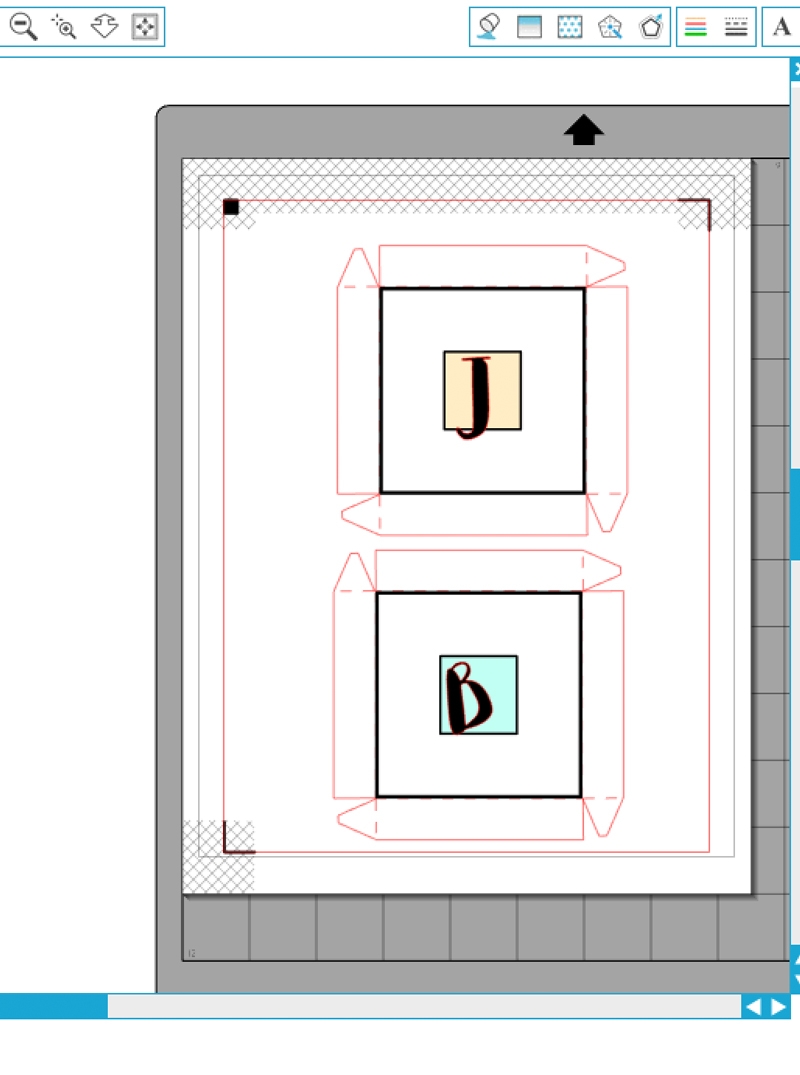
- In Silhouette Studio, open your box design and place the top of the box in the print/cut area
- Use the rectangle tool to draw a square the same size as the top of your box
- Change the color to black and thicken the lines (set to No Cut)
- Create a smaller square at the center of the box top, change the color to black and thicken the lines (set to No Cut)
- Fill your smaller square with a pastel color
- Using your favorite font, type your letter in the smaller square
- Show registration marks and send to cut using cardstock settings
- Group everything together and remove the top of the box design and place the bottom of the box design on the page
- Remove the registration marks
- Send to cut using cardstock settings
- Assemble your box by folding at the dashed lines and glueing the tabs
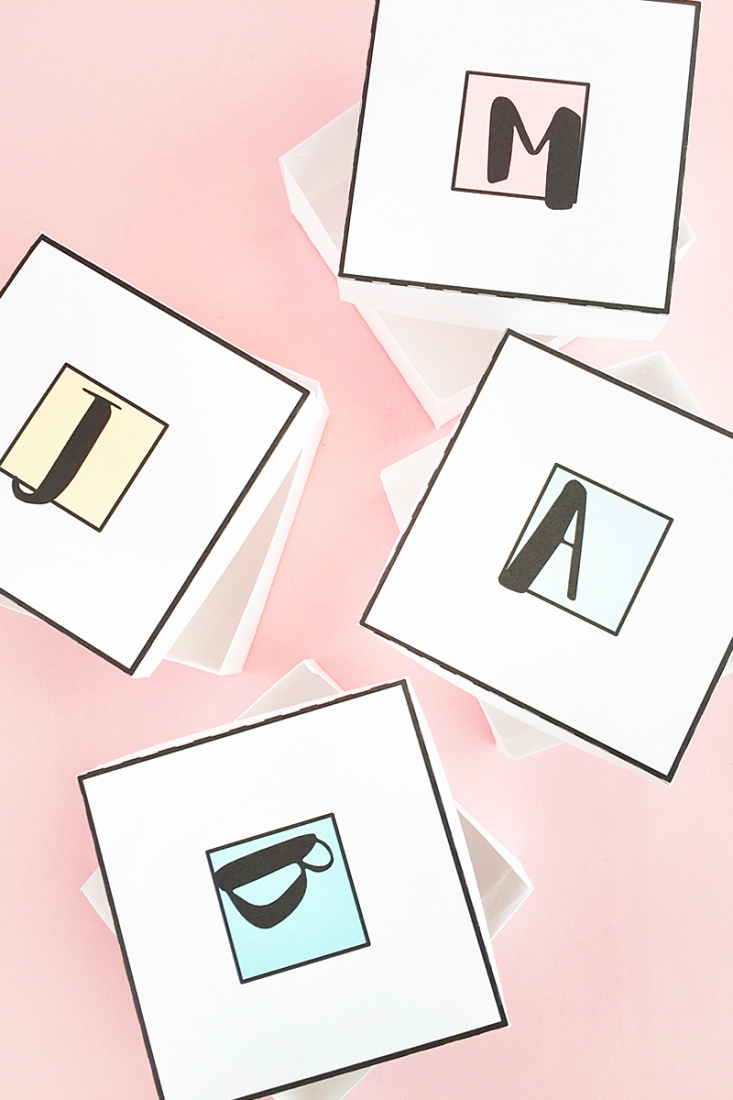
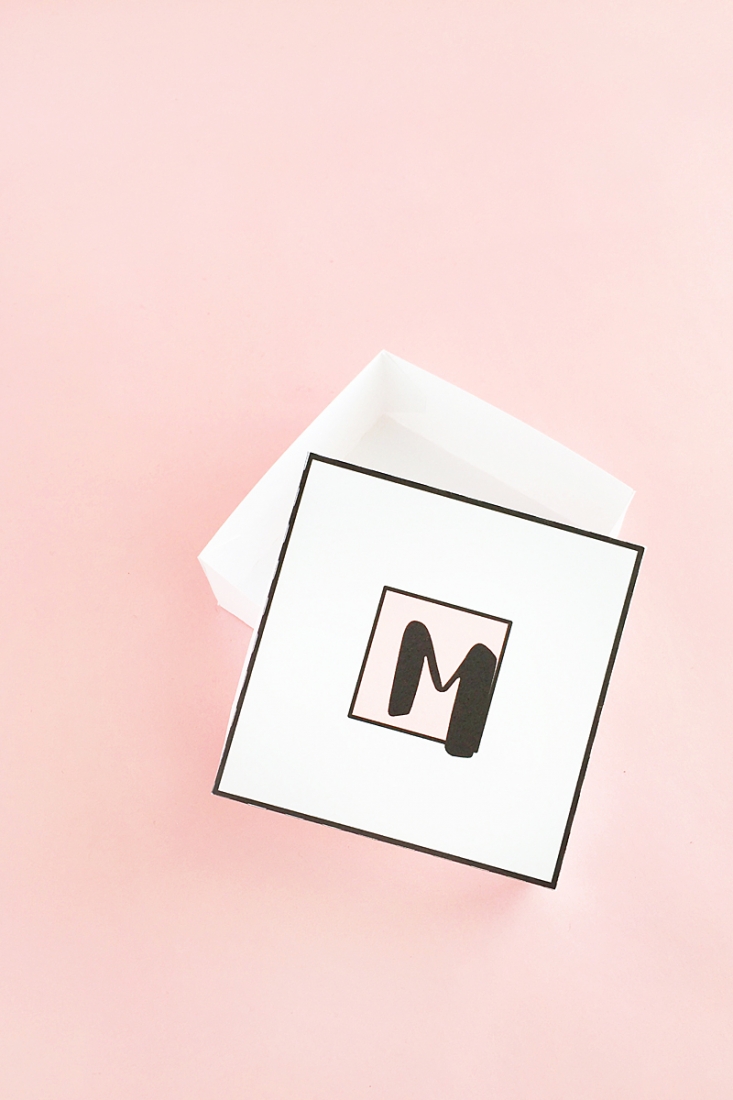
Now all that needs to be done is to fill your pretty boxes with treats and gifts! Which pastel colors did you use?
Looking for some more inspiration? Take a look at my other Silhouette projects.
4 Comments on DIY Pastel Monogrammed Gift Boxes
Comments are closed.
Love the font you chose for these!
Thanks, Cat. It’s one of my new faves too! xoxoxox
These are awesome! Have an great time inToronto!
Thanks so much, Theresa!! Xoxoxoxox