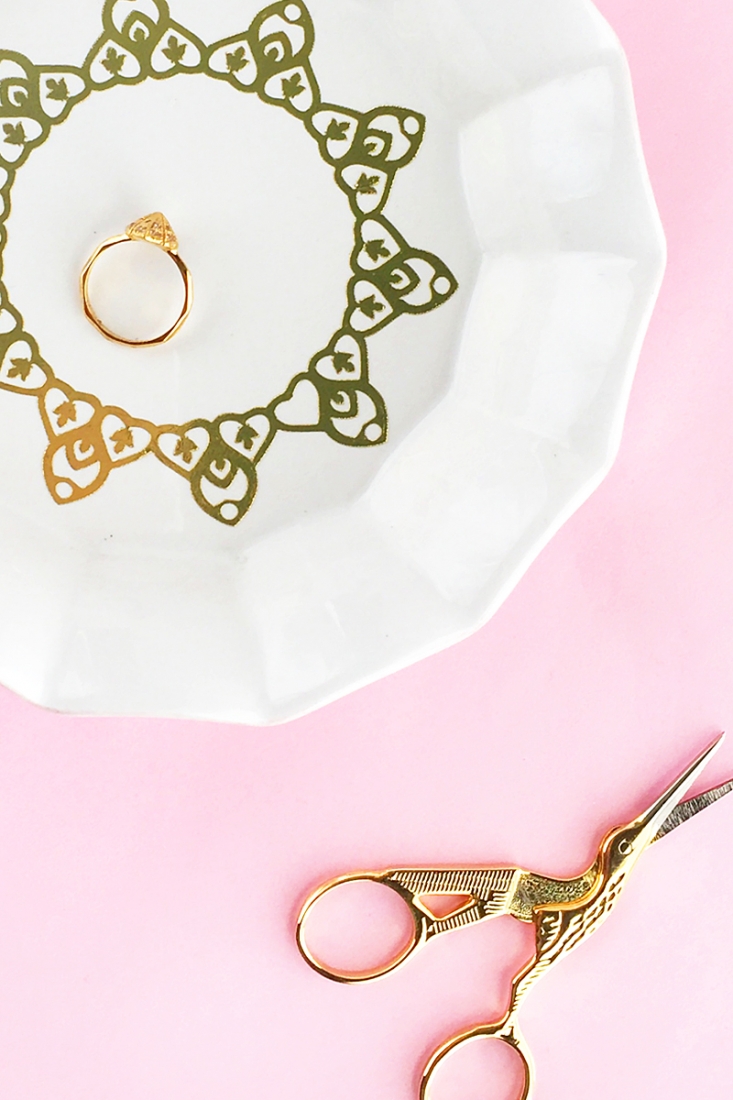
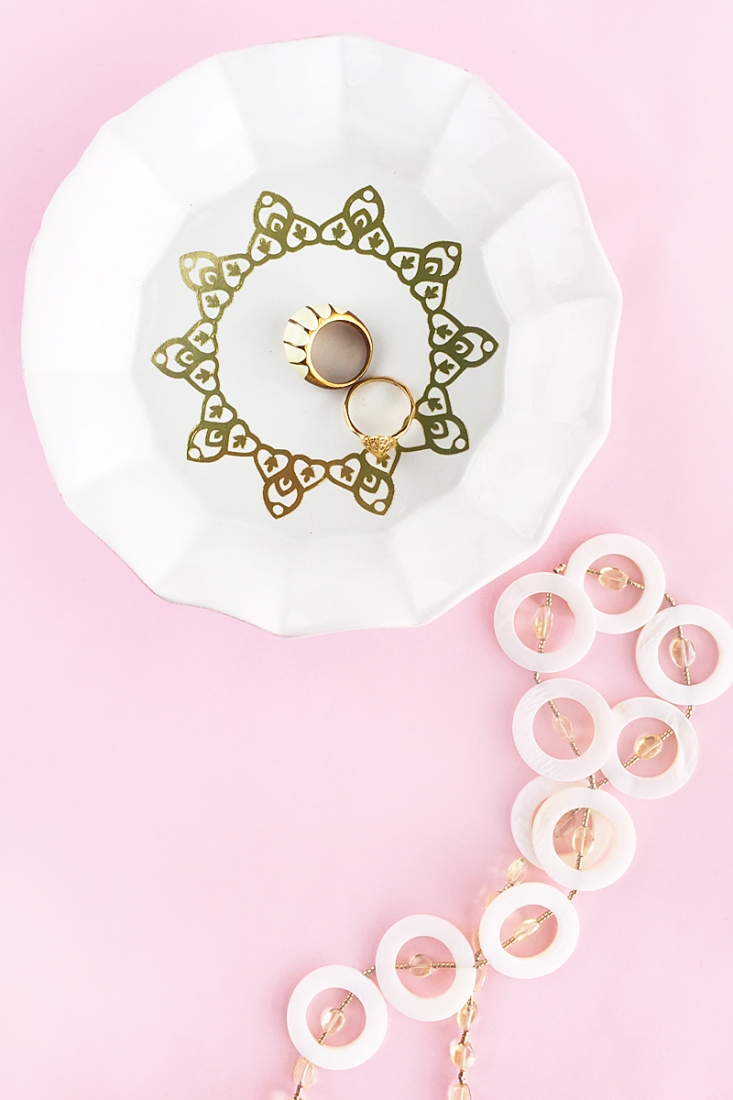
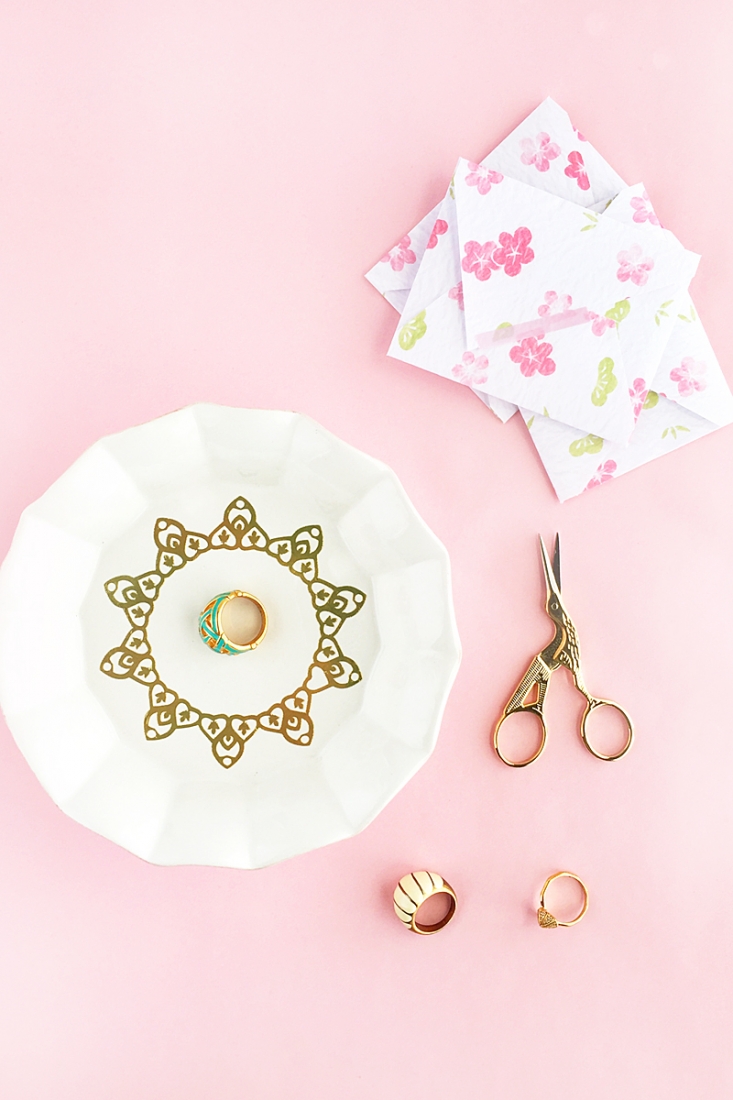
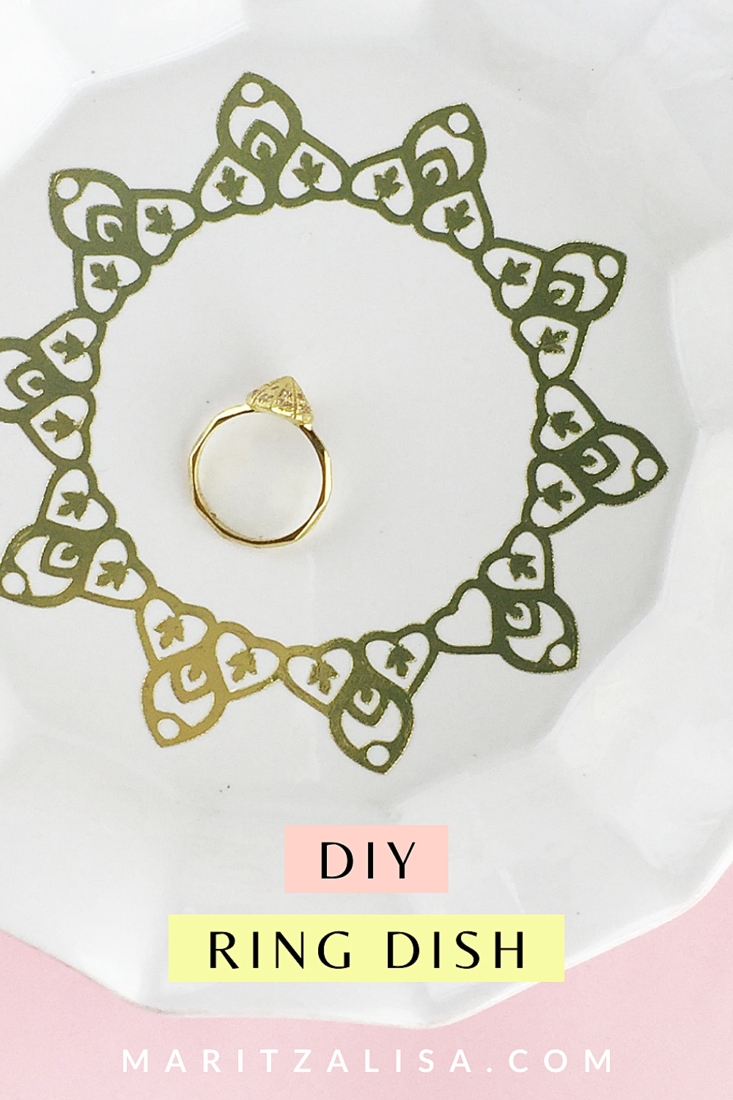
Happy Friday! I’m so excited to share this brand new product that Silhouette sent my way to create with (thanks, Silhouette!!). Metallic tattoo paper, specifically – gold temporary tattoo paper. This DIY Ring Dish With Gold Tattoo Paper was an easy one. Read on for the full tutorial!
DIY Ring Dish With Gold Tattoo Paper – The What
- Silhouette Studio (there is a free version – I used v3)
- Silhouette cutting machine ( I used the CAMEO 3)
- Silhouette Temporary Tattoo Paper (gold)
- Wet towel
- Clear sealant
- Design for your dish (I used this Moroccan Heart Circle design)
- White trinket or ring dish
*This post contains affiliate links for products that I use and love!
Instructions:
- Open Silhouette Studio and place your design on the cutting area (I put mine at the top left to save the rest of the sheet for future use)
- Mirror your design so that the image is reversed
- Load your gold sheet into your Silhouette cutting machine (metallic color side up)
- Send your design to cut using Temporary Tattoo Paper settings
- Once cut, remove the clear adhesive paper and apply the tattoo face down to the middle of the dish with a wet towel
- Optional: apply a clear sealant or nail varnish to protect the tattooed image (this will help make the tattoo last longer)

What do you think? Which design did you choose to decorate your dish? Let me know in the comments below!
Looking for some more crafty inspiration? Check out my other tattoo paper projects and craft a little longer with me!