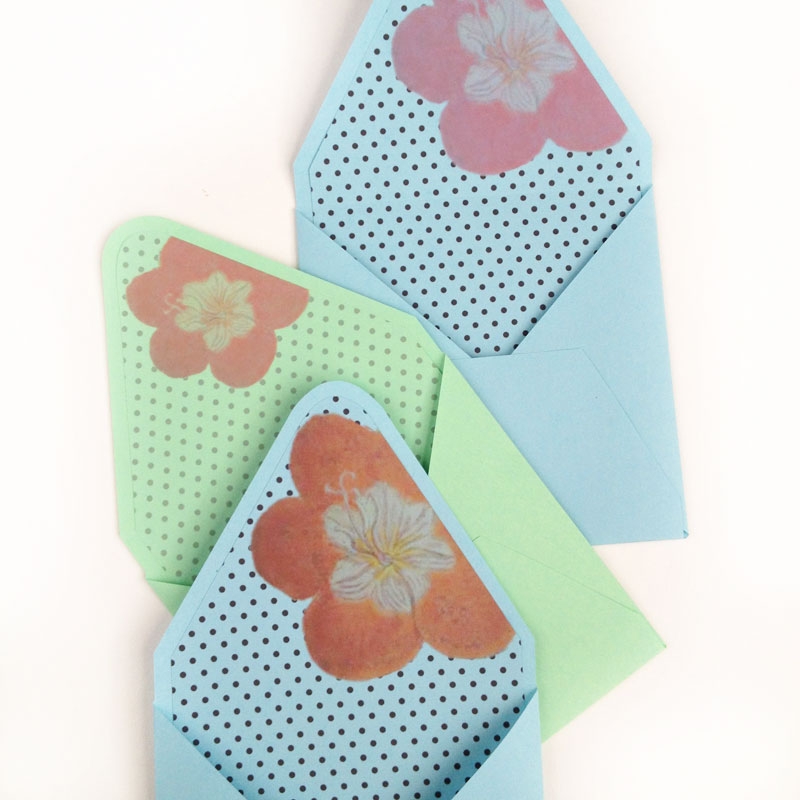
A little DIY stationery today, folks. Basically a little how-to on layering elements in Silhouette Studio. I also wanted to share my love for Angie Makes. Angie not only makes lovely feminine themes for WordPress (like mine!), but she also creates fonts and clip art. On top of that? Freebies!! I’m not an affiliate, but certainly love her stuff. I recently downloaded her free vintage botanicals, and thought these graphics will be perfect for today’s project. In the spirit of freebies, I’ve also included the cut file for my envelope and liner! Let’s jump in!
The What
- Silhouette cutting machine
- Silhouette Studio
- Cutting mat
- Glue
- Copy Paper (I used blue and green sheets)
- Printer
- Bone folder
- Free vintage botanicals
- Envelope and liner – download below
The How
- Download and open your shapes and graphics in Silhouette Studio
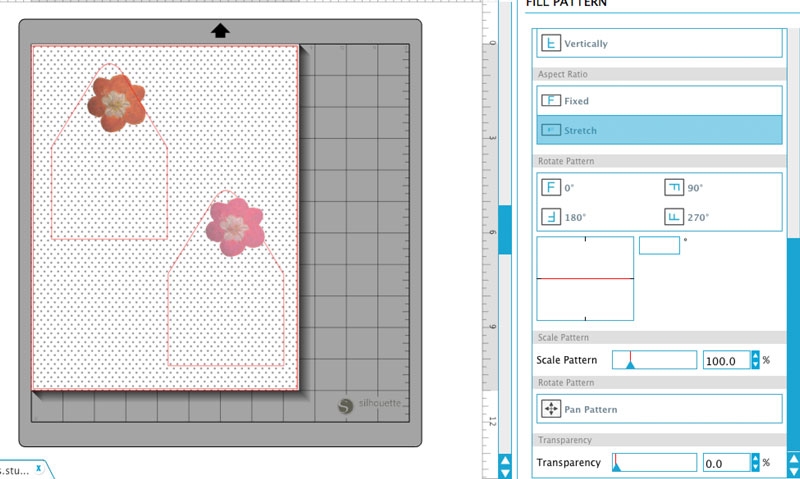
- Create a rectangle the same size as your page
- Fill with a pattern, then adjust the transparency to your liking in the Advanced settings
- Position your graphics and liners on top of your pattern
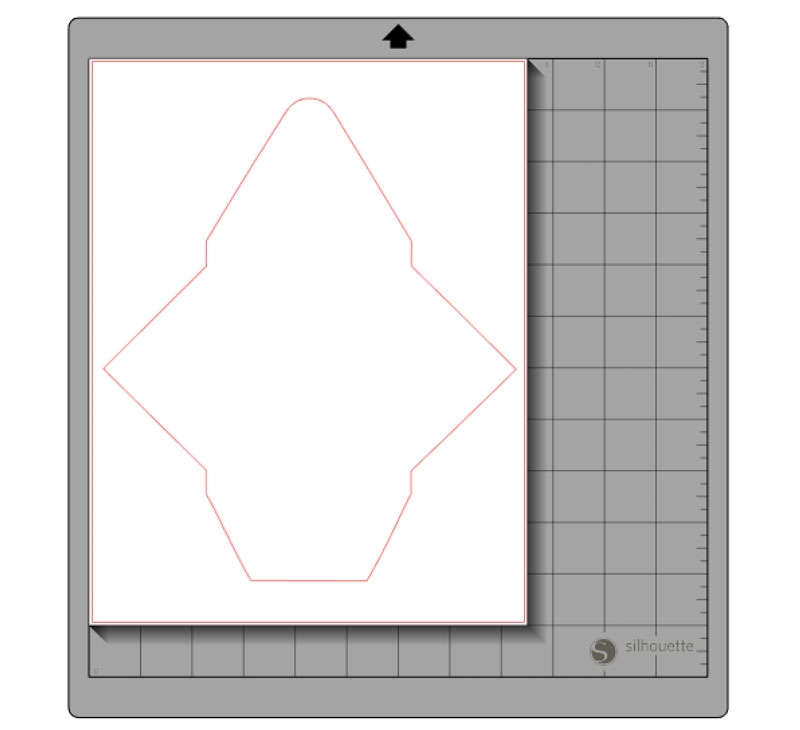
- Print your page, then load it onto your cutting machine
- Cut your liners using Copy Paper settings
- Now cut your envelopes using Copy Paper settings
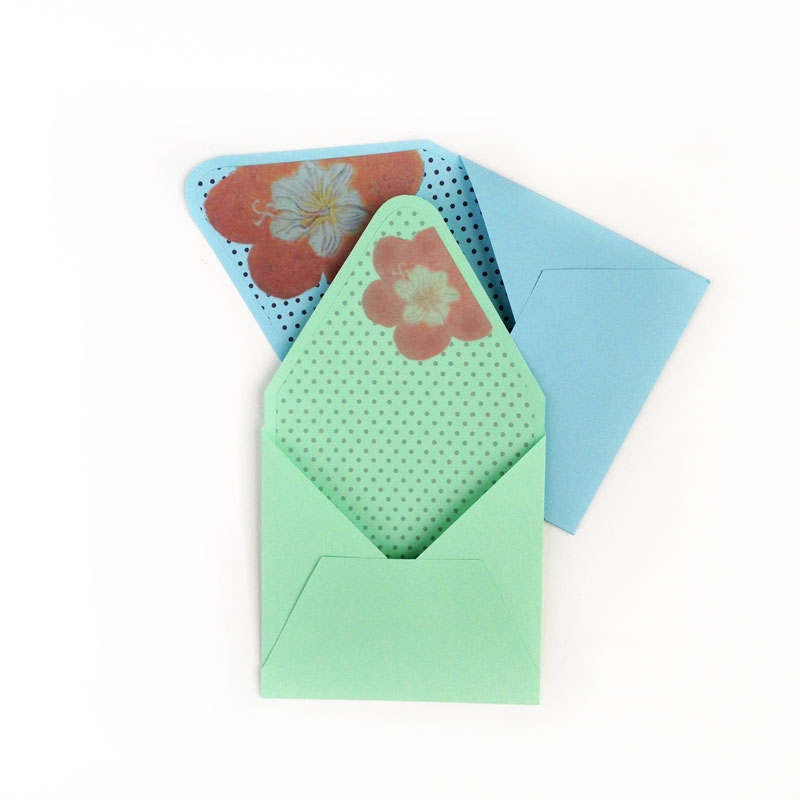
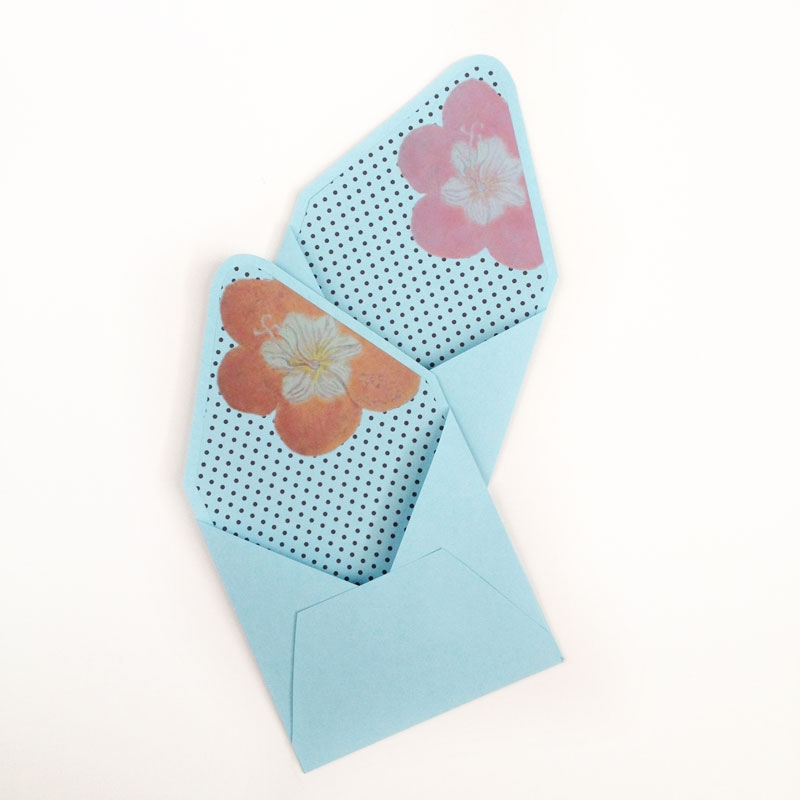
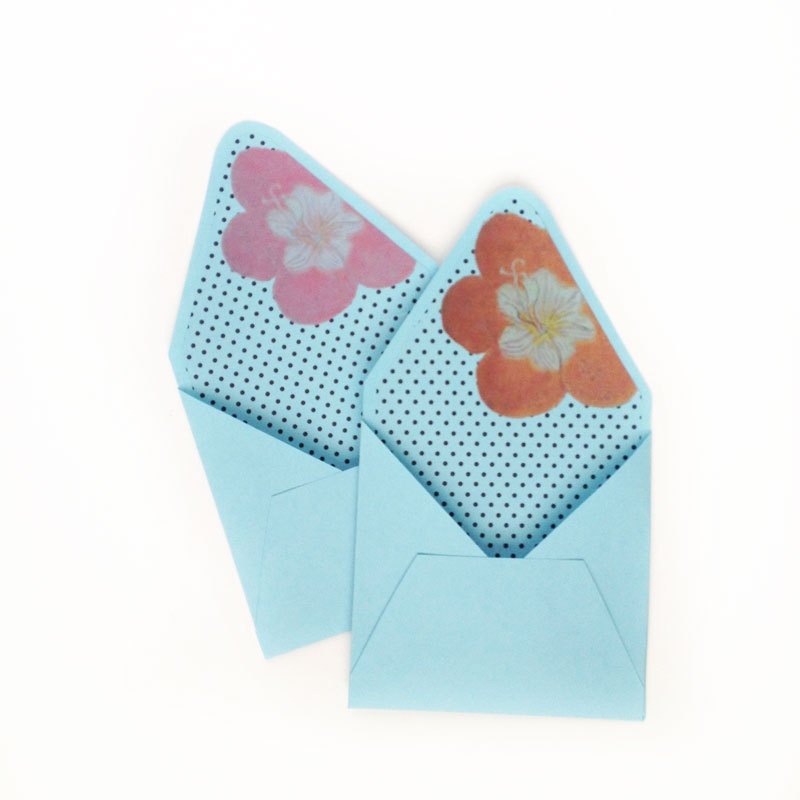
- Glue your liners to the envelopes
- Glue and fold your envelopes
And you’re done! Which patterns and graphics will you use for your layered liners?
6 Comments on DIY Stationery: Layering Liners
Comments are closed.
I will get lots of use out of these lovely envelops. Thanks for sharing them.
Thanks, Lynne! 🙂
Lovely!!!!
Thanks, Patty! 🙂
Gorgeous! I love the combination of the graphic pattern with the flowers, so pretty. Did you print your liner on the same color paper as your envelope or is that transparent paper?
Thank you for the downloads!
Melissa~
Thanks so much, Melissa! Yes – I printed the liner on the same color paper as my envelope for a seamless look. Mixing up the colors would also be very pretty. Enjoy the downloads! 🙂