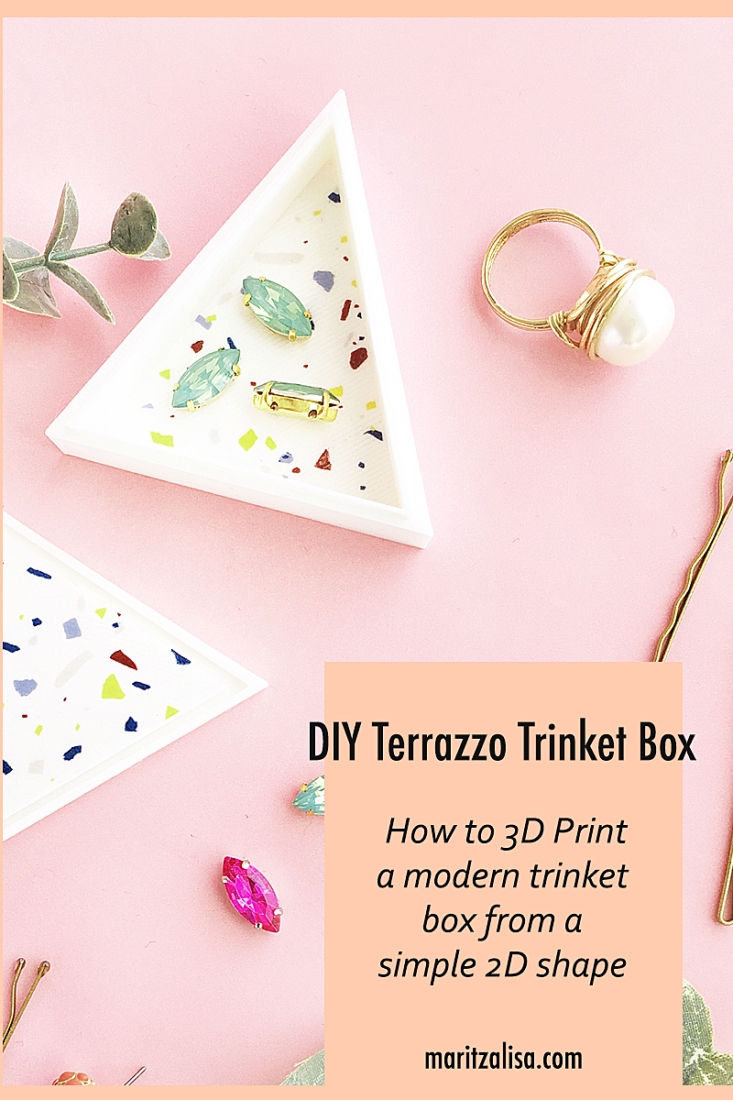
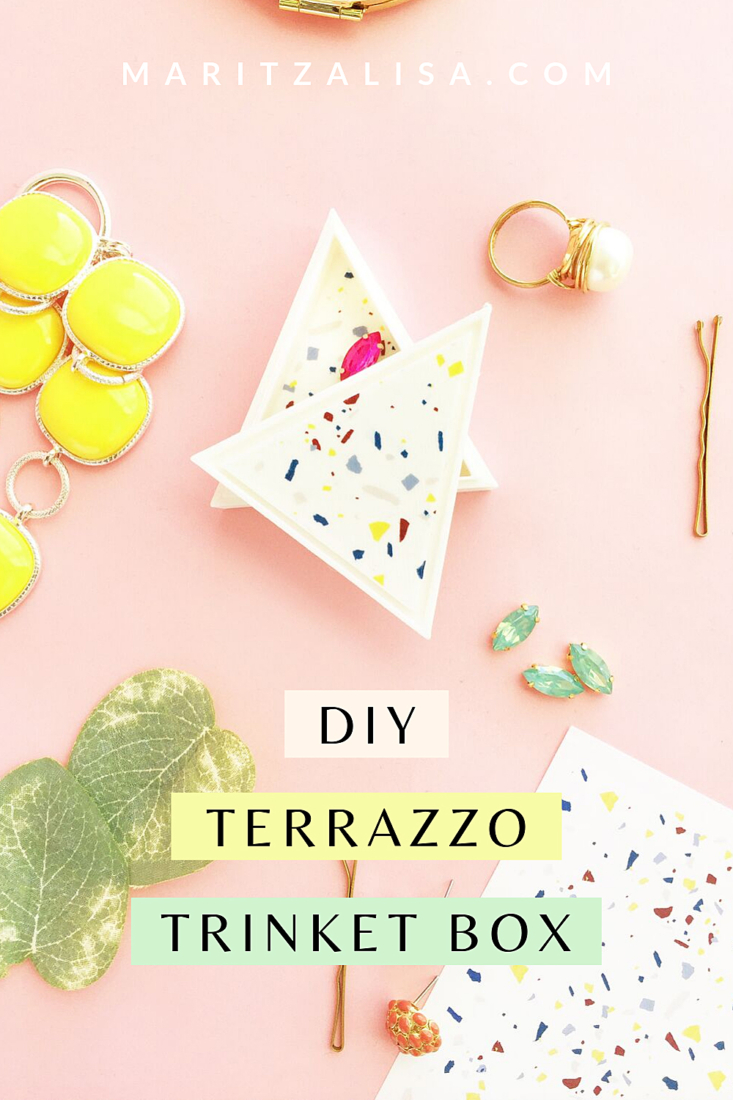
Terrazzo will always be close to my heart. My childhood home still has terrazzo floors. The stunning modern terrazzo patterns used today inspire me to DIY terrazzo everything. This DIY Terrazzo Triangle Trinket Box is just the beginning. I used my Silhouette Alta 3D printer to make the box from a regular 2D triangle and tattoo paper to transfer the pattern. Read on for the full tutorial!
Materials: DIY Terrazzo Triangle Trinket Box
- Silhouette Studio (there is a free version!)
- Silhouette Alta 3D Printer
- Silhouette 3D Software
- Printer
- Scissors
- Pencil
- Ruler
- Temporary Tattoo Paper
- Wet towel
- Scraper
- Optional: Sealant
- Terrazzo pattern
*This post contains affiliate links for products that I use and love!
How To 3D Print The Triangle Trinket Box
If this is your first 3D project and you need additional help, I did a post on setting up your 3D Printer. This will help get you started on your 3D Printing adventures.
- In Silhouette Studio, create a triangle in a new document and save your design
- Open your triangle design from Step 1 in the Silhouette 3D Software
- A pop-up will appear titled Import As
- Select Jewelry Box
- The top and bottom of your triangle box design will appear in 3d. You will print one shape at a time
- Select the 3D Print Tab on the right
- Select the Quality (I used the Standard option). Make sure one of the shapes is selected
- Press Print. The machine will heat up and print – you will see the countdown of time as well
- Once the first design is printed, let it cool then remove the platform from the printer
- Use the spatula to gently remove the 3D object and any extra filament
- Load the platform back into the printer and repeat the print process for the other part
- Once both pieces of your triangle trinket box are printed and cooled off, it’s time to apply the tattoo
How To Apply Terrazzo Tattoos To The Trinket Box
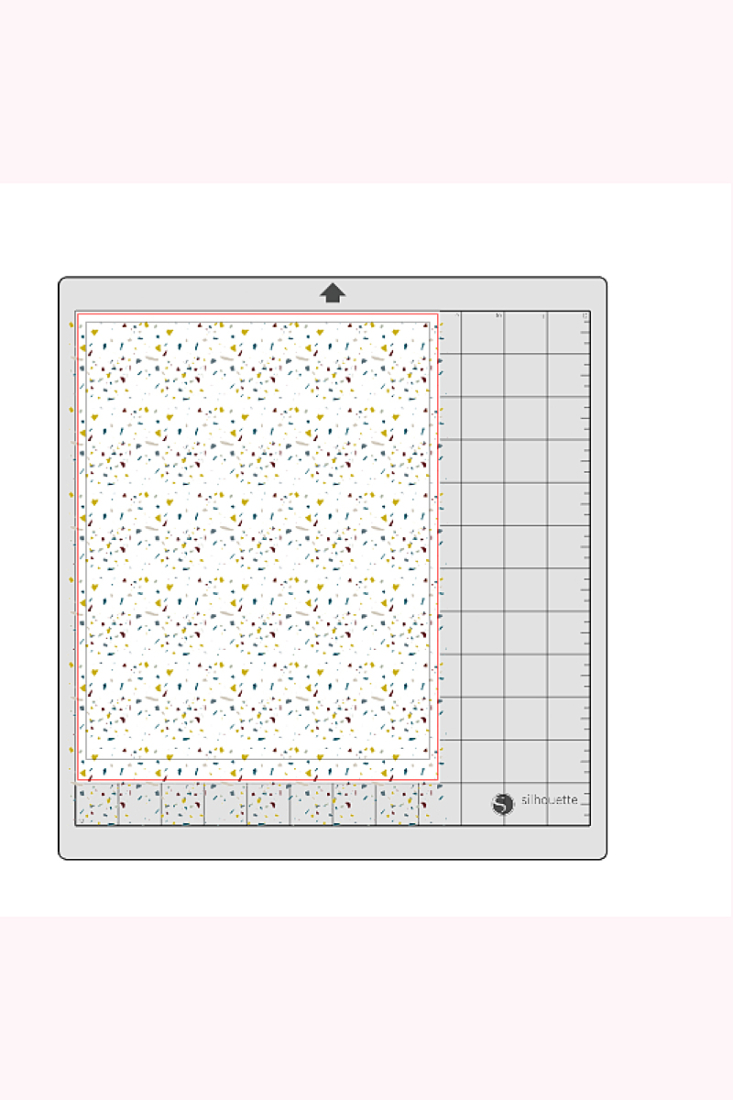
- Open your terrazzo .png pattern in Silhouette Studio
- Replicate the pattern throughout the print area
- Send to print on tattoo paper
- Follow the directions on your tattoo package, and apply the clear adhesive sheet that came with your tattoo paper. Use your scraper to smooth the bubbles out
- Use your box as a guide to draw 2 triangles on the back of the tattoo paper. You may need to cut a bit more to fit the lid and inside of the box
- Remove the clear adhesive paper for each one, and apply the tattoo face down to the top of the box and inside the box
- Optional: After the tattoos have been applied, you can apply a sealant to protect the pattern
I love how it turned out! A modern way to add a touch of terrazzo to your home without breaking the bank. Tell me how your trinket box turned out in the comments below!
Looking for some more crafty inspiration? Check out my other DIY Terrazzo Projects on Maritza Lisa and craft a little longer with me!
