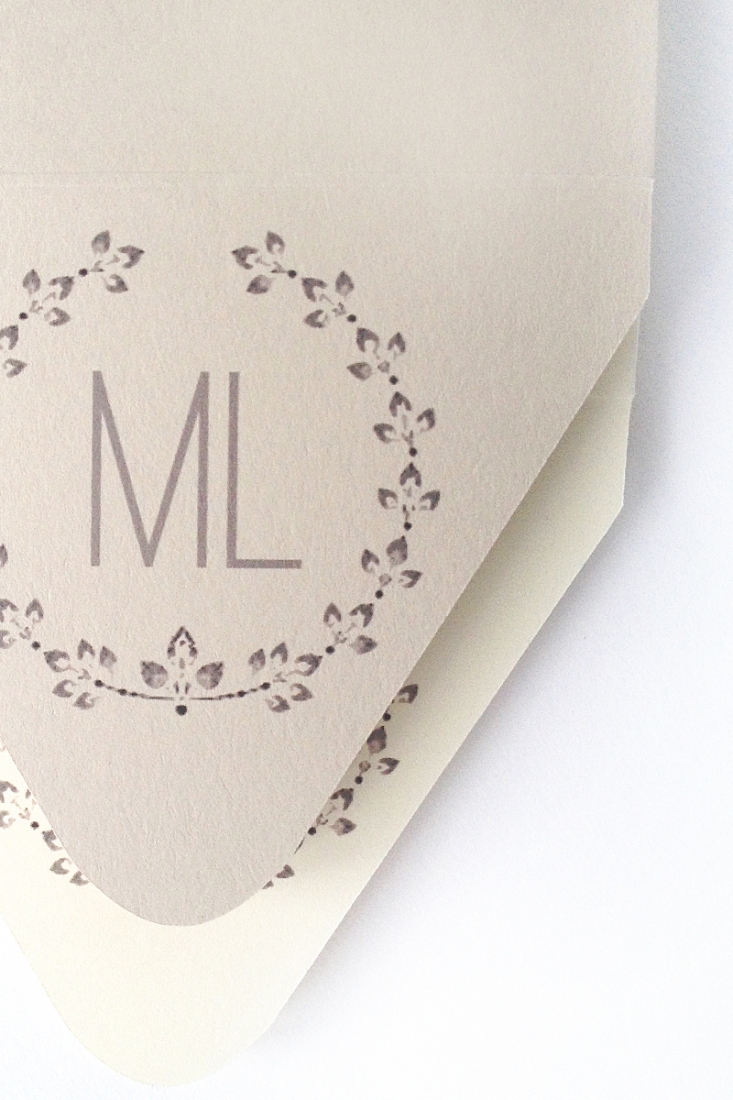
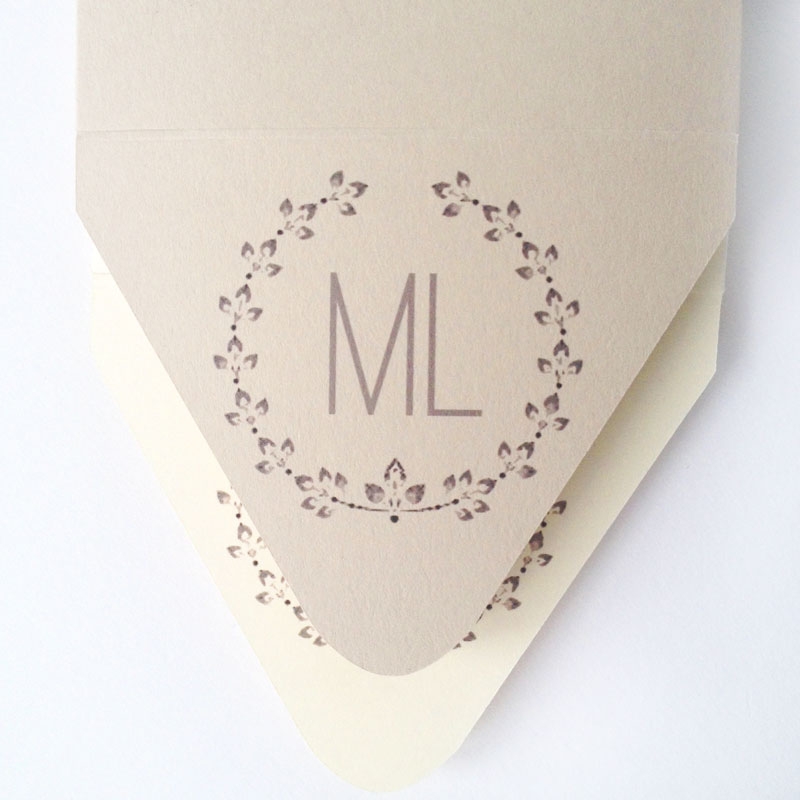
Have you been downloading your weekly freebies from Creative Market? I’m not an affiliate, I just LOVE their stuff. This week’s goodies did not disappoint. Trust. As soon as I saw the wreaths, I knew exactly what I wanted to do with them – Monograms! Do you want to design your own too?
The What
[row] [span columns=”5″]- Silhouette cutting machine
- Silhouette Studio
- Cutting mat
- Stationery shape (like the envelope from this post)
The How
Step 1: Download the Wreath Shapes and open them in Photoshop. The shapes come with an “Info and Instructions” document which tells you how to change colors (double-clicking the thumbnail), etc.
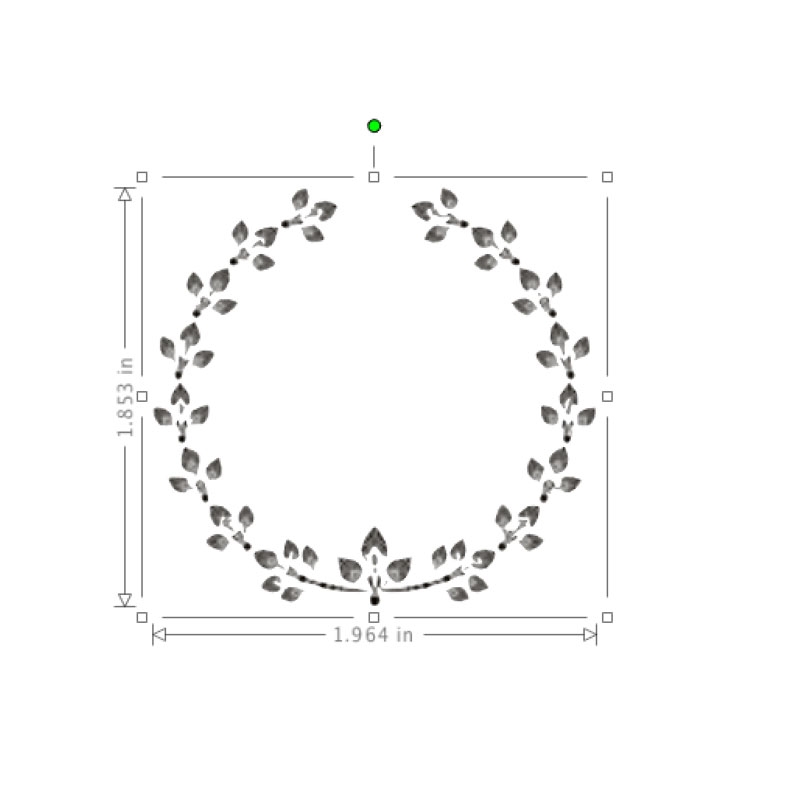
Step 2: Create a new PNG file for the wreath that you will use for your monogram. Copy the wreath over to your new document and add color. Save and close your new PNG file (which saves the transparency)
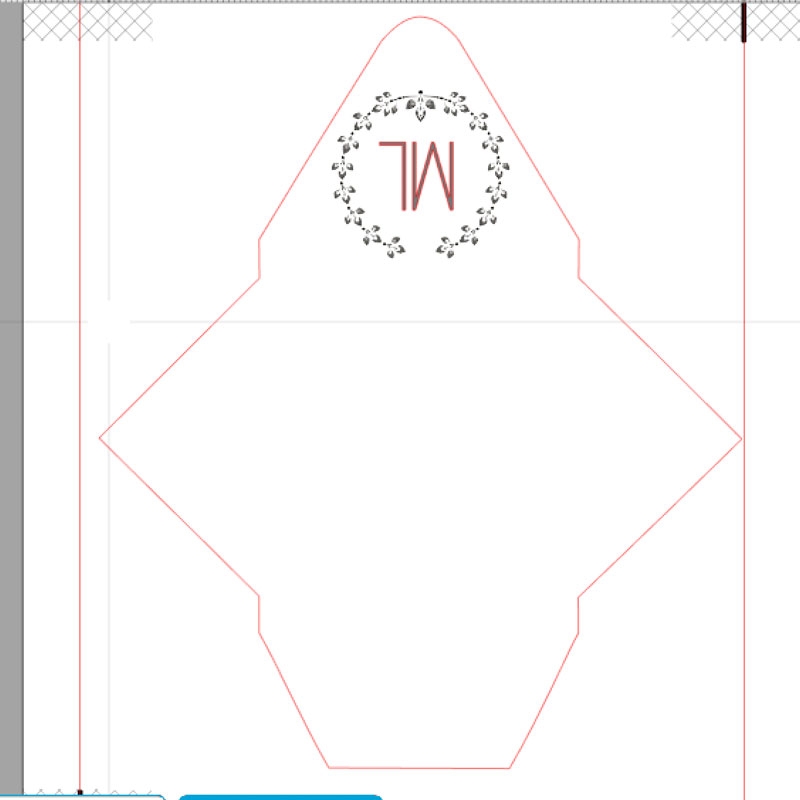
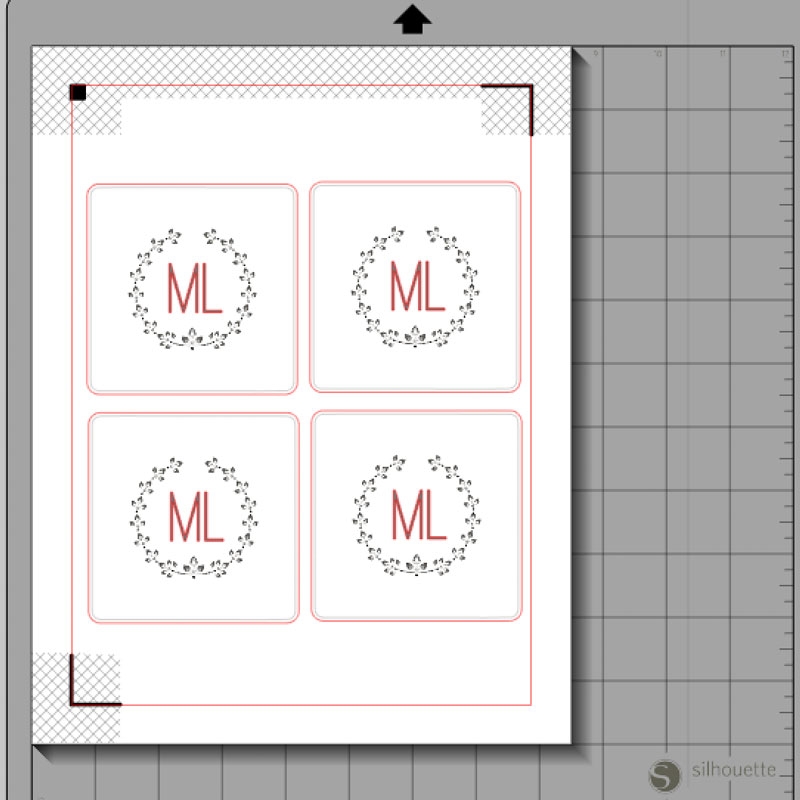
Step 3: In Silhouette Studio, open your stationery and PNG file. Resize your wreath so that it fits on your shape.
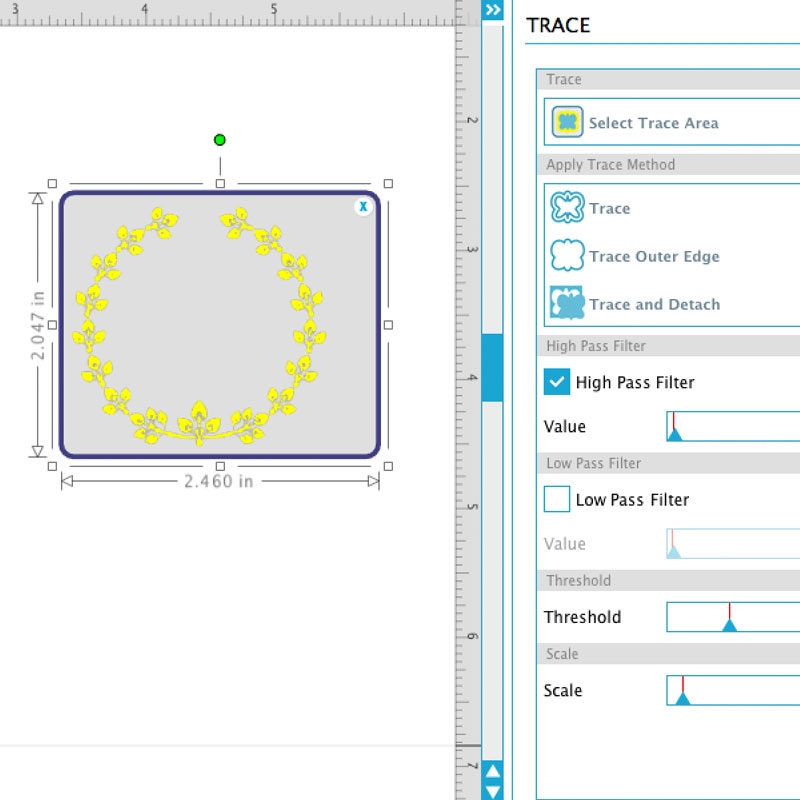
Step 4: Select your PNG file and open the Trace window. Select the wreath and Trace Outer Edge
Step 5: The dark pieces will be traced, so carefully select the wreath and traced shape then select Object > Modify > Crop. The crop will un-group the pieces, so with the shapes still selected, select Object > Group
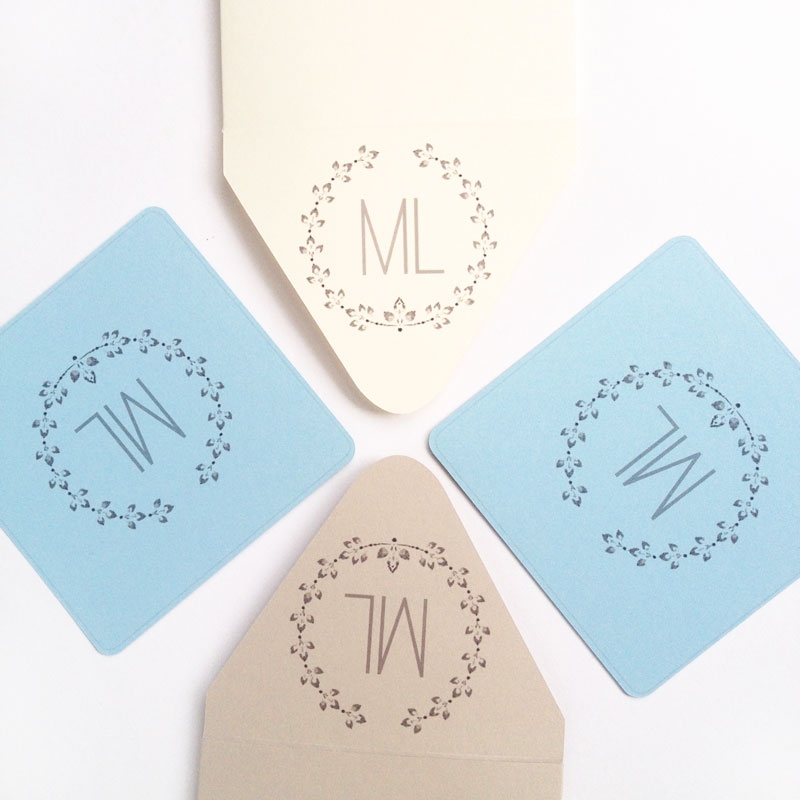
Step 6: Add your text (I used the Ostrich Sans with a gray fill), and set the text cut settings to None. Group your text and wreath and your monogram is complete! Note for your envelopes, rotate your monogram, then print and cut using cardstock (or whichever material you use) settings
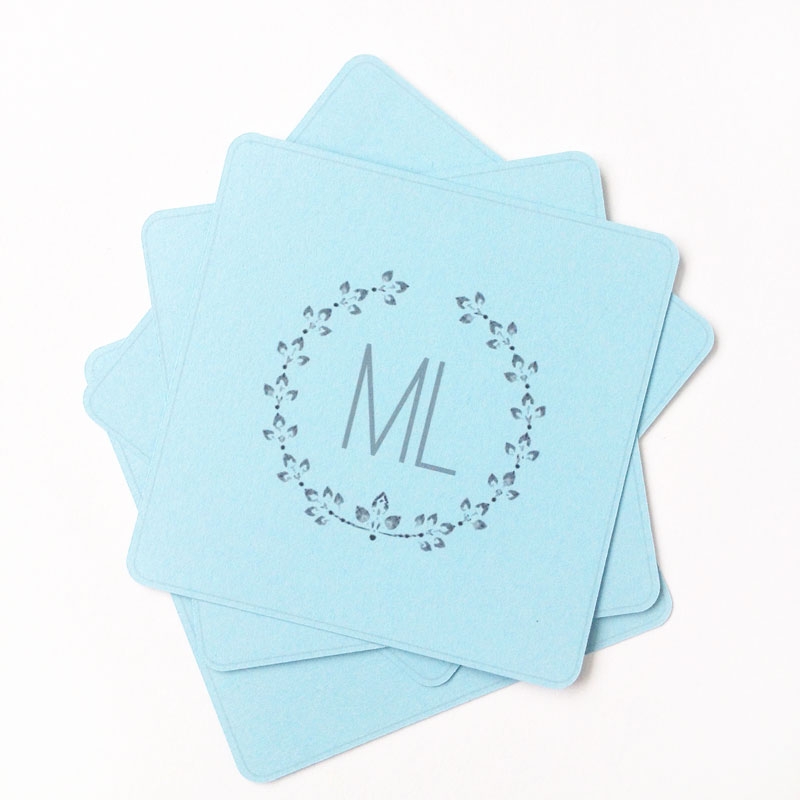
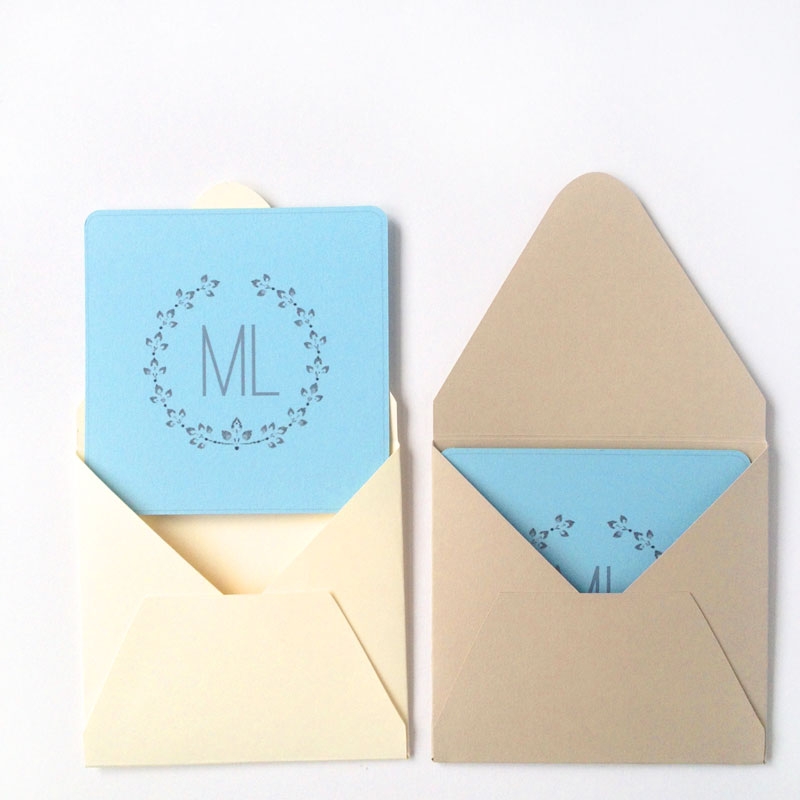
I made some flat cards to match my envelopes – how will you use your newly designed monograms?
Looking for some more inspiration? Take a look at my other Silhouette projects.
2 Comments on Design Your Own Monogram
Comments are closed.
This is beautiful. Thanks for taking the time to do the tutorial.
Thanks, Linda! What a wonderful thing to say. Have fun with your designs!