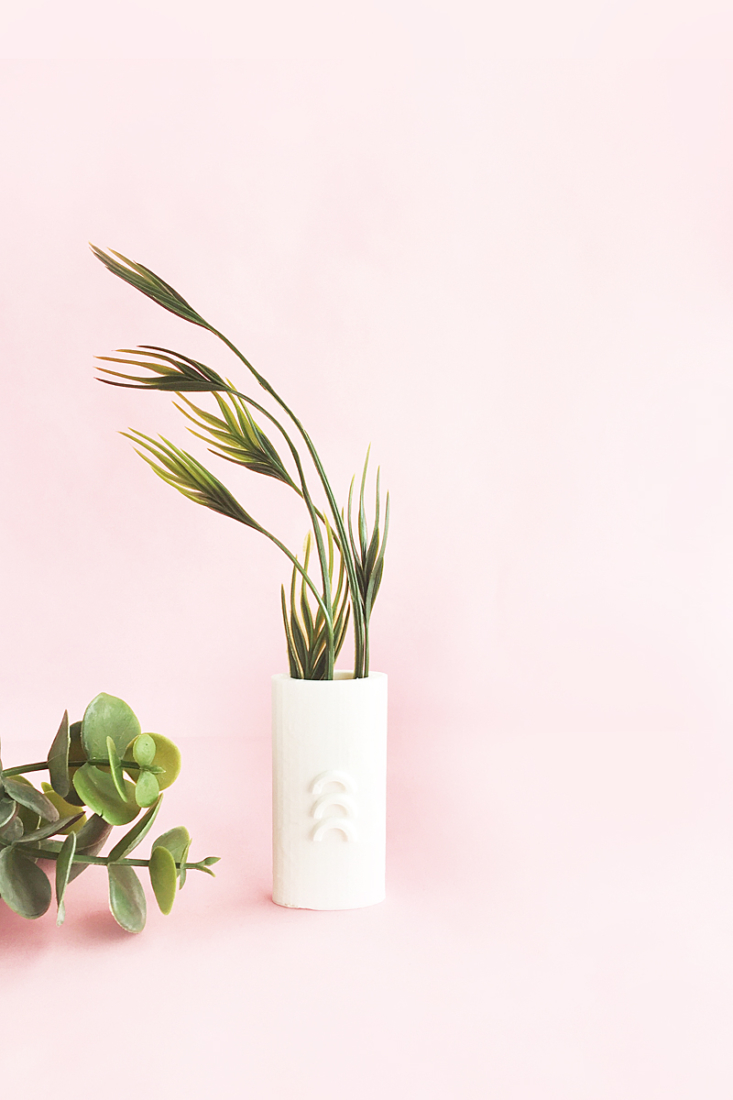
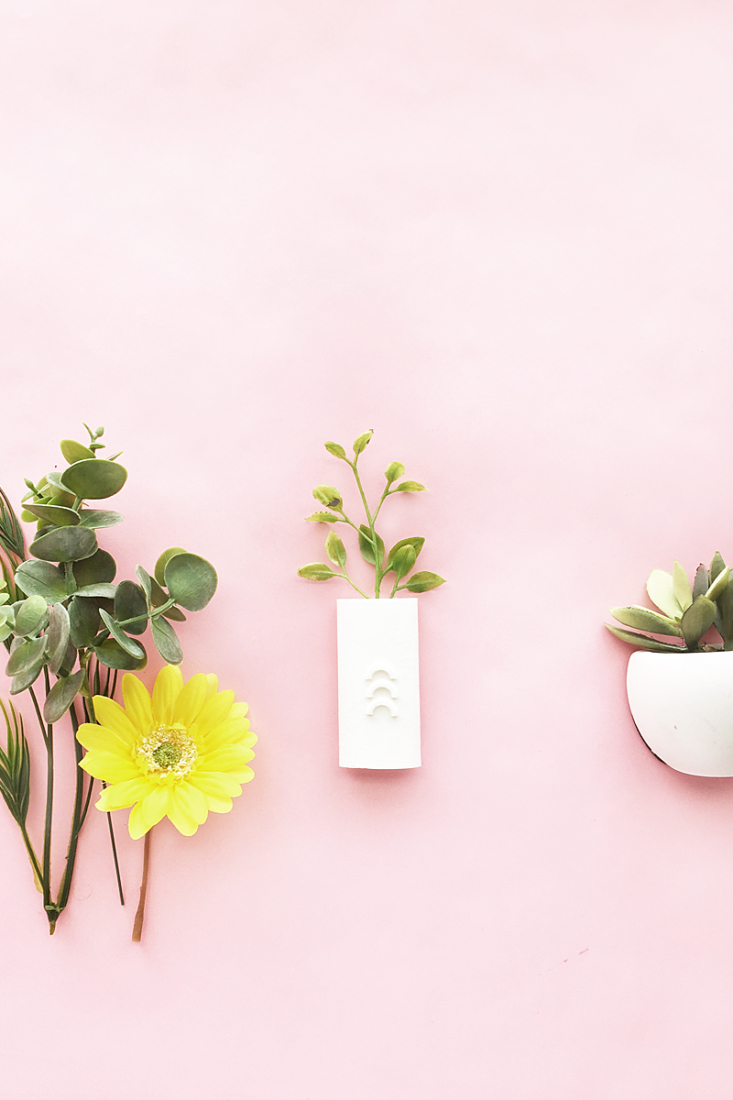
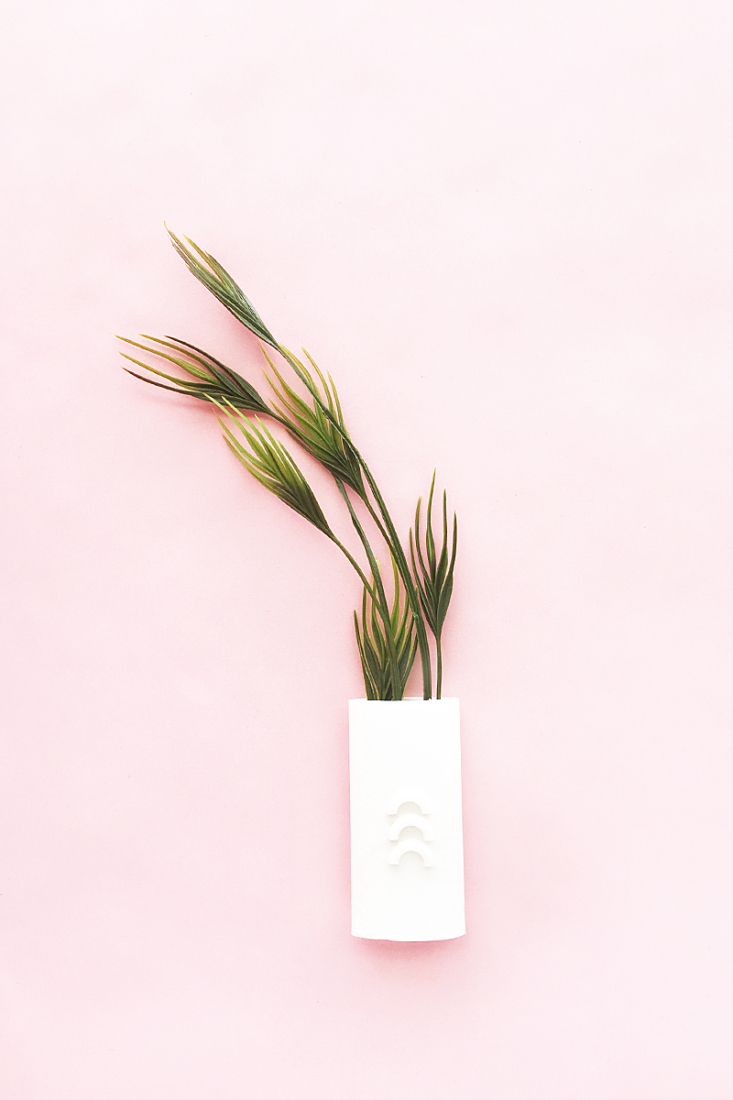
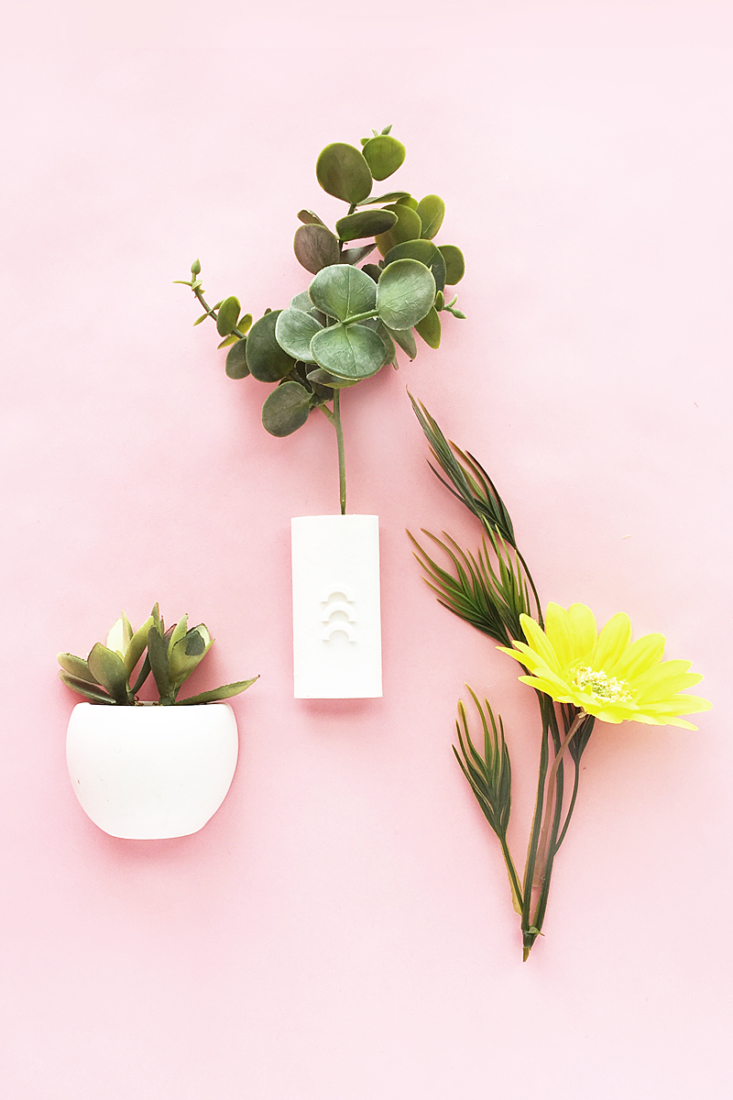
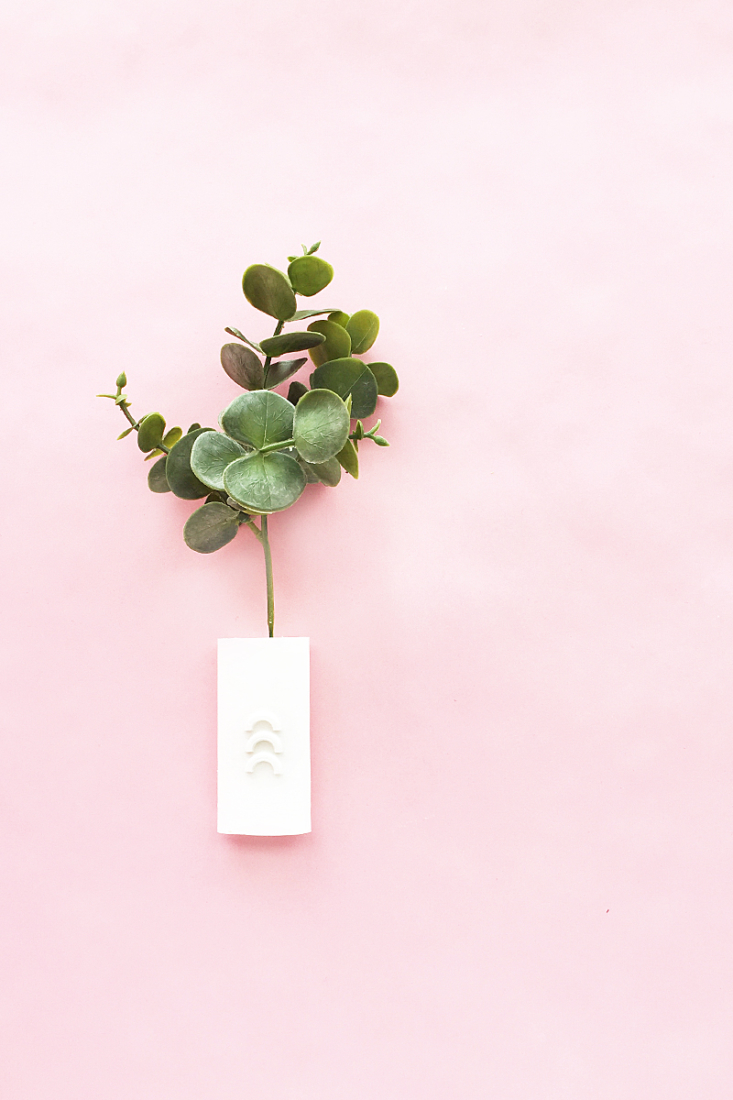
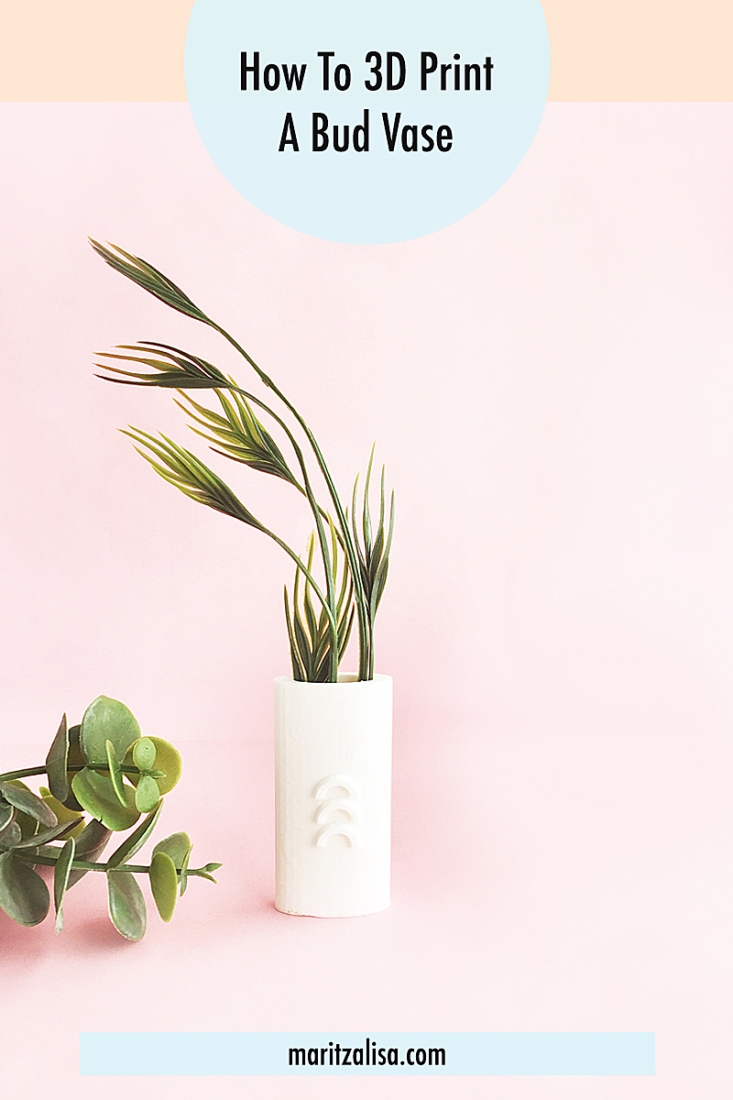
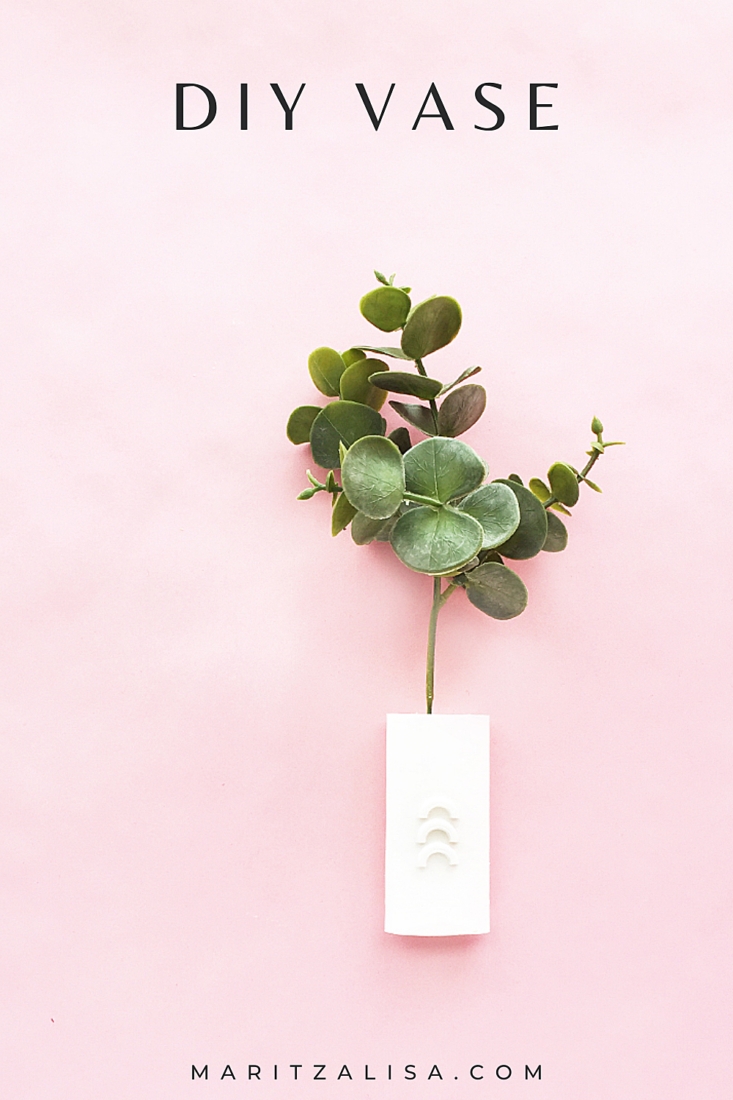
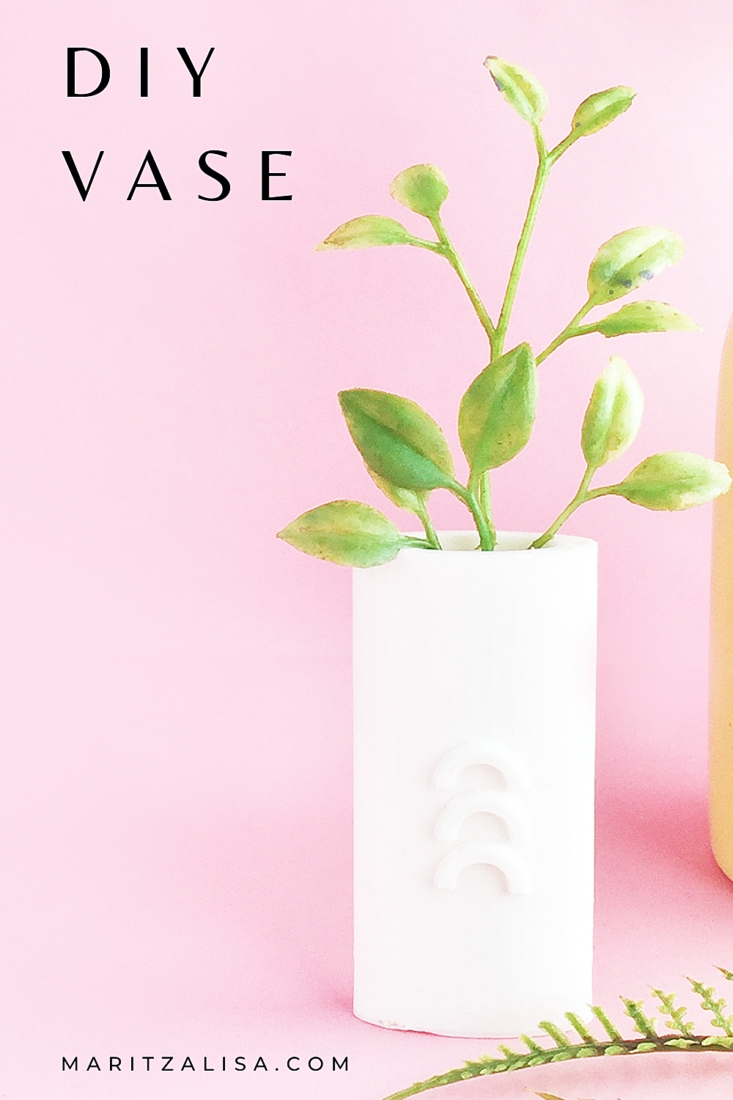
I’m back with another 3D Printer project for you to try this week. I used a simple circle to create this DIY 3D Printed Bud Vase. It’s another way to convert a simple 2D design into a 3D object that you can use for your home decor. Want to make your own? Read on for the full tutorial!
DIY 3D Printed Bud Vase – What You Need:
- Silhouette Studio (there is a free version!)
- Silhouette Alta 3D Printer
- Silhouette 3D Software
- Printer
- Scissors
*This post contains affiliate links for products that I use and love!
DIY 3D Printed Bud Vase – Instructions:
If this is your first 3D project and you need additional help, I did a post on setting up your 3D Printer and making your first project.
- In Silhouette Studio, create a circle. Save your design
- In the Silhouette 3D Software, open your circle design
- A pop-up will appear: Import As
- Select Jewelry Box
- The top and bottom of the box design will appear in 3d.
- Delete the top portion
- Ungroup the bottom
- Delete the ridge at the top of the design
- Regroup the bottom and change the dimensions you would like for your vase
- Select the 3D Print Tab on the right
- Select the Quality (I used the Standard option)
- Press Print. The machine will heat up and print – you will see the countdown of time as well
- Once your vase is printed, let it cool then remove the platform from the printer
- Use the spatula to gently remove the 3D trinket box and any extra filament
- Load the platform back into the printer
Adding Texture To Your Bud Vase:
I 3-D printed little rings as well and then cut them in half to make little rainbows. I then used a strong glue to adhere them to the front of the vase to add a little texture. How will you decorate your vase?
Looking for some more inspiration? Check out my other Home DIY and 3D Printed projects and craft a little longer with me!
