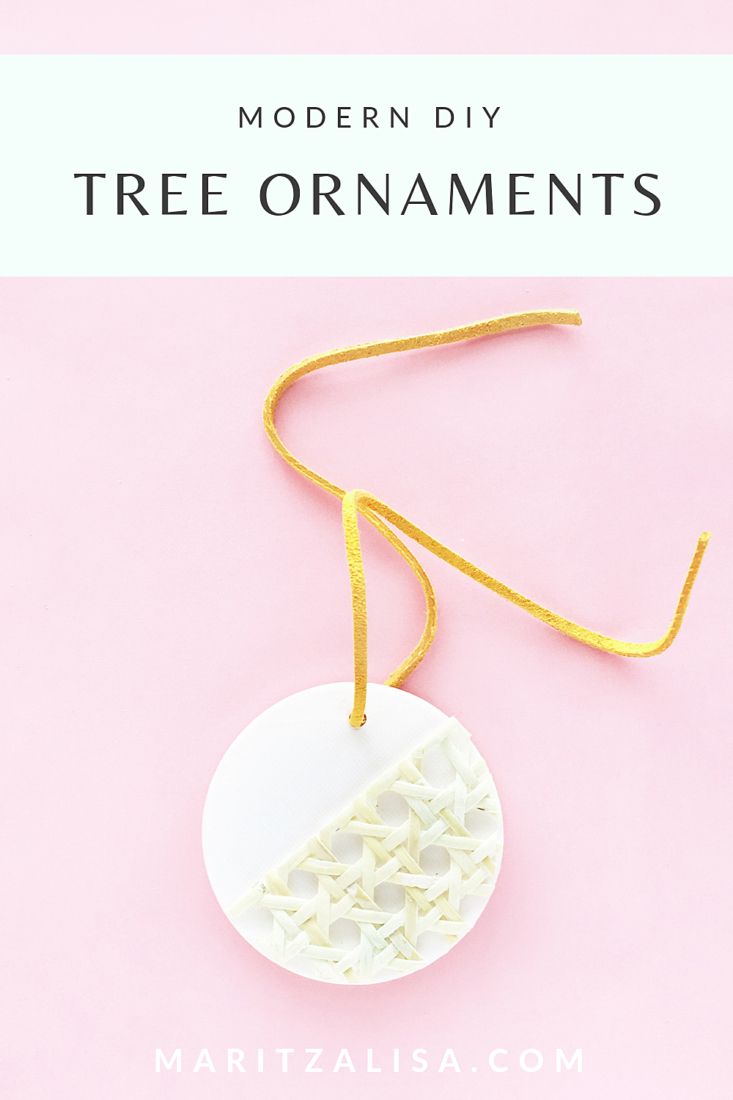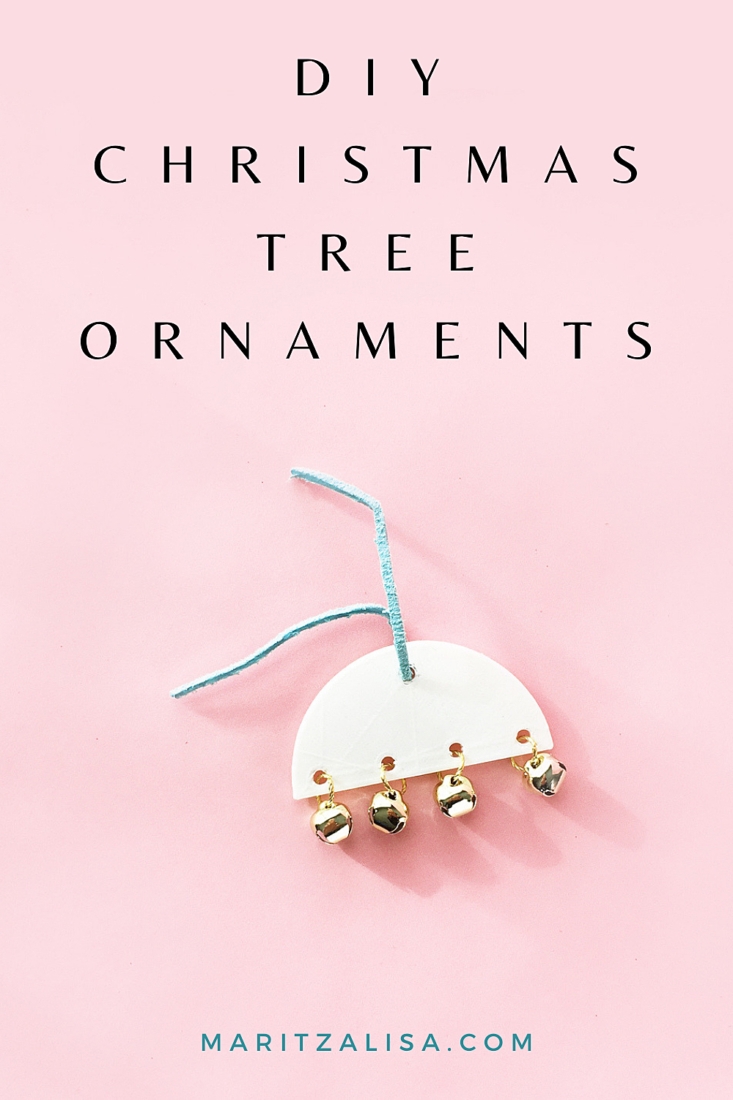
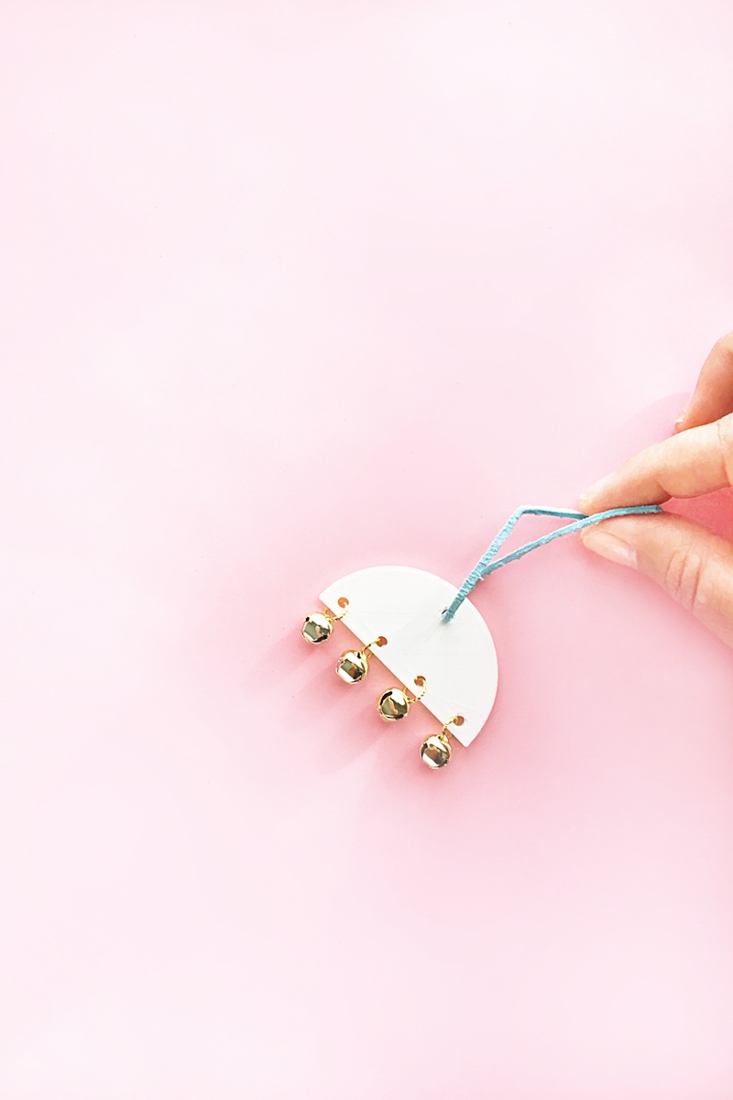
Can you believe that Christmas is less than a month away? I seriously can’t deal. I feel like I’ve been playing catch-up since Back To School. Am I the only one? That being said, let’s make some stuff and craft our worries away with these DIY 3D Printed Modern Tree Ornaments. I used my Silhouette Alta to make them, but if you don’t have a 3D printer, feel free to use layers of thick cardstock. The fun thing about making ornaments is that you can tie them on to your gifts and then the person receiving it will be delighted knowing that they can use this pretty gift topper as a tree ornament. Read on for the full tutorial!
What You Need – DIY 3D Printed Modern Tree Ornaments
- Silhouette Studio (there is a free version!)
- Silhouette Alta 3D printer
- White filament (comes with the 3D Printer)
- Platform (comes with the 3D Printer)
- Platform tape (comes with the 3D Printer)
- Silhouette 3D Software (you will have access with the 3D Printer)
- Items to decorate your ornaments – I used cane webbing (rattan), jump rings and bells
- String (I used leather cording)
*This post contains affiliate links for products that I use and love!
Instructions – DIY 3D Printed Modern Tree Ornaments
If this is your first 3D project, I did a post on setting up your Silhouette Alta 3D Printer and making your first project.
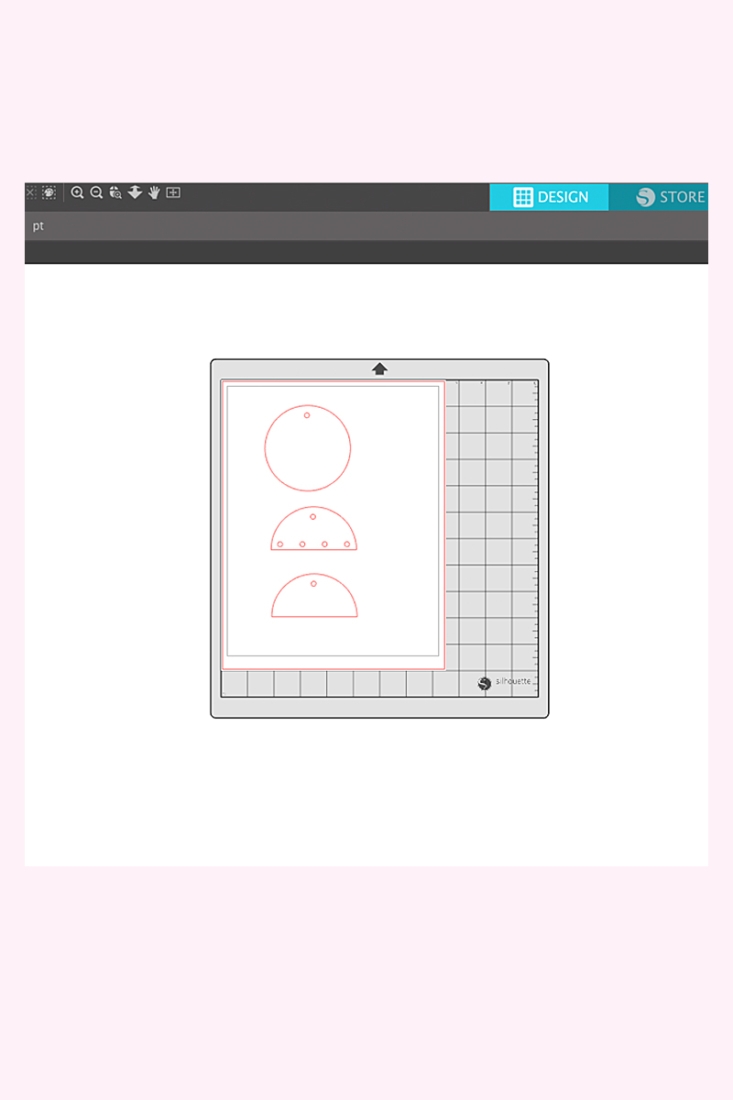
- In Silhouette Studio, create your designs using the circle tool. I created the semicircle by cutting a circle in half using the knife tool
- For each of your designs, Make a Compound Path. Save your designs
- In the Silhouette 3D Software, open your designs from step 2
- A pop-up will appear: Import As
- Select Extrusion
- The design will appear in 3D
- Select each shape and make any adjustments to the dimensions on the top menu bar to ensure that the 3D version of your ornament will be printed in the desired size
- Select the 3D Print Tab on the top right
- Select the Quality (I used the Standard option)
- Press Print. The machine will heat up and print your 3D ornament design – you will see the countdown of time as well
- After each ornament is printed, let it cool then remove the platform from the printer
- Use the spatula to gently remove your ornament and any extra filament
- Add your decorations (or paint!) to your ornaments and finally, add the string
Tip: If the ornament is not completely smooth or has little strings of filament attached to it, cut off the excess filament and use an emory board (nail file) or sand paper to smooth the surface.
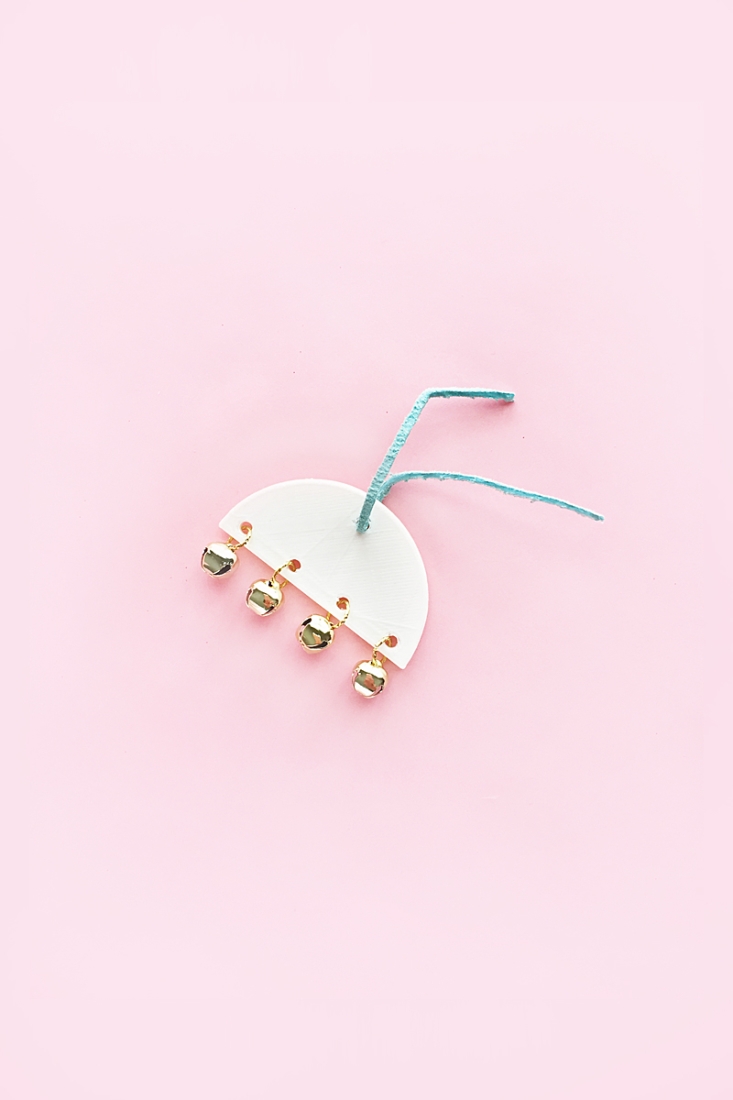
And that’s it! All you need to do now is hang your pretty ornaments on the tree or add them to your packages. Let me know how your ornaments turned out!




Looking for some more crafty inspiration? Take a look at my Holiday and Christmas DIY projects on Maritza Lisa!
