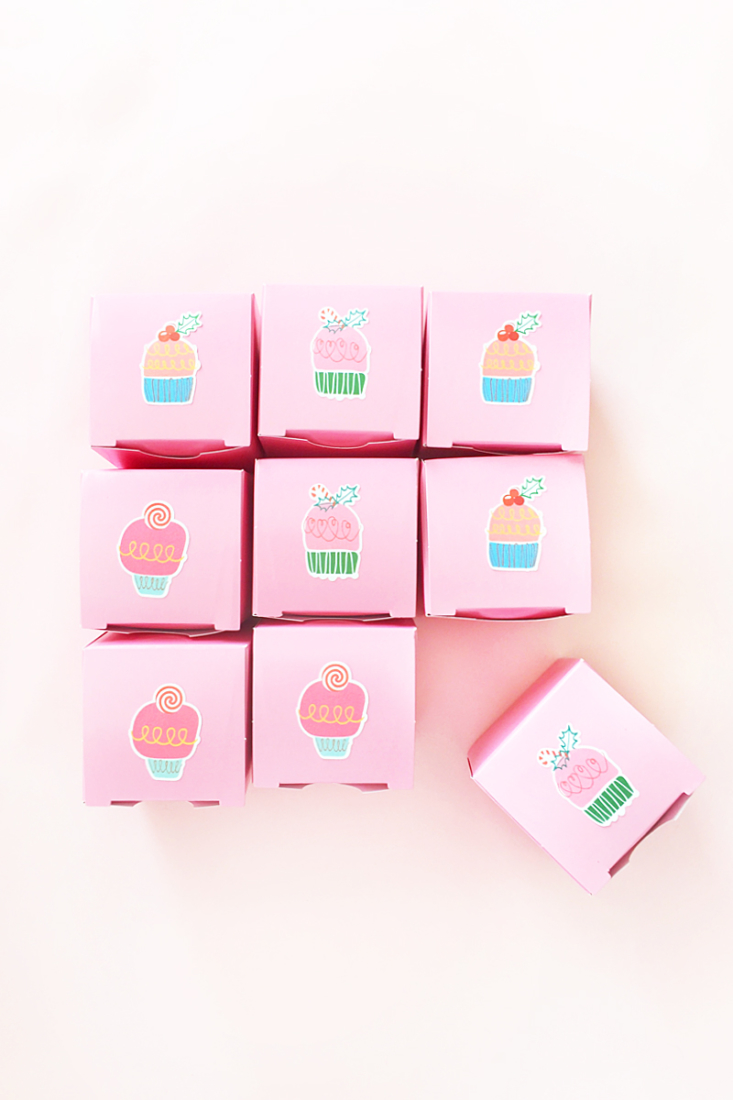
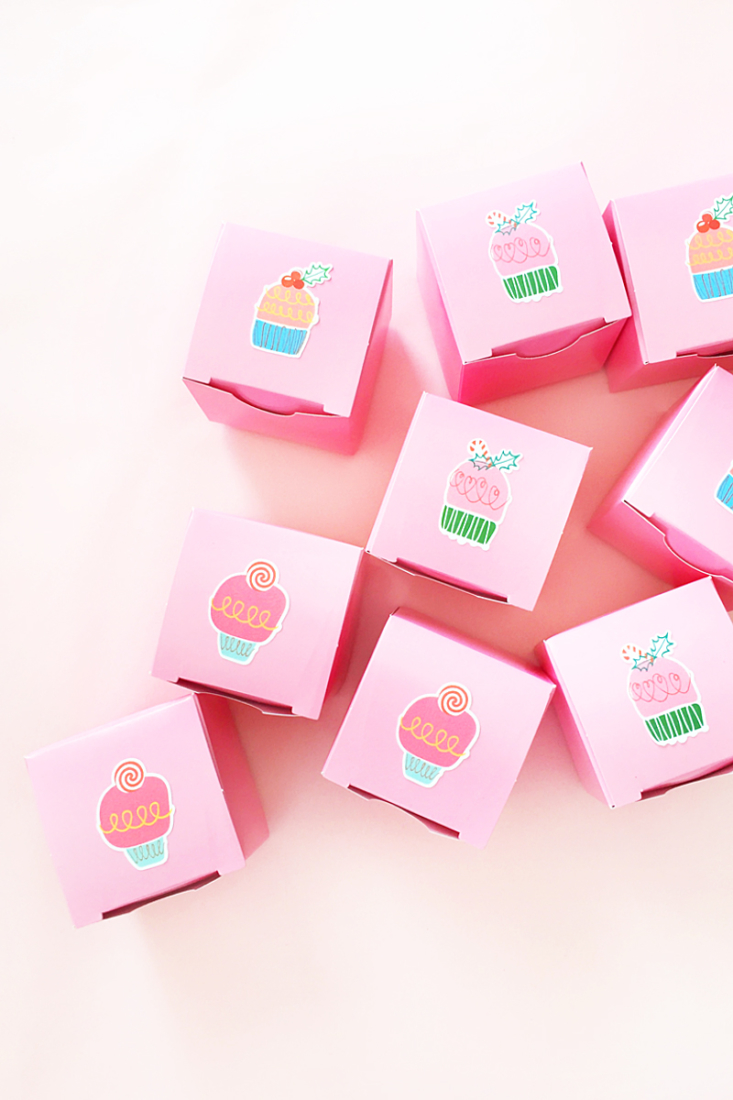
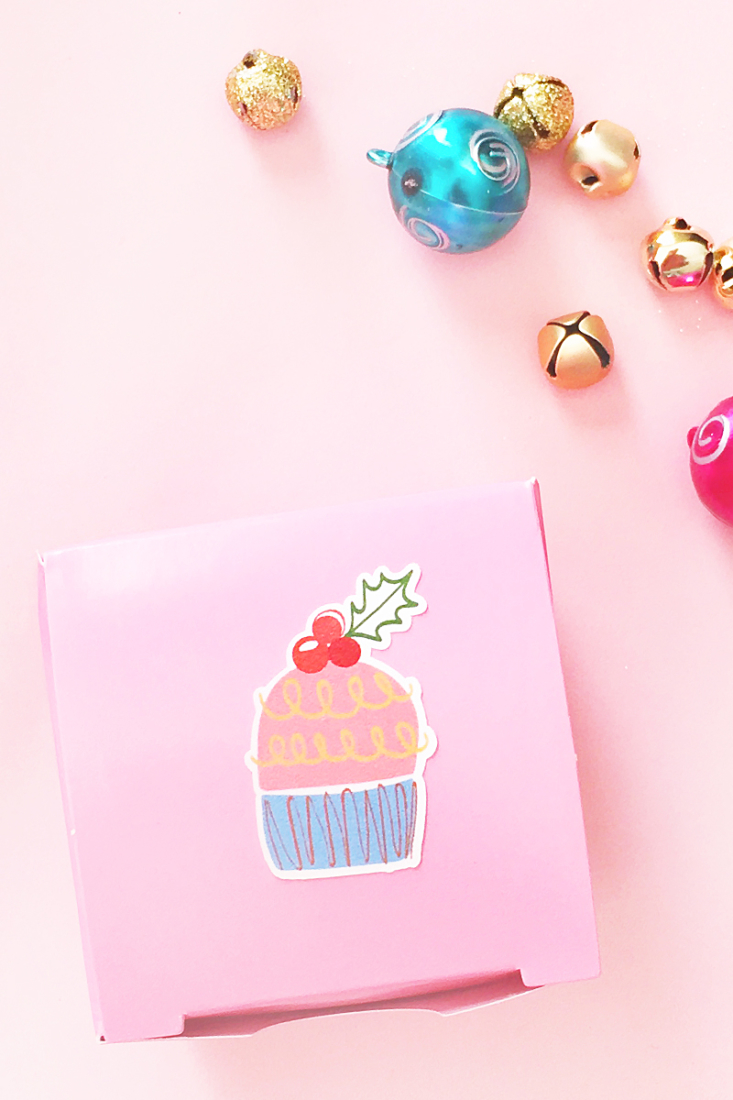
Before I leave to celebrate Christmas with my family and say goodbye to 2017, I wanted to wish you a wonderful Holiday Season and a brilliant 2018. A big, big thank you for all your visits to this little blog. Before I sign off, here are these DIY Christmas Cake Stickers to try for your pretty packages. They are perfect for treat boxes, treat bags and can even be used as envelope seals. Read on for this festive tutorial!
DIY Christmas Cake Stickers – The What
- Silhouette Studio (there is a free version! I used v4)
- Silhouette cutting machine ( I used the CAMEO 3)
- Silhouette white printable sticker paper
- Printer
- Holiday Cakes design
*This post contains affiliate links for products that I use and love!
DIY Christmas Cake Stickers – The How
- In Silhouette Studio, open your Holiday Cakes design and ungroup
- Set everything to “No Cut”
- At this point, you can change the colors and then regroup the cake shapes
- For each shape, create a white border by using the Offset panel. Set the offset to “Cut”
- Resize and move the images to the printable area
- Fill the page with copies of your designs and show the registration marks for print and cut
- Load your printer with sticker paper and send your designs to print
- Load your Silhouette cutting machine with the sticker paper and send to cut using sticker paper settings
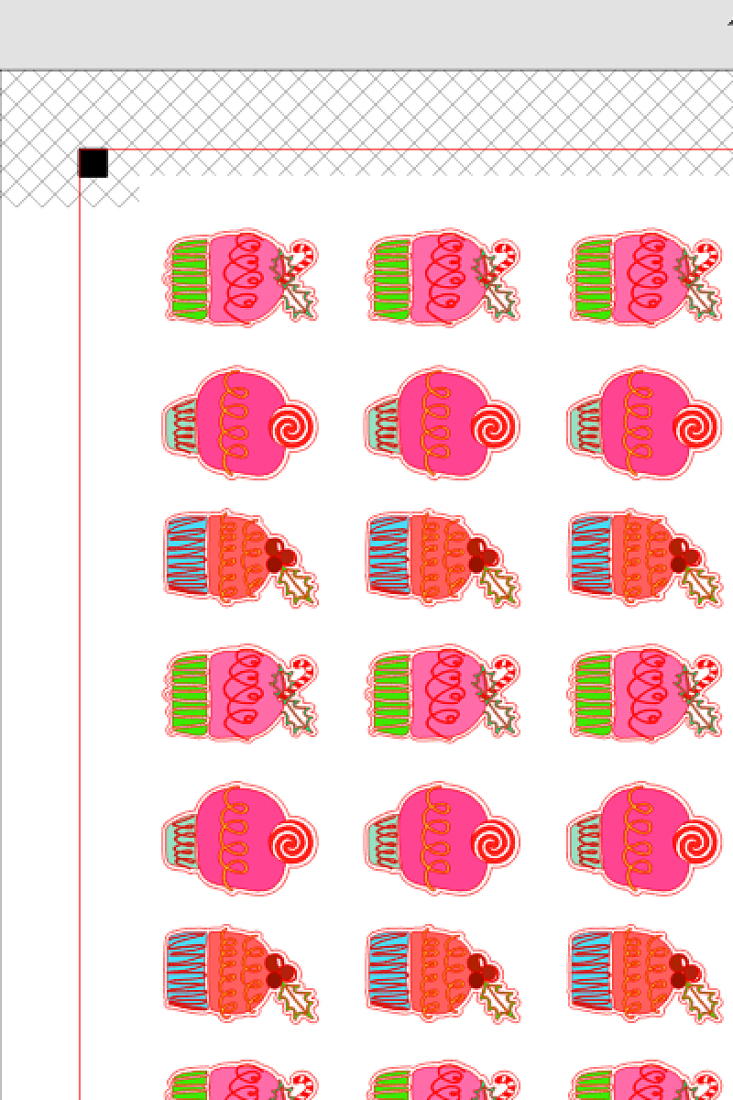
And that’s it! Now that you have these sweet little festive stickers for your envelopes and packages, tell me in the comments below how you plan to use them!
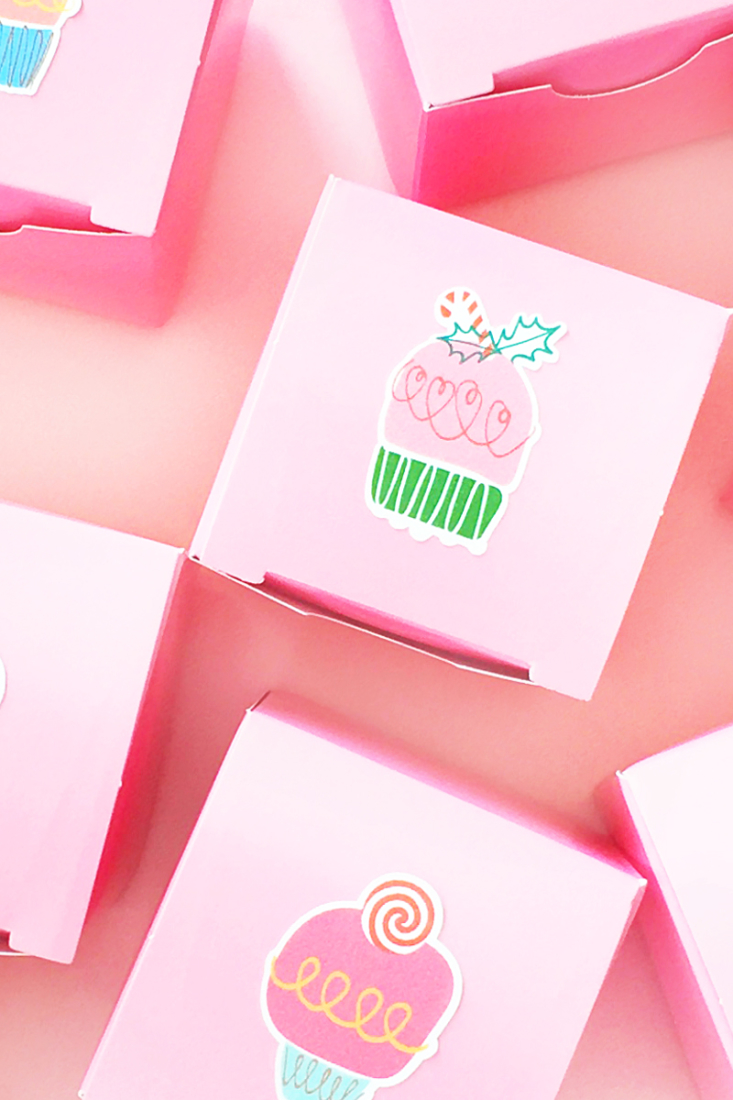
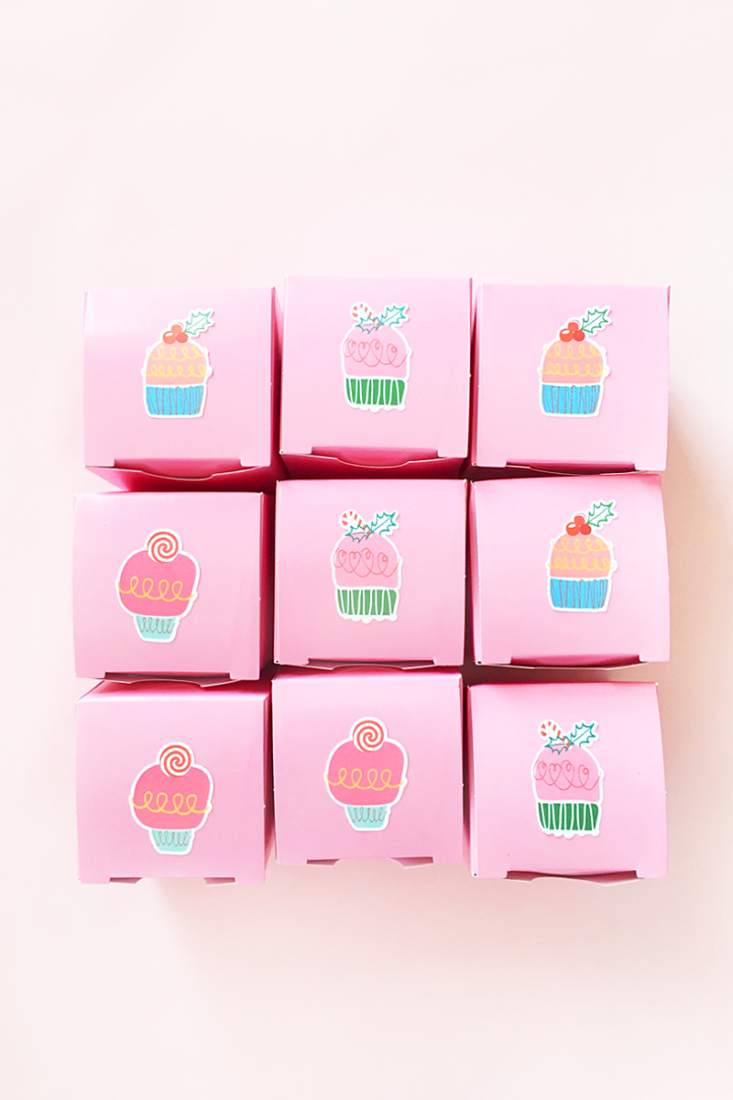
Looking for some more inspiration? Take a look at my other Silhouette projects!
2 Comments on DIY Christmas Cake Stickers
Comments are closed.
I always love seeing what you do with the 12 days of Christmas freebies from Silhouette.
Thanks so much, Torrie – Merry Christmas!! xoxoxox