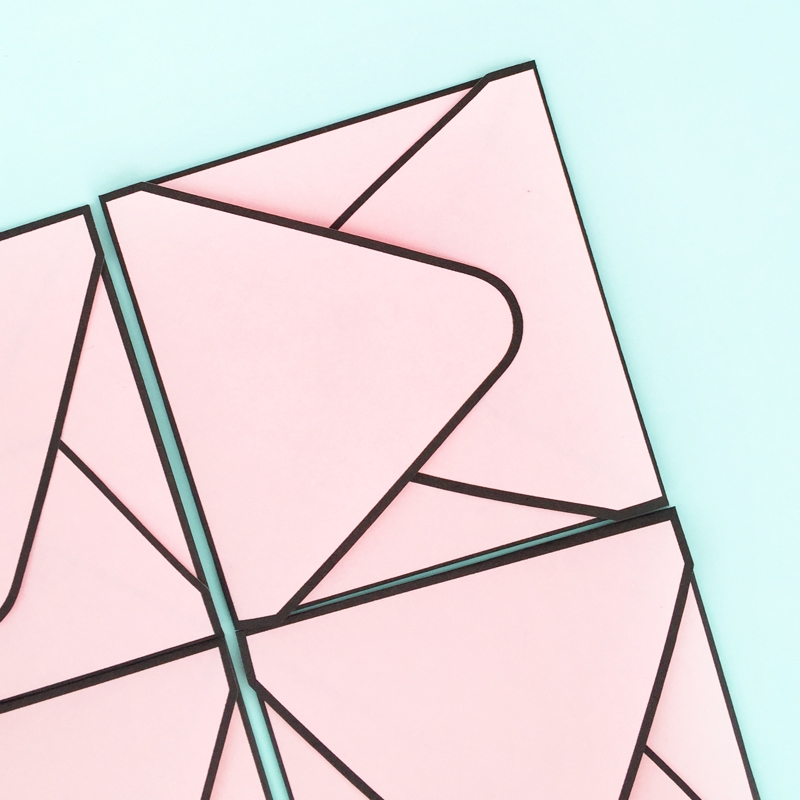
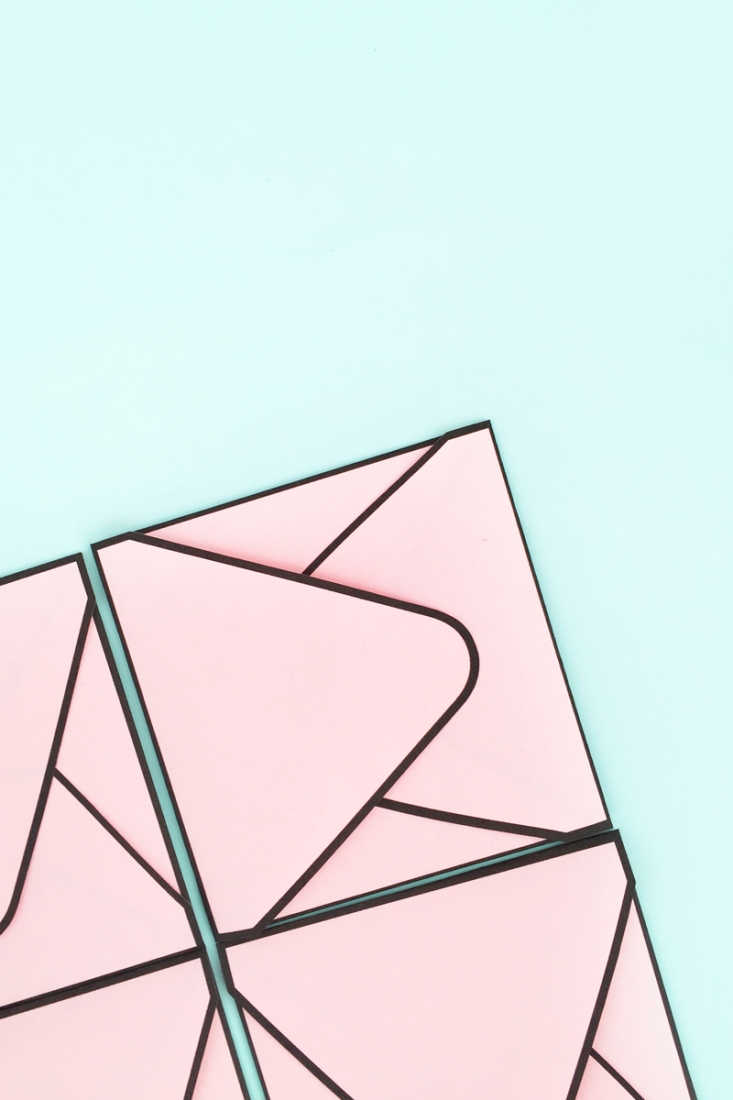
Just popping in quickly to share with you a lightbulb moment I had over the weekend. I figured out a quick and easy way to make these DIY Envelopes with Borders in Silhouette Studio. It’s all about thickening the lines and adding a square (or rectangle) to your existing envelope shape. I promise that’s all you have to do… let me show you!
Materials: DIY Envelopes with Borders
- Silhouette cutting machine
- Silhouette Studio (there is a free version!)
- Cutting mat
- Printer paper
- Printer
- Envelope shape (you can download my free shape here)
- Glue
Instructions
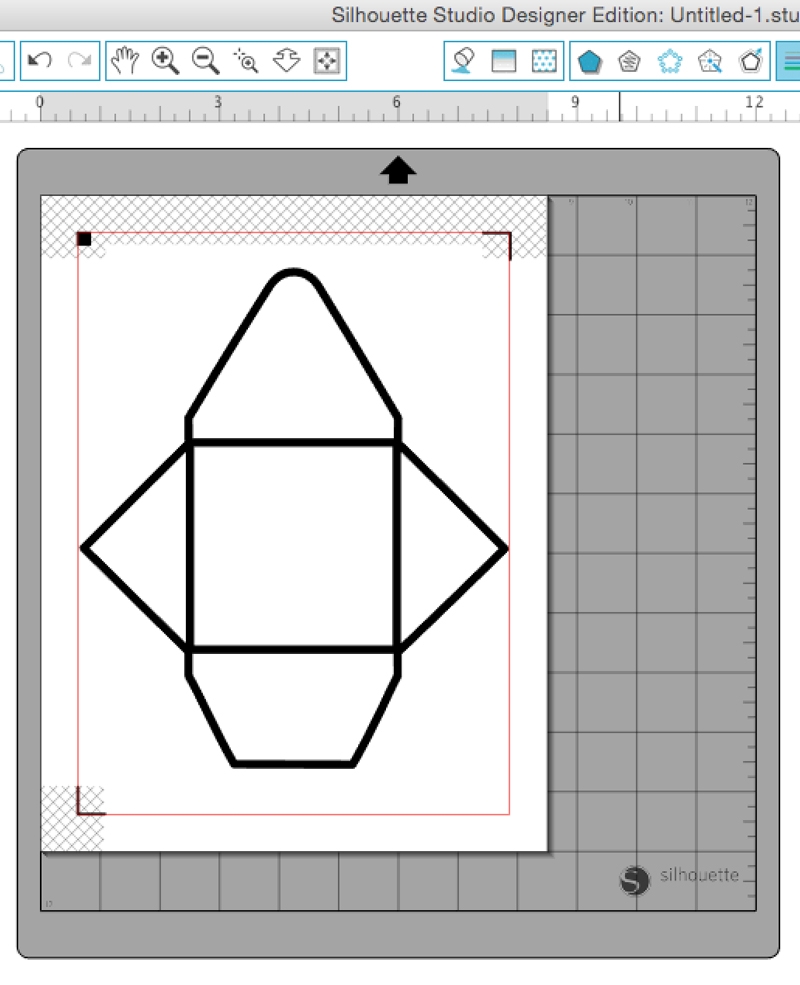
- In Silhouette Studio, open your envelope shape
- Show the registration marks for Print and Cut
- Resize your envelope so that it is within the registration marks
- Select your shape and change the color of the line to black (or whichever other color you want)
- Change the line thickness so that a nice thick border appears (I used 10 because when cutting, the machine cuts right through the middle)
- Place a square or rectangle (depending on your shape) with the same color and slightly smaller thickness
- Send your shape to print on printer paper
- Load your page onto your Silhouette cutting machine
- Send to print and cut using copy paper settings
- Fold and assemble your envelope (adhere with glue)
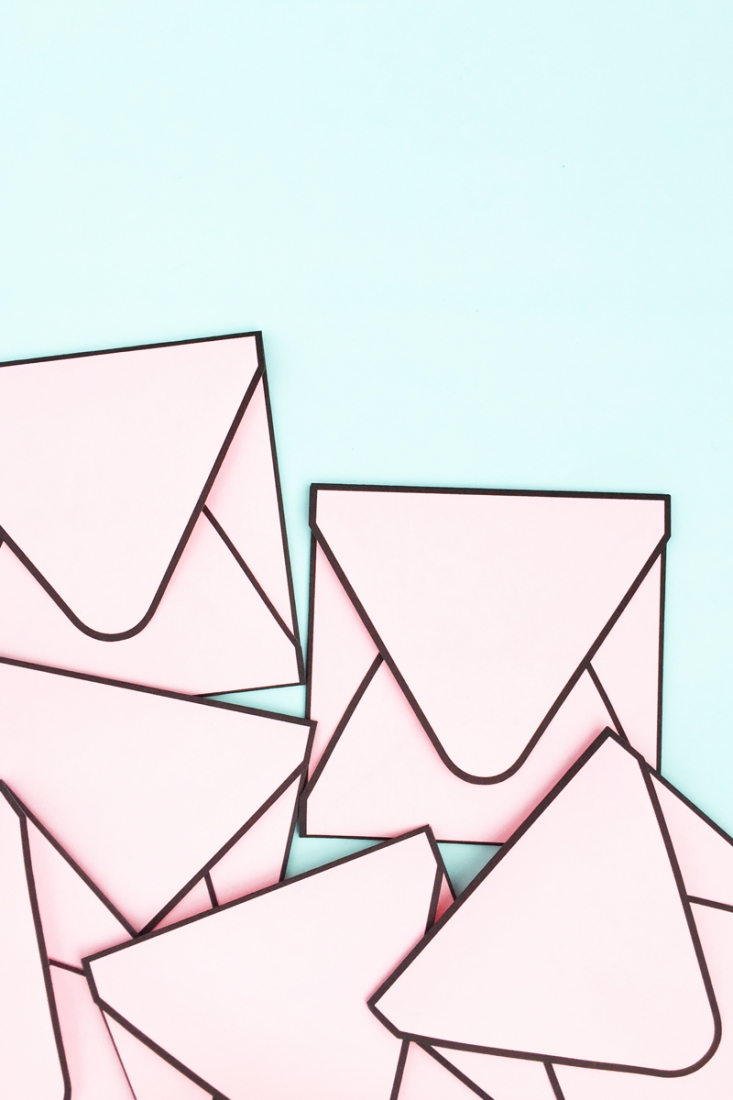
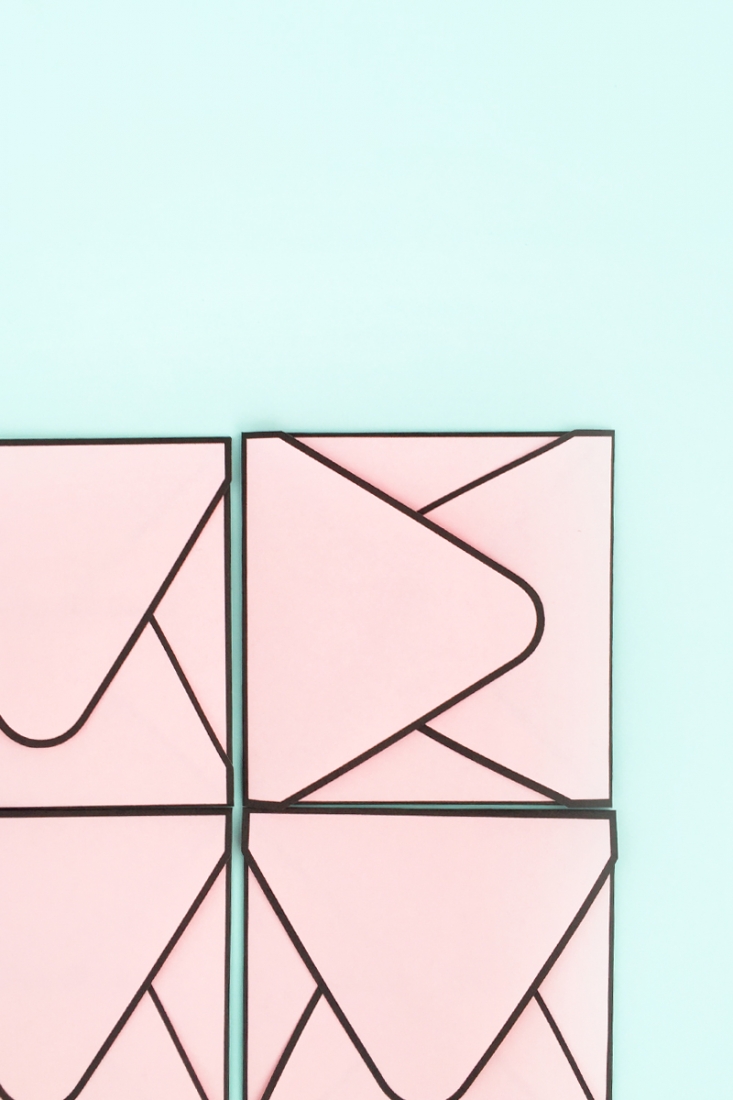
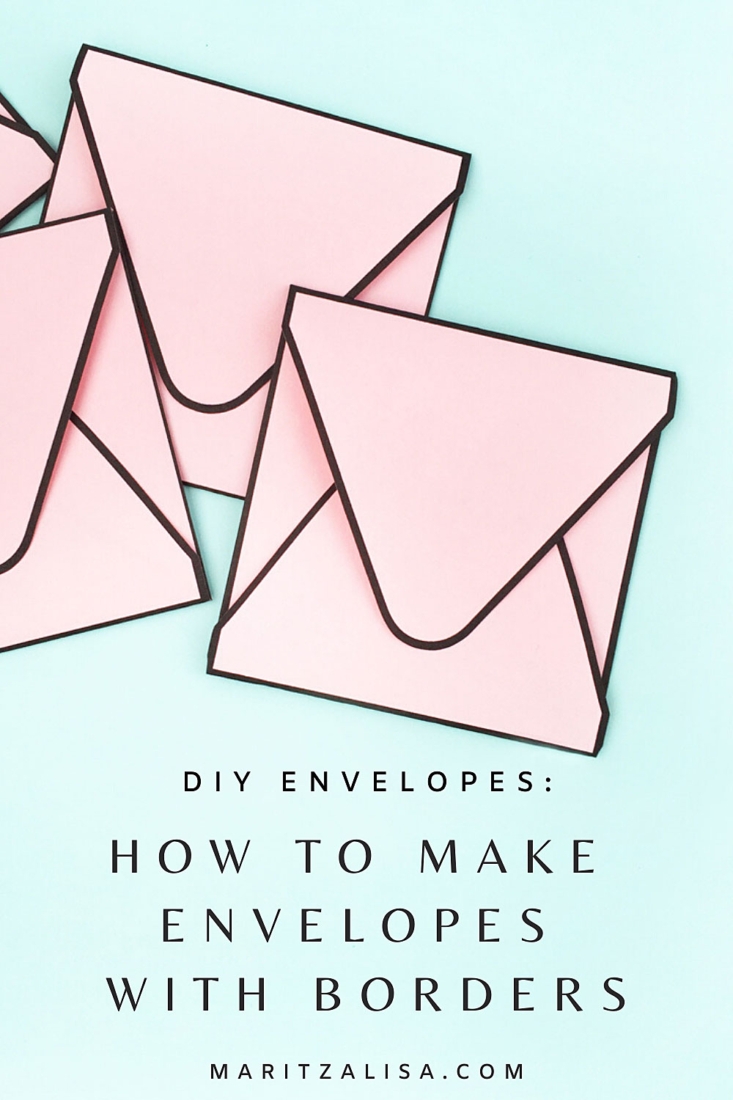
And there you have it! You can resize and use the same square or rectangle to make matching notecards. How cute are these little envelopes?


Looking for some more inspiration? Check out some of my other Silhouette Projects!
5 Comments on DIY Envelopes with Borders
Comments are closed.
Omg I love this idea definitely gonna try this out ☺
Thanks so much, Ariyana! Let me know how it turns out!
I love how the black outline accentuated the envelope! Love it
Thanks, Marwa! So glad you like it!
I love the bold black line. Reminds me of cartoon envelopes. The pretty interior finishes off the envelope perfectly. A masterpiece!