
I can’t believe it’s the middle of the week. It’s also Teacher Appreciation Week here in our neck of the woods. If you plan on making your own teachers’ gifts, why not try these DIY Floral Patterned Notebooks? Read on for the tutorial!
Materials for DIY Floral Patterned Notebooks
- Silhouette Studio (there is a free version)
- Temporary Tattoo Paper
- Wet towel
- Scraper
- Mini Moleskine notebooks
- Printer
- Pencil
- Natural hemp cord
- Hole punch
- Scissors or Craft knife and cutting mat
- Clear sealant or nail varnish
- Vector collection of ink patterns
Instructions
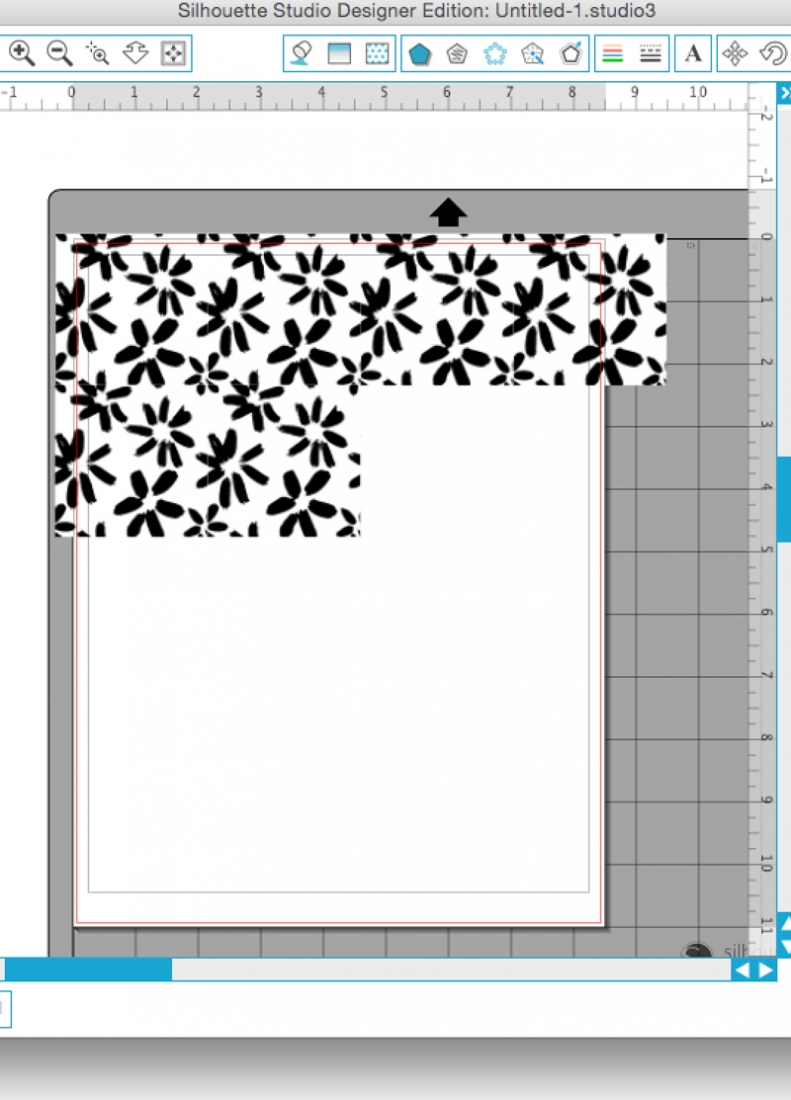
- Open Silhouette Studio and merge your floral pattern from one of these ink patterns
- Cut your pattern into a square and replicate throughout the page
- Mirror your pattern
- Print your pattern onto tattoo paper
- Apply the clear adhesive sheet from the tattoo paper package. Use your scraper to smooth the bubbles out
- Use a pencil to draw an outline of the front cover and cut it out
- Repeat for the back cover
- Remove the clear adhesive paper for each one, and apply the tattoo to the front and back covers of the notebook with a wet towel
- Apply a clear sealant or nail varnish to the notebook to protect the tattooed image
You now have sweet little patterned notebooks that you keep for yourself or give as gifts!







Looking for some more inspiration? Check out my other tattoo paper projects and craft a little longer with me.
3 Comments on DIY Floral Patterned Notebooks
Comments are closed.

Teachers day or not, I definitely would want to have this floral notebook.
They look pretty awesome!
Thanks, Marwa! xoxox