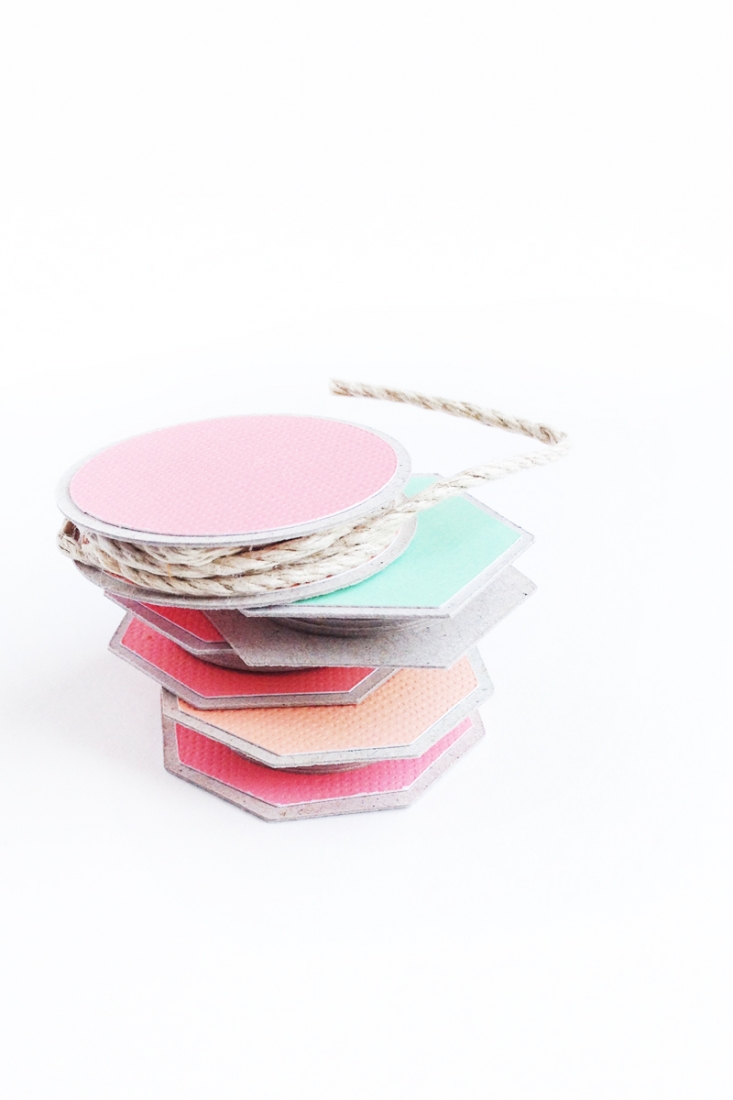
My Canadian peeps: Happy Canada Day! I can’t believe it’s July – I’m starting to hyperventilate … summer … stay, please. For a long time. And…. breathe. Okay, to celebrate all these North American birthdays, how about a little DIY’ing? I thought these geometric spools might be a relatively simple project. The end product will be pretty and handy for all those left over bits of string, thread, twine…yeah? Also great for making craft kits for loved ones – just sayin’.
The What
- Silhouette cutting machine (I used my CAMEO for this one)
- Silhouette Studio
- Cutting mat
- Chipboard
- Cardstock
- Glue
The How
Step 1: Create a new document in Silhouette Studio and use your shape tools to create your spool components. I used the circle, polygon and square for the tops and bottoms (about 1.5″ wide), and smaller circles (10 per spool) for the middles
Step 2: Cut the shapes you created using Chipboard (remember to adjust your blade and cut settings)
Step 3: Glue about 10 of the small circles together 
Step 4: To add a bit of decoration and color, I cut smaller versions (using the internal offset tool) of the tops and bottoms (from Step 1) in pastel colored cardstock 
Step 6: Add your string/ribbon/twine… (you get my drift), and you’re set to be prettily organized! 
Looking for some more inspiration? Take a look at my other Silhouette projects.
9 Comments on DIY Geometric Spools
Comments are closed.


I just wanted to let you know that I linked you here as part of a “Best of paper craft”: http://nur-noch.blogspot.de/2014/09/best-of-paper-craft.html
I hope that is okay 🙂
Best wishes, Ronja Lotte
(www.nur-noch.blogspot.de)
Thank you, Ronja!
Cute idea! I love the colorful spools!
Thanks, Onel! Love your blog!
These spools are awesome! Thanks for sharing, love your blog:)
Thanks, Jinny!!
oooooh… and I love your blog too!!