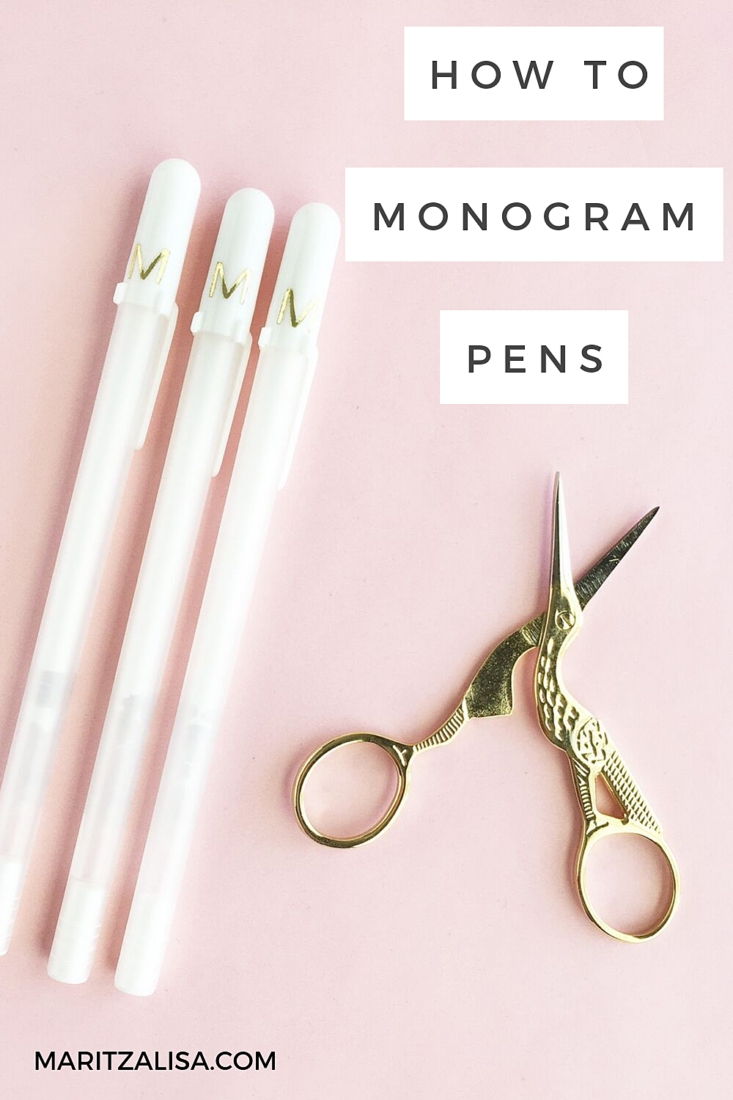
I could not resist another gold tattoo paper tutorial. These DIY Gold Monogrammed Pens are the perfect gift for a student or for yourself. And it is so very easy to make with your Silhouette cutting machine. Read on for the tutorial on how to monogram a pen!
DIY Gold Monogrammed Pens – Materials
- Silhouette Studio (there is a free version – I used v3)
- Silhouette cutting machine ( I used the CAMEO 3)
- Silhouette Temporary Tattoo Paper (gold)
- Wet towel
- Clear sealant
- Pens (I used these Sakura Gelly Roll Gel Pens – White Ink)
*This post contains affiliate links for products that I use and love!
DIY Gold Monogrammed Pens – Instructions
- Open Silhouette Studio and use the text tool to type your letters on the cutting area (I used Helvetica with each letter being .4 in)
- Mirror your design so that the image is reversed
- Load your gold sheet into your Silhouette cutting machine (metallic color side up)
- Send your design to cut using Temporary Tattoo Paper settings (I lowered my speed to 1 given the size)
- Once cut, remove the clear adhesive paper and apply the tattoo face down onto your pen
- Optional: apply a clear sealant or nail varnish to protect the tattooed image (this will help make the tattoo last longer)
Easy, right? Now tell me in the comments below – are you keeping them or giving them as gifts?



Looking for some more fun and crafty inspiration? Check out my other tattoo paper projects and craft a little longer with me!
