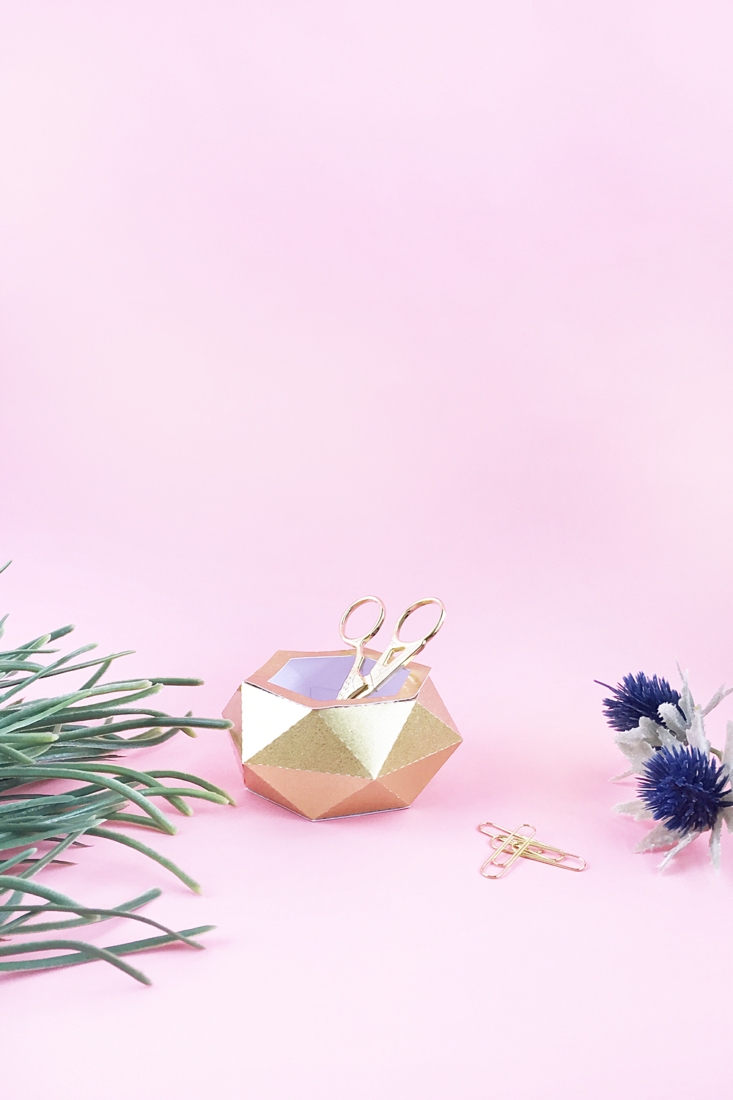
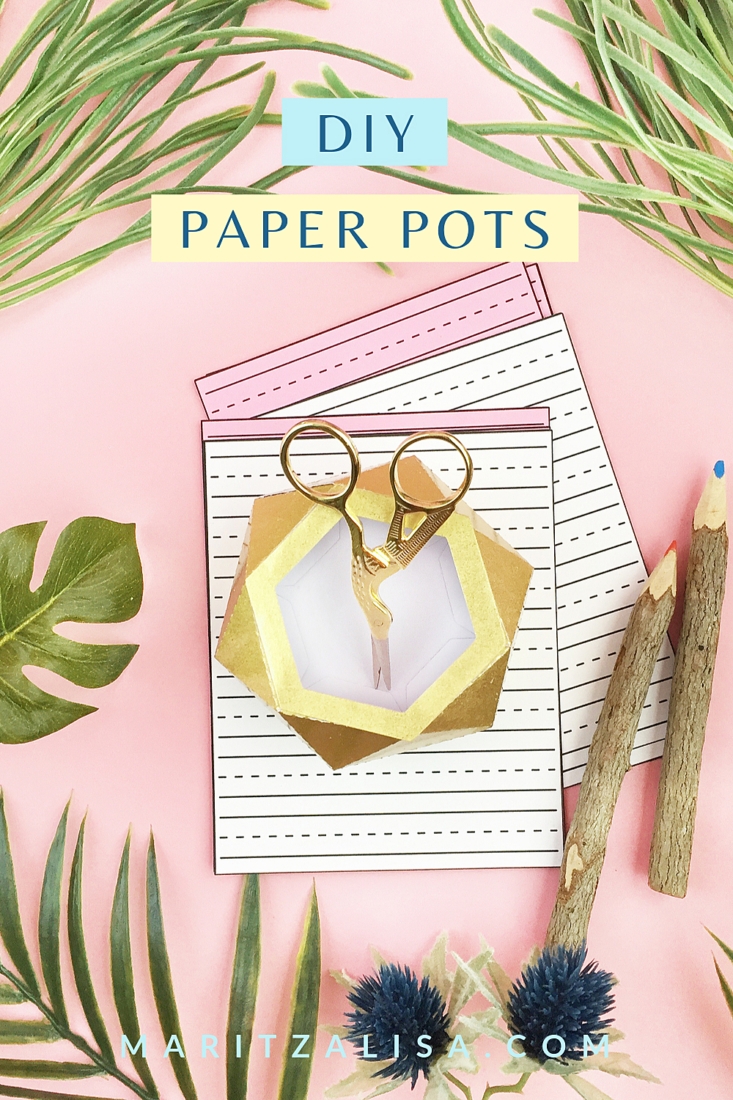
I’ve got a Silhouette CAMEO and paper crafts tutorial for you to try. These DIY Gold Paper Pots will be pretty shiny gems on your desk. They are perfect for storing your stationery or school supplies. Use your cutting machine to cut the shape then fold and glue to make the geometric pot. Read on for the step-by-step how-to!
*This post contains affiliate links for products that I use and love!
What You Need To Make DIY Gold Paper Pots
- Silhouette Studio (there is a free version available for you to download!)
- Silhouette cutting machine (I used the CAMEO 3)
- I used the planter from this geometric vase design from the Silhouette Design Store
- Gold cardstock
- Glue
- Scissors if you do not have a machine and are cutting by hand
What You Need To Know About The Materials
Silhouette Studio
Silhouette Studio is the software that you can use to create and modify designs and send to a Silhouette machine to cut, draw, etc.. There is the free basic version that you can download and use right away. There are paid versions with more advanced features. I love this software because you can even use it without the Silhouette machine to make your own designs or modify some of the designs from the Silhouette Design Store.
Silhouette CAMEO
The Cameo is a desktop cutting machine that lets you make precision cuts in vinyl, cardstock, fabric, and so much more. I own and use the CAMEO 3, but the newest version is now available with even more fun features. One of my favorite features is the Print and Cut feature, which is an automatic feature that cuts out your designs by reading registration marks on your design printout. This convenient feature is fast and perfect for projects that have a high volume of cutting.
How To Make DIY Gold Paper Pots
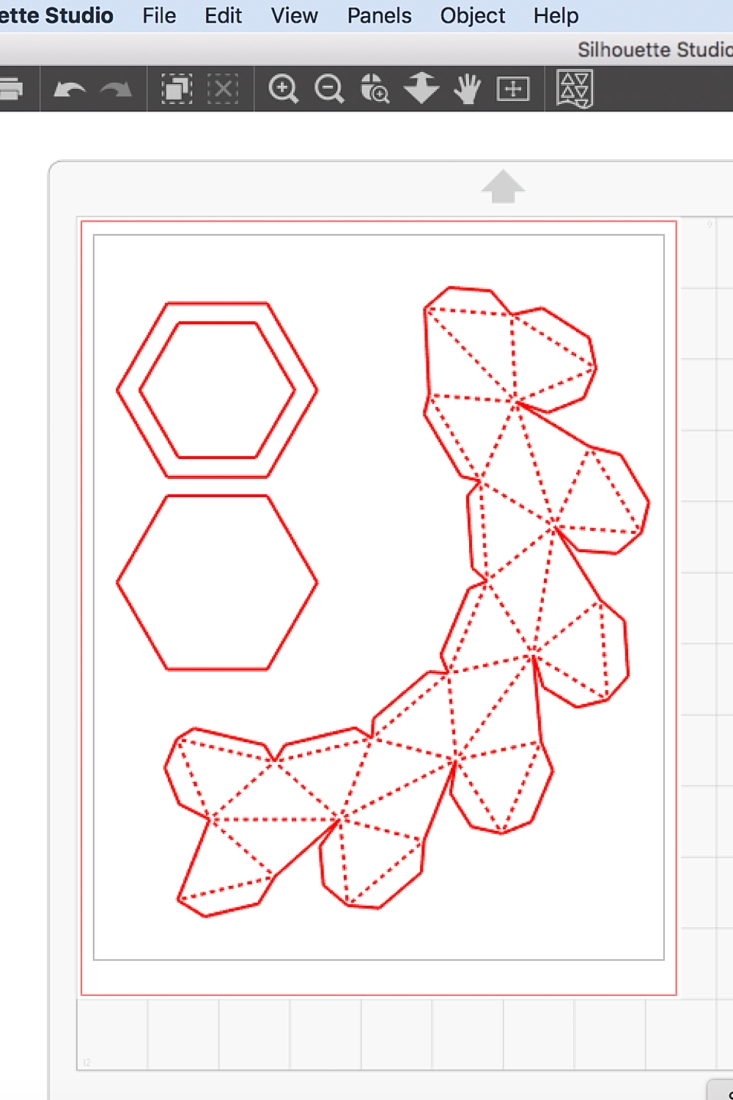
Get Your Paper Pot Design Ready In Silhouette Studio
- Download and open your geometric vase design in Silhouette Studio
- Place the design in the print/cut area
- Adjust the size if you need your pot smaller or bigger than the original design
Load And Cut Your Paper Pot Design
- Now load your gold cardstock on to your cutting machine
- Send your geometric vase design to cut using cardstock settings. I usually lower the cut speed to make sure the cut is perfect
Assemble Your Geometric Gold Paper Pot
- Remove your cut paper pot from the mat
- Fold along the dashed lines
- Glue the tabs to create the geometric shape
- Glue the top and bottom pieces to the geometric shape
If you don’t have your silhouette cutting machine yet, no problem! You can use the free Silhouette Studio version software, then send to your printer and cut them out by hand. Remember to make the lines thicker so that you can see where to cut and fold.
And that’s it! You can now fill your pot with faux greenery, stationery bits and pieces or whatever your heart desires! I can’t wait to hear how your project went. Let me know how you will be using your pretty gold pot in the comments below.
Looking for some more crafty inspiration? Take a look at some of my Home Decor DIY Projects, and craft a little longer with me!


