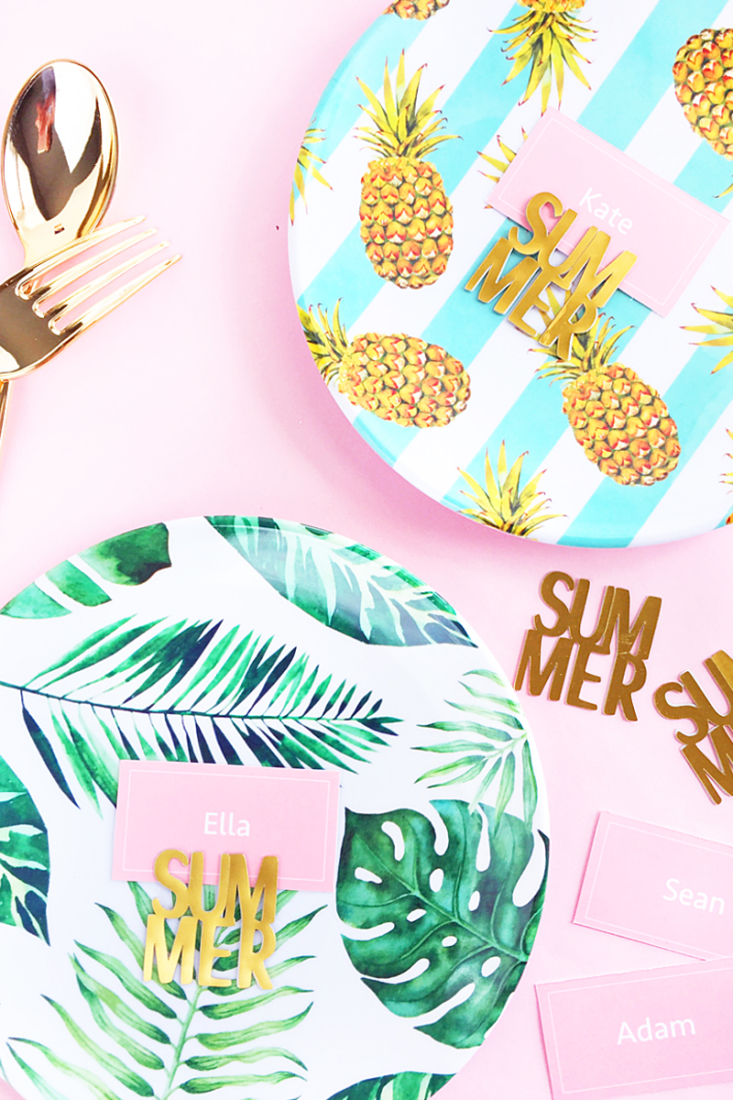
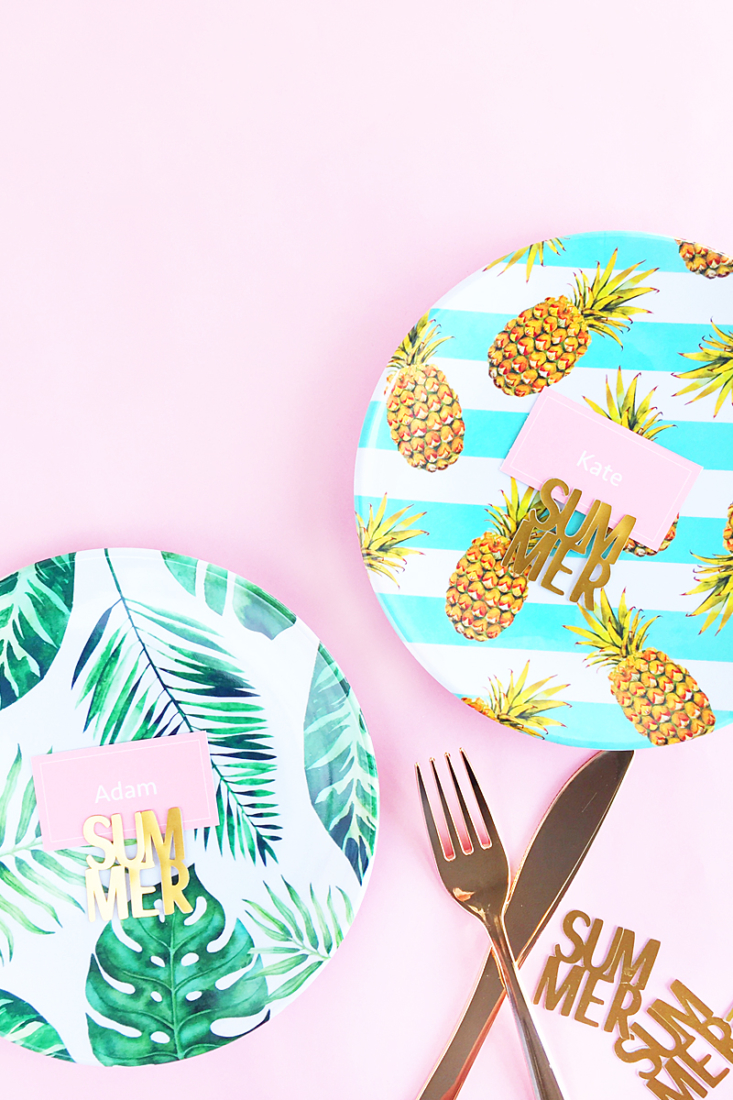
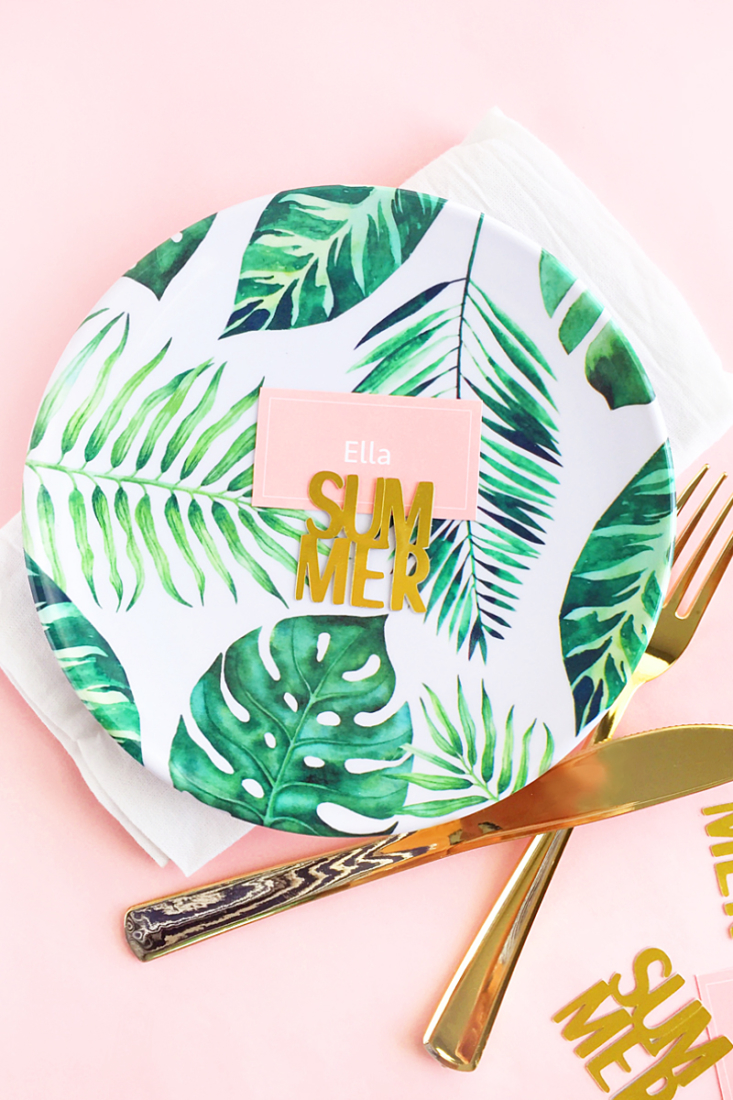
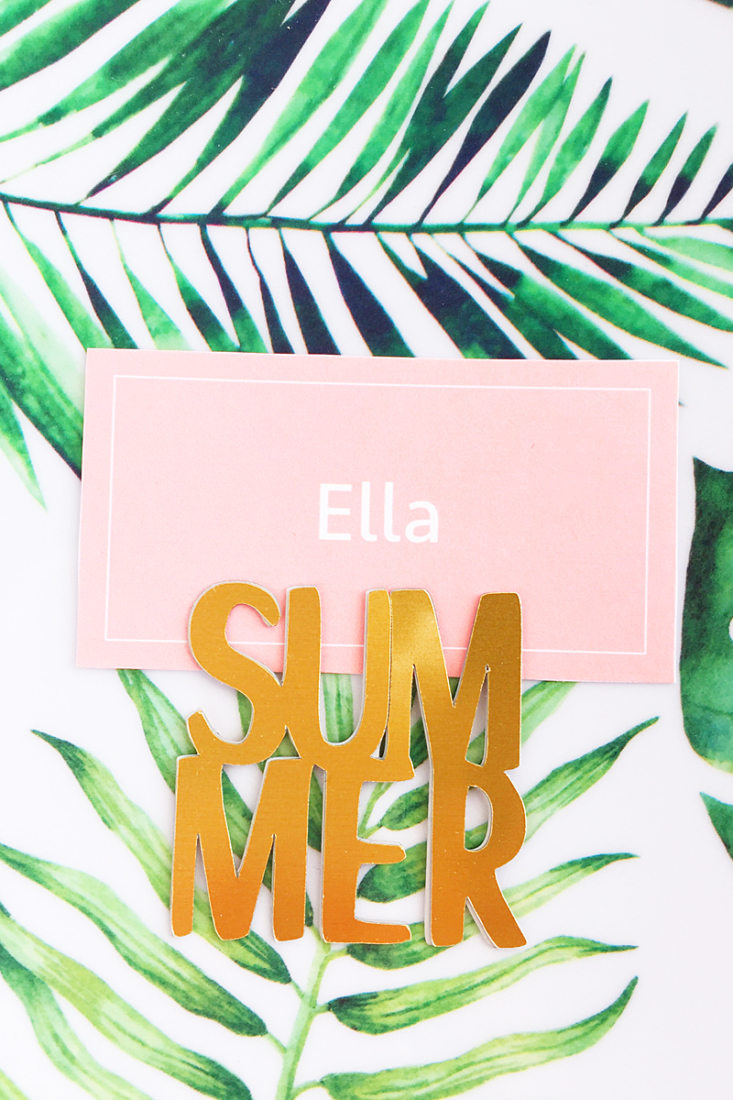
Summer, oh how I love thee. I honestly can’t get enough of this season and all that you can do with it. So, to honor my favorite season I made these cute DIY Gold Summer Place Card Holders. Won’t these little gems shine prettily at your next summer gathering? Read on to make your own!
What You Need: DIY Gold Summer Place Card Holders
- Silhouette Studio (there is a free version!)
- Silhouette cutting machine
- Printable Gold Foil
- Glue
- Use your favorite font or use this free shape – this week only
*This post contains affiliate links for products that I use and love!
How To Make: Gold Place Card Holders
- In Silhouette Studio, select your font or download and open the free shape (link above)
- If you are using your own font, type out “summer” – ungroup your letters so that you can move each letter
- If you are using the shape above, ungroup the shape and use the “summer” letters only
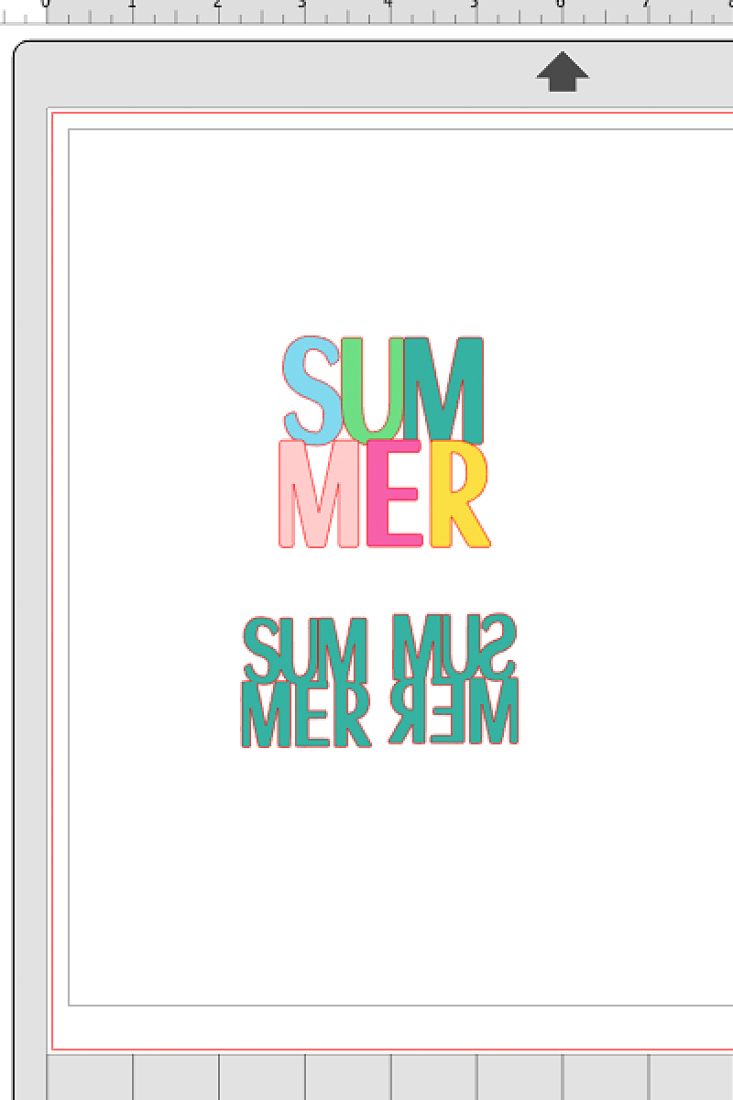
- Move your letters close together so that some of them overlap and then weld so that you have one connected shape
- Resize your shape and mirror a copy (mine were 1.5 in tall)
- Replicate both copies throughout the page
- Load your printable gold foil onto your Silhouette cutting machine and send to cut using printable foil settings
- Adhere each pair of shapes (the “summer” shape and its mirror image) to each other so that you have a double-sided “summer” shape
- Repeat as needed
- To complete the place card holder, glue 2 sets of double sided summer shapes together leaving the top unglued. This is where you will slide your place card
- Repeat for as many place cards you need
And that’s it! All you need to do is throw a party! I can’t wait to hear how yours turned out – tell me in the comments below!
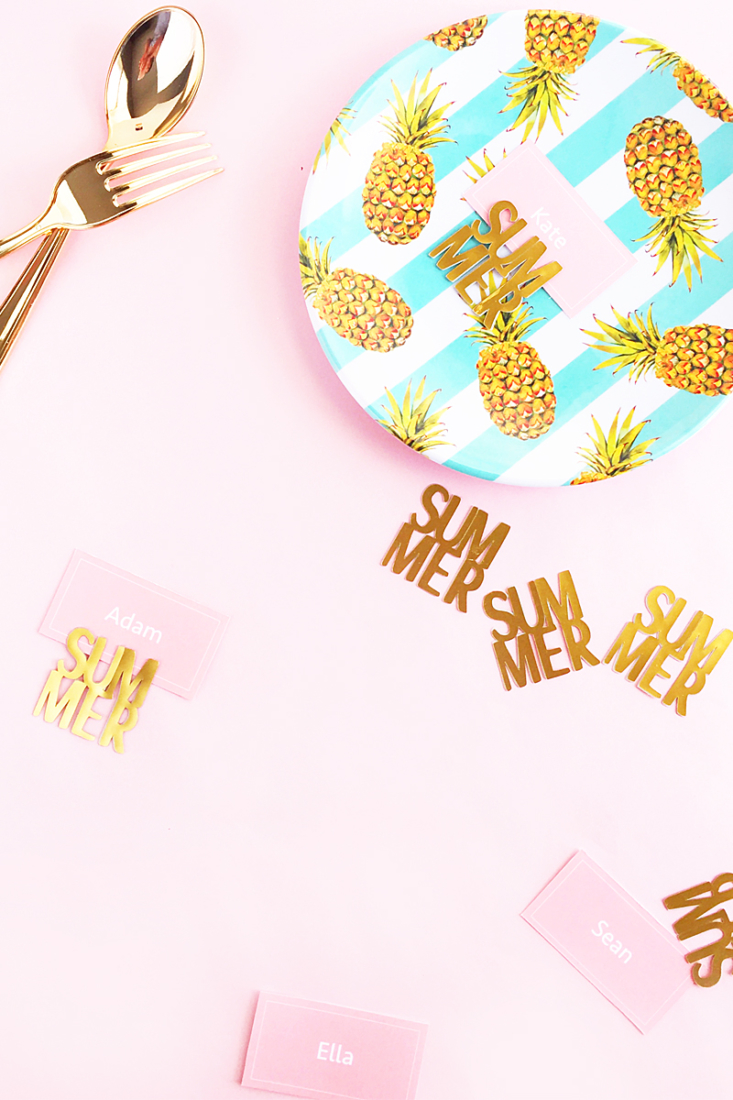
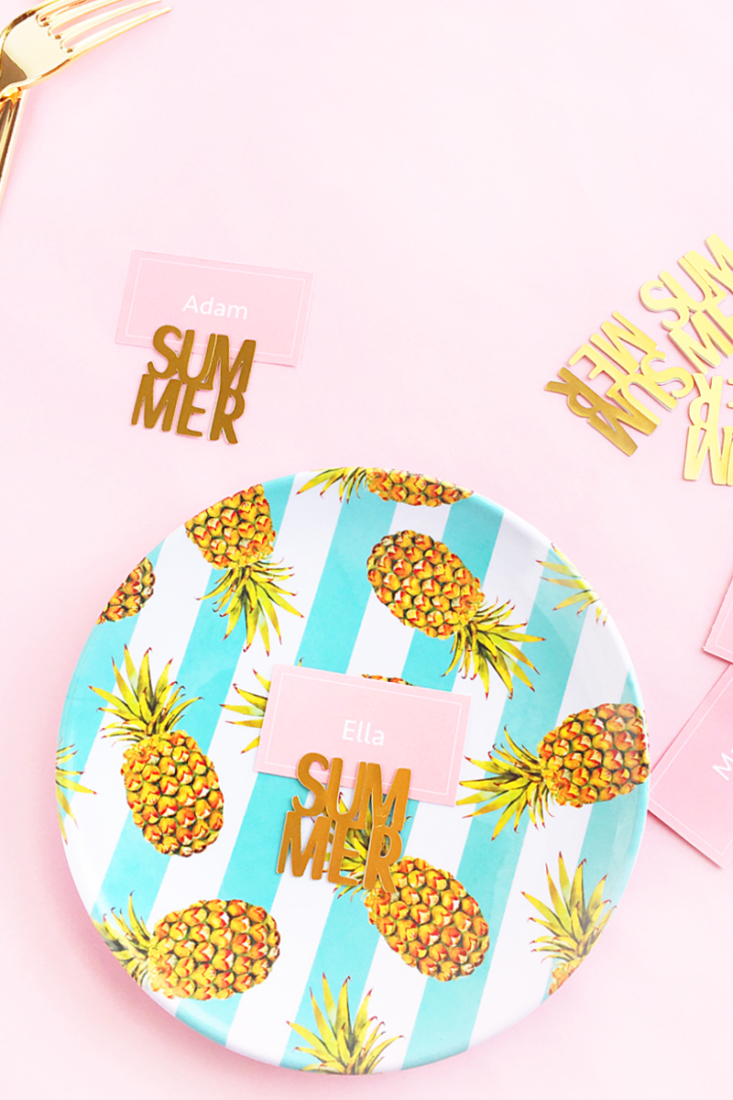
Looking for some more inspiration? Take a look at my other Home Decor DIY projects!
1 Comment on DIY Gold Summer Place Card Holders
Comments are closed.
Stunning neat. Great place card holders making DIY tutorial.