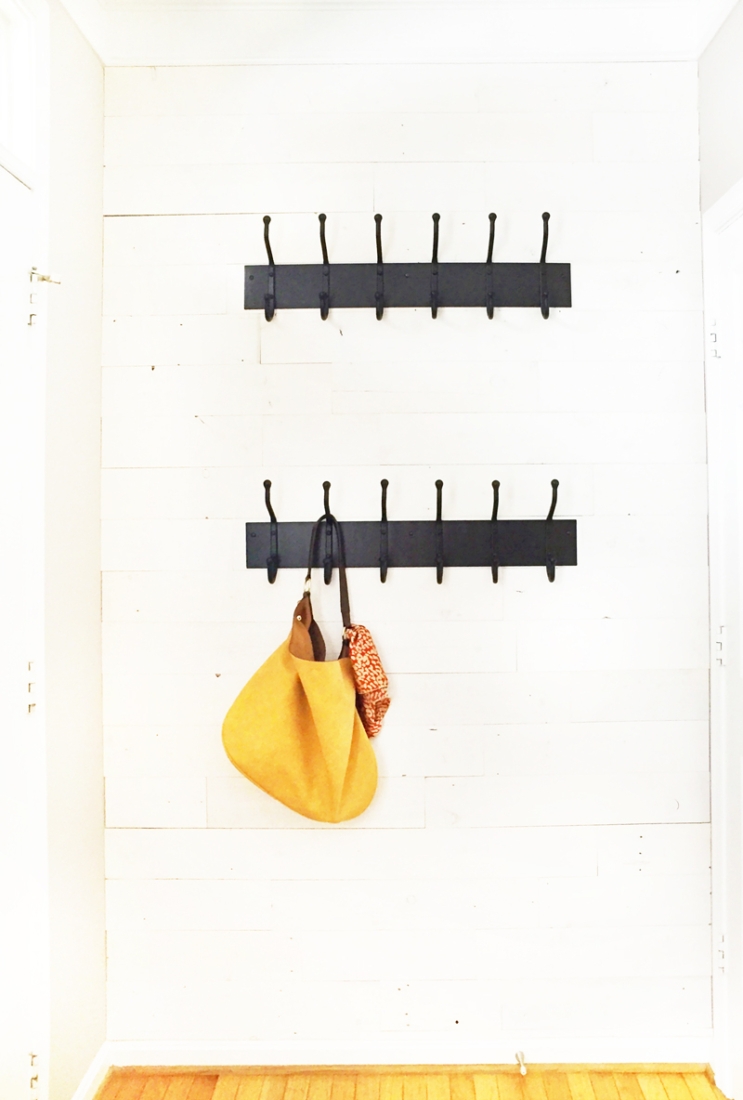
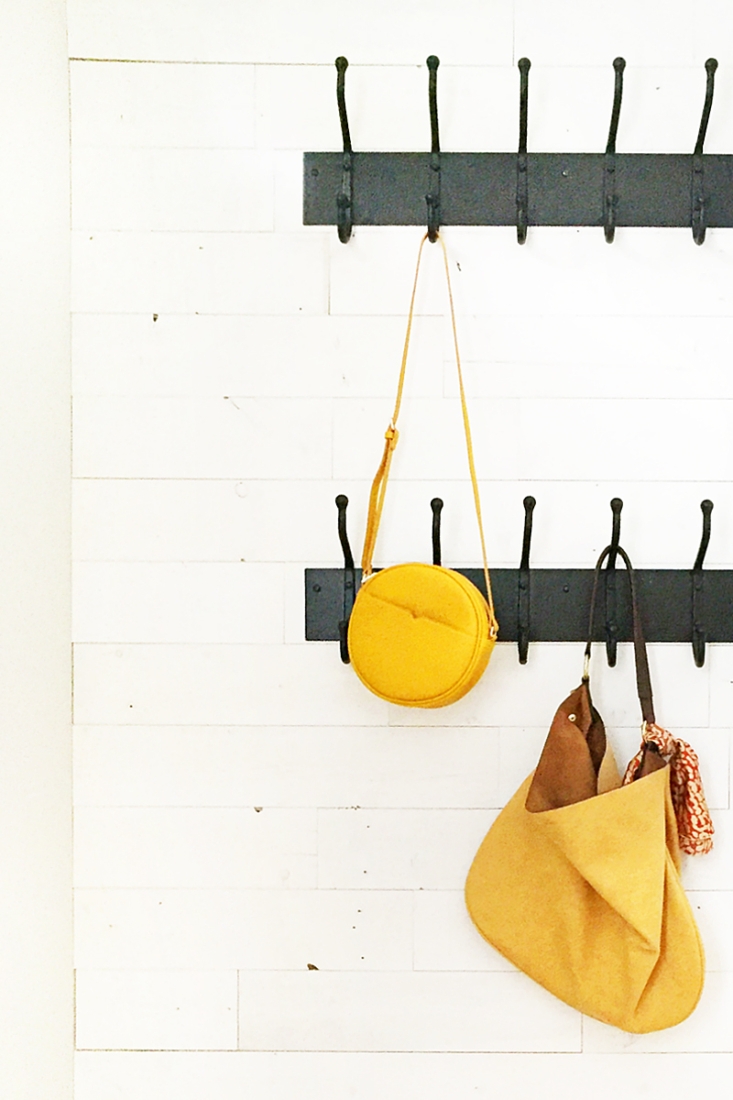
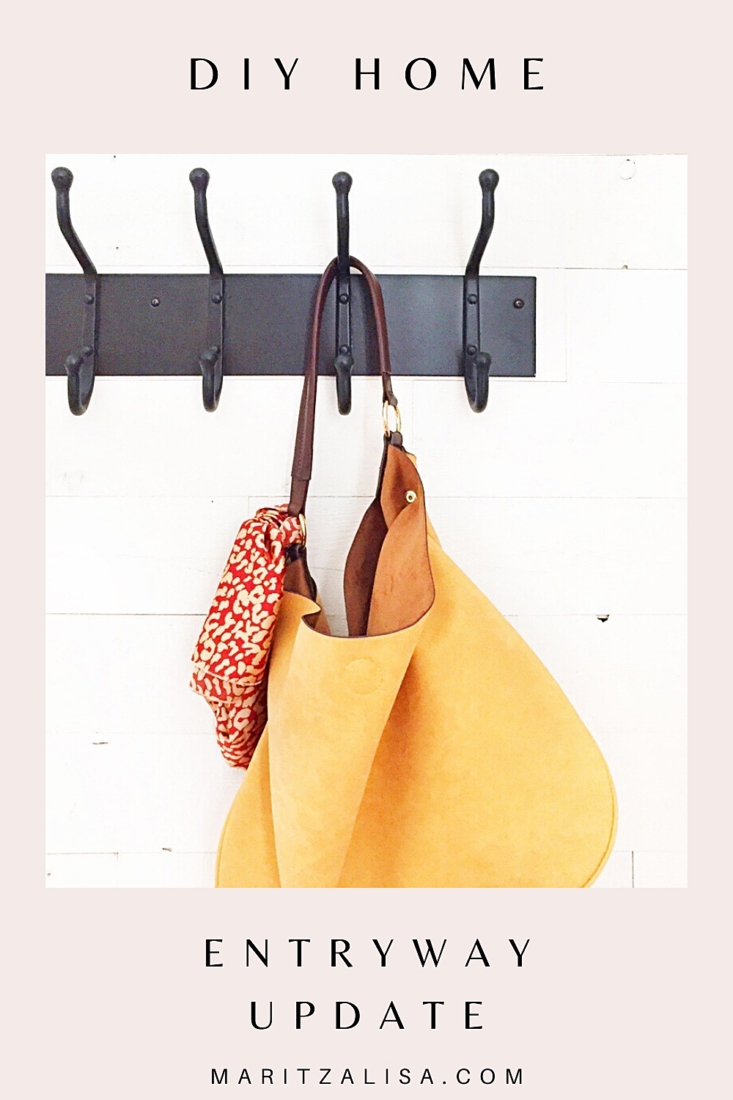
I’m pretty excited to share this DIY Home – Entry Wall Update with you. Full disclosure – my husband did all the manual labor and I did the styling and photography. We wanted to refresh our entryway and heard about this amazing product called Stikwood (this is not a sponsored or affiliate post). Have you heard of it? It’s basically a peel and stick wood product that you can use in your home. Read on to see how we used it to update our little entry!
DIY Home – Entry Wall Update – What You Need
- Stikwood
- Level
- Saw (we have a Miter Saw)
- Tape Measure
- Pencil
- Wall hooks
- Drill
- Screws
DIY Home – Entry Wall Update – Instructions
Before we ordered our Stikwood, we measured the wall for the square footage then ordered the appropriate amount of product
- Once we received our Stikwood, we took the pieces out of the package so that the product acclimated to the environment for about 48 hours
- We cleaned the wall’s surface
- We used our pencil to mark the Stikwood on where to cut
- Then we cut our Stikwood with a saw
- We started at the top left corner of our wall
- Before sticking, we made sure our starting point was level
- We peeled the backing from our first piece then applied it to the wall
- We continued to install each plank working off of our level
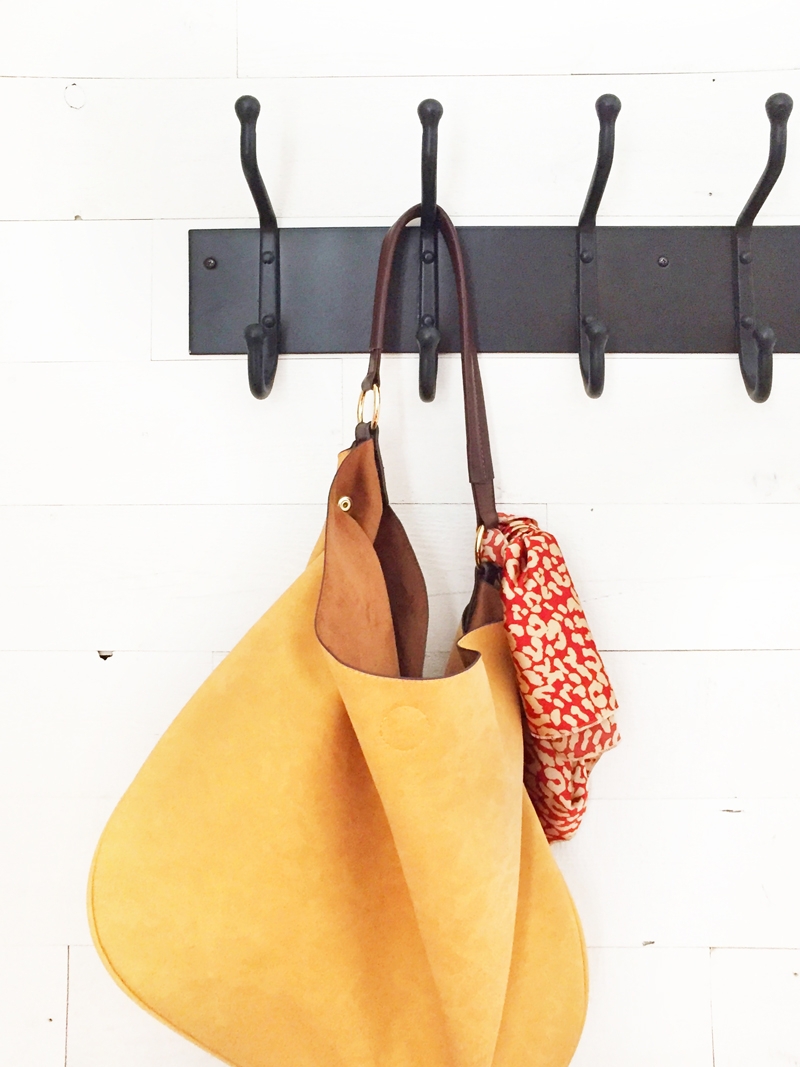
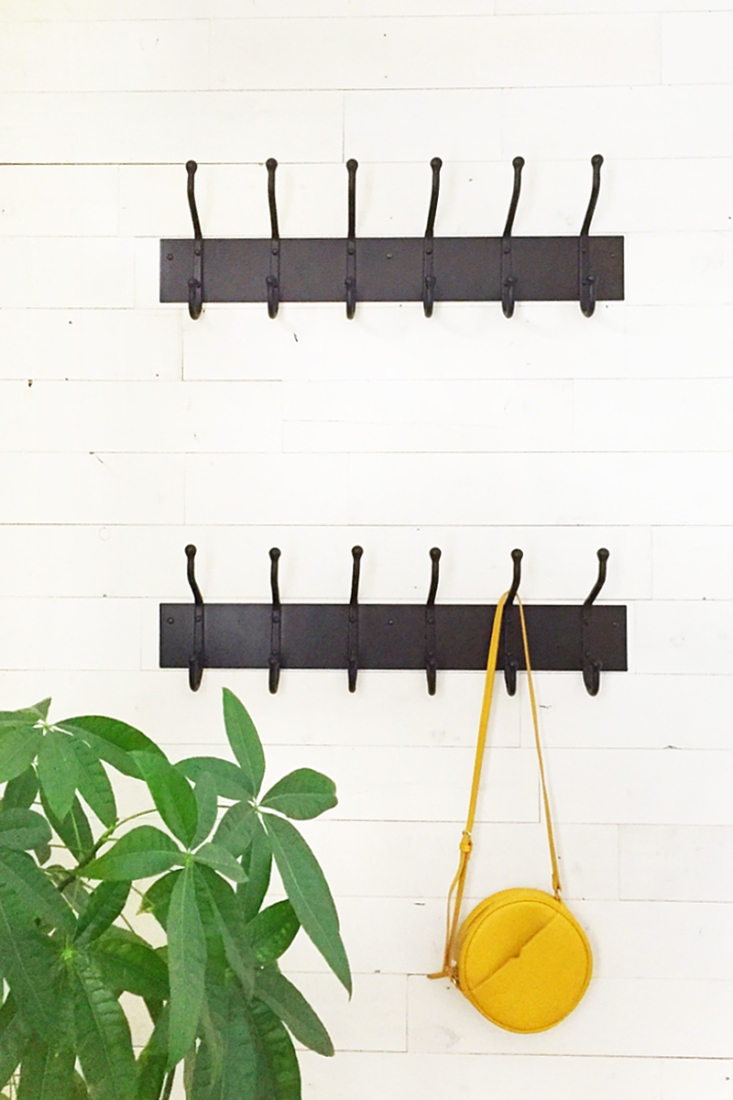
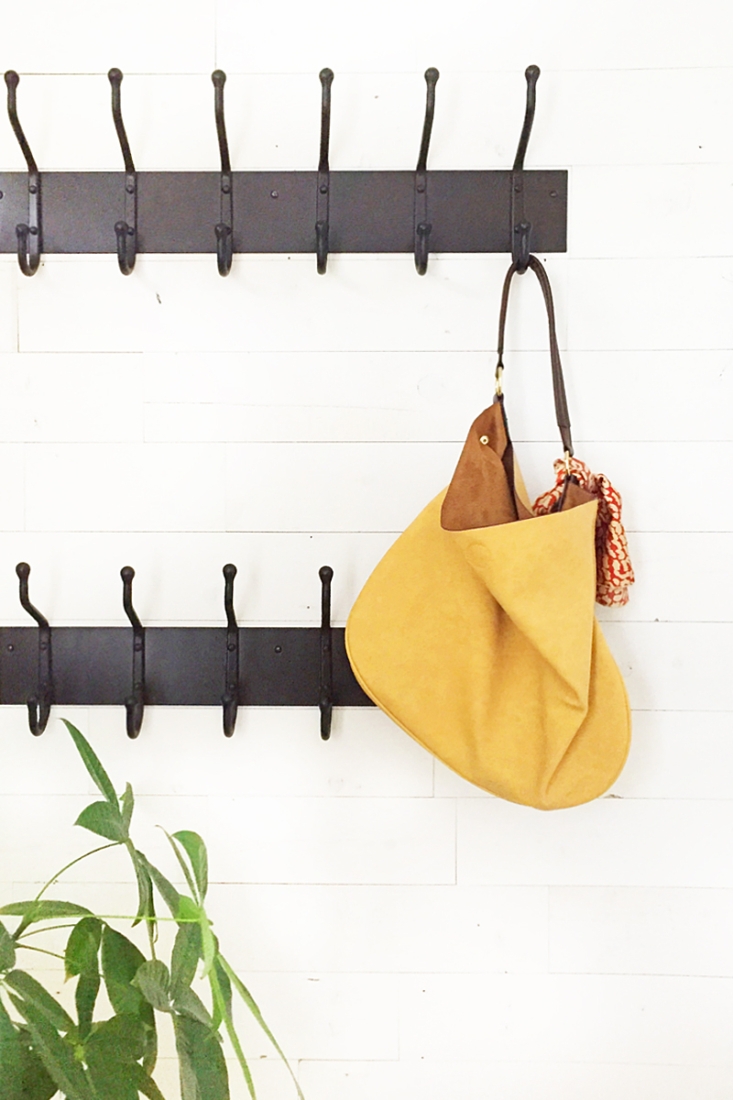
Once the wall was completed, we installed our wall hooks:
- We used our pencil and level to mark the placement of the wall hooks
- We then installed our wall hooks using a drill and screws
The Stikwood website is full of helpful tutorials and resources. I would highly recommend ordering a sample – inexpensive and worth it to see the color options. We are so happy with the way it turned out. Is this something you will try?
Looking for some more inspiration? Check out my other Home DIY projects and craft a little longer with me!
2 Comments on DIY Home – Entry Wall Update
Comments are closed.

What color Stikwood did you use? This looks AMAZING!!
Thanks so much, Alicia! We used Hampton’s xoxox