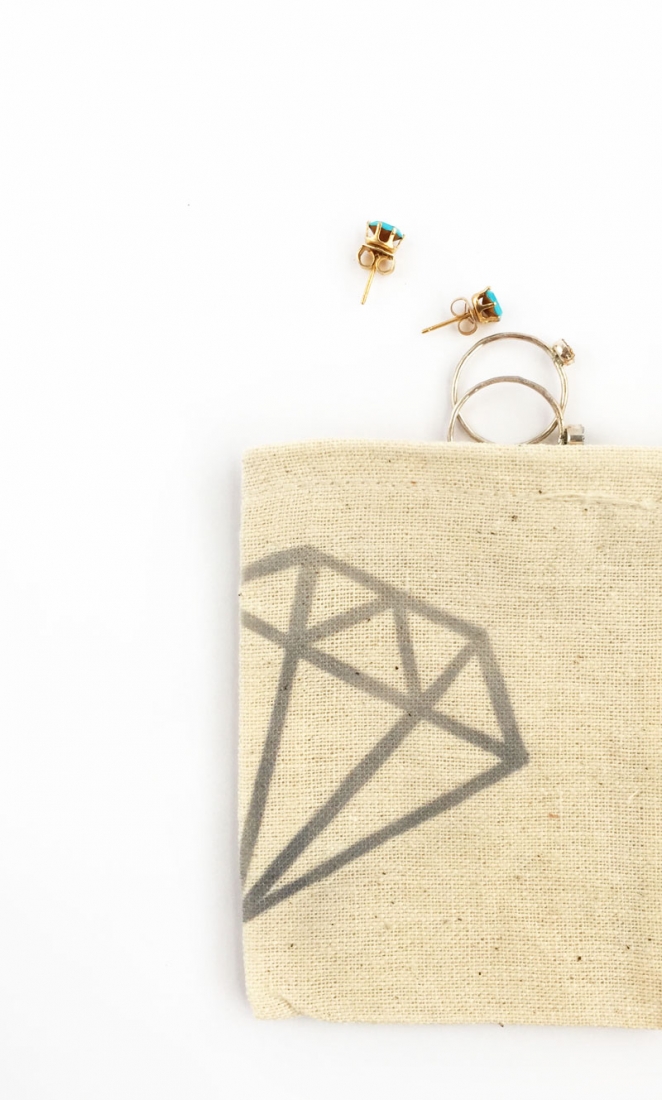
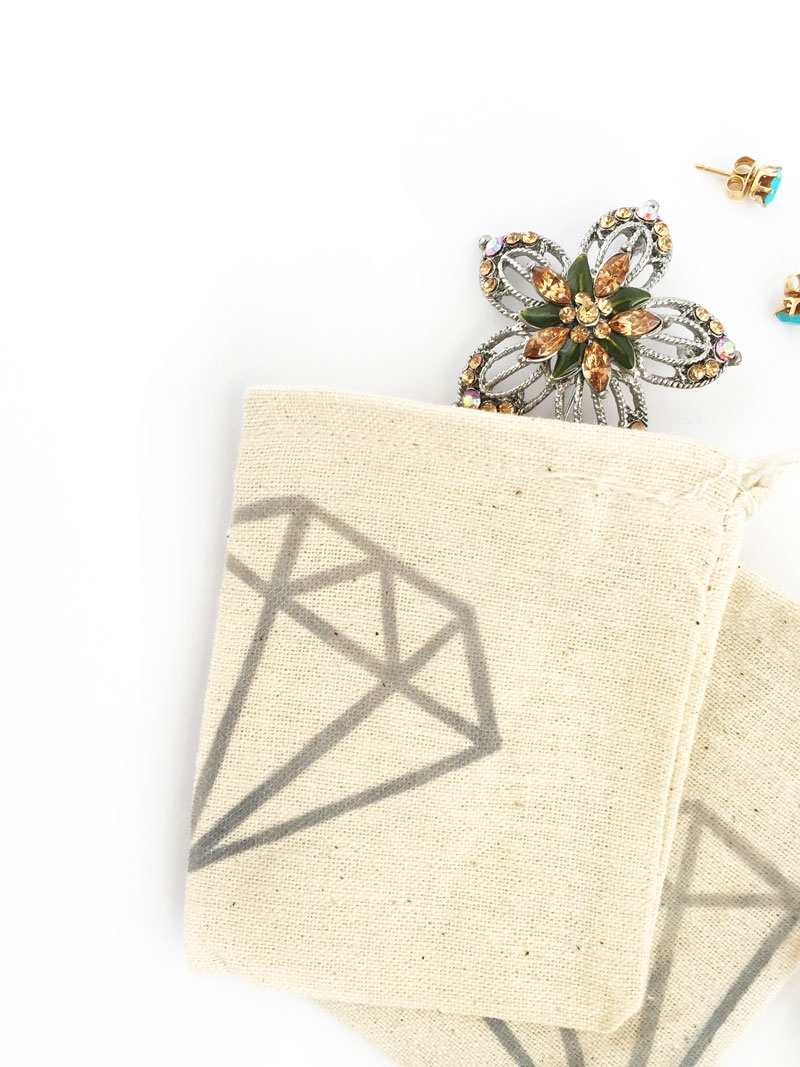
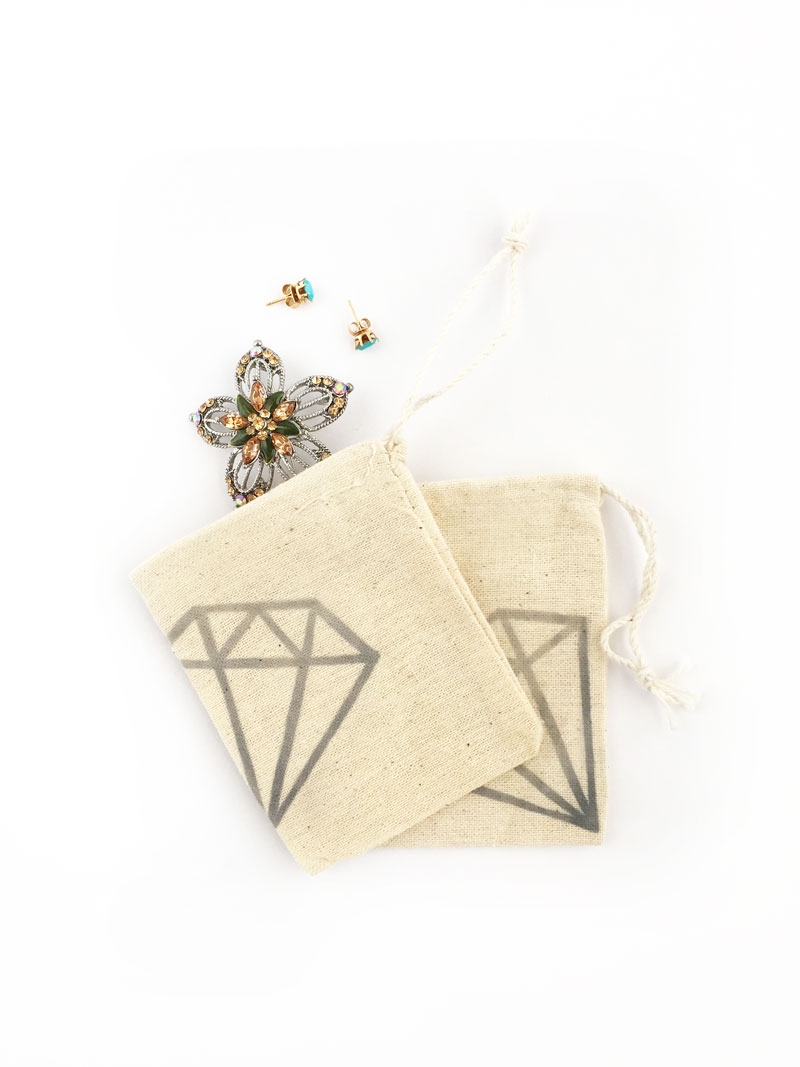
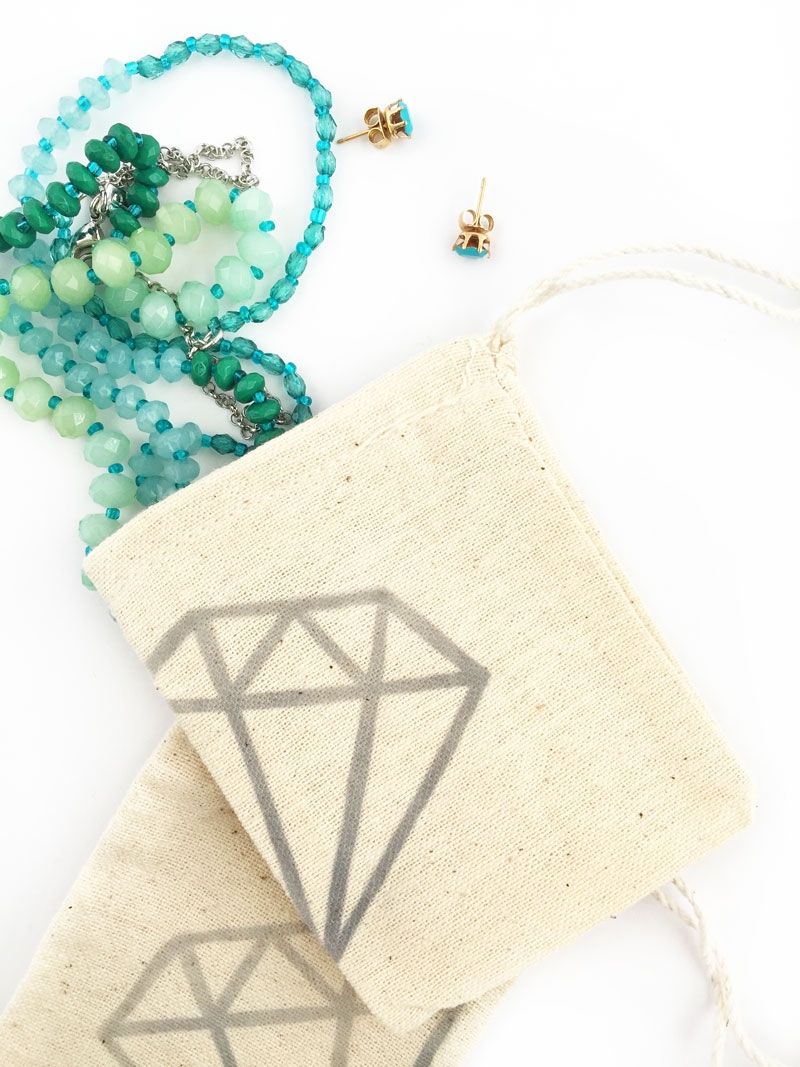
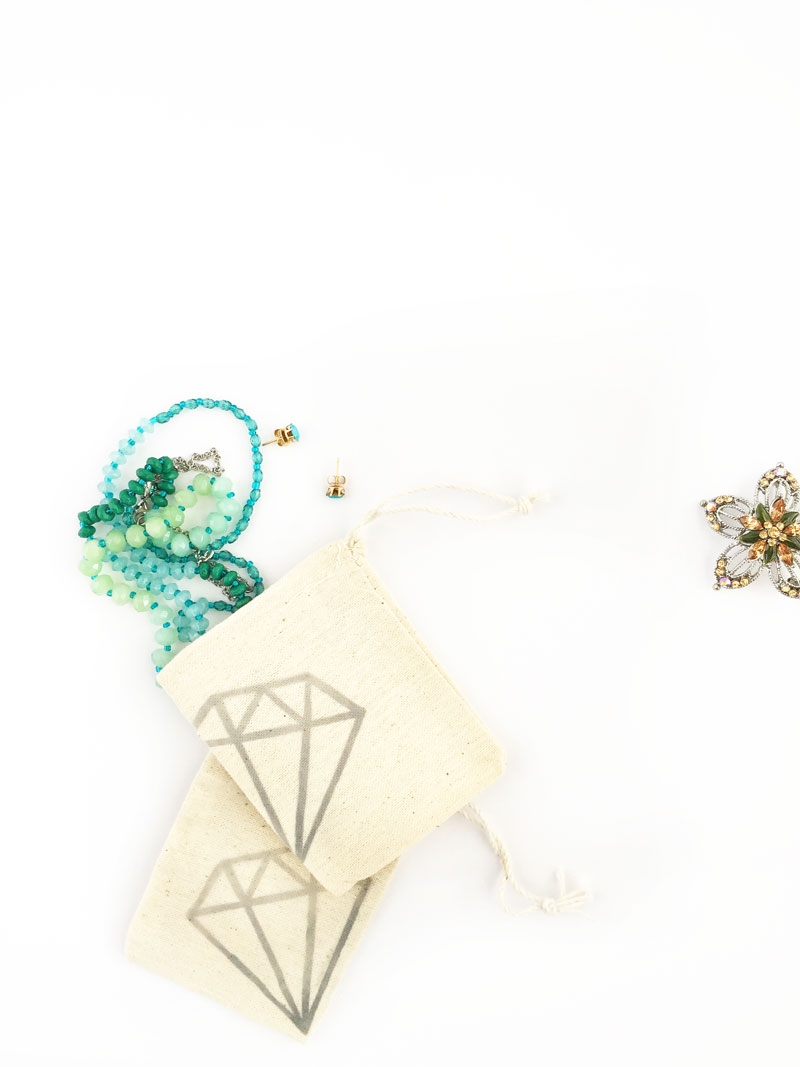
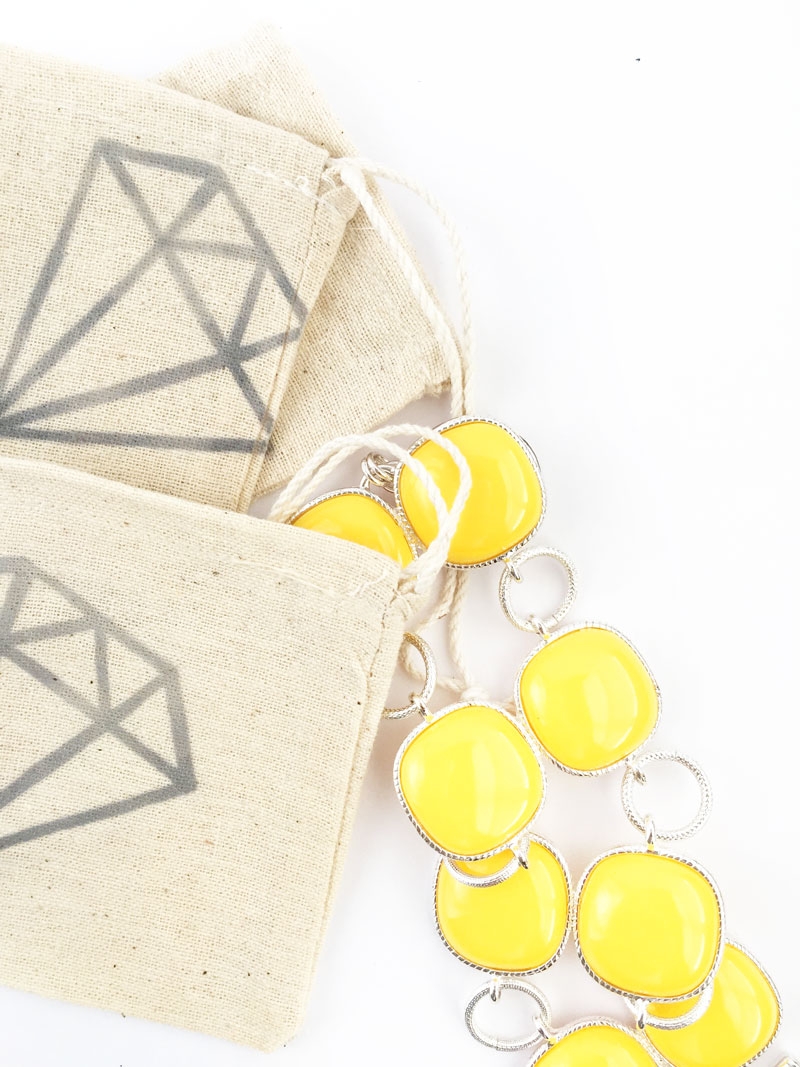
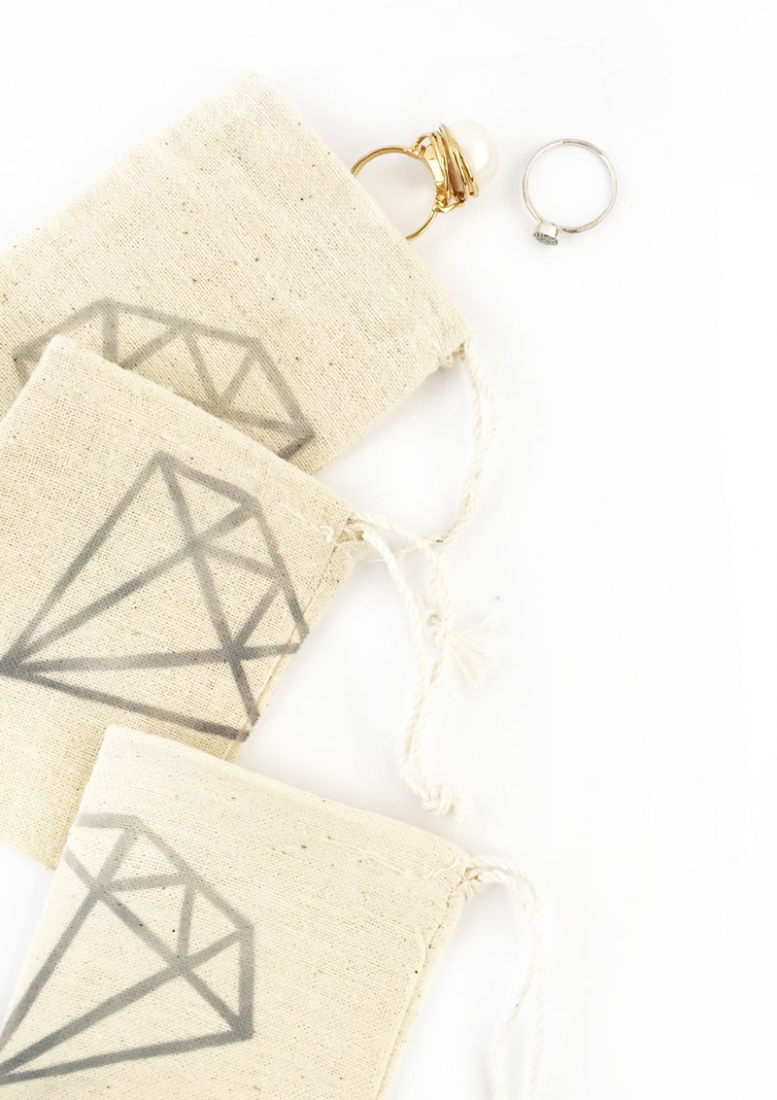
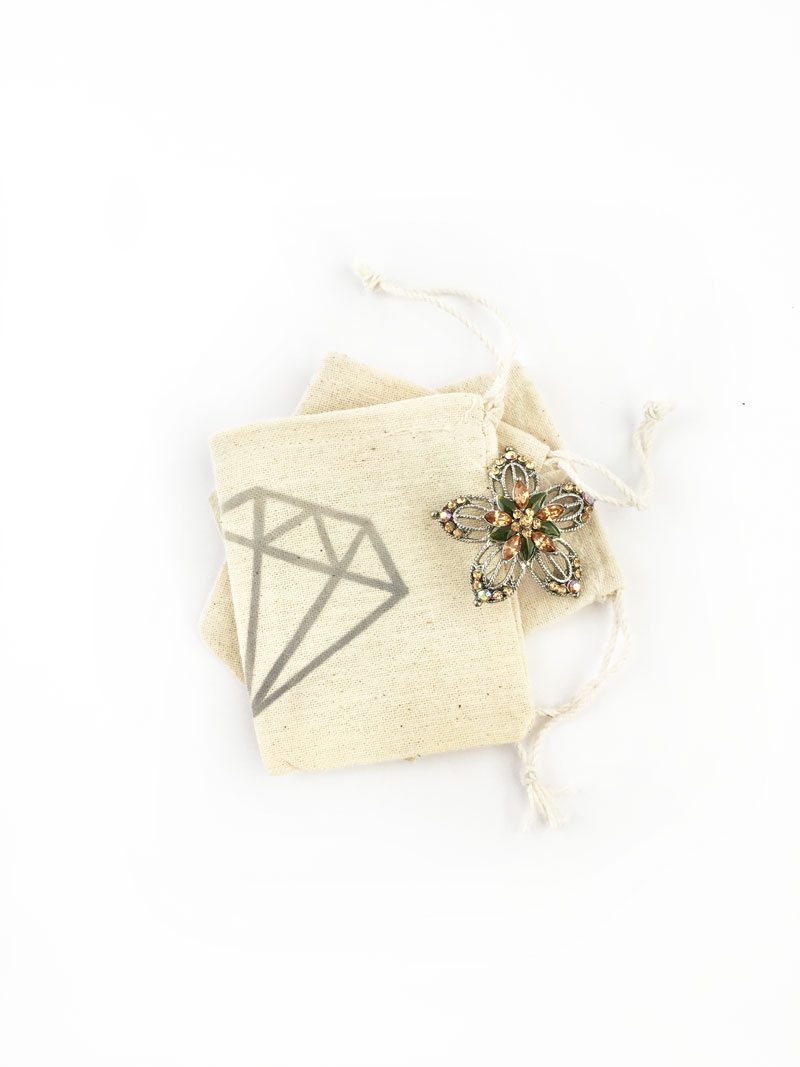
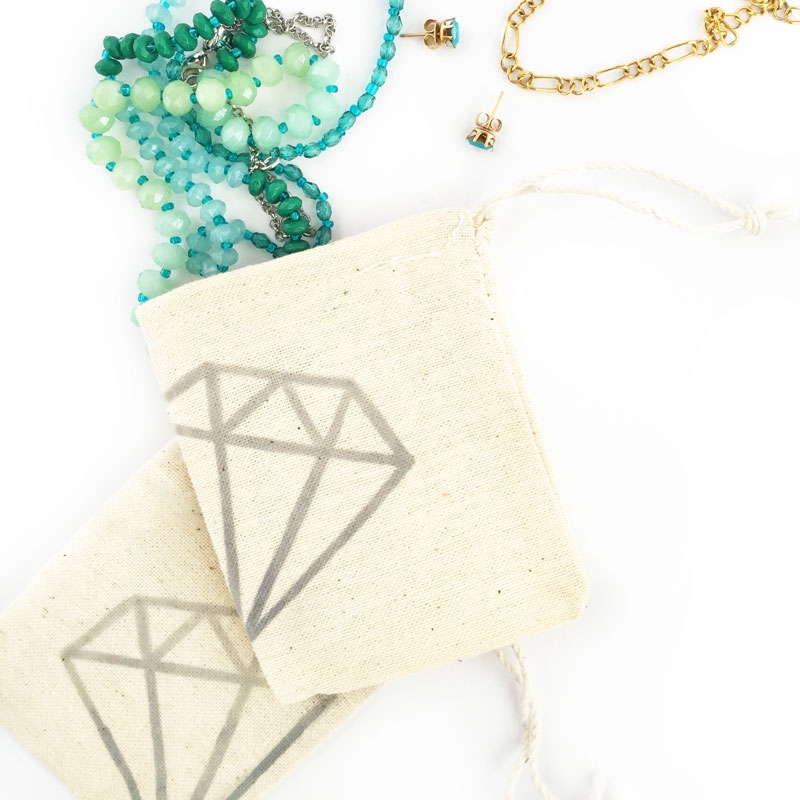
Traveling is such fun. I’ve been living vicariously through friends as they jet set to different parts of the world like Barcelona and Tuscany. I love hearing about it all. While the kids are young (read: now) we’re doing smaller, more local trips. We’re still pretty new to the US, so exploring this amazing country is pretty awesome. Building memories – that’s what it’s all about, right? Whether traveling near or far, I like to take a little sparkle with me. A pretty piece of jewelry with a summer dress, and a cute pair of flip-flops. Works perfectly from amusement park or museum in the day all the way to dinner at night. That being said, we need something cute to hold our pretty baubles, non? Cue in this DIY jewelry travel pouch. I first read about the Iron-On Transfer Pen from Rachel of The Crafted Life. Check out the lovely tote she made. I seriously clicked the link and purchased the pen right there and then. Are you kidding me? A pen? To transfer images and text?! Squeee! Thank you, Rachel!! If you haven’t read her tutorial, see below for the deets…
The What
- Printer
- Printer Paper
- Iron-on Transfer Pen (I got mine on Amazon)
- Diamond image or jewel. If you do not have one, I have a PDF for you right here (from my 3d Jewel Post)
- Muslin bags (3×4 in)
- Iron
The How
- Create or source your image. Mirror it so that it comes out right when ironed on. Since my diamond image is symmetrical, you do not have to mirror it. The trick here is to print it in a different color from the pen you are using so that you can see where you color/trace
- Print your image
- Place your printed image face down and iron (hot and dry) for 1-3 minutes (avoid shifting the paper)
- Remove the paper to reveal your transferred image/text
Now that you have your new jeweled travel pouches, which exotic location (or in my case, waterpark) will you be taking them to?

