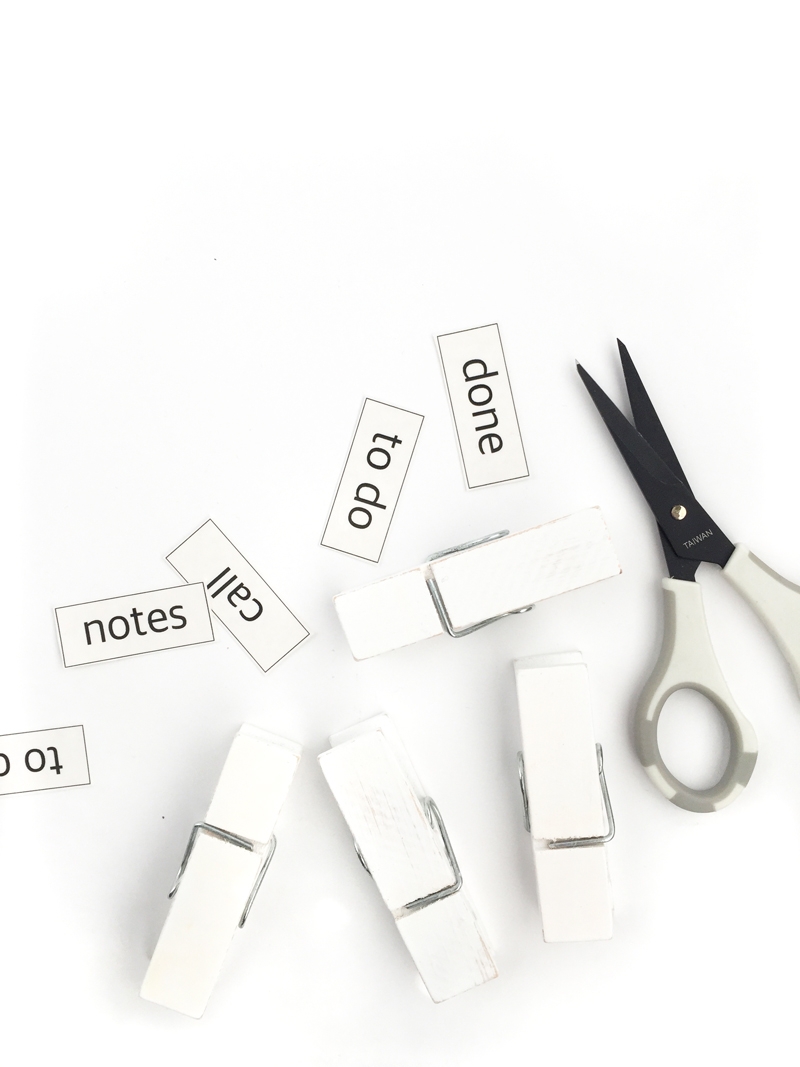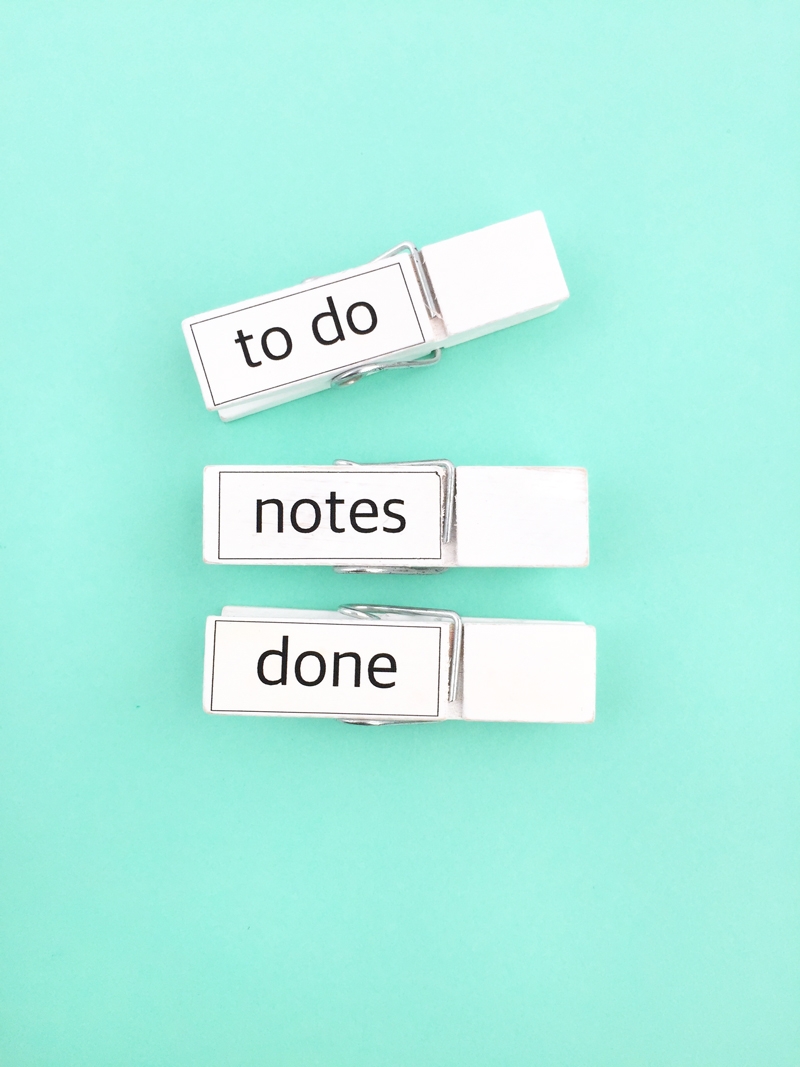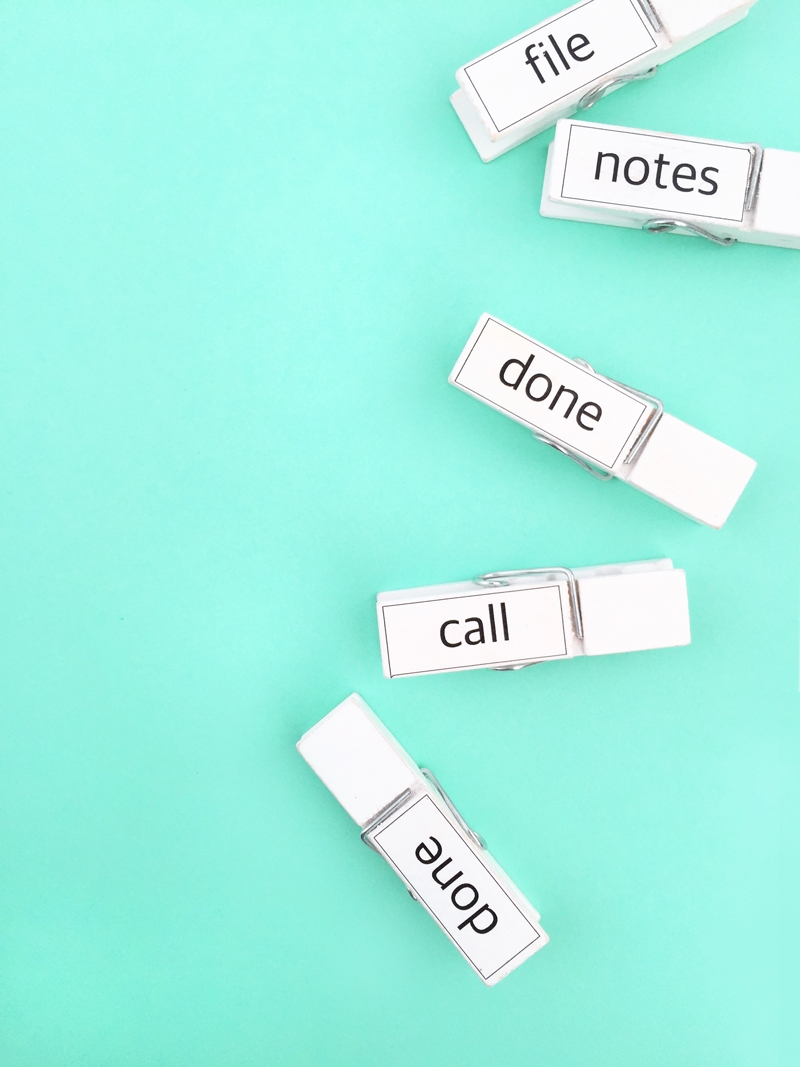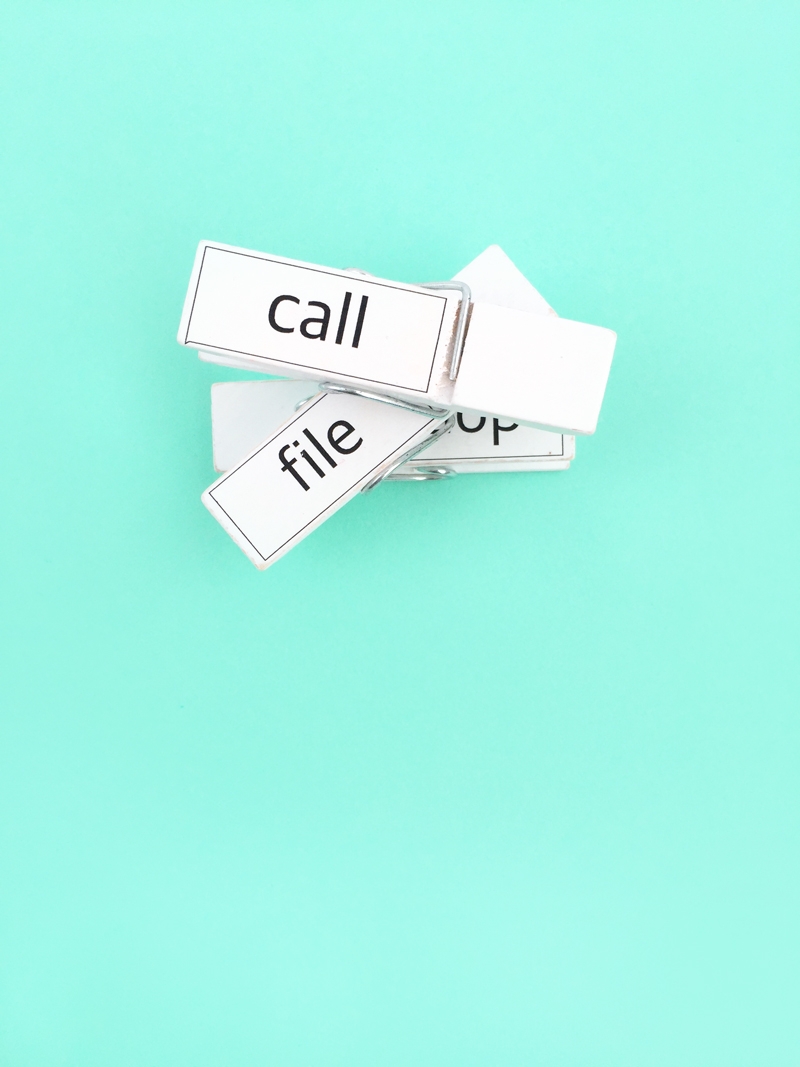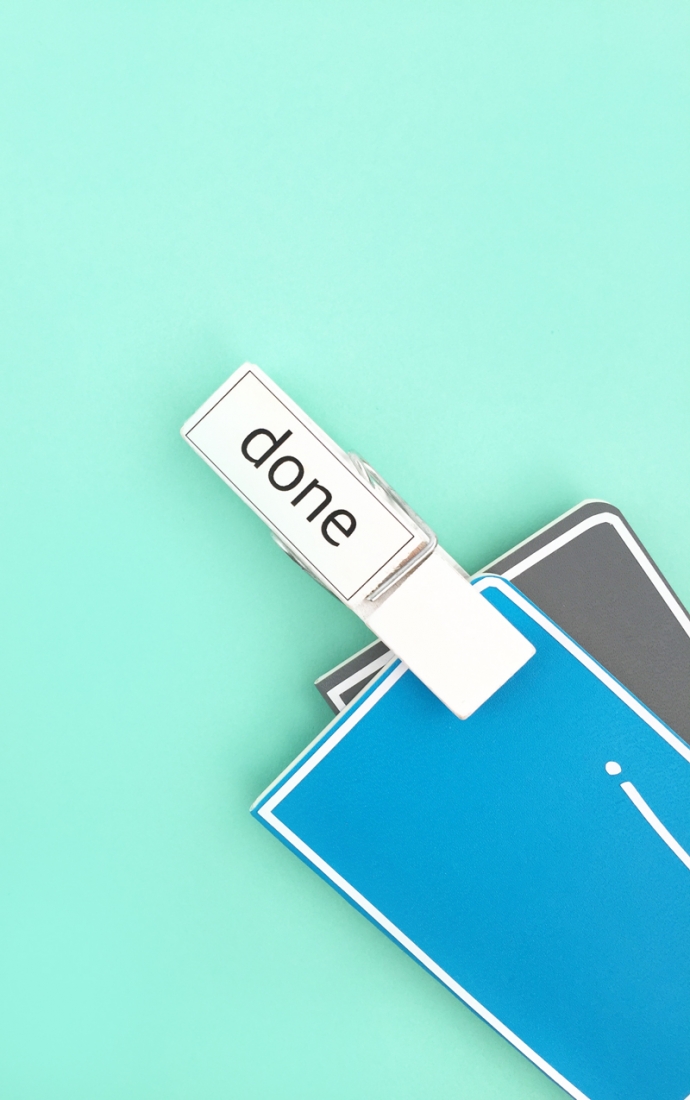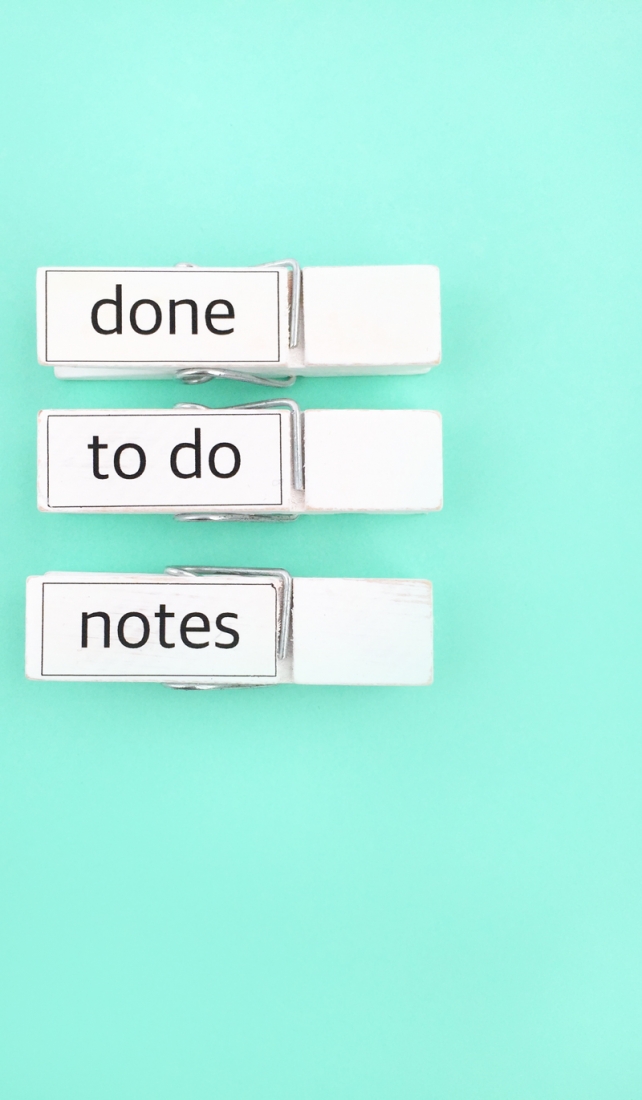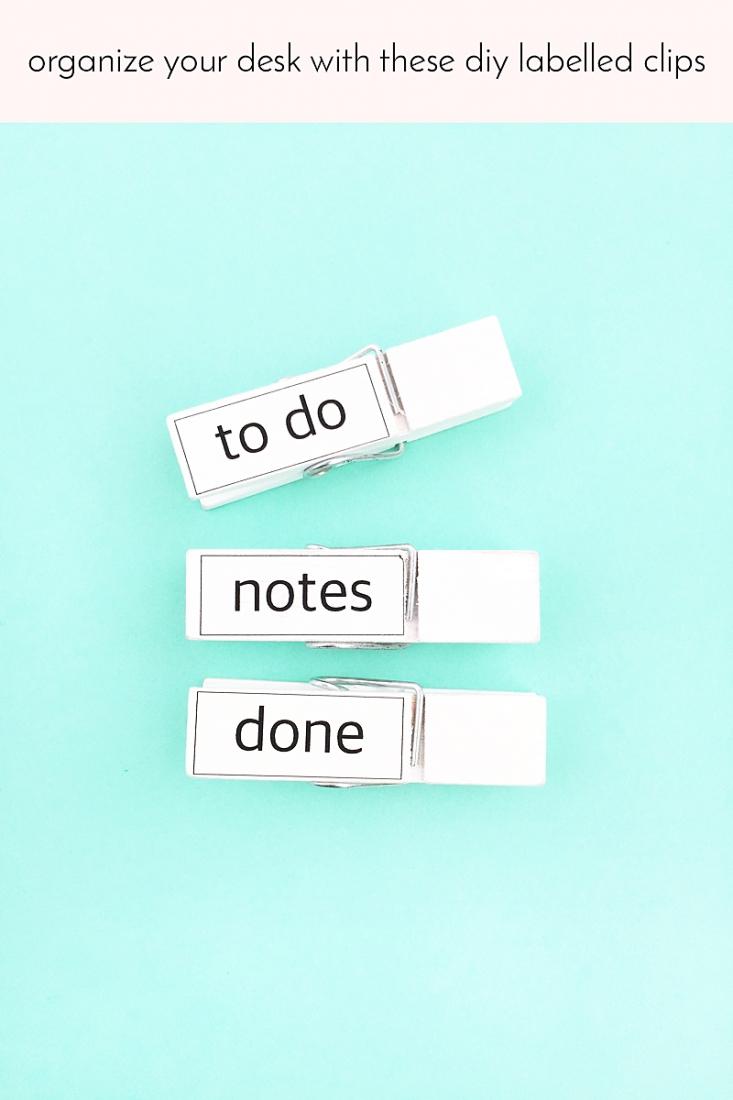
My desk organization skills are always the best at the beginning of the school year. I get inspired by all the lovely school and office supplies, don’t you? So many fun stationery items to collect and use at your desk. I bought these large clothespins at Michaels (in the bargain bins!). They had pretty little painted images on them, but I wanted a plain white. So, I used nail polish remover to gently remove the paint and leave it plain white. And then these DIY labelled desk clips came to mind. I have so many little piles of envelopes and notes on my desk. These clips will help me reach my desk organization goals. Want to see how I made them?
Desk Organization – What You Need To Make Labelled Clips
- Silhouette Studio (there is a free version!)
- Temporary Tattoo Paper
- Wet towel
- Scraper
- Large clothespins
- Printer
- Scissors or Craft knife and cutting mat
- Clear sealant or nail varnish
*This post contains affiliate links for products that I use and love!
How To Make Labelled Clips
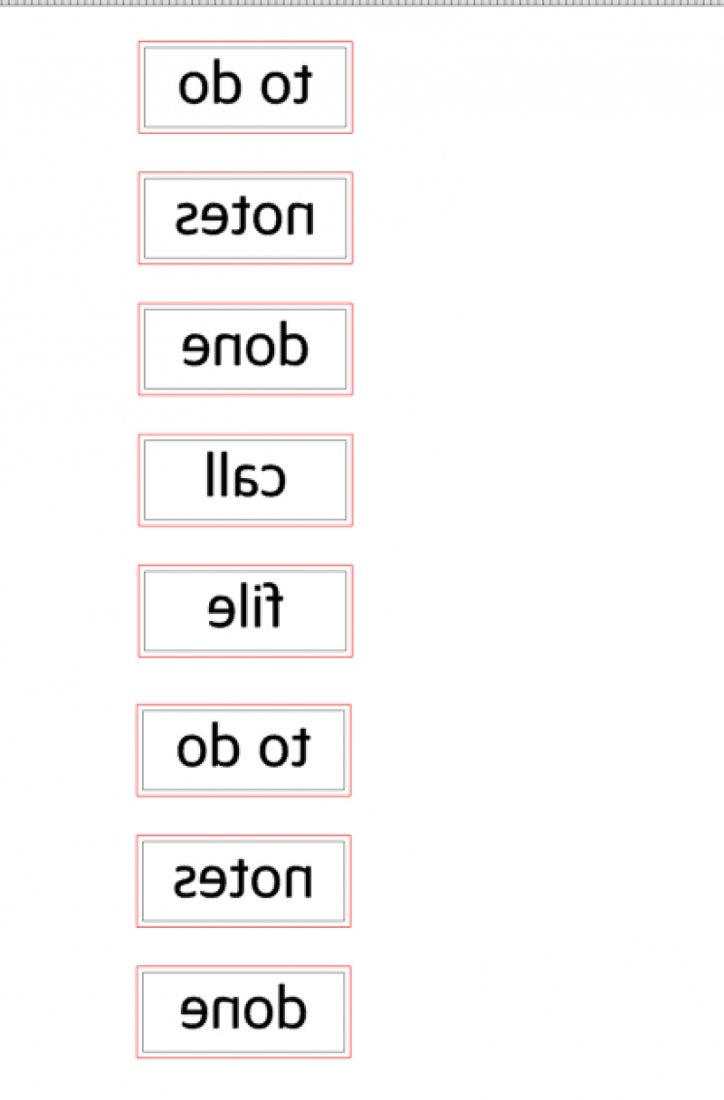
- In Silhouette Studio, create your labels using the rectangle and text tools and flip (mirror) them
- Print your labels onto tattoo paper
- Apply the clear adhesive sheet from the tattoo paper kit. Use your scraper to smooth the bubbles out
- Cut closely around your labels
- Remove the clear adhesive paper, and apply the tattoo face down to your clips with a wet towel on the other side
- Apply a clear sealant or nail varnish to the clips
And that’s it! Now you can organize your desk with these pretty clips!
Looking for some more inspiration? Take a look at my other Silhouette projects!
