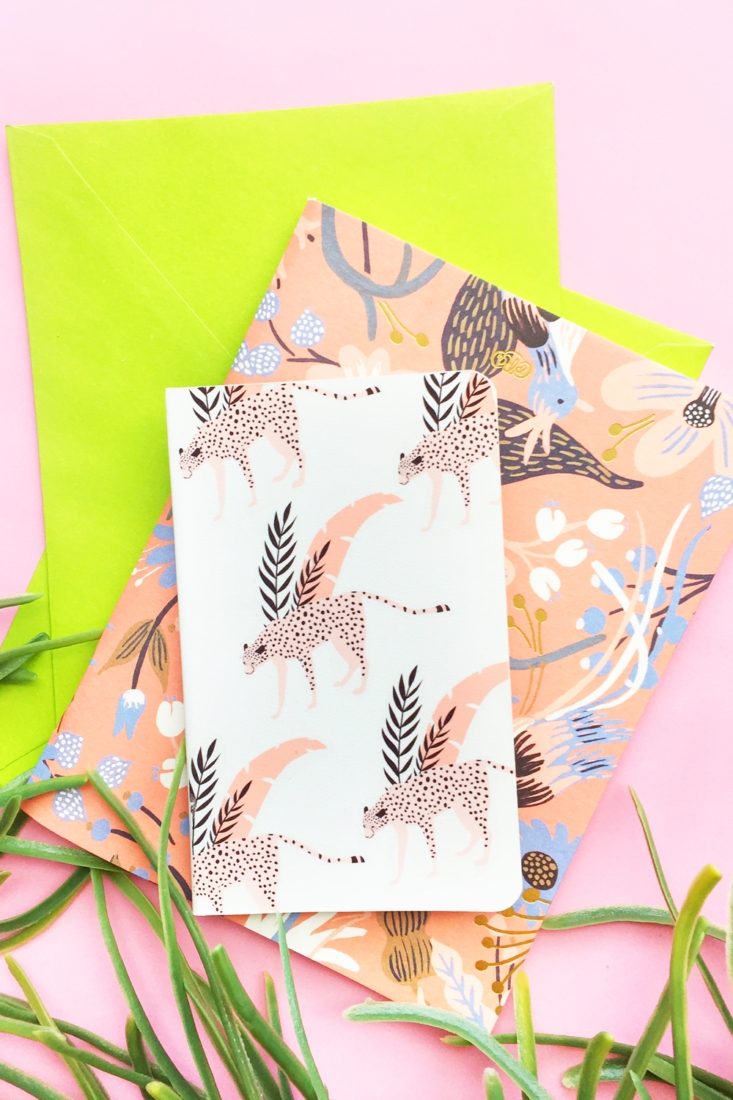
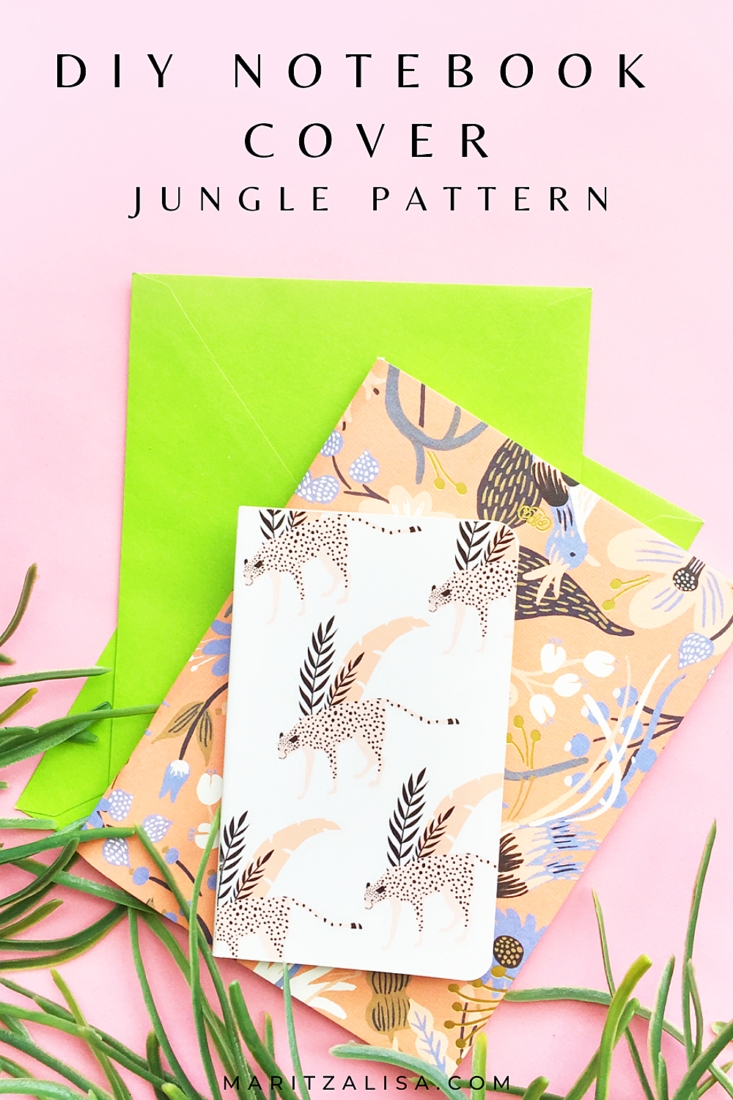
As the beginning of another school year approaches, I thought even though we’re mostly at home, and distance learning is here for now, why not make some cute stationery for our desks or school notes? This DIY Notebook Cover is following a trend I’ve been seeing for a few months now – jungle themed patterns and images. As it so happens, Creative Market is offering some gorgeous jungle themed images for free this week only. Let’s use them to update a blank notebook cover!
*This post contains affiliate links for products that I use and love!
About My Favorite Temporary Tattoo Paper:
Because I use Printable Temporary Tattoo Paper for many of my projects and tutorials, I thought I’d share an introduction to one of my most favorite and versatile mediums. Hopefully by reading a little more about it will answer any questions you may have before trying it out.
You can make temporary tattoos with Silhouette America’s Temporary Tattoo Paper. The temporary tattoos you make with this product are perfect for any kind of party or gathering. When you use temporary tattoos the traditional way (by applying it to your skin), they are perfect favors for kids’ and adults’ parties and even sporting events. What’s also fantastic about these temporary tattoos is that you can apply them to smooth surfaces like notebook covers! Your jungle tattoos can be applied easily with water and a wet cloth or sponge.
Silhouette America makes a range of temporary tattoo paper options:
- Clear
- Gold
- Silver
- White
For today’s project, we will use the clear sheets. Why? Because all the white parts of the images will appear clear when applied.
DIY Notebook Cover With Temporary Tattoos –
Materials:
- Silhouette Studio (there is a free version available for download!) or any other free graphic software that you already have
- Jungle images – as mentioned before, these images I got from Creative Market are free this week only for personal use
- Printer
- Temporary Tattoo Paper
- Scissors
- Scraper
- White notebook cover (I used mini moleskin journals)
- Wet cloth or sponge
- Optional – sealant
- Optional – IPad Pro
- Optional – Procreate app
Instructions – DIY Notebook Cover With Temporary Tattoos
Download your jungle images
If you have not done so already, download your jungle images.
Optional: Recolor Your Image with the Procreate App
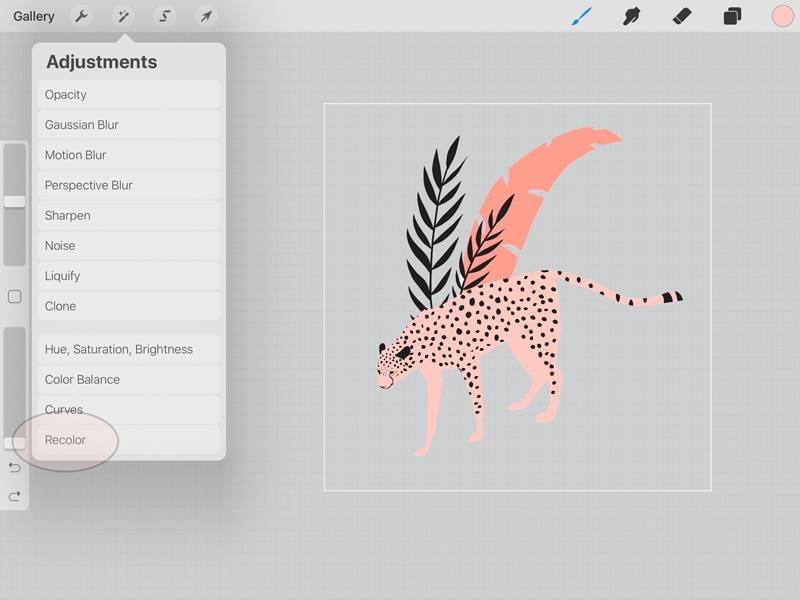
It’s no secret that I love pink. So, naturally I colored the image pink using the Recolor feature of the Procreate app on my iPad:
- Add your image to the Procreate App using the Wrench menu. Click Add, then select Insert A Photo
- Select a color you will use to change the colors on your image (using the circle on the top right corner)
- Now go to the Magic Wand menu and select Recolor
- Move the cursor around the image and tap with your finger or Apple Pencil to recolor
- Save your image and copy to your computer
Open your jungle image in the Silhouette Studio software
- Open your image in Silhouette Studio or any graphic software you have
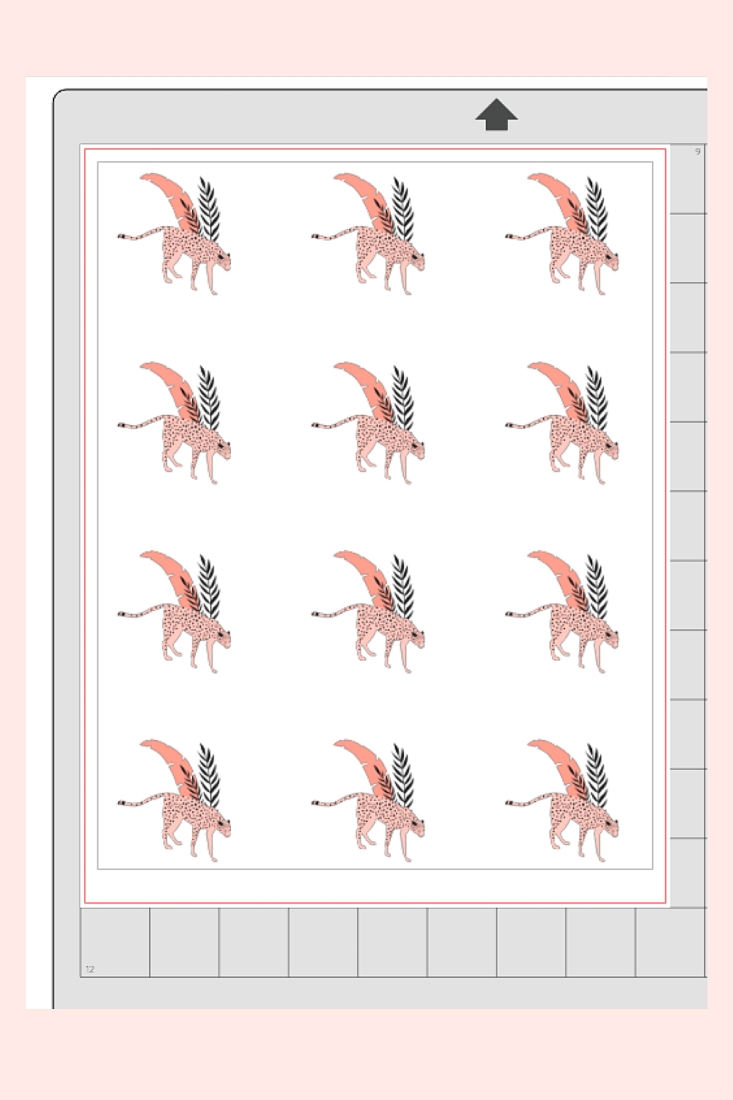
- Mirror your image so that it is reversed. When printed on temporary tattoo paper and applied to your notebook cover, it will appear the correct way
- Resize the image so that it will fit on your notebook cover
- Replicate and place your images in the printable area of your software
Send Your Jungle Images to Print on Temporary Tattoo Paper
- Load your temporary tattoo paper into your printer, making sure that the images will print on the glossy side. I recommend using the highest quality print settings or photo paper settings
- Send to print
- Once printed, let the ink dry
Prepare the Temporary Tattoos for your Notebook Cover
- Apply the clear adhesive sheet (with the green backing) to the top of the sheet you just printed with your jungle images
- Use the scraper to smooth out any bubbles and rub the adhesive to the images
Apply Your Jungle Images to your Notebook Cover
- Use your scissors to cut out the jungle images, staying very close to each image’s edge
- For each tattoo, peel off the clear adhesive layer
- Apply each jungle image down on your notebook cover, and cover with a wet cloth or sponge for 10-15 seconds until the white paper backing slides off easily
- Repeat to make a pattern on your notebook cover
And that’s it! Your DIY Notebook cover is not only gorgeous but it’s on trend too. Let me know which images you chose and how your project turned out!
Looking for some more crafty inspiration? Take a look at some of my other DIY Temporary Tattoo Projects!


